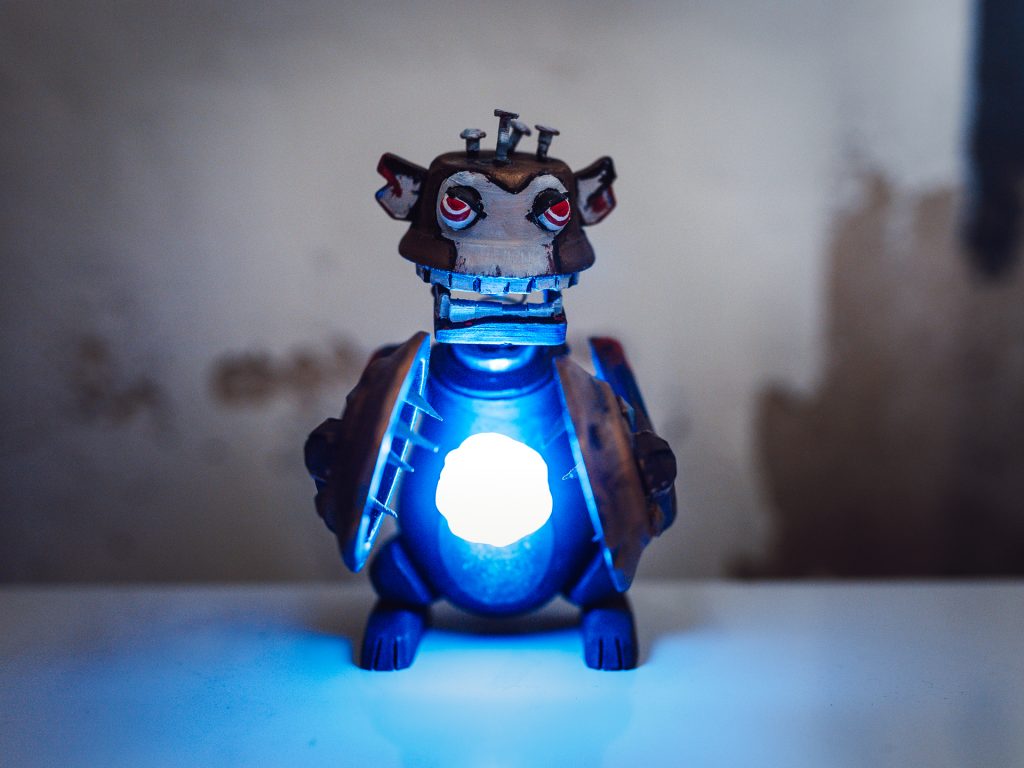
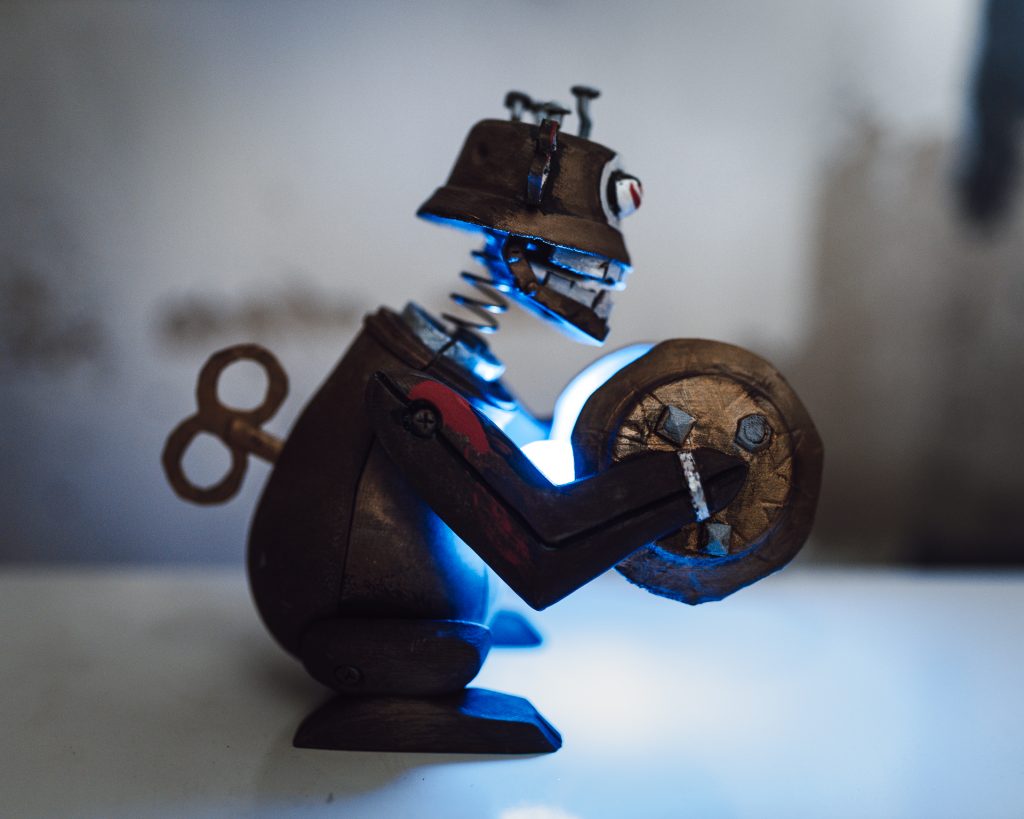
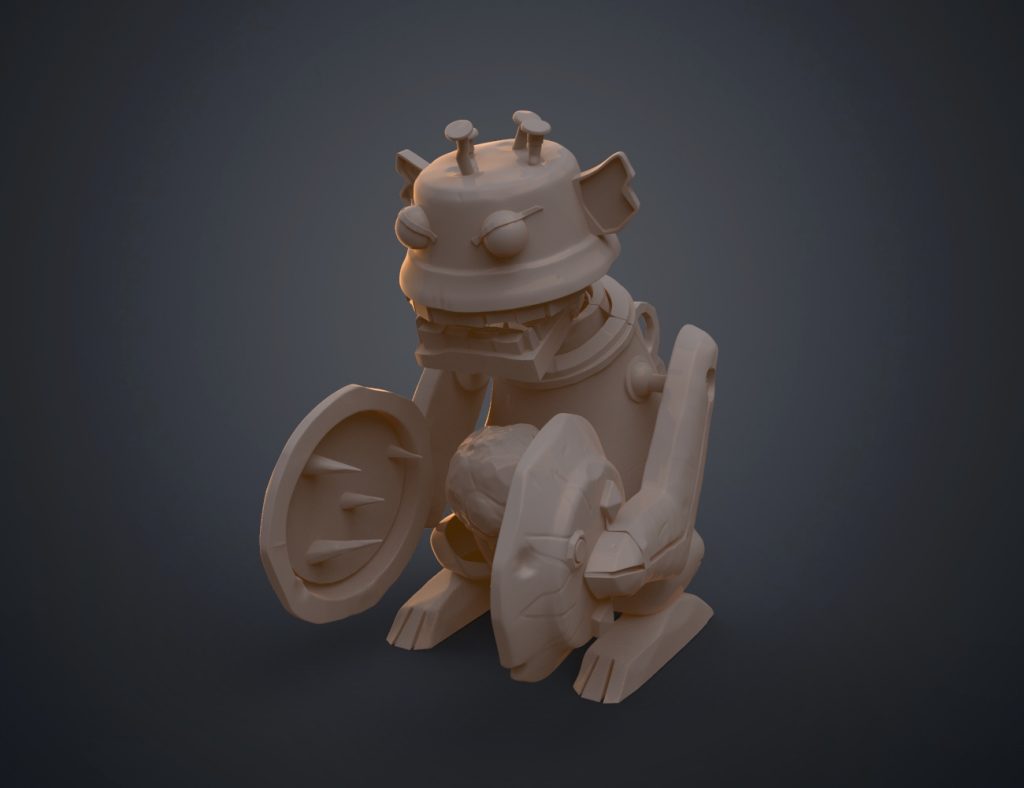
An easy and fun project for any League of Legends: Arcane fan or maybe for Jinx cosplayers. I created a 3D model of the monkey bomb with a fun twist - the head is attached to a spring so it is also a shaking head car toy / bubblehead. In this tutorial, I'll help you with the 3D printer settings and show you how the 3D model looks before assembling. Let's get started!
Supplies
- 3D printer
- 3D model of the Monkey - STL files by 3Demon
- Filament:
- Blue (gemstone) - I used PLA Crystal Clear "Iceland Blue" from Fillamentum
- Brown (body - but you can paint it so this is optional)
- Gold (remaining parts - but you can paint it so this is optional)
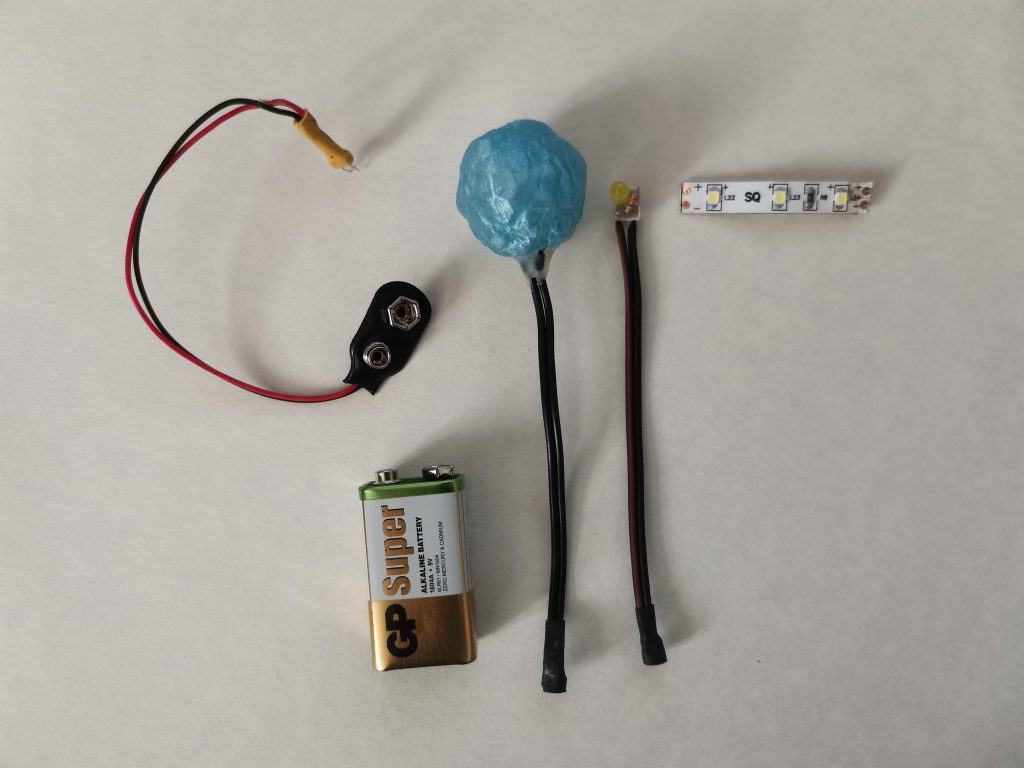
- Electronics (optional - I had it custom made so it fits the gemstone)
- Superglue
- Sandpaper
- Spring 1,5 cm diameter, about 6 cm lenght
- Acrylic paints, brushes

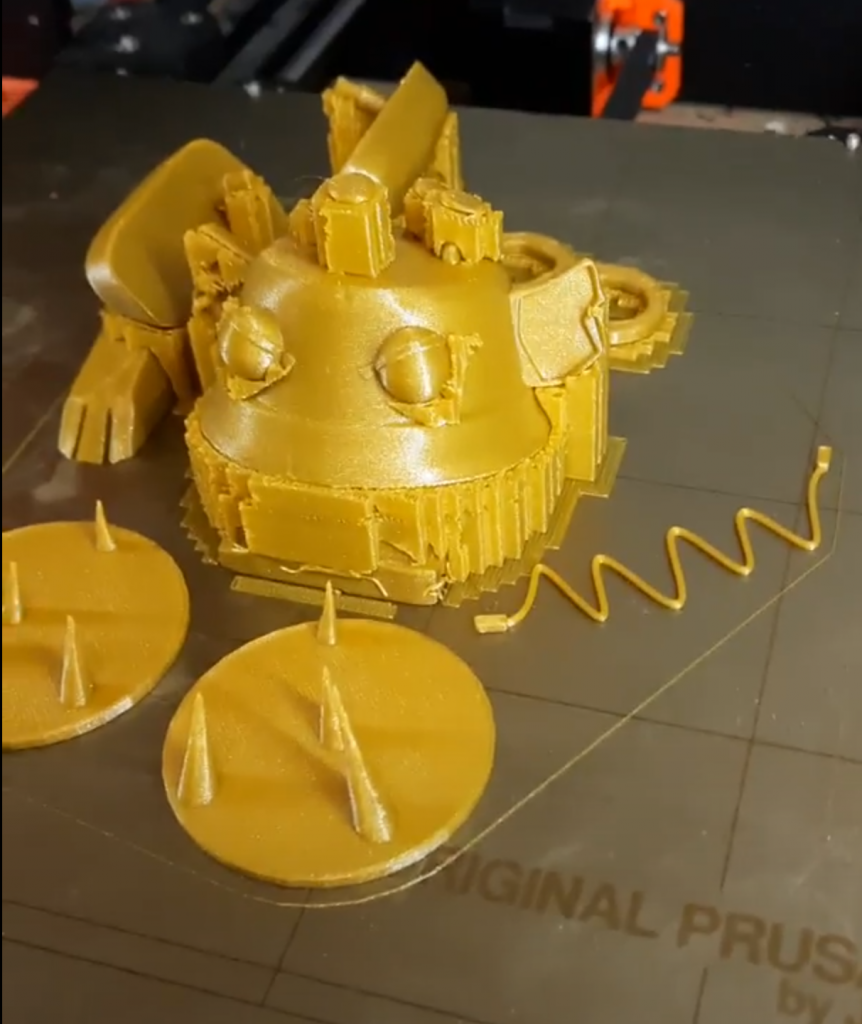
Step 1: 3D Print It!
Firstly - 3D printing! The STL files contain pieces of the 3D model ready to be 3D printed on a 200 mm print bed. We placed the parts on the print bed the way we would print them to save you time.
Most of the parts have pins to align the parts easily. The hexgem does not have one and you can either glue it in place or use strings to hold it in place just like Jinx did in Legue of Legends: Arcane series.
3D printer settings:
- We use these settings for most of our prints:
- Layer height 0.2 mm
- Infill 15%
- Supports 45°
- For parts that are tall but have a small base, we use a 10 mm brim for better bed adhesion.
- Supports will be needed when printing the Monkey Bomb.
The model would also look awesome printed on SLA printer!
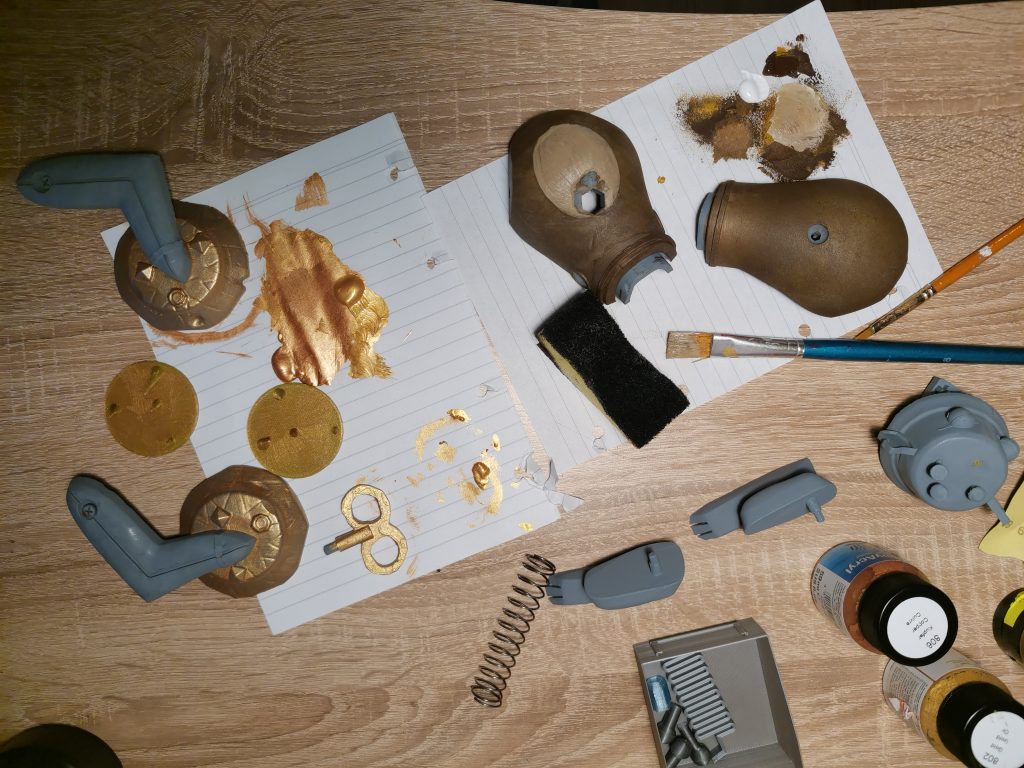
Step 2: Remove Supports, Sand Down, Paint the Monkey!
Secondly - Remove supports! Removing the supports after printing the Monkey Bomb 3D model will take some time. But if printed correctly, the model should be quite smooth and detailed. Additionally you can always sand down the surface a bit with sandpaper.
If you used brown and gold filament, you don't have to paint all the parts. But I wanted the surface to be smoother, so I used spray filler, sanded it down and therefore had to paint it all over with acrylics.
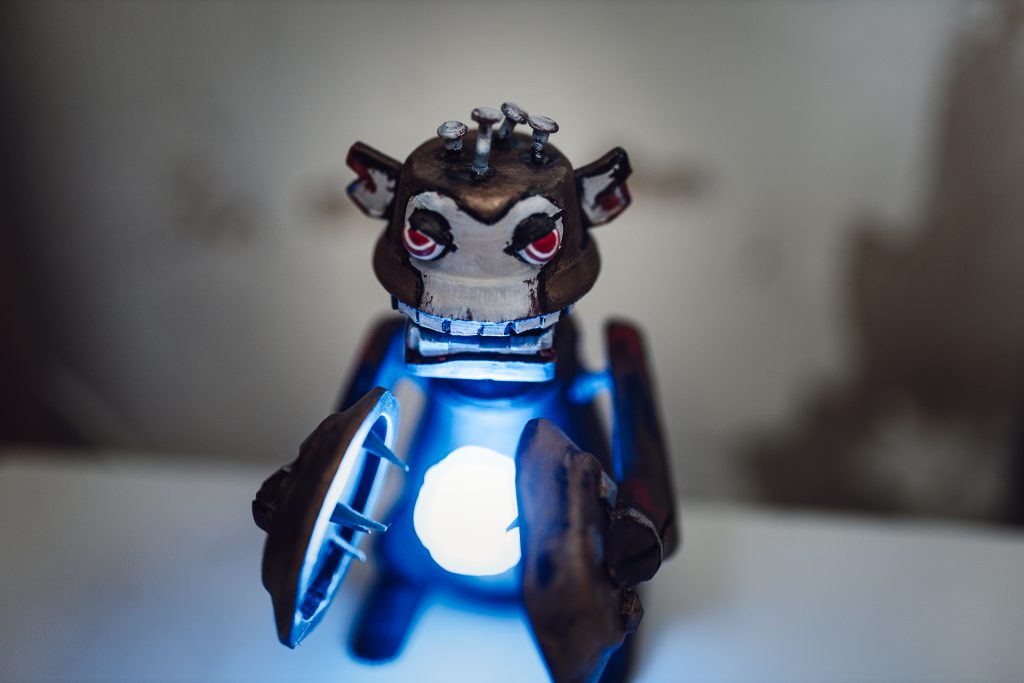
You shoud, however, paint the eyes black so it stands out. In the League of Legends: Arcane series, Jinx painted her creations in a messy way therefore I wouldn't worry about the painting way too much. Just have fun with it!
Step 3: Add Light (optional) and Assemble It!
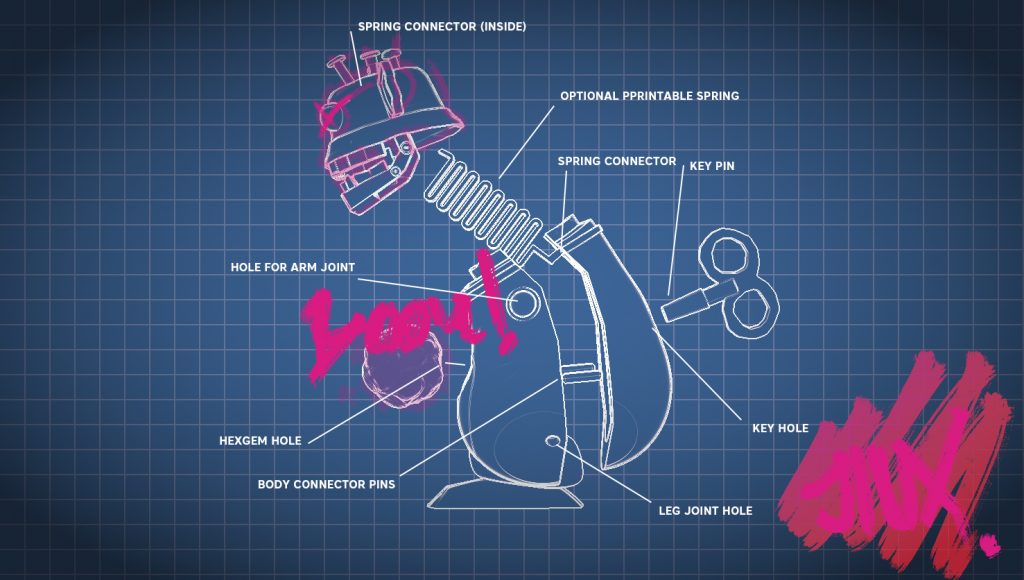
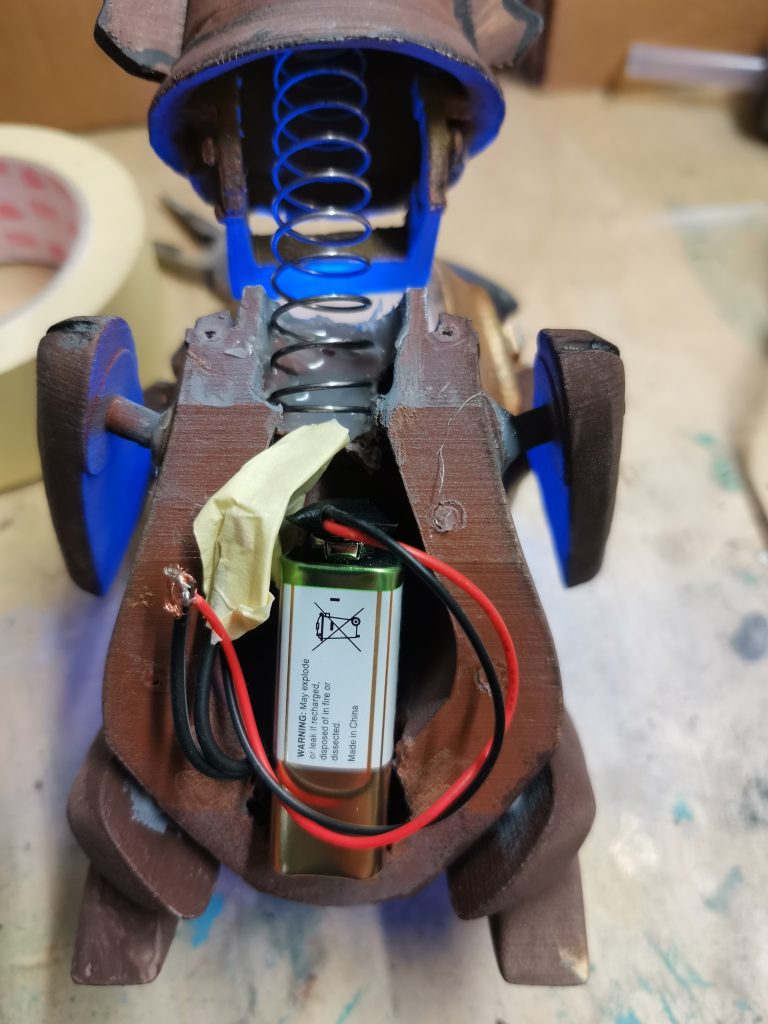
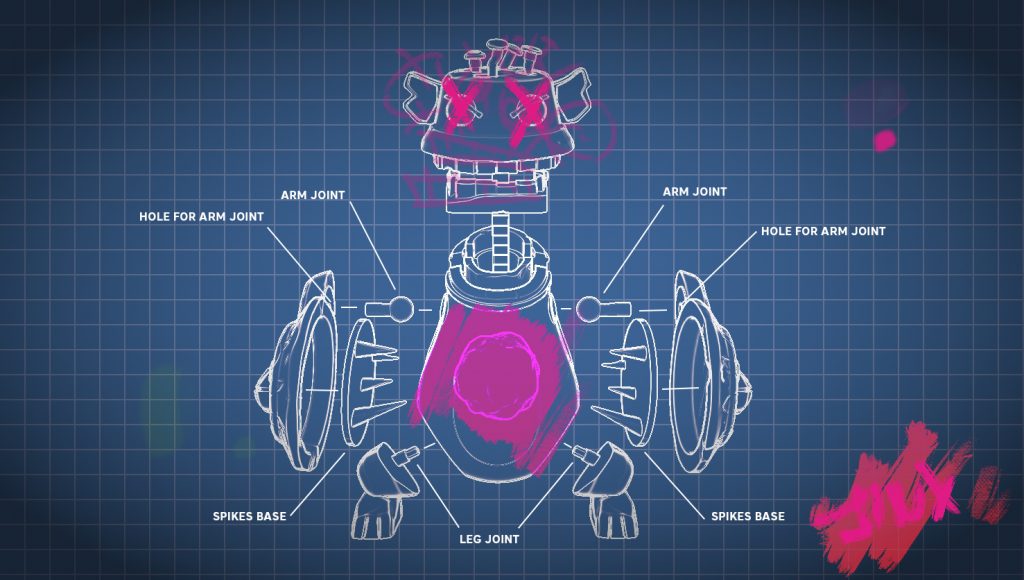
I created a blueprint with instructions on how to assemble the parts of the 3D printed Monkey Bomb Shaking Head Toy, so have a look above 🙂 If you have the LED light in the gemstone, you should keep in mind that you might want to access the battery, therefore don't glue the front body part to the back body part using the superglue! 😀
Glue the rest however. The joints should fit in the holes nicely.
I used a hot glue gun to attach the spring.
You can use either a real spring or the 3D printed one (included in the 3Demon's STL). It's up to you if you want the monkey to have a moving head or not.

Step 4: Enjoy Your Monkey Bomb Toy From Arcane!
Whether you want an original car decoration or a cosplay prop for your Jinx cosplay - enjoy the making of the Monkey Bomb! 🙂
Share your creations with us on social media!
And if you want to save this tutorial in pdf, you can do so here!