Let’s make Crysknife (Liet Kynes) Prop From the DUNE (3D Printed)
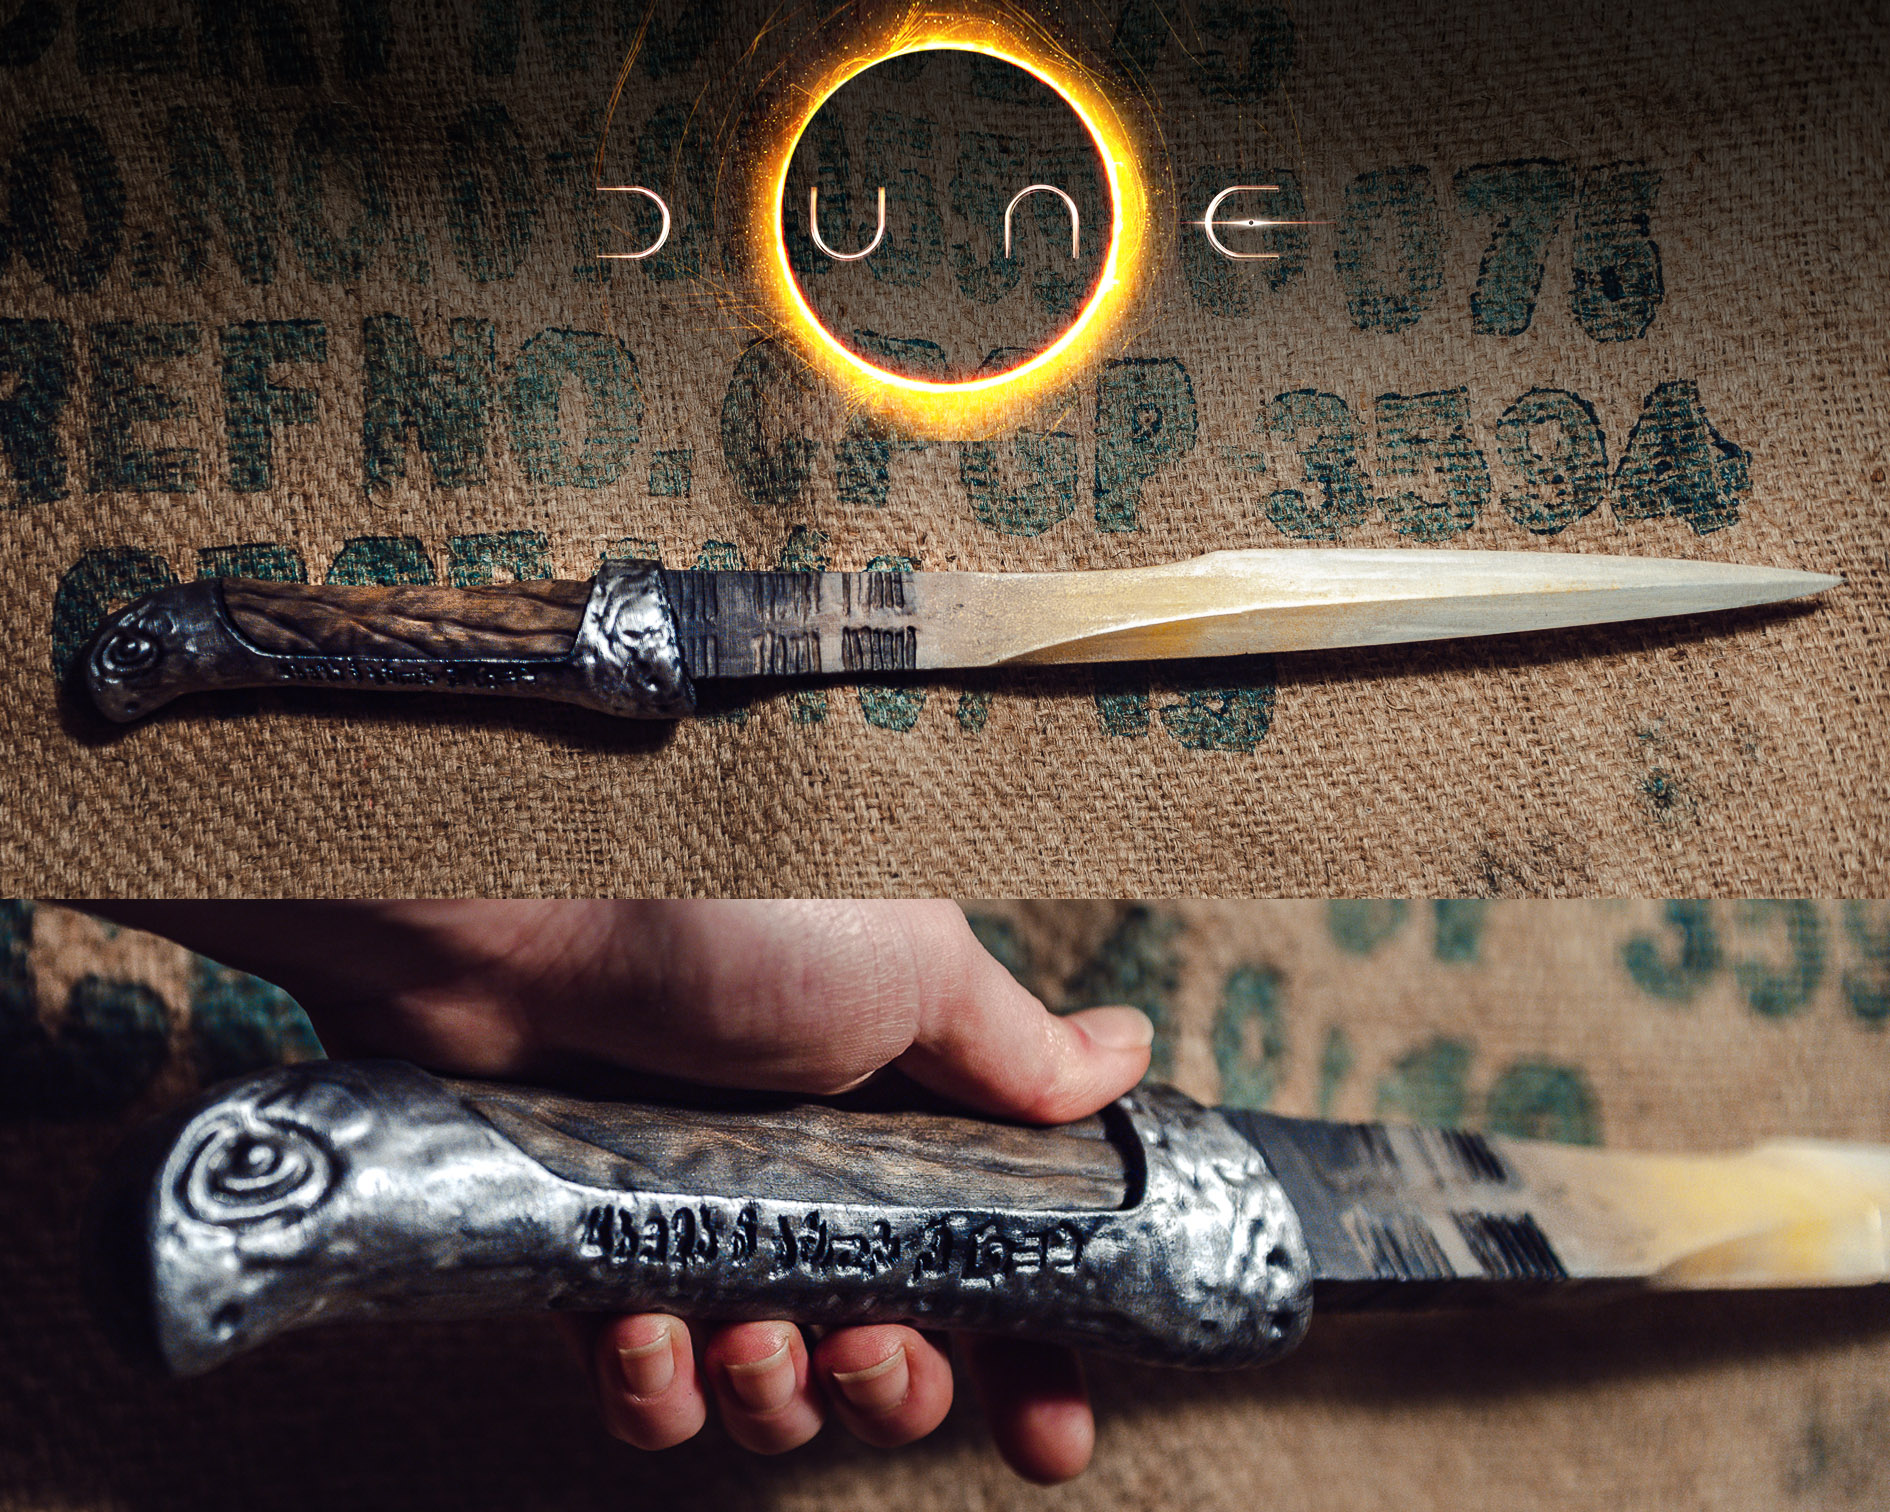
Hi! This is how I made the Crysknife of Liet Kynes from the DUNE. I like this design probably the best, as the crysknife looks realistic, with an organic shape and details. In the Dune, this crysknife belongs to Liet Kynes. She is an Imperial Planetologist of Arrakis and the Judge of Change following the arrival of House Atreides. Liet is portrayed by Sharon Duncan-Brewster in Dune (2021)
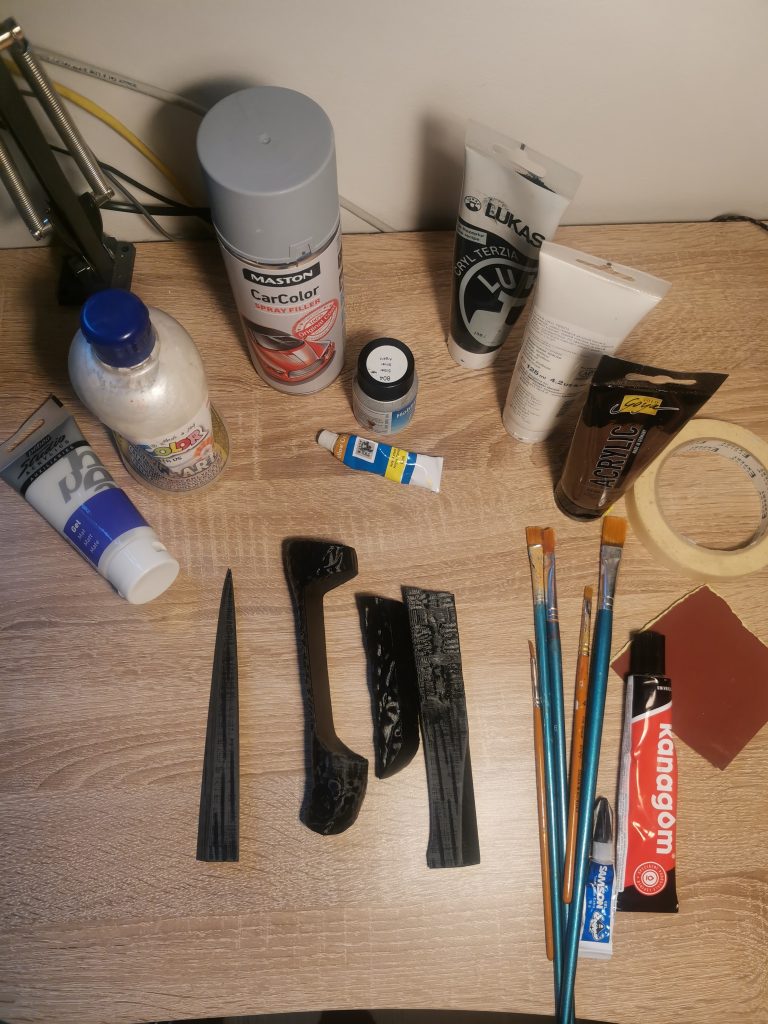
Supplies
- STL Files
- 3D printer and filament (I used PLA filament)
- Superglue
- Spray filler/putty
- Sanding paper
- Acrylic paints: white, beige, brown, silver and black
- Matt and pearl acrylic medium
- Both larger and soft paintbrush and a kitchen sponge
Step 1: Print the 3D Model of the Crysknife
First, I 3D printed the crysknife using STL files from 3Demon. I used a black PLA filament, but PETG filament would work just fine. The only parts that required supports were both handle parts of the crysknife. I recommend setting a rather wider brim at blade parts as they are thin and tall.
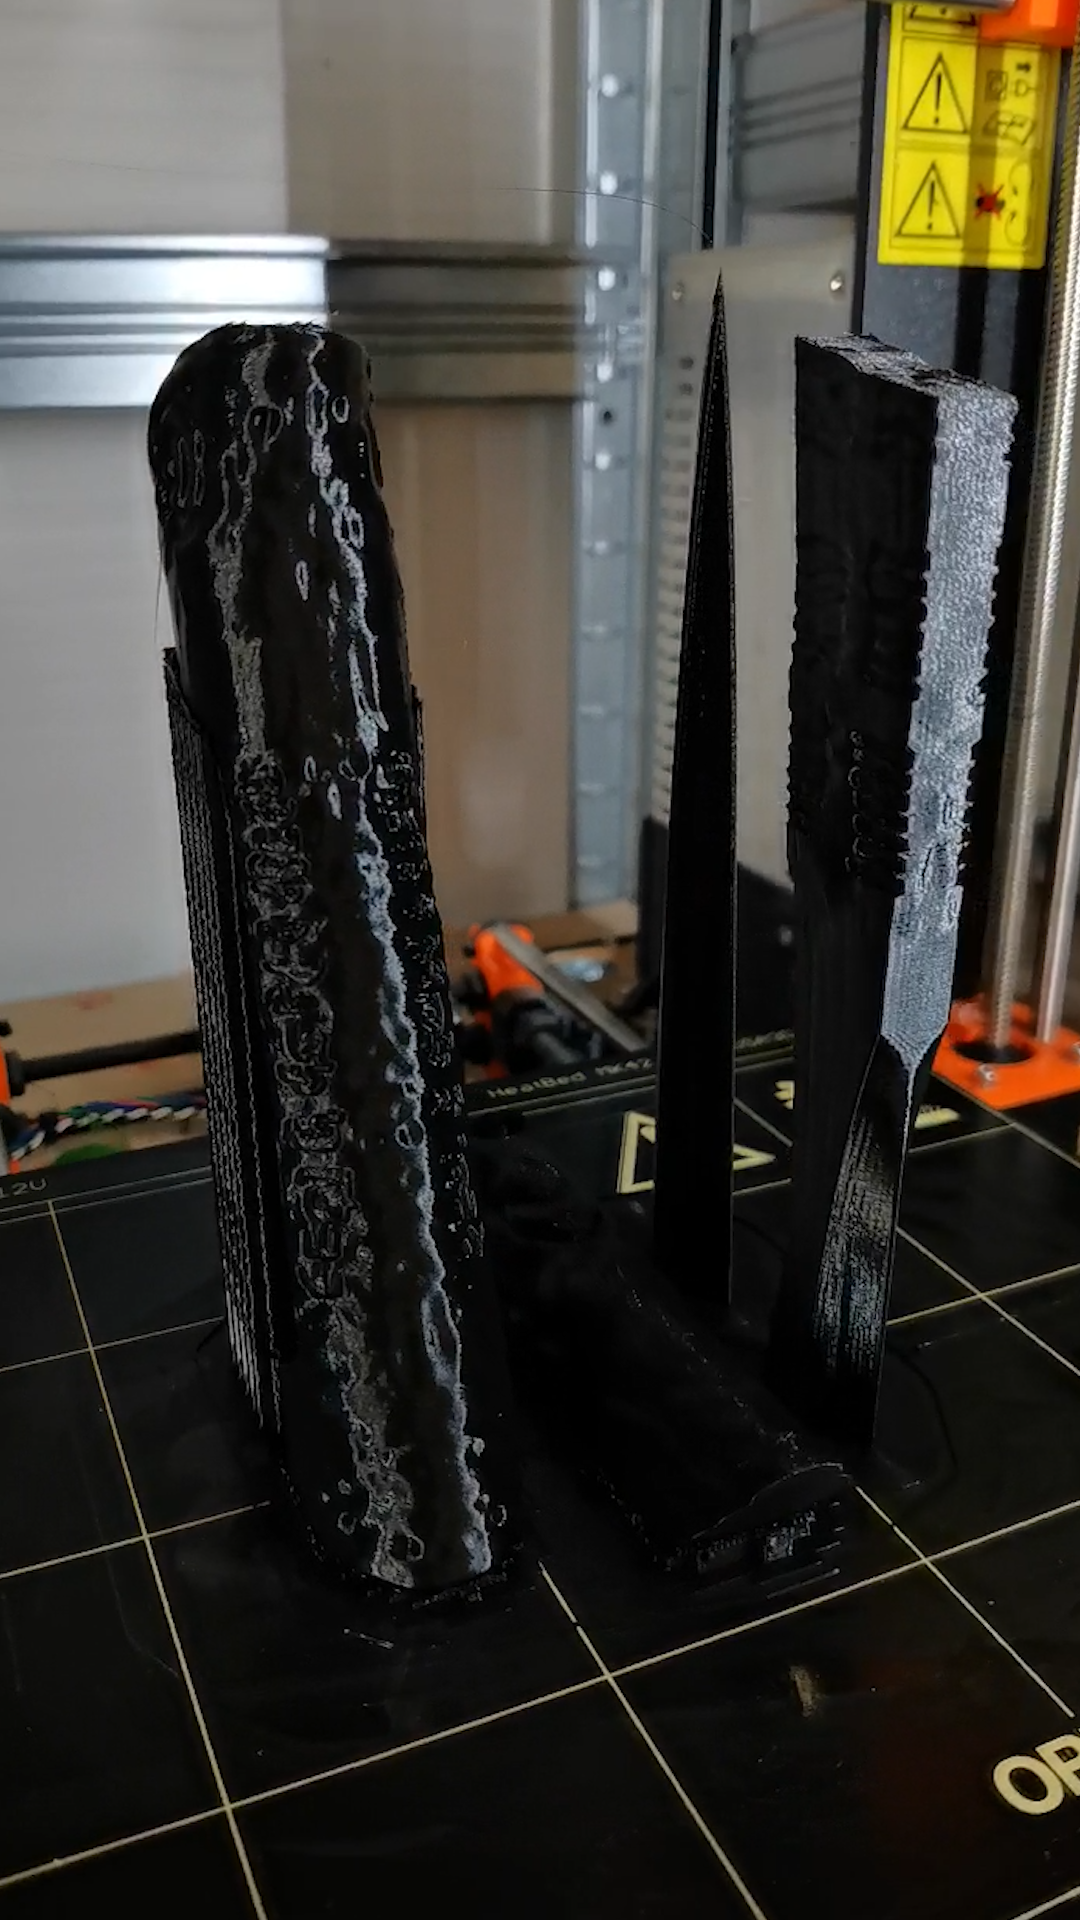
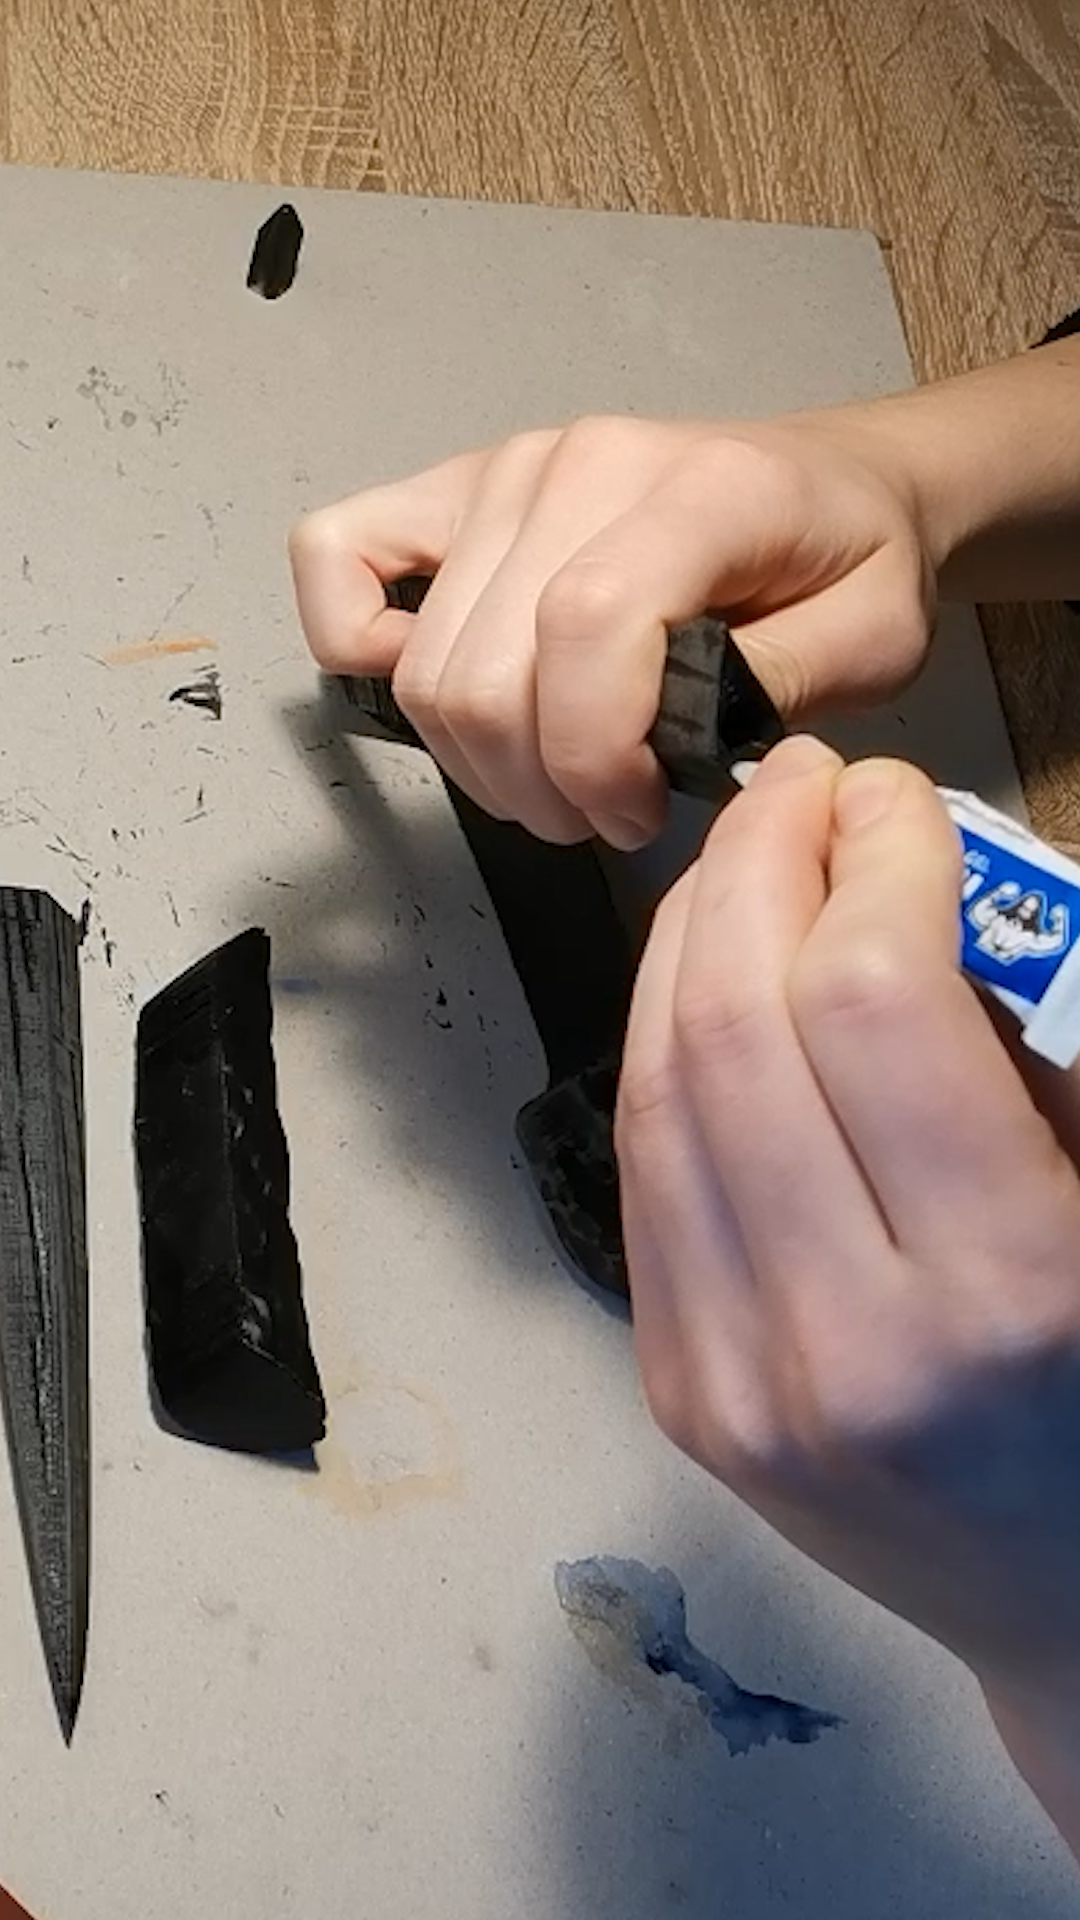
Step 2: Glue It!
I cleaned the printed parts, removed the supports and glued the two blade parts together using a superglue. Don’t glue anything else at this point! You’ll be able to paint it better this way.
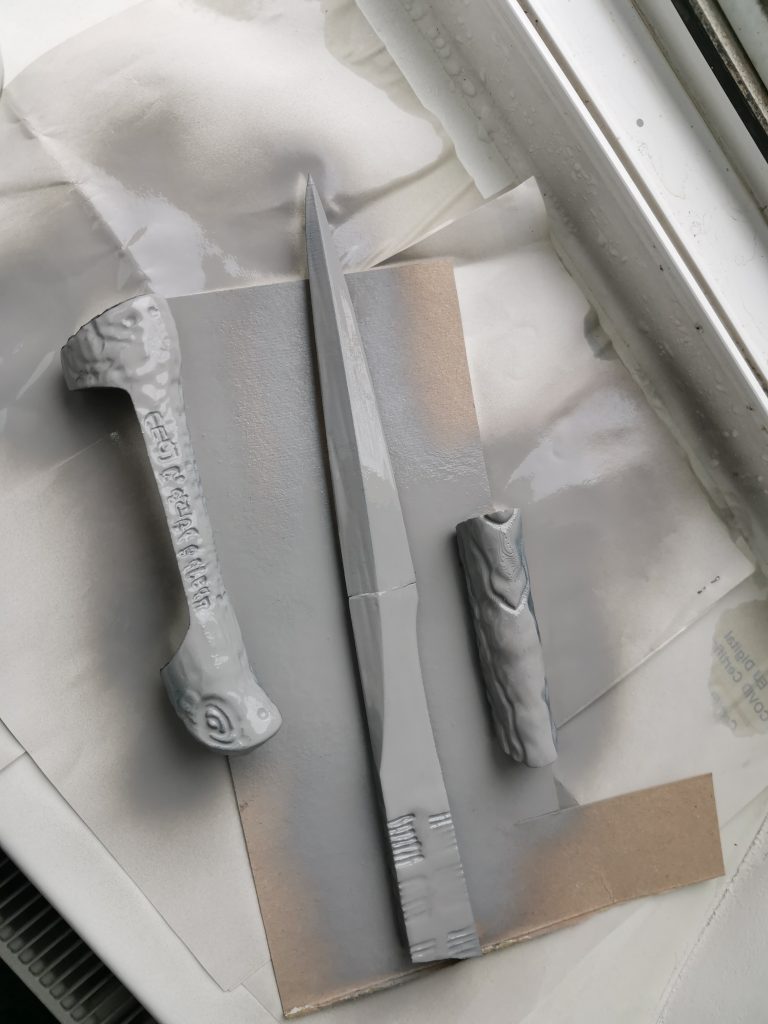
Step 3: Smooth It Out!
Using any spray filler (spray putty) and maybe a bit of sandalble putty, you’ll be able to make the blade smooth, hide the visible layers after printing and hide the spot where the blade pieces connect. Always sand down each layer. 3 layers will be enough 🙂
Don’t worry about the smaller handle part too much. The texture after printing looks like a wood, which is the look we want anyway. 🙂
Step 4: Let’s Paint It!
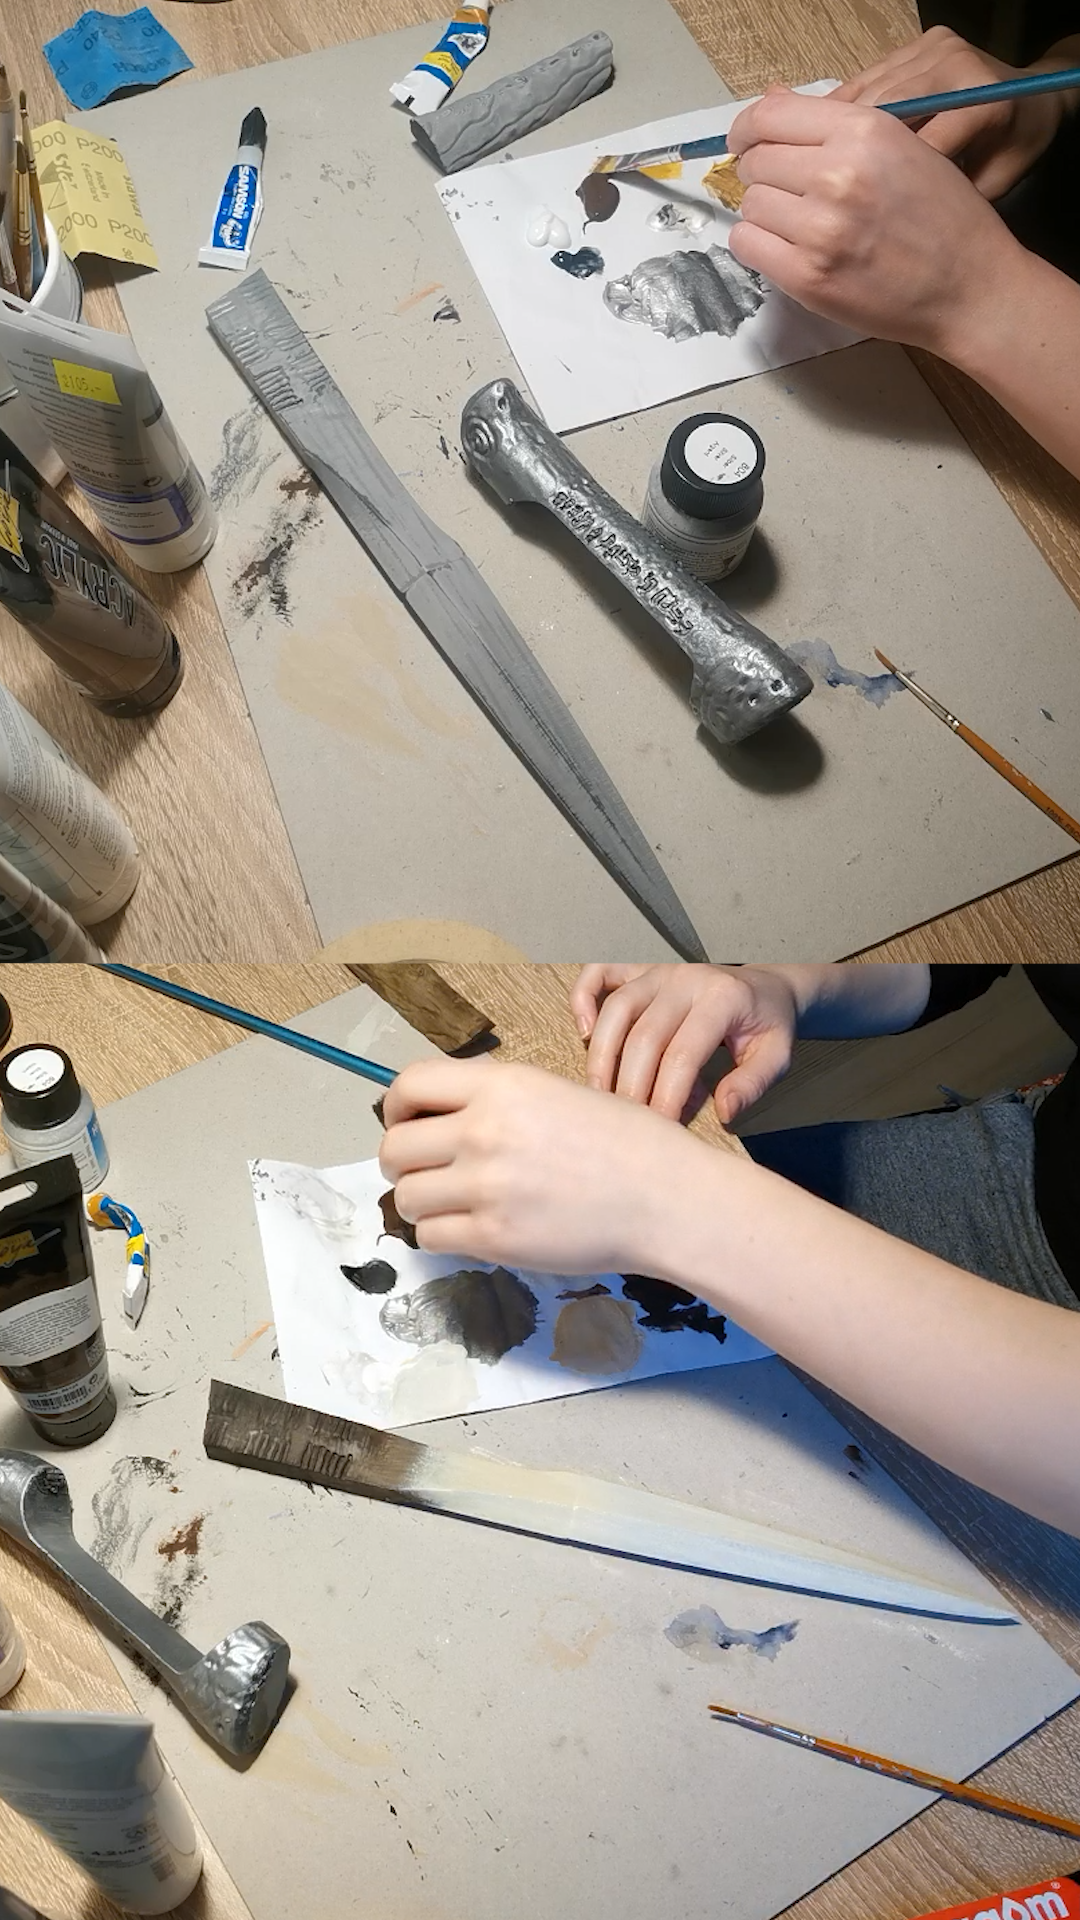
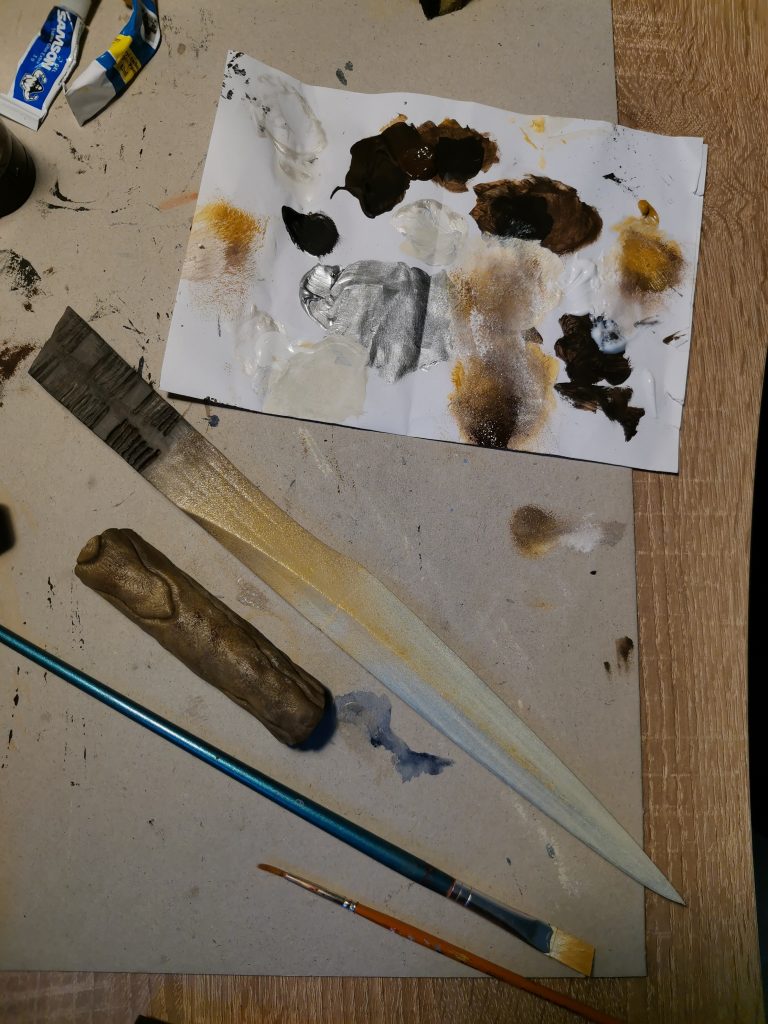
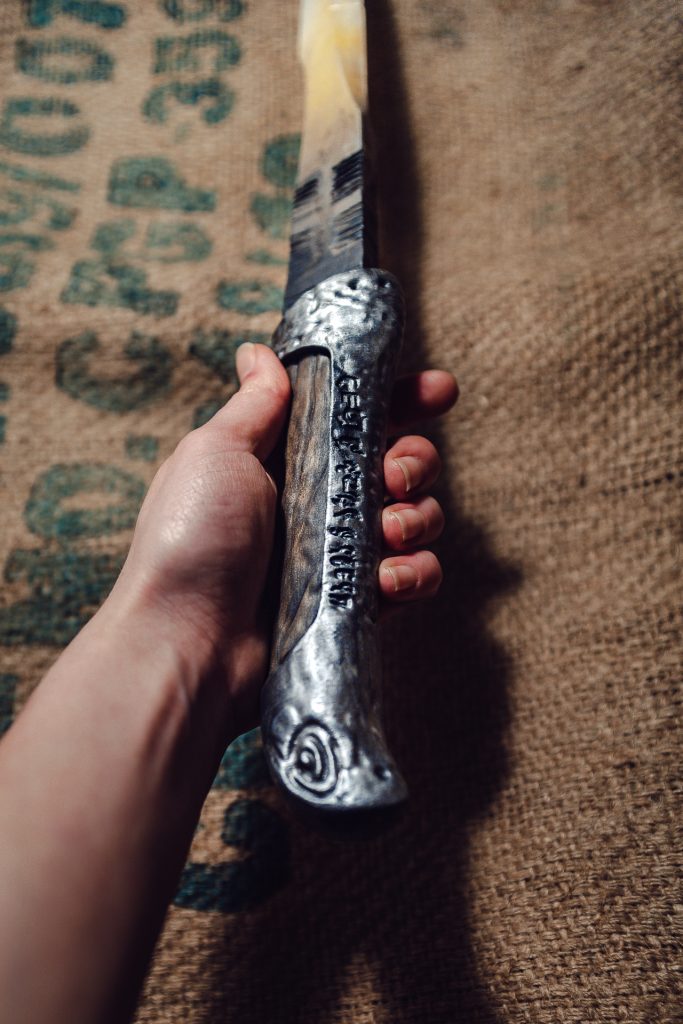
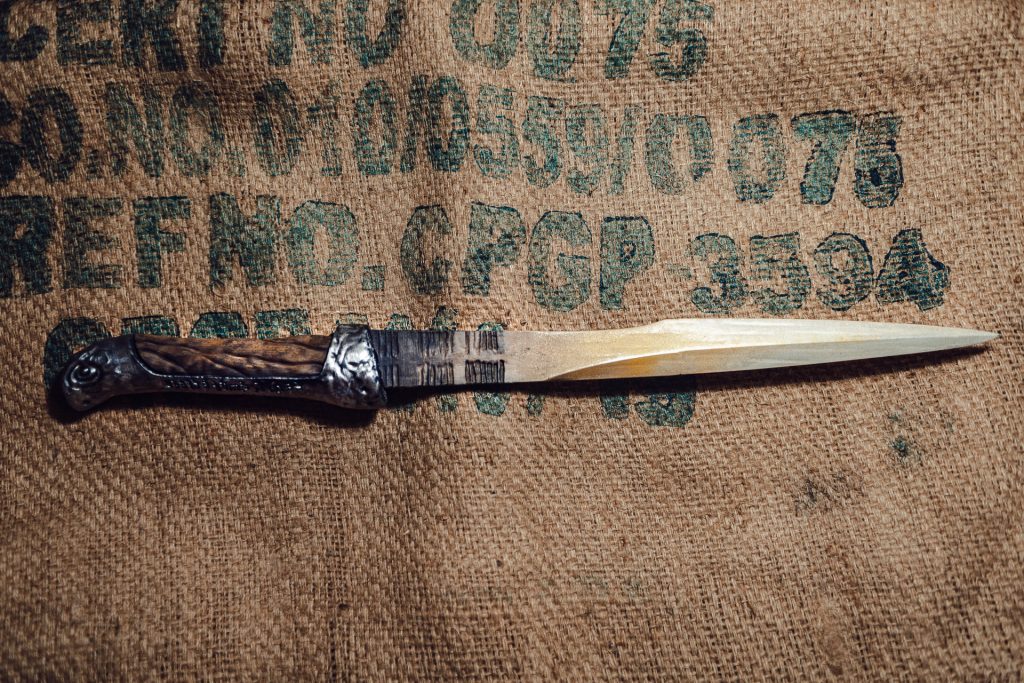
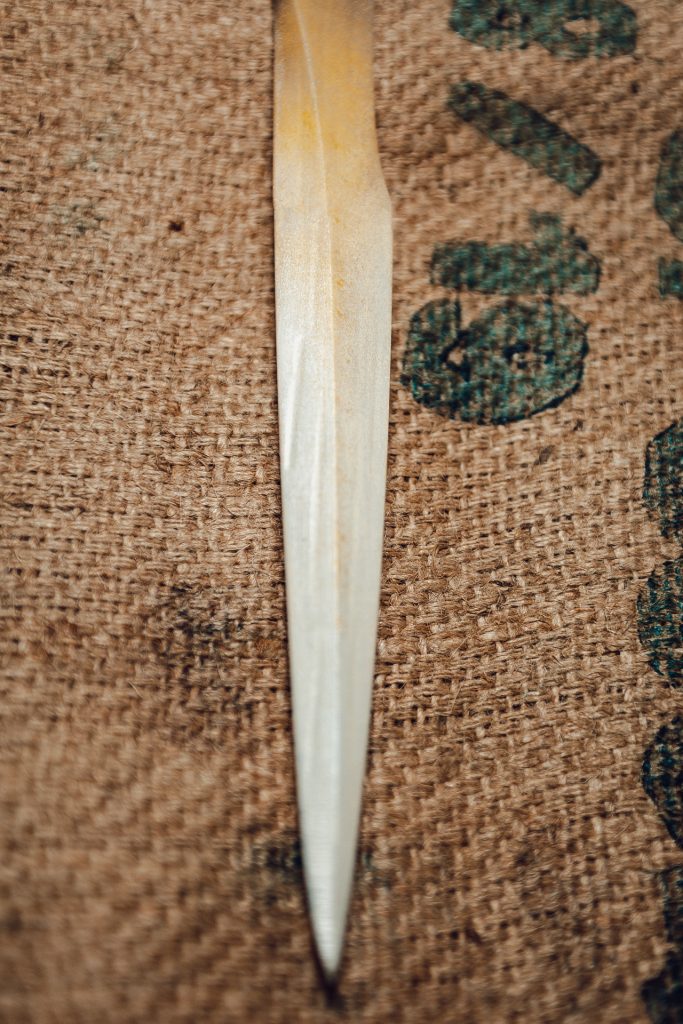
Now, moving to my favourite part. Let’s paint the crysknife! I love to use a kitchen sponge for that. It helps me to make gradient looks, which I needed here on the blade. The very tip should be light beige (a kind of a “bone” or “teeth shade” ) , the middle part is darker beige and coming closer to the handle, the blade gets brown and eventually dark brown.
One Handle part is made of some sort of steel, so basic silver colour is just fine (you could also use some metalic silver – steel spray paint) and the wooden handle part shoud be in various shades of brown. I mixed it with black or beige and applied more layers with a kitchen sponge to achieve this look.
Once the base colours are dry, I glued it all together! Secured with a paper masking tape until it was dry and then proceeded with weathering.
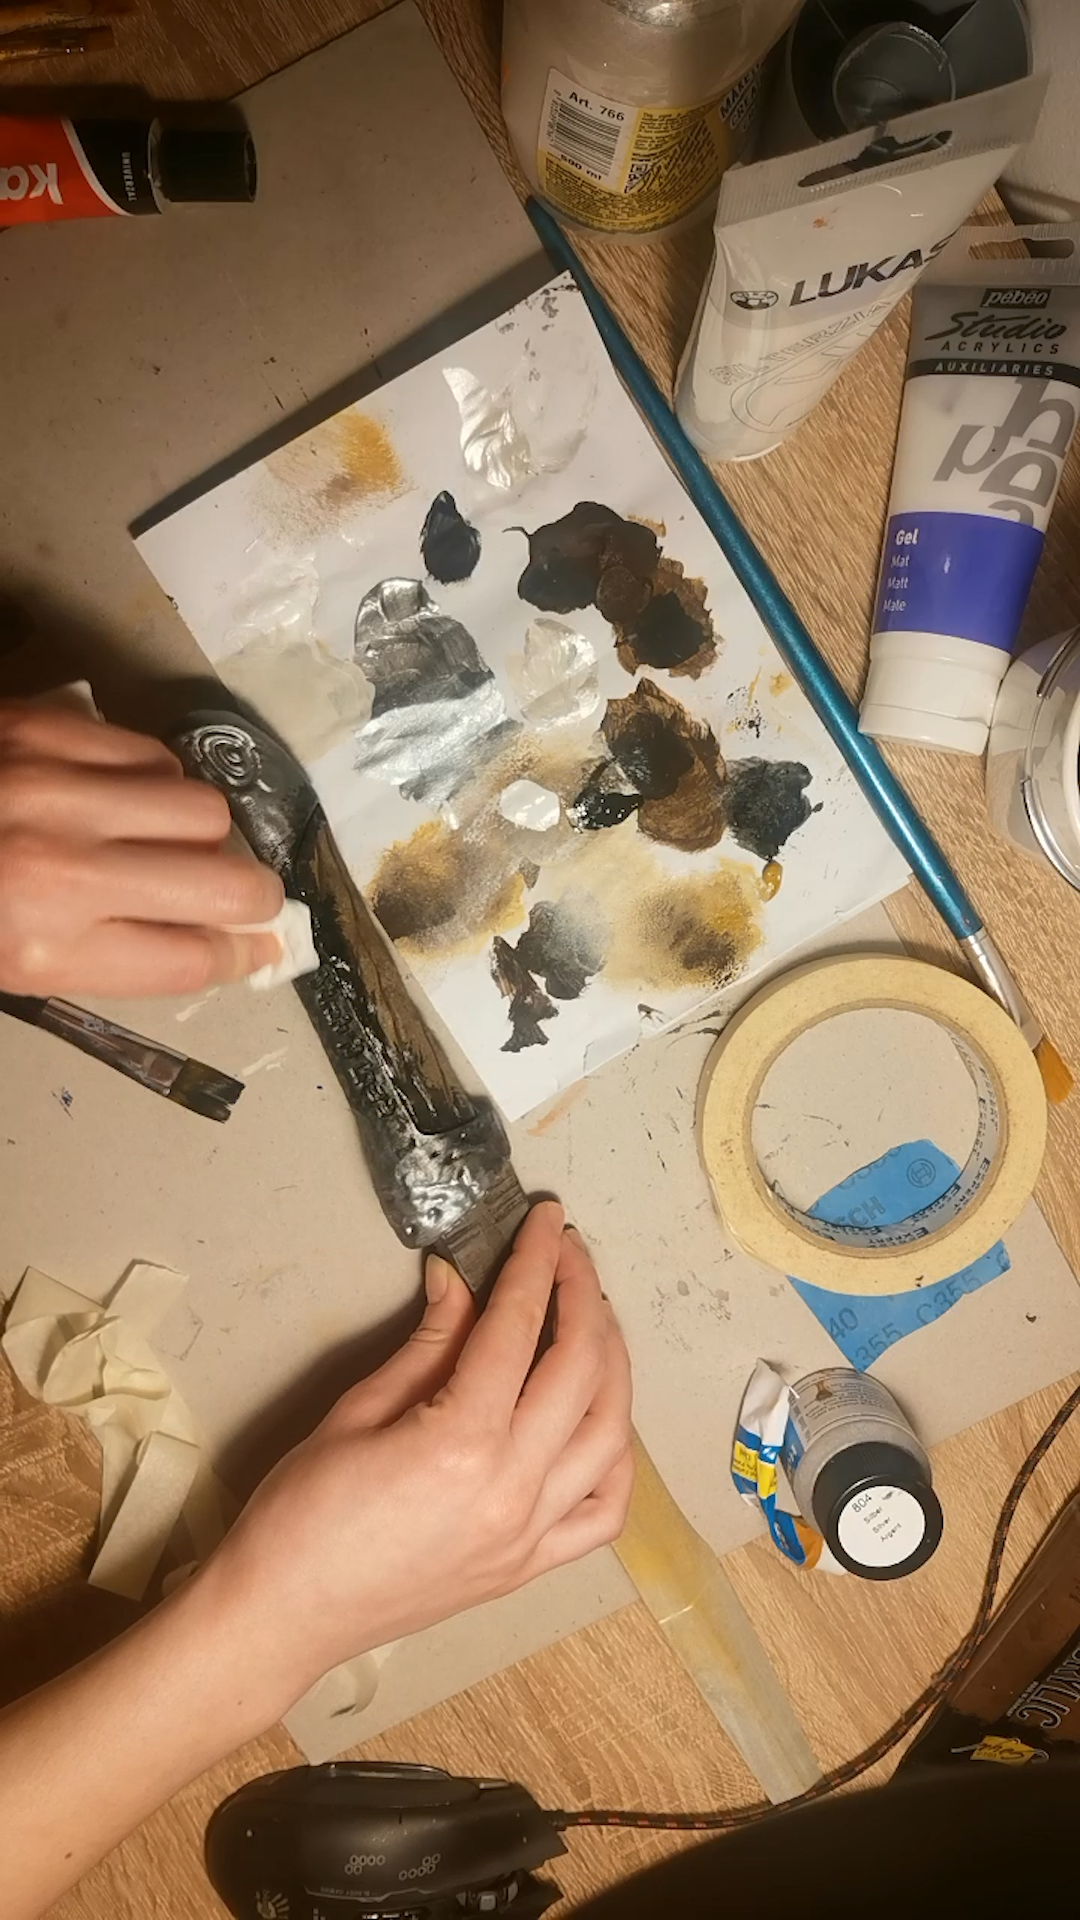
I used a diluted black acrylic paint for that. You basically want to cover the whole handle and the base of the blade in the watery black paint. Make sure the paint gets to all the cracks and crevices in the design. Now, wipe it with a tissue and you’ll end up with a realistic looking crysknife!
Tip: I use also matt and pearl acrylic medium / structure gel. You can mix it with any acrylic colour and make it look matt or shiny. In conclusion, the sharp parts of the crysknife should look shiny, whereas the wooden part, or the middle part with the relief should look matt. This also helps with a realistic look of the cosplay prop.
You can watch the timelapse of me, painting the crysknife here. 😀
Step 5: You’re Good to Go!
Additionally, you can cover the crysknife in a layer of clear protective spraypaint so the acrylics don’t rub off. And your Liet Kynec crysknife from the Dune is ready! You can print also the other crysknives and have a collection. 😀
Share your print with us on Discord, facebook or Instagram!
Leave a Comment