Making Mjolnir Hammer That LIGHTS UP! (God of War Ragnarok)
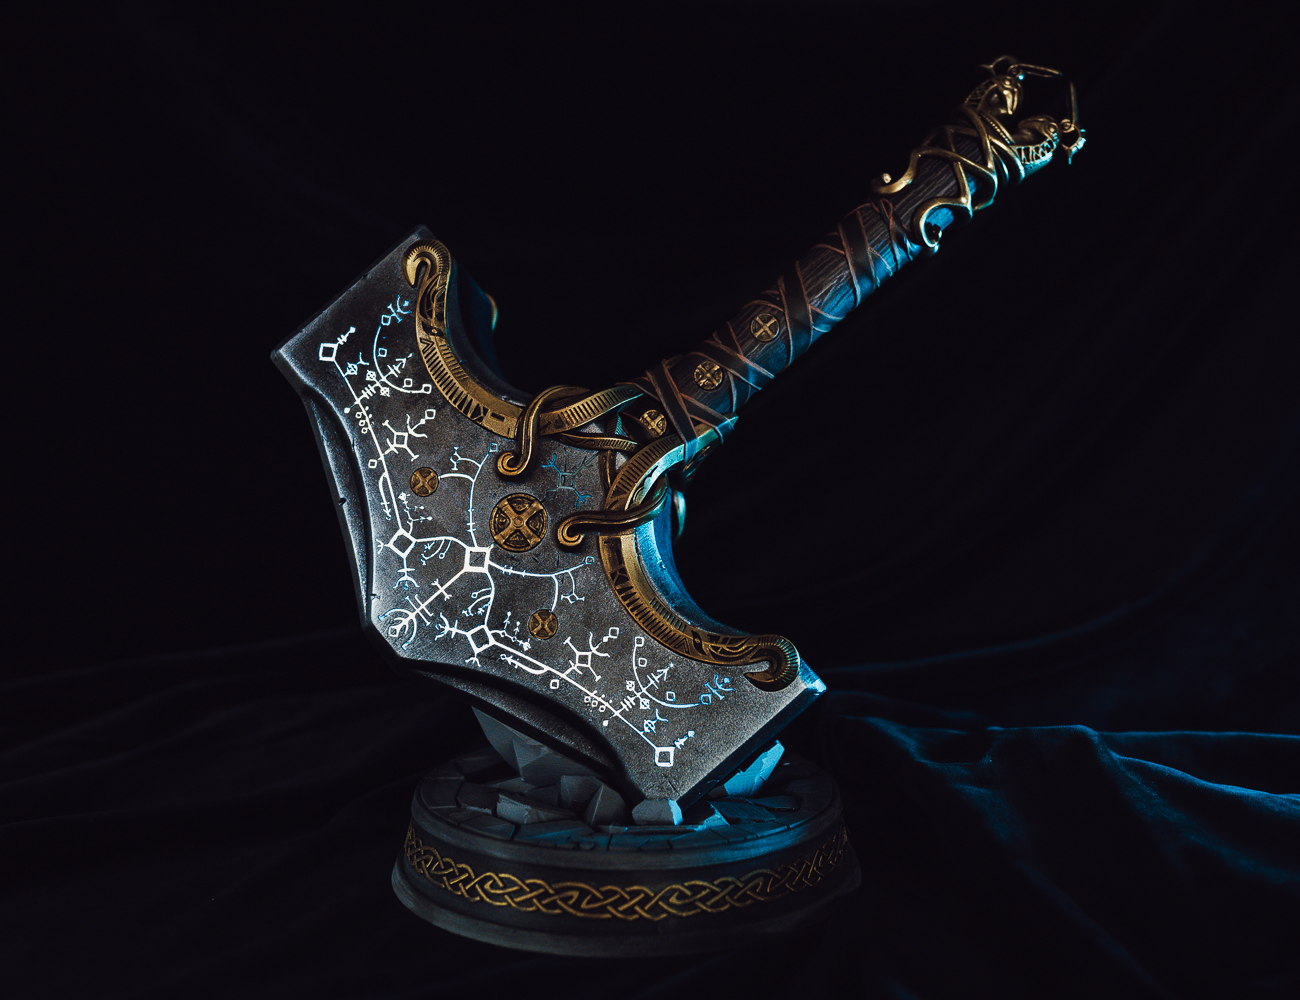
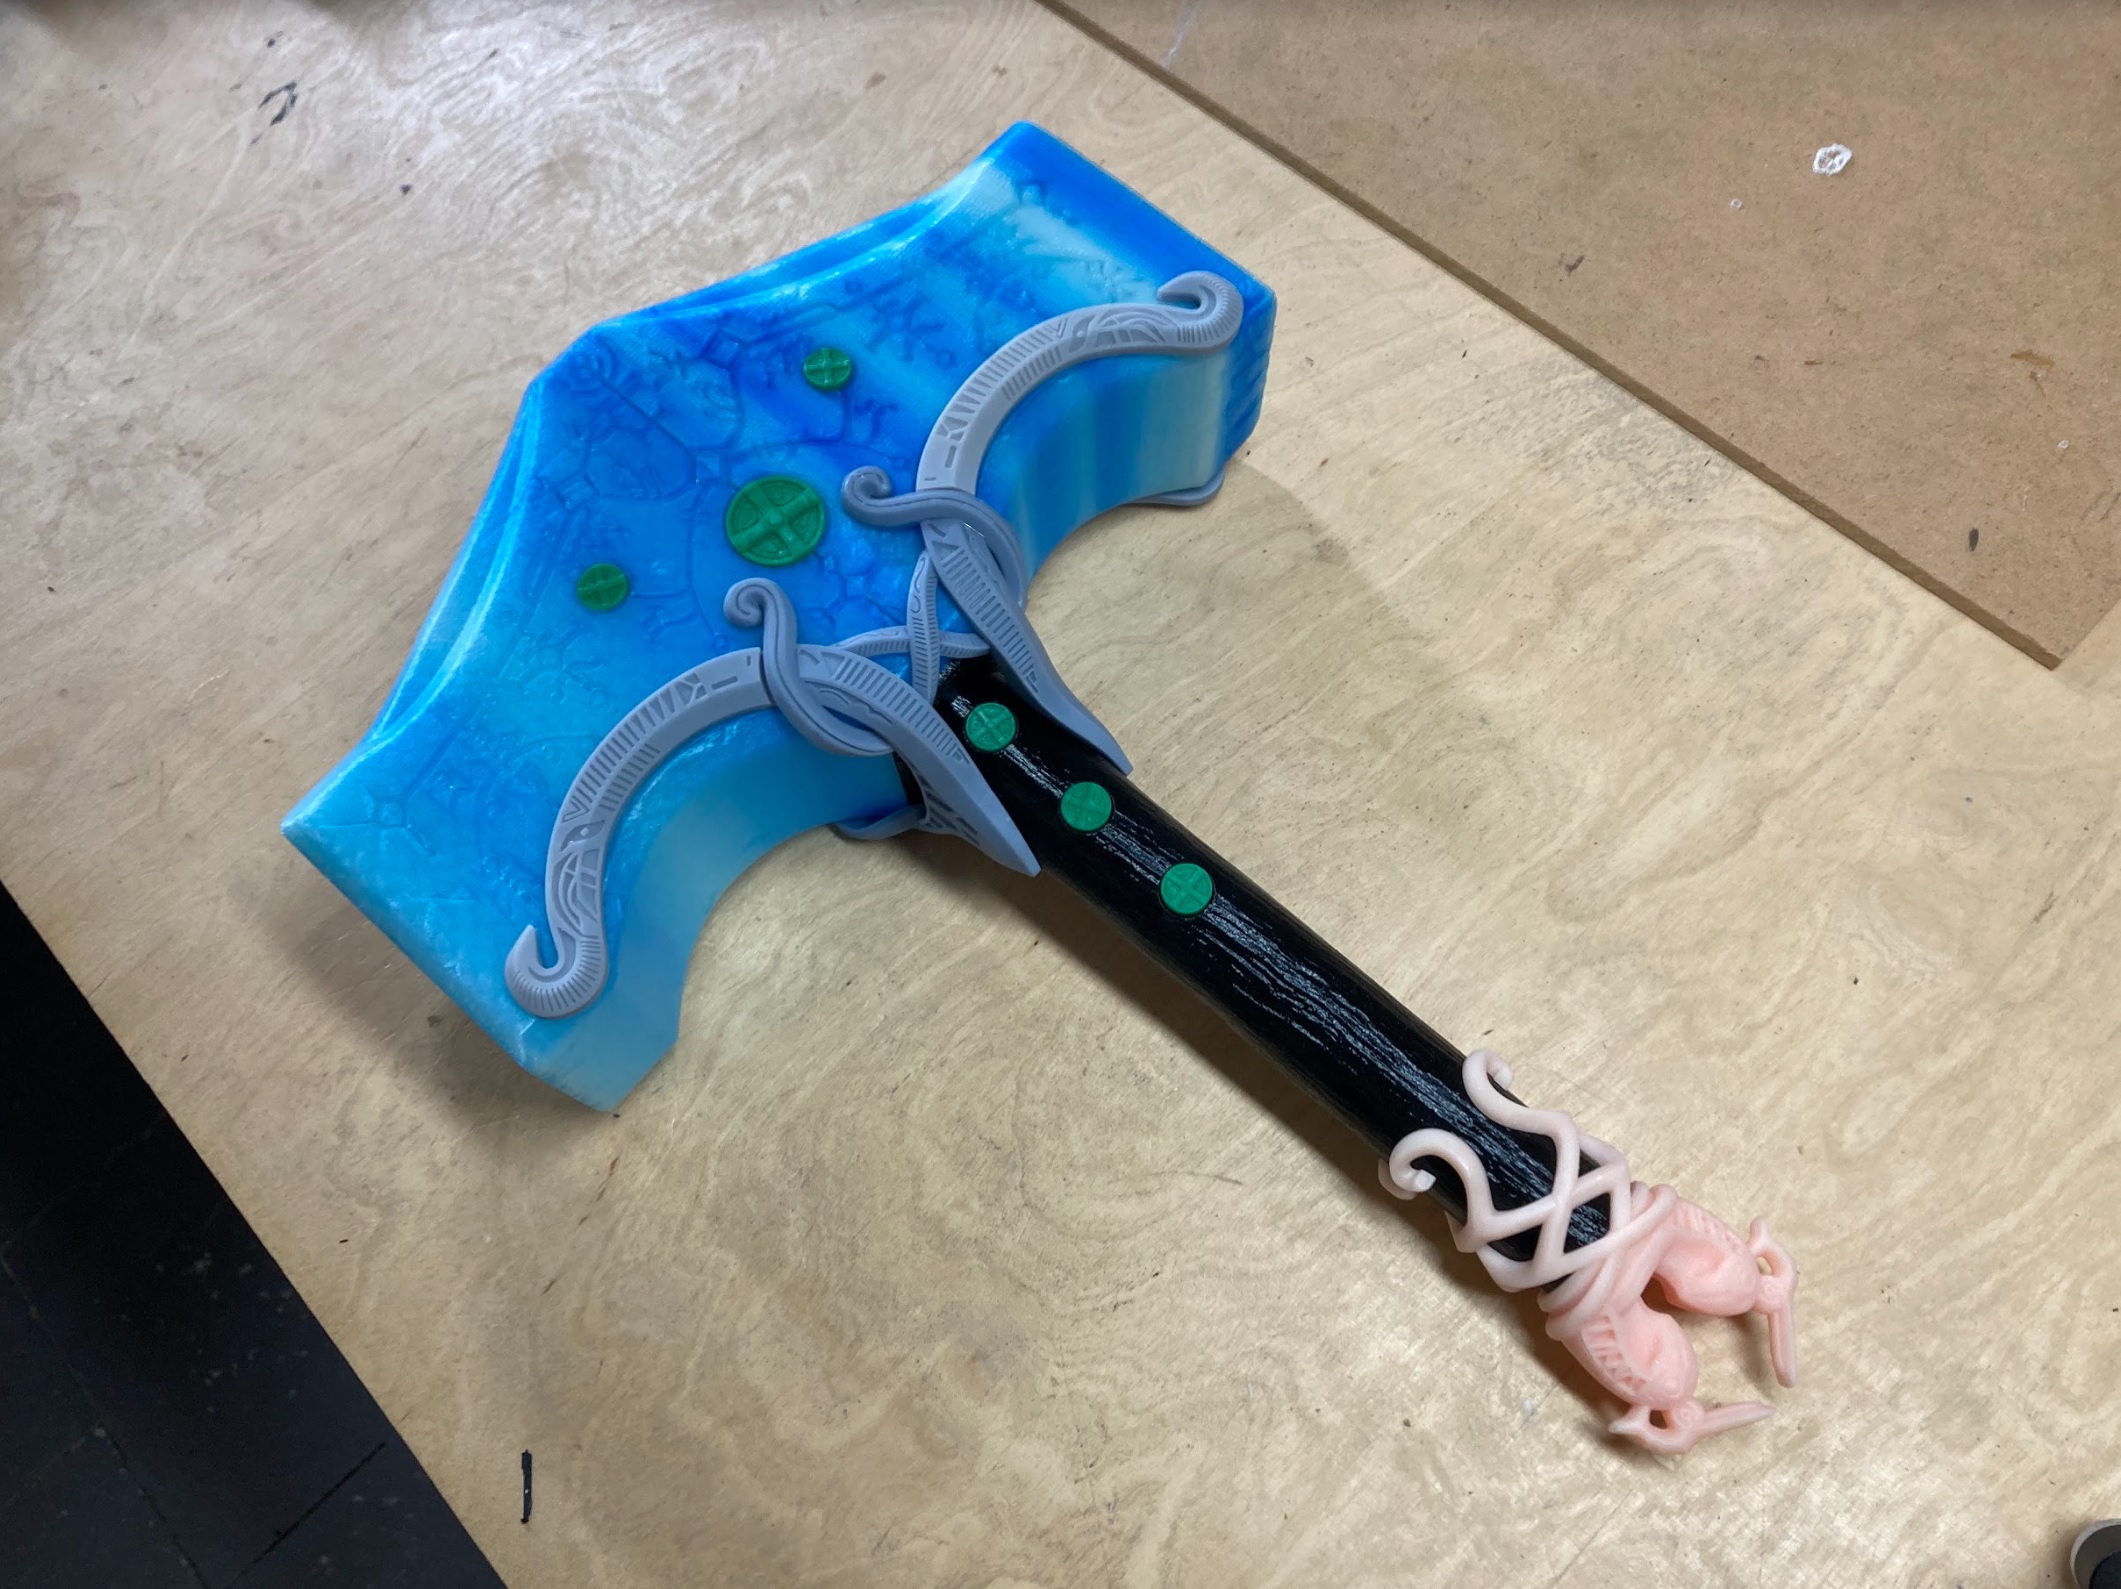
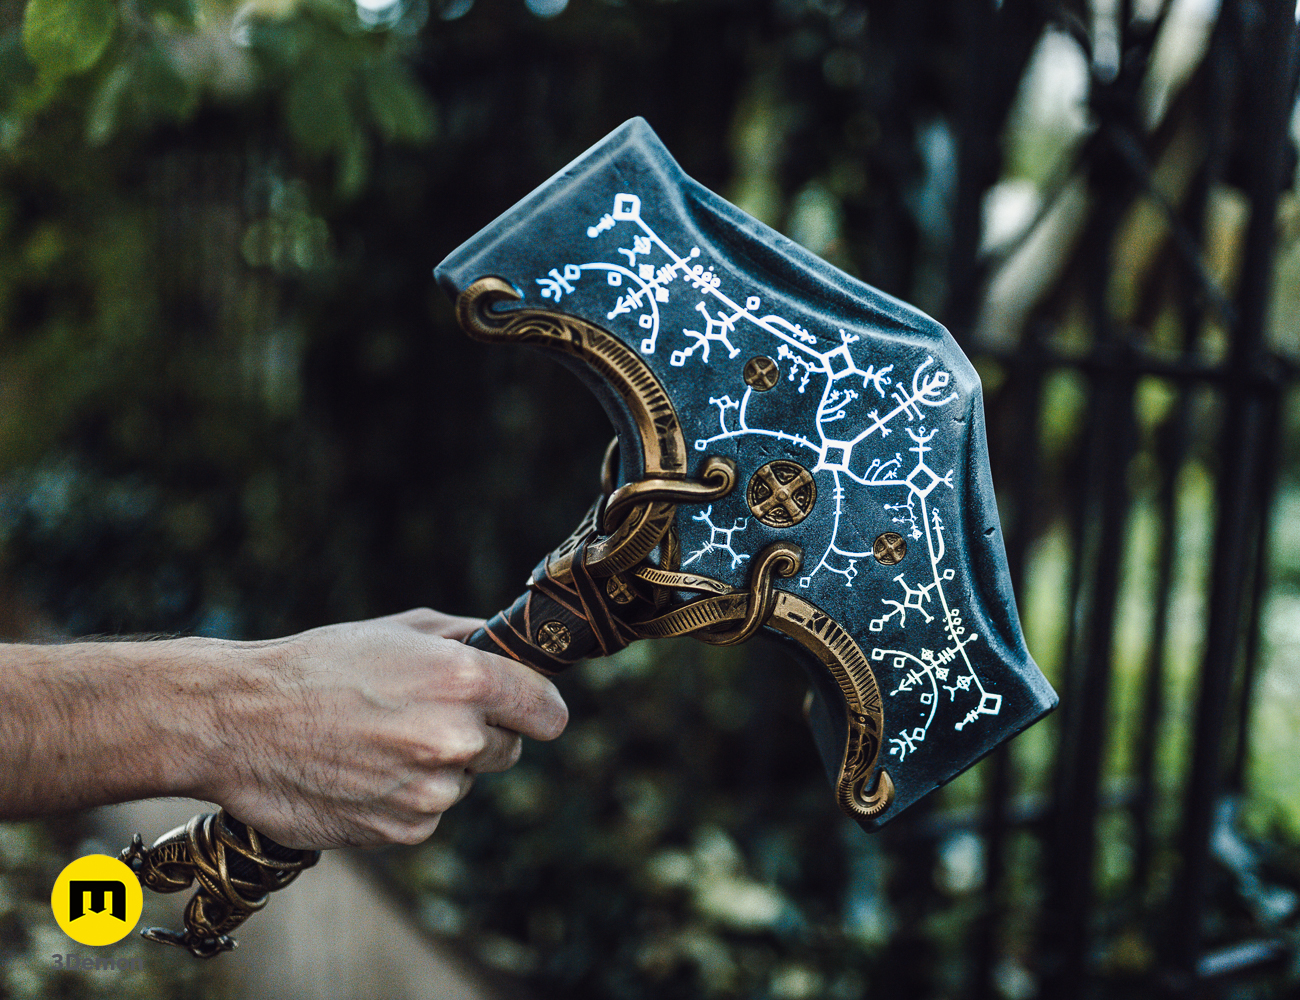
Mjölnir is the powerful hammer wielded by Thor, the Aesir God of Thunder. We decided to create the design for 3D printing and bring it to life – including the glowing runes! This project is based on the God of War Ragnarok videogame design of Mjolnir. Let’s create this prop together!
Supplies
- 3D printer
- 3D model of the Mjolnir – STL files by 3Demon
- filament:
Hammer head – translucent filament ( Such as Crystal Clear “Iceland Blue” PLA by Fillamentum)
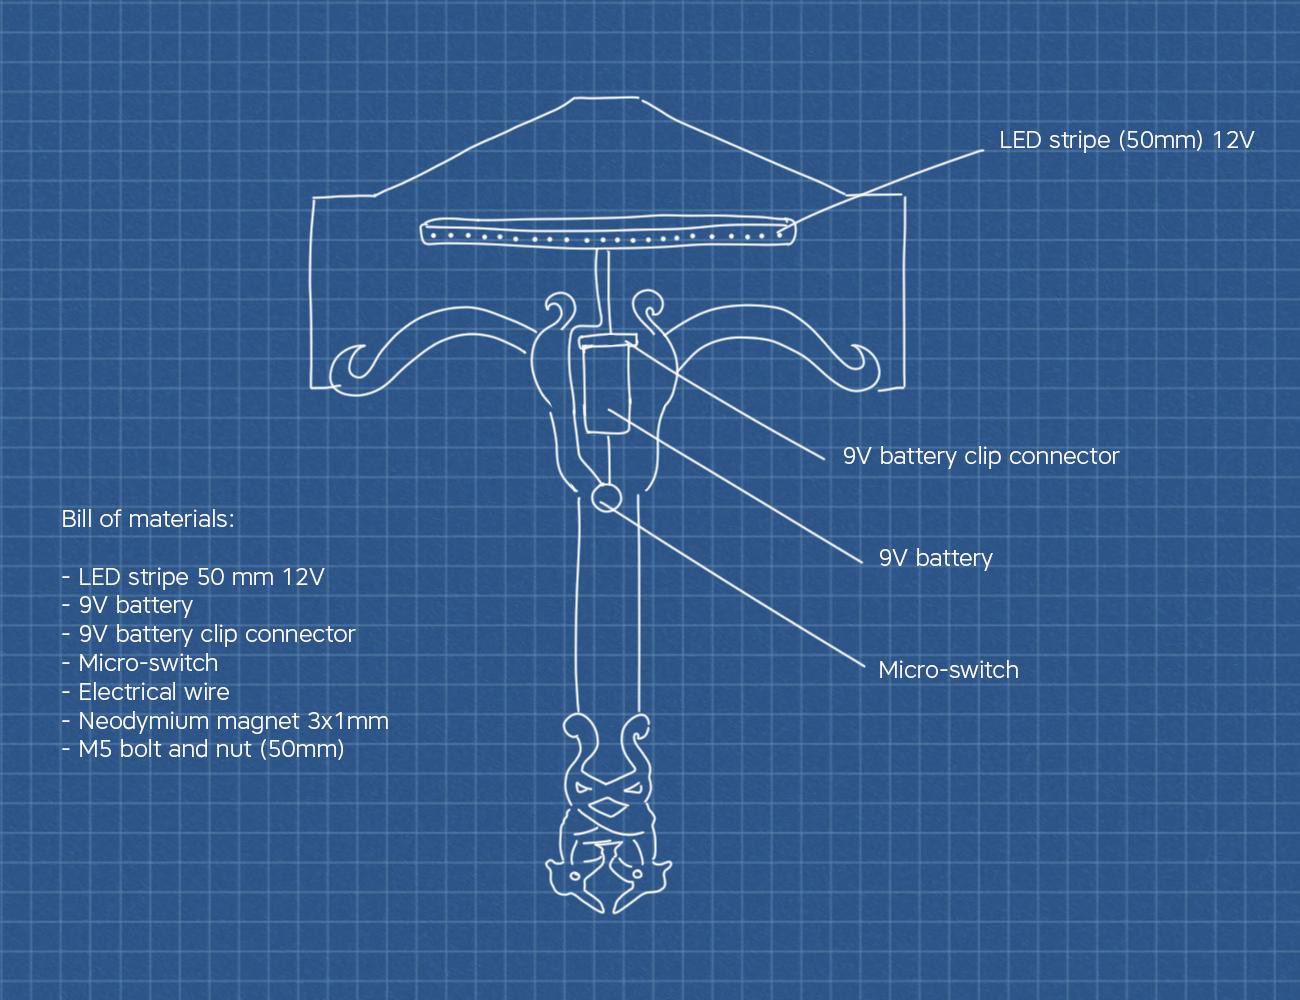
The Rest – Any filament of your choice! - LED strip 50mm 12V
- electrical wire
- microswitch
- battery, battery clip connector 9V
- neodymium magnet 3x1mm
- soldering iron
- superglue
- Hot glue gun
- M5 screw and bolt
- Spray filler and putty
- Sandpaper
- Acrylic paints, brushes
Step 1: Watch the Video
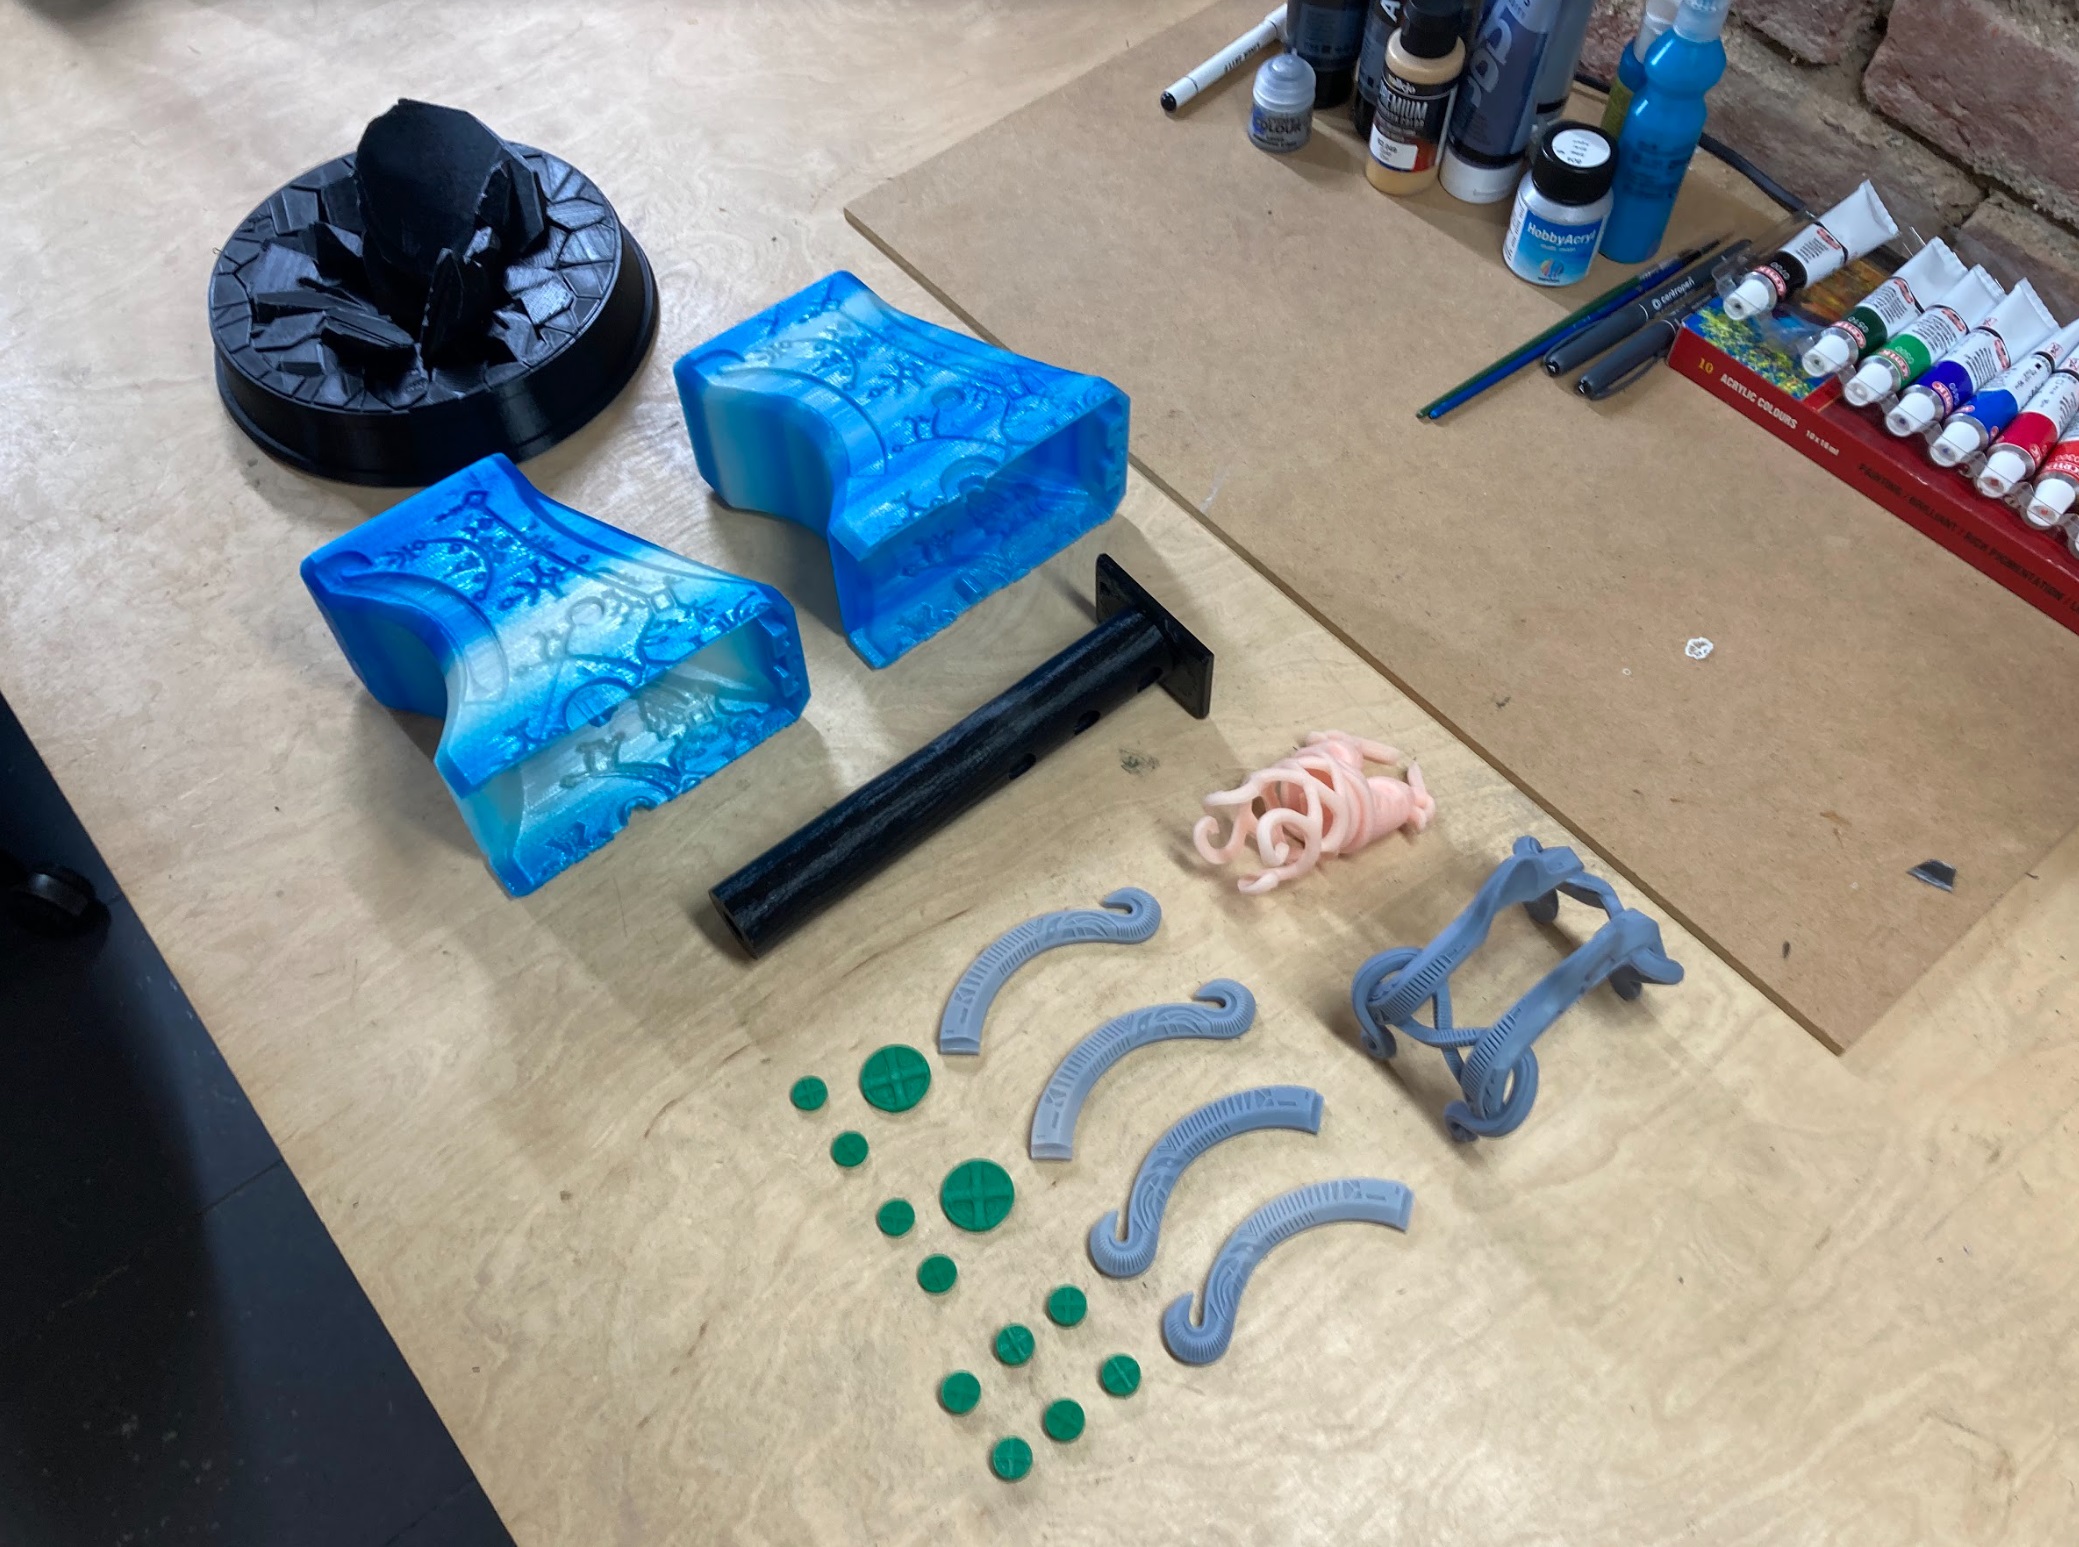
We printed the larger parts on a Prusa MK3 printer. The hammerhead is cut into 2 halves. We used our Anycubic SLA printer for the smaller parts, sanded, primed, and painted all of them. Then assembled and added a LED stripe, battery, and switch. Watch our video to understand the process a bit better!
Step 2: 3D Printing
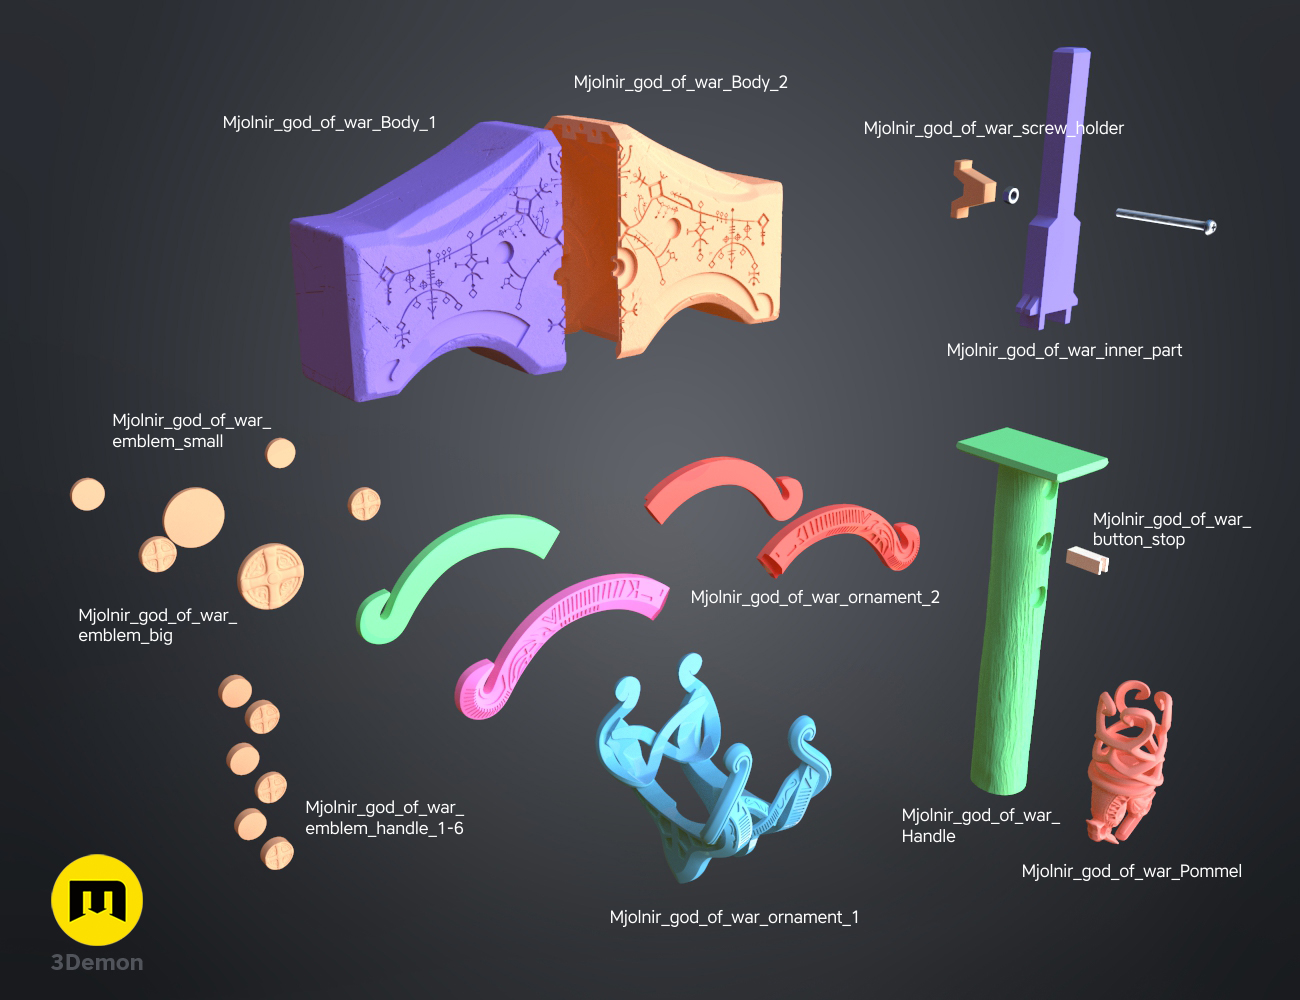
The download contains pieces of the models ready to be 3D printed on a 200 mm print bed and an OBJ file for viewing. All cut parts are placed on the print bed.
Print the hammerhead (2 parts), the “wooden” handle, and the “Inner_part.stl” on your FDM printer.
- Layer height 0.2 mm
- Infill 15%
- Supports 45°
The hammerhead has to be printed using a translucent filament. Such as this one.
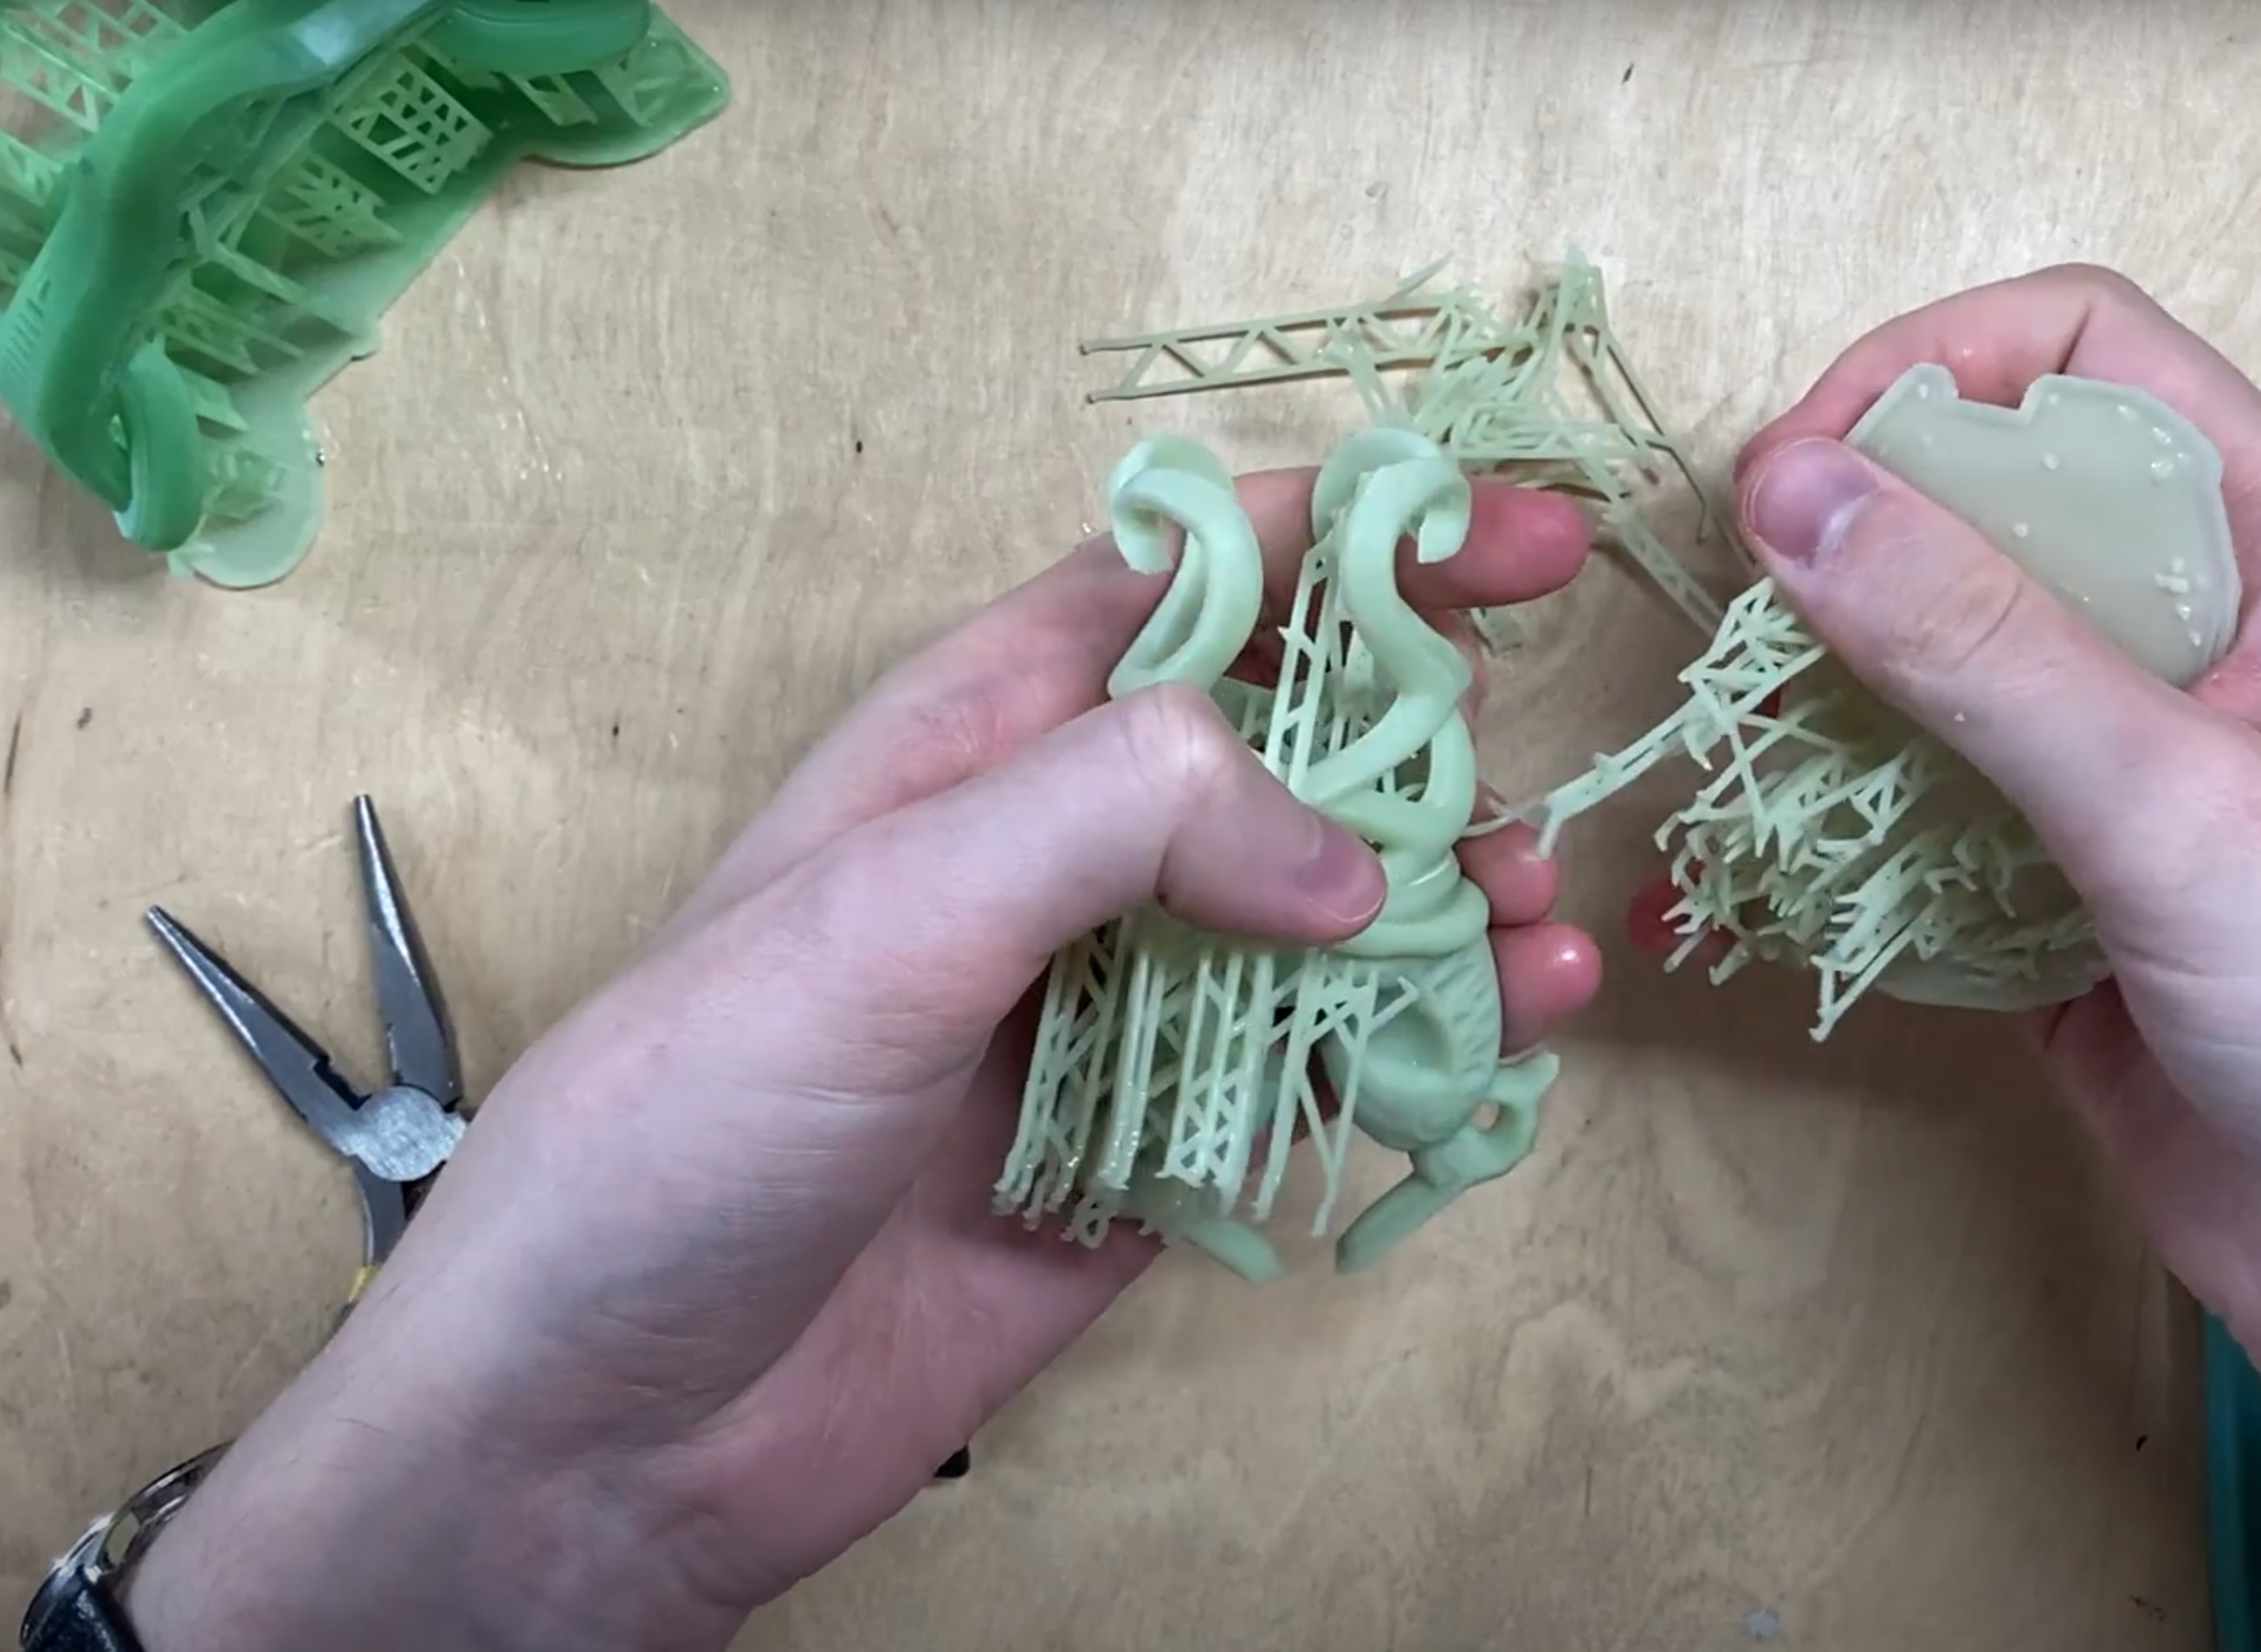
The rest will look the best when printed on an SLA printer. But no worries, it can be printed on FDM as well. Make sure to set the layer height to 0.1 mm for more details.
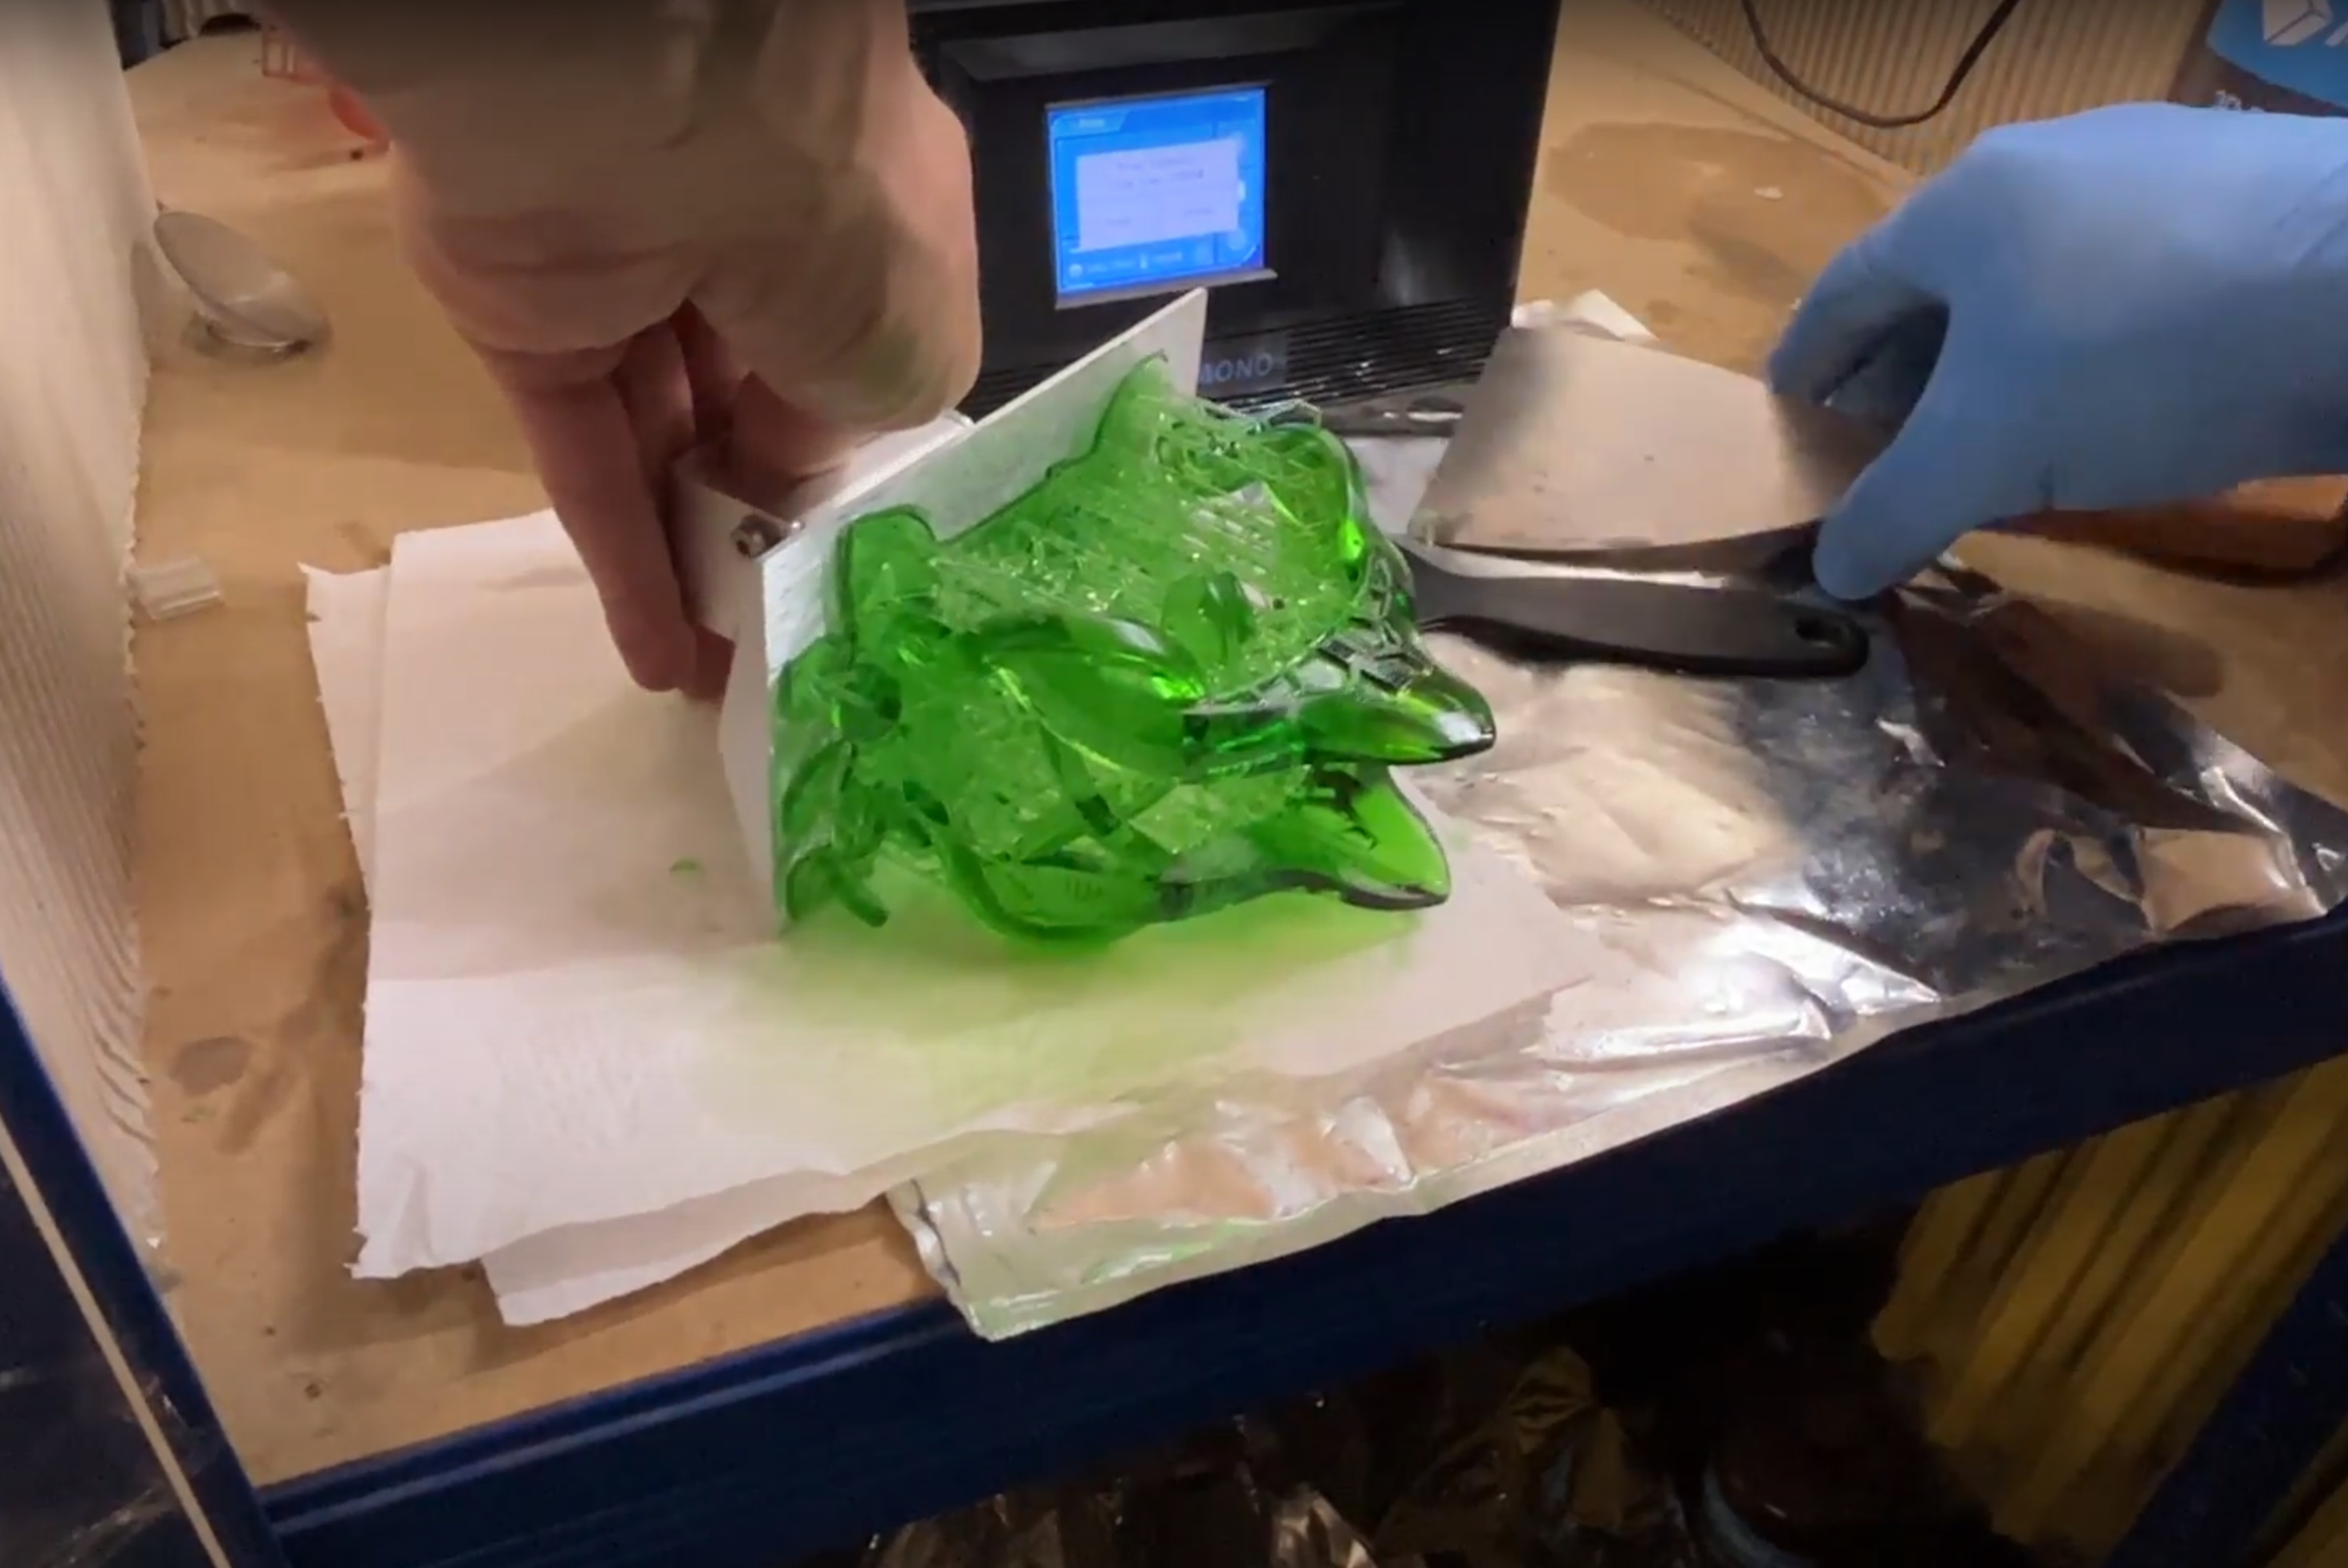
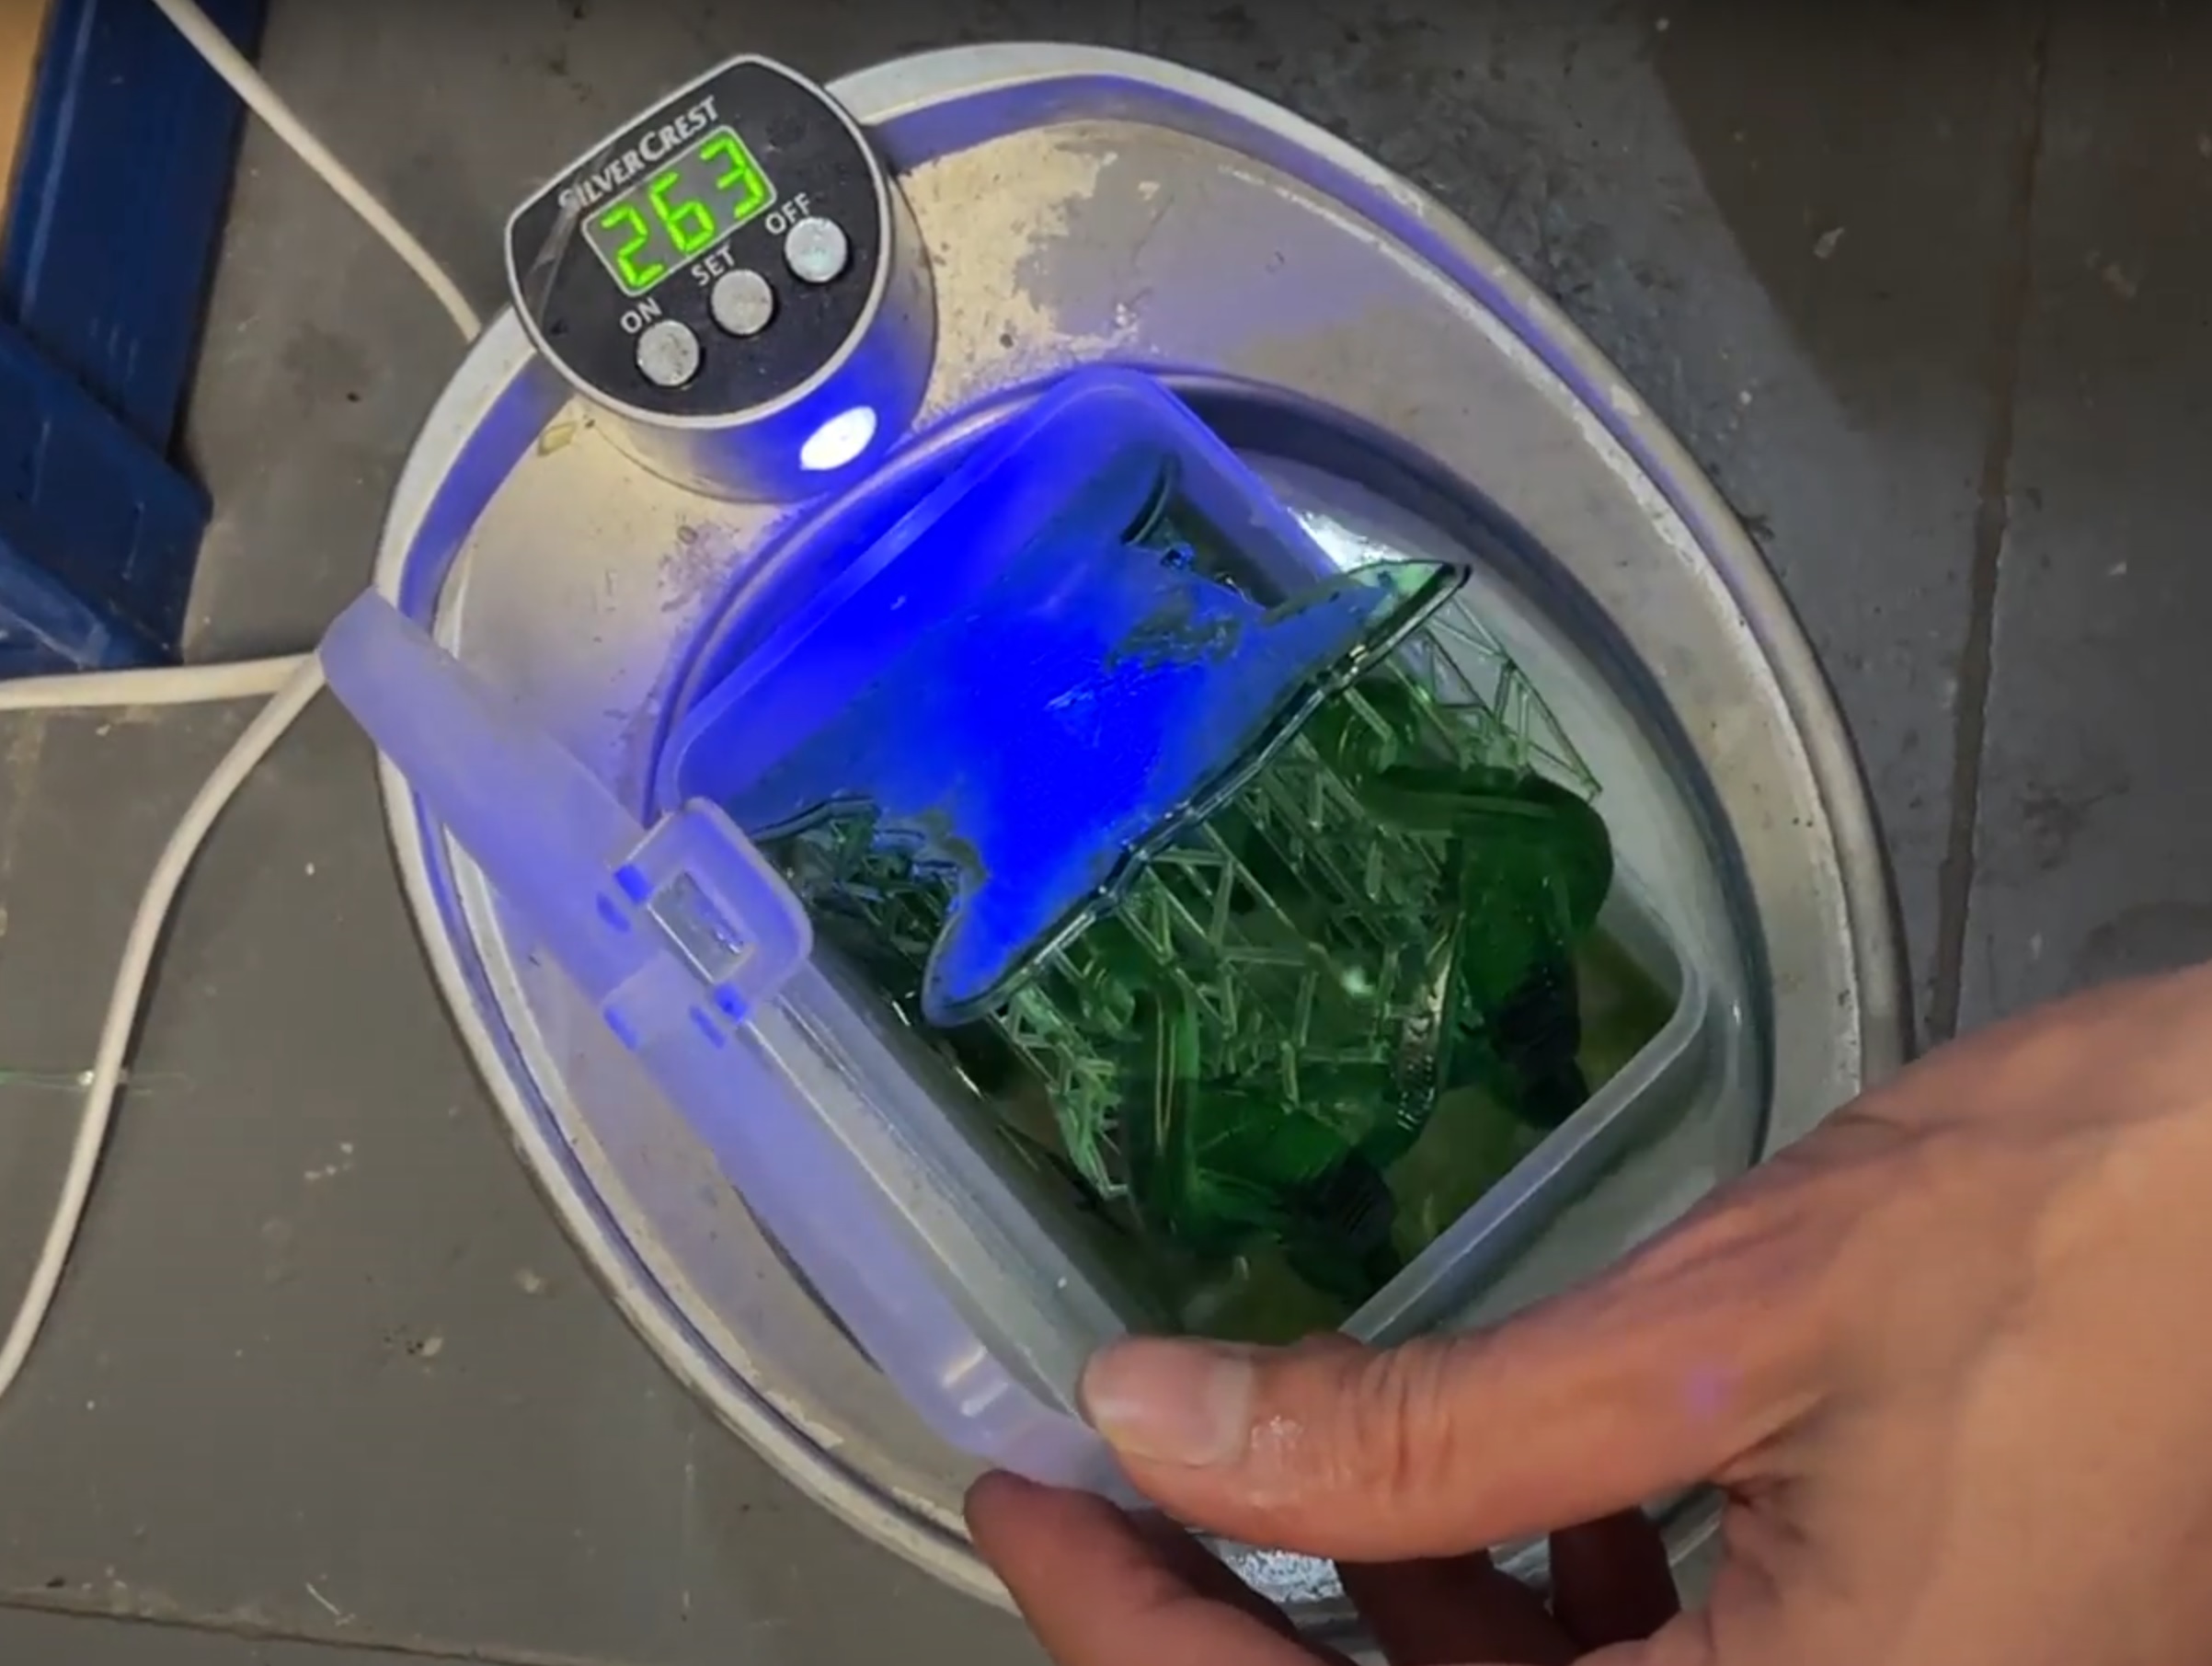
Clean the pieces off the supports, cure the resin, give it one round of rough sanding, and make sure the surfaces are clean.

Step 3: Smoothing the Surface
First glue the 2 halves of the hammer head together and hide the seam using putty.
Second check if all your pieces fit. Resin prints may change their shape a bit during the printing process, so don’t panic if they seem not to fit perfectly! It’s quite normal and there’s no error in the files. Simply sand down the edges a bit until it slides onto its place with ease.
Third – once you’re sure all the pieces fit in place, coat each of them in a thick coat of spray filler. Once it’s dry, sand it down using a hand sander, or sandpaper. SLA prints won’t need much sanding, the FDM printed hammerhead on the other hand may need further work – about 3 layers (each sanded down.)
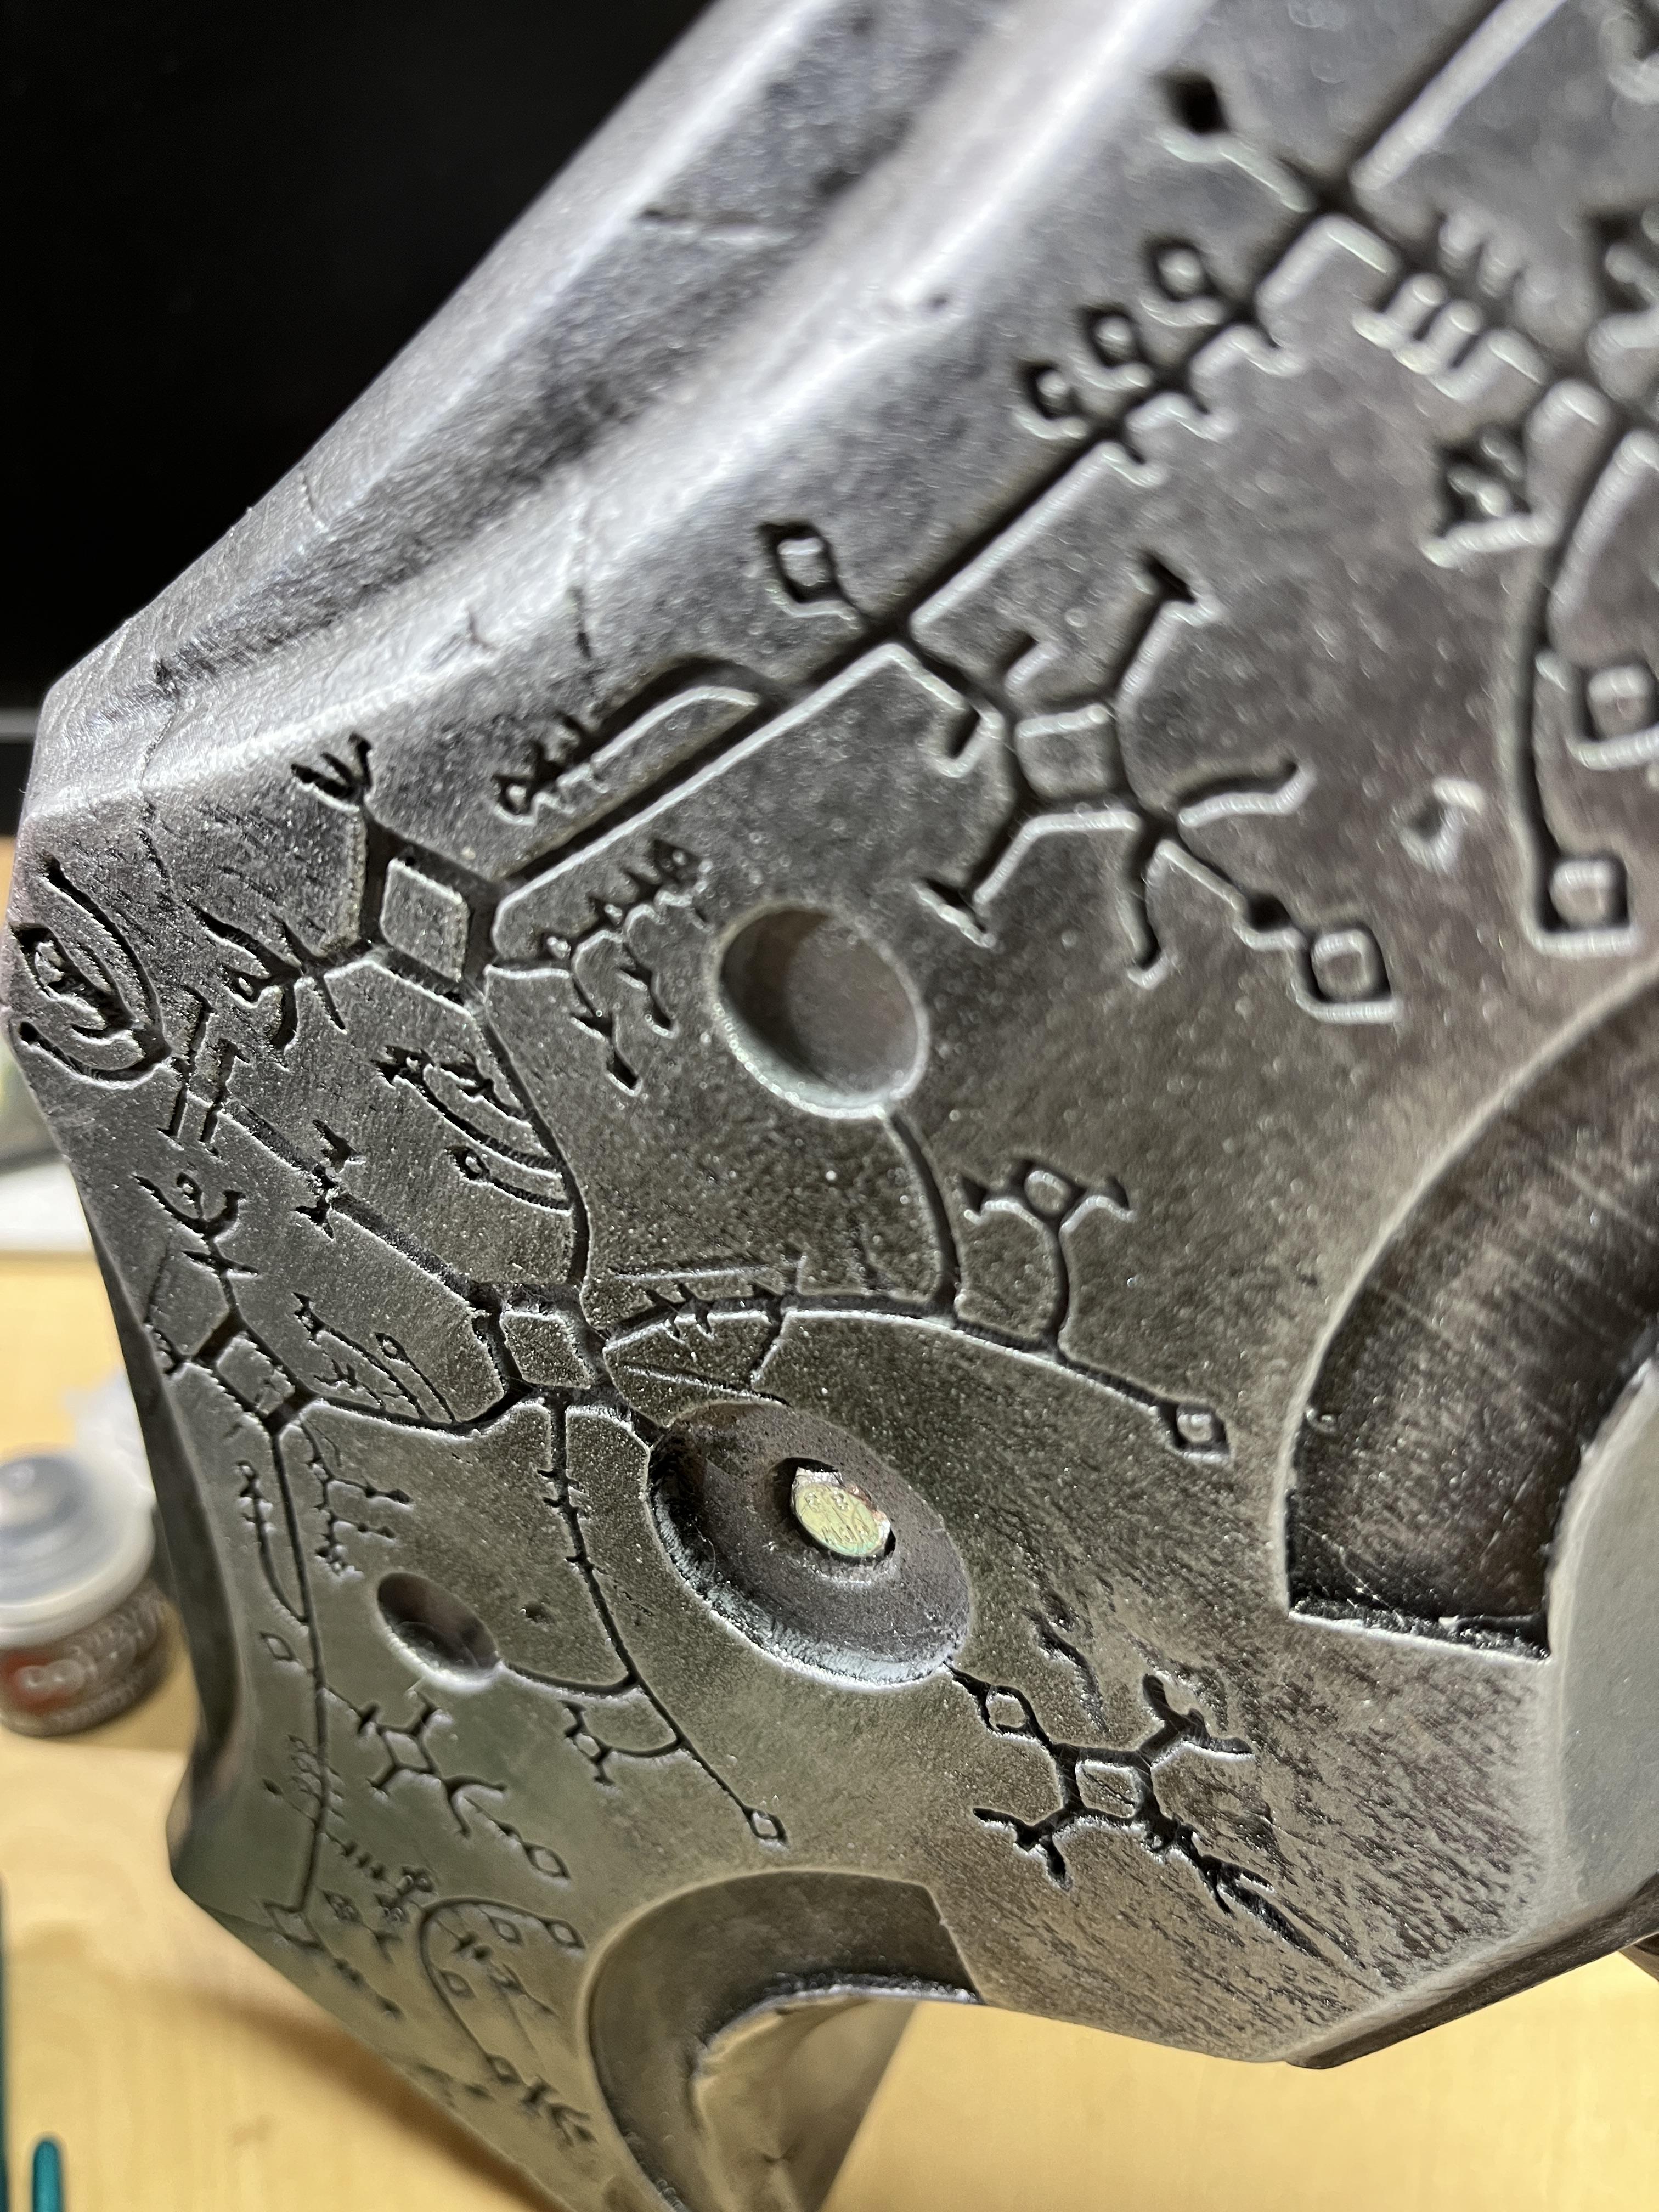
Once you’re happy with the surface, coat it in black primer/base color. Be careful not to fill the runes with spray paint!

Step 4: Painting the Hammer
A bit about the painting:
I almost always mix my own shades of acrylics. I use a few basic techniques when it comes to painting.
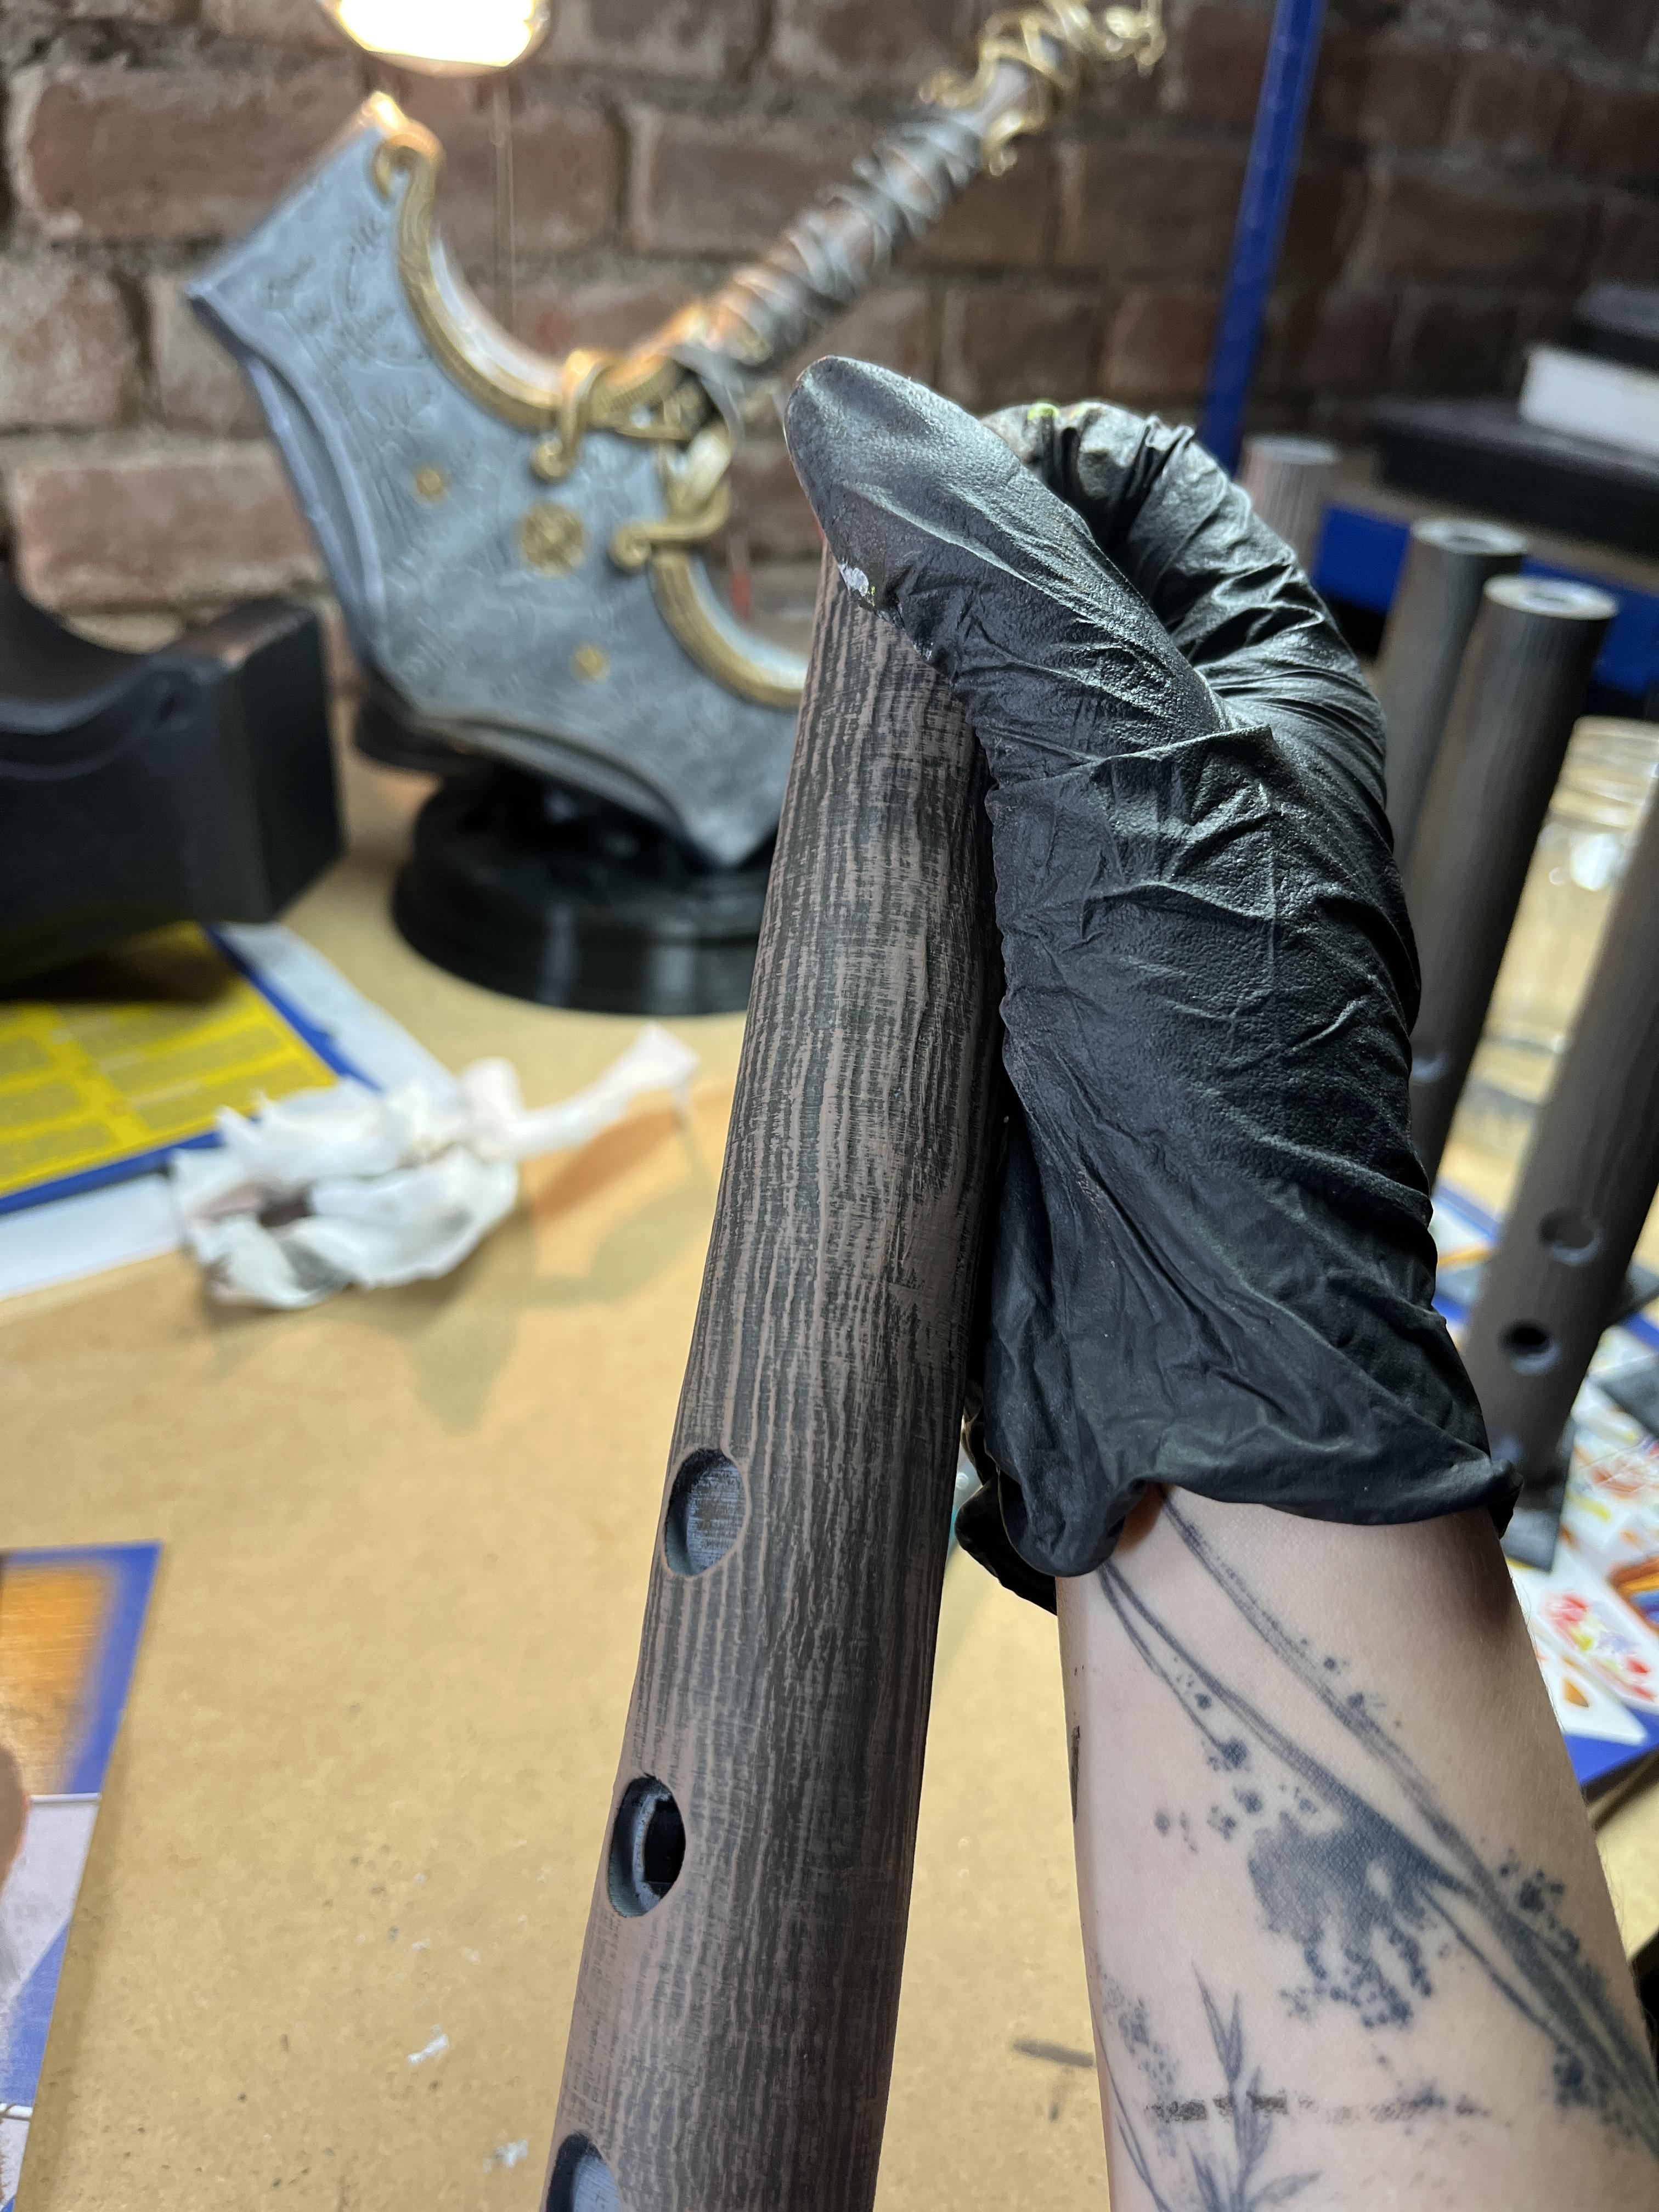
- The wooden handle: Matt dark brown, then dry brushed with lighter beige
- The hammerhead: Applied matt black all over the hammerhead using a sponge (this way the runes remained clear) then dry brushed with metallic silver.
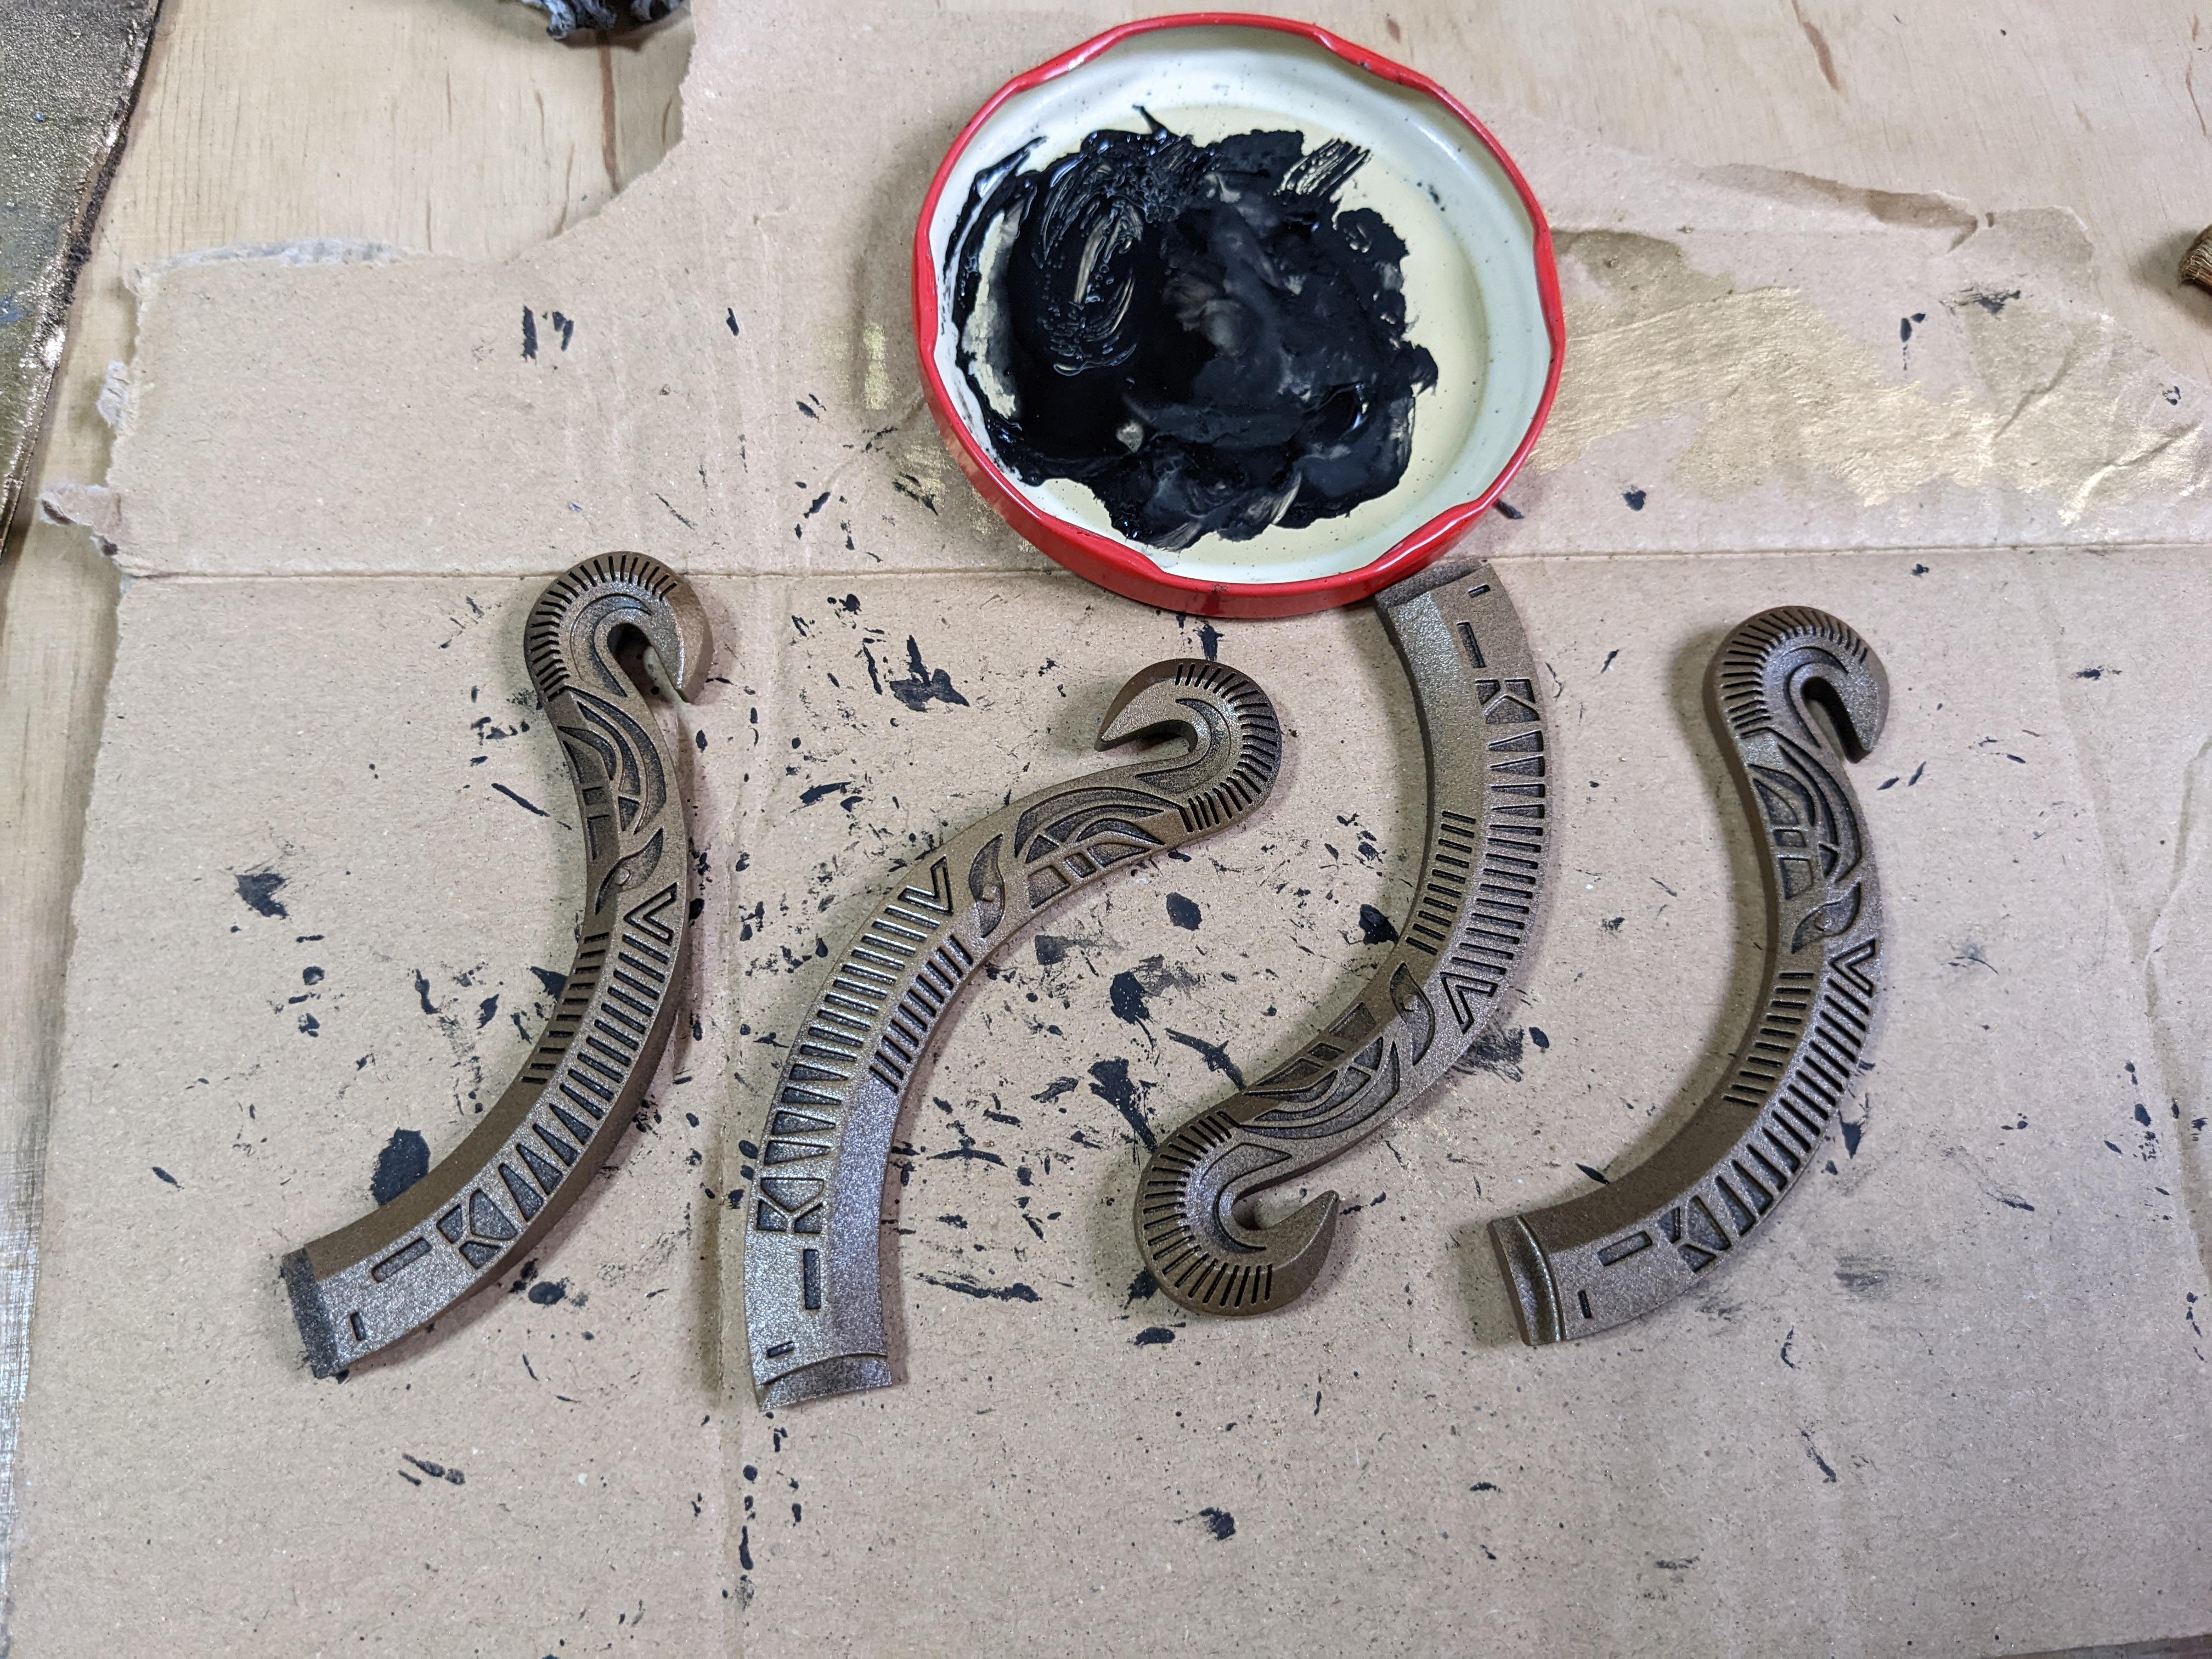
- Golden ornaments: Spray painted in gold, then coated in diluted black (black-wash technique) and used metallic powder for the highlights on the edges.
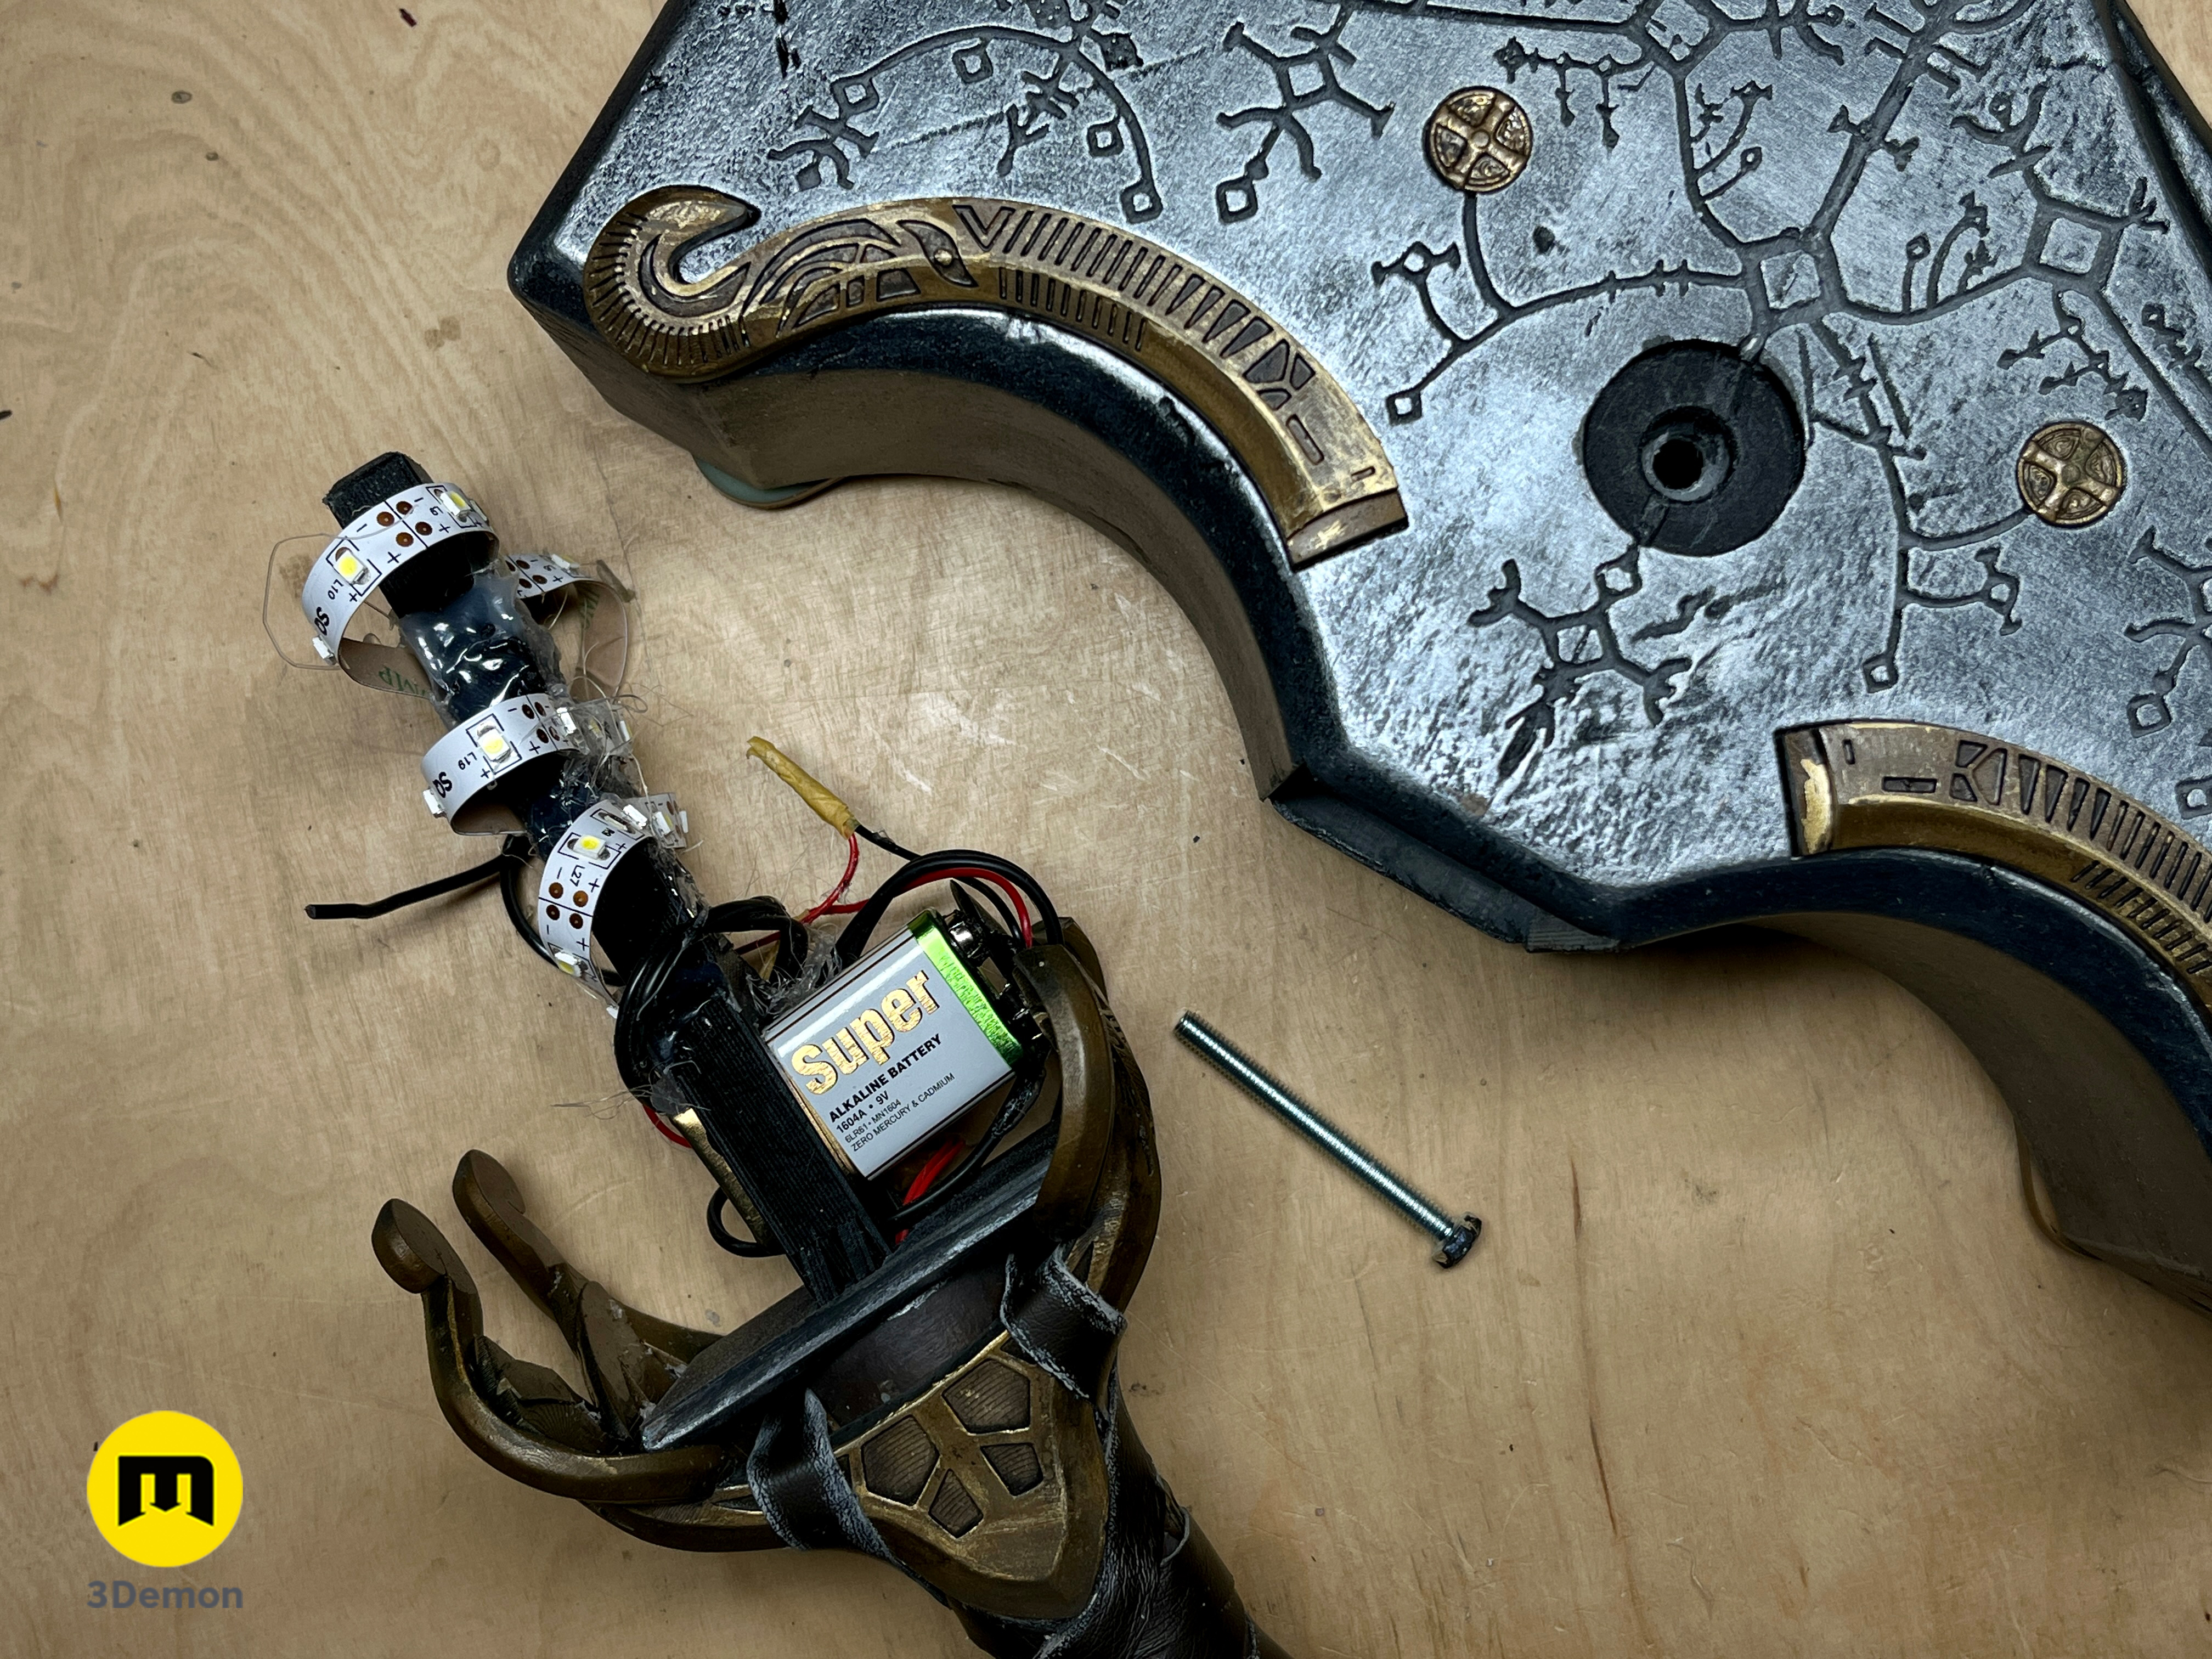
Step 5: LED Strip, Battery and Microswitch
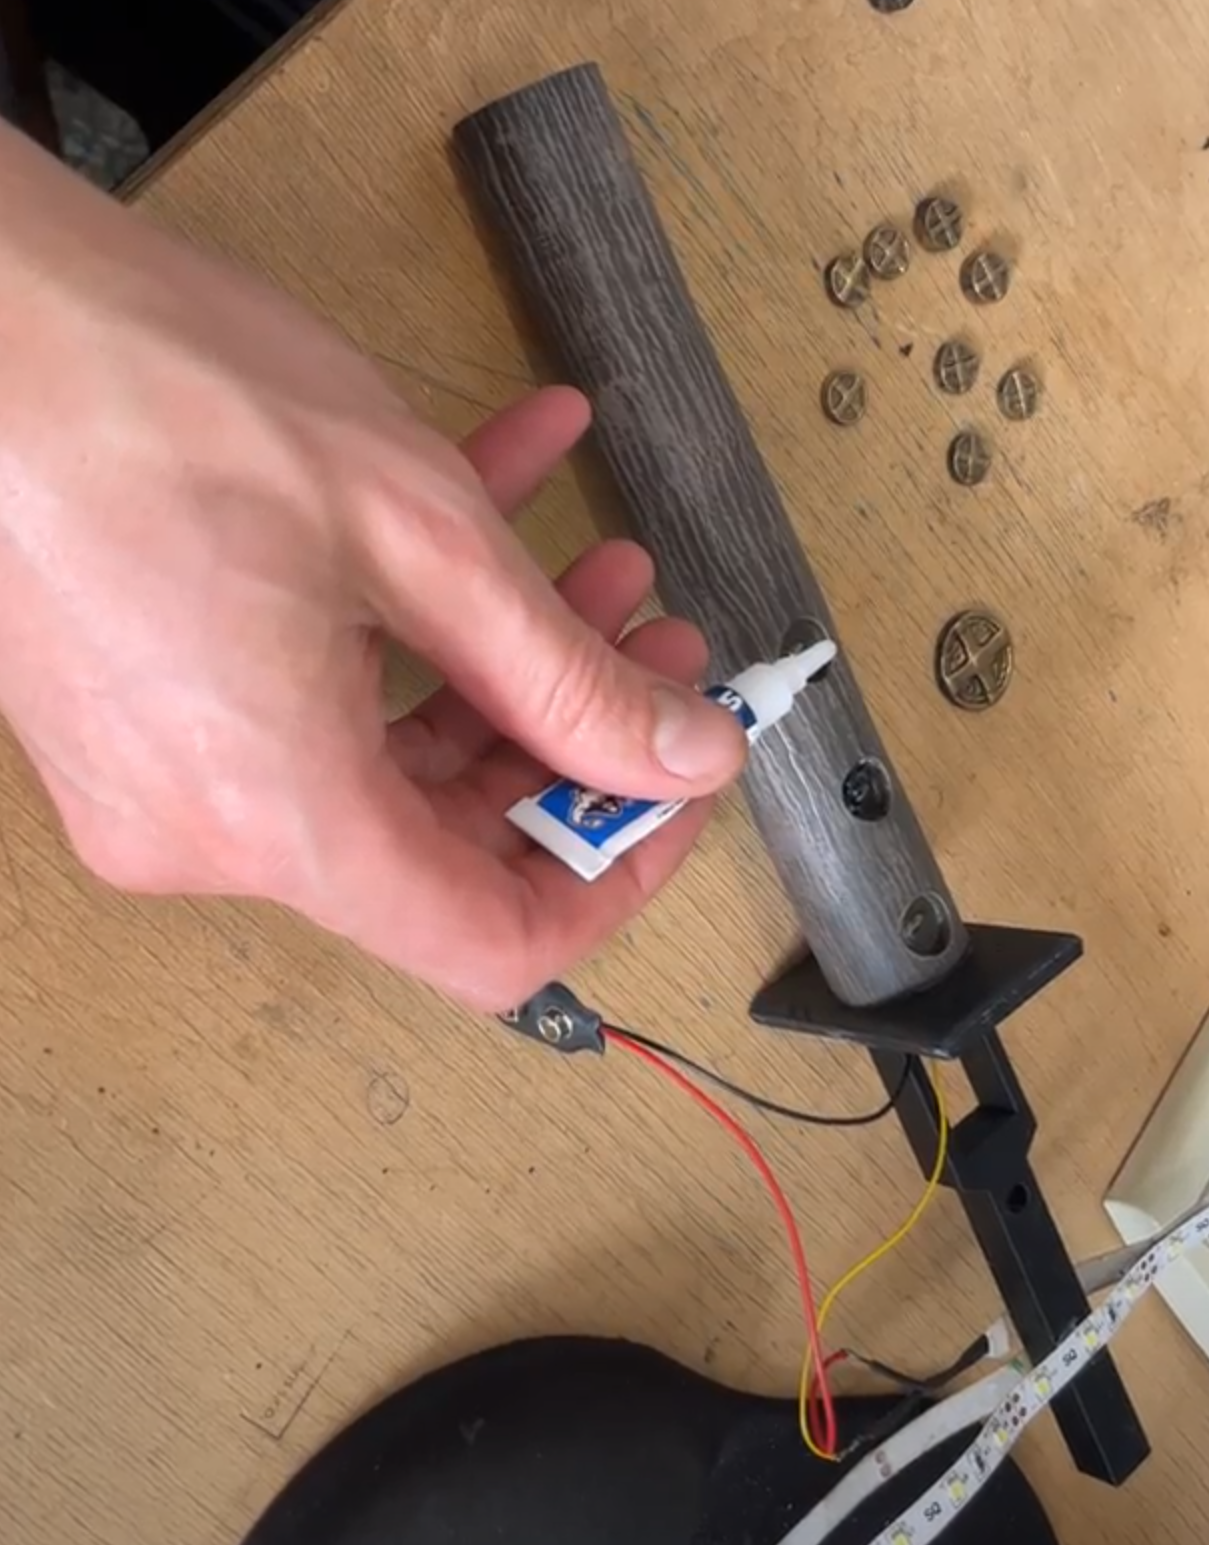
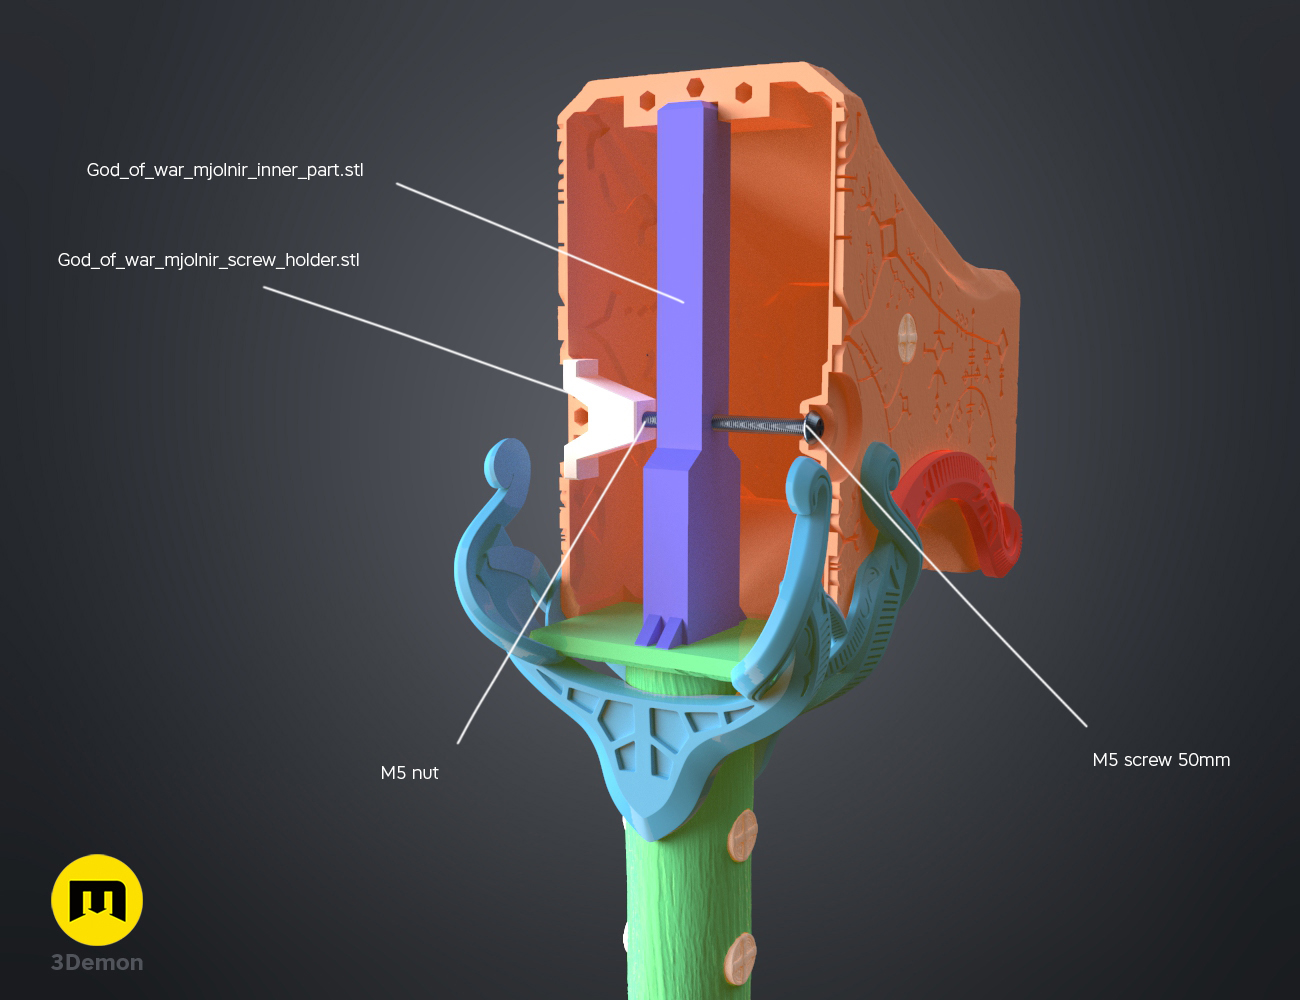
Firstly I made sure my electric circuit works. Then I glued the LED strip using a hot glue gun in the “inner_part.stl”. I used M5 screw and bolt to secure the inner part in place (while being able to take it out for battery change.)
One of the “coins” serves as your button. Simply glue it on the top of the microswitch which is hidden in the handle.


Step 6: Final Assembly of the Mjolnir hammer from God of War
Glue the rest of the details in place using superglue.
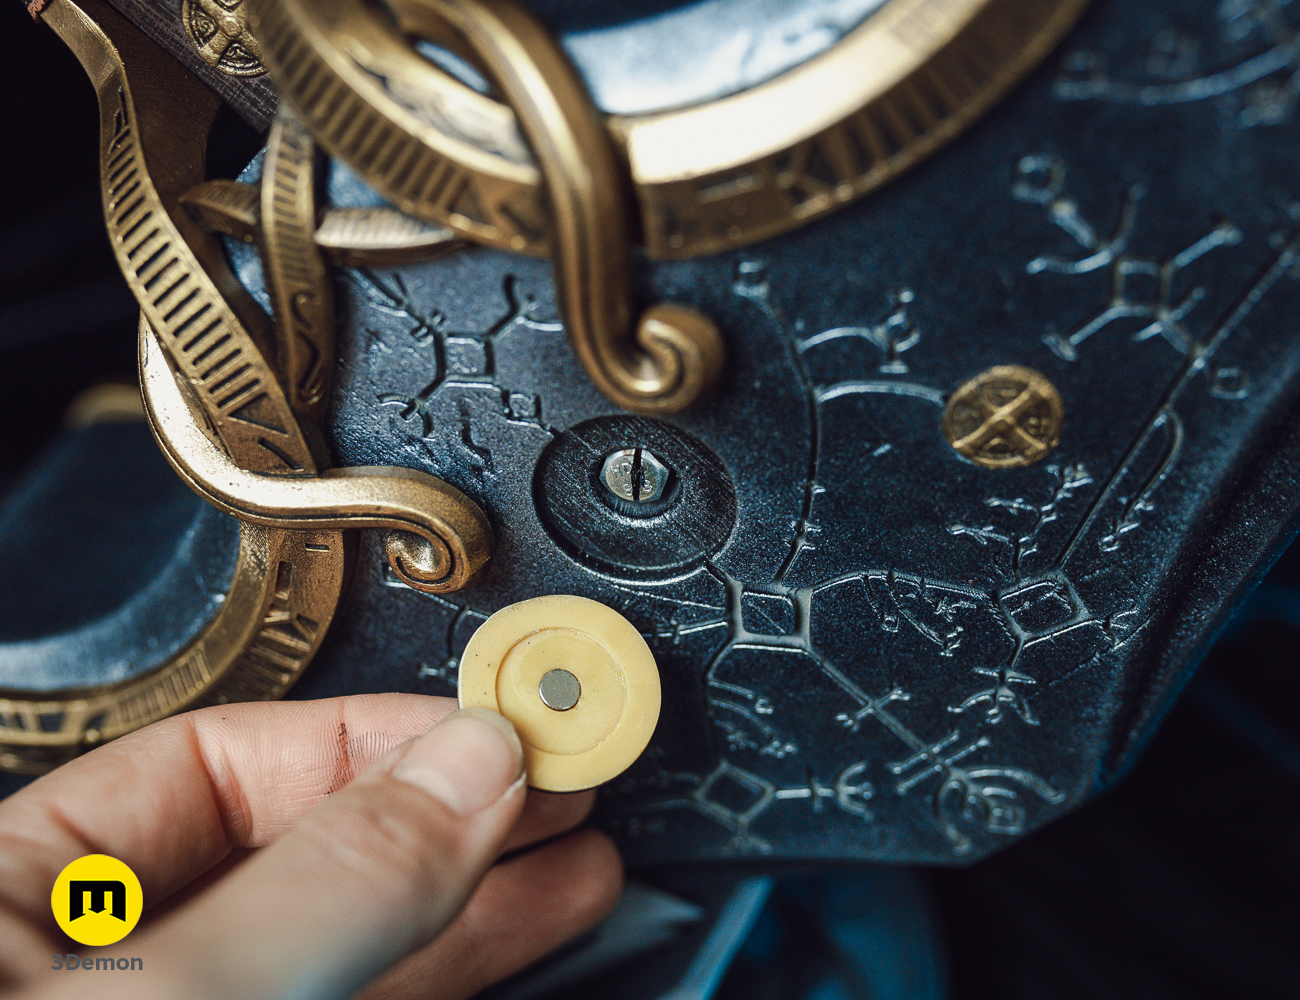
One of the larger “coins” features a 3x1mm magnet slot. Glue in your magnet and place it over the M5 screw to hide it.
Additionally, Cut a 1cm wide, 50cm long leather strip and tie it around the handle. I used fake leather ad painted the edges lighter brown using acrylics for a more realistic effect.
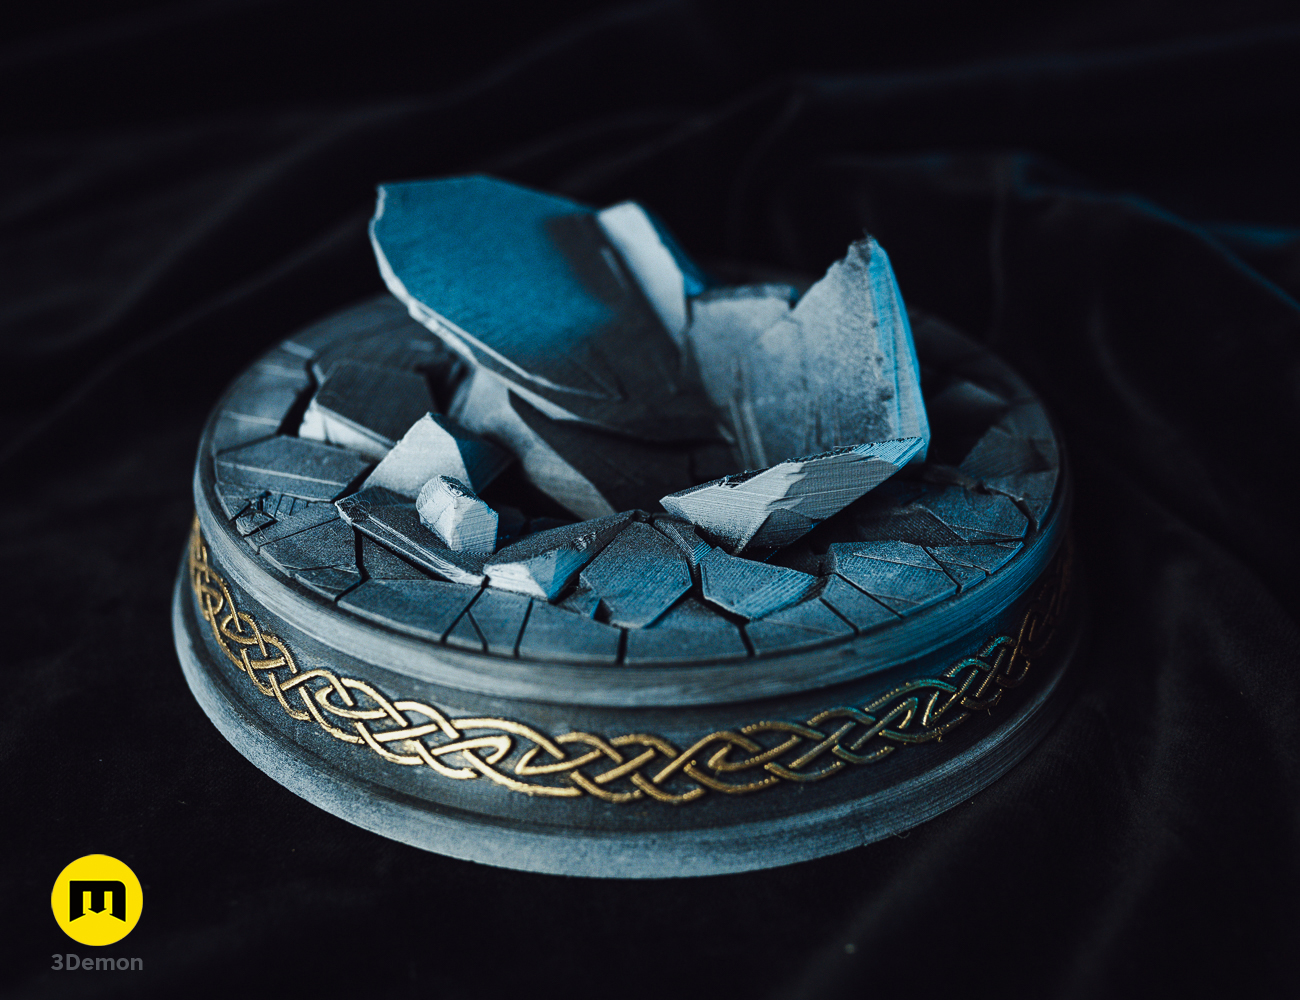
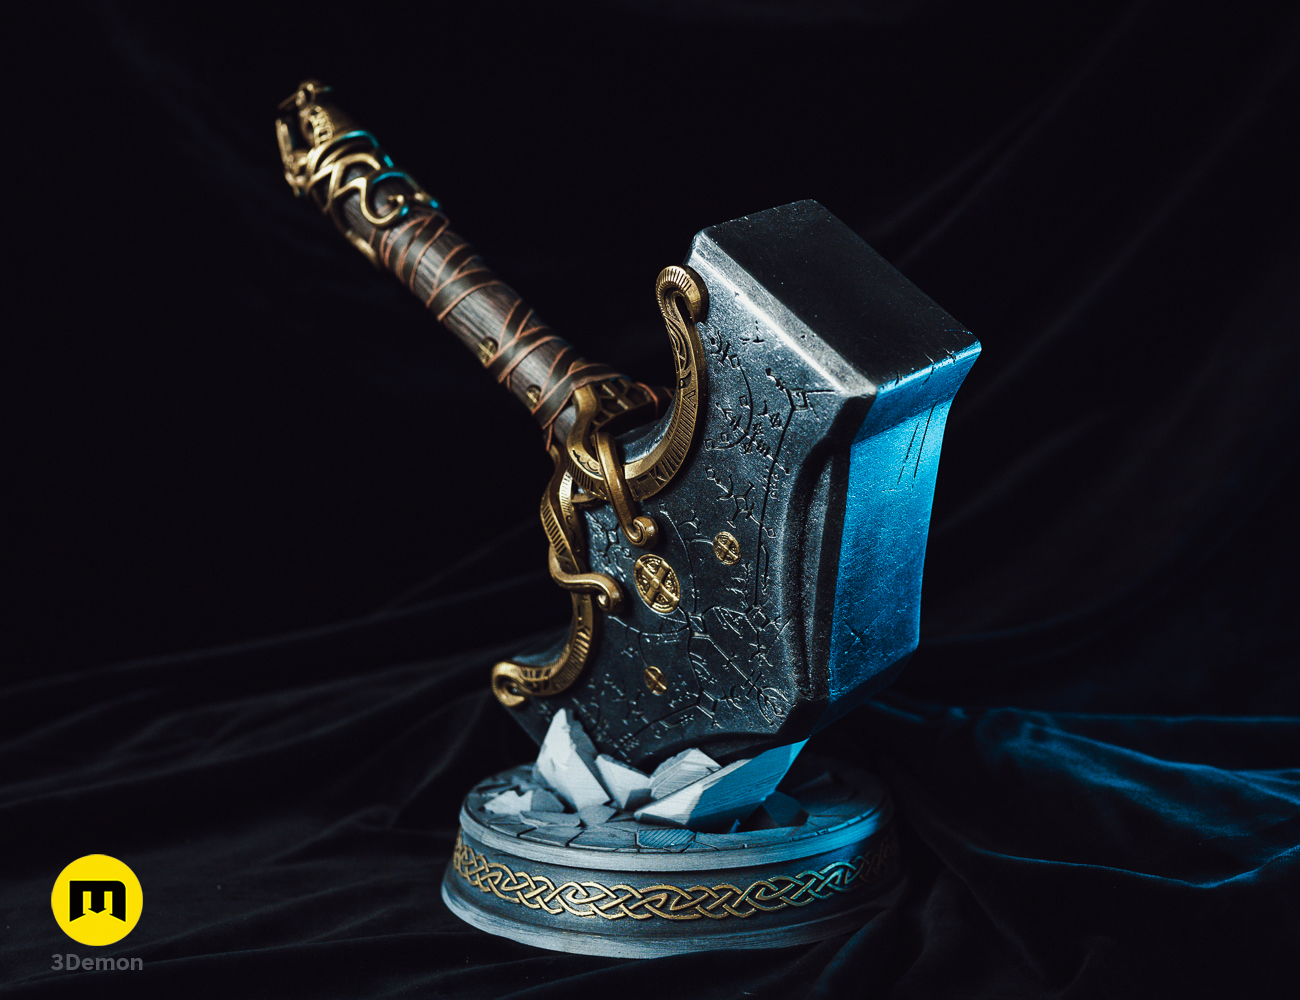
In the meantime, you can also print the display stand (supportless print) or the chains for attachment to a belt.
In conclusion, this was a very creative project that involved a lot af SLA printing and variuos painting techniques to chieve a realistic look of this magical and poweful hammer from God of War, Ragnarok videogame.
Leave a Comment