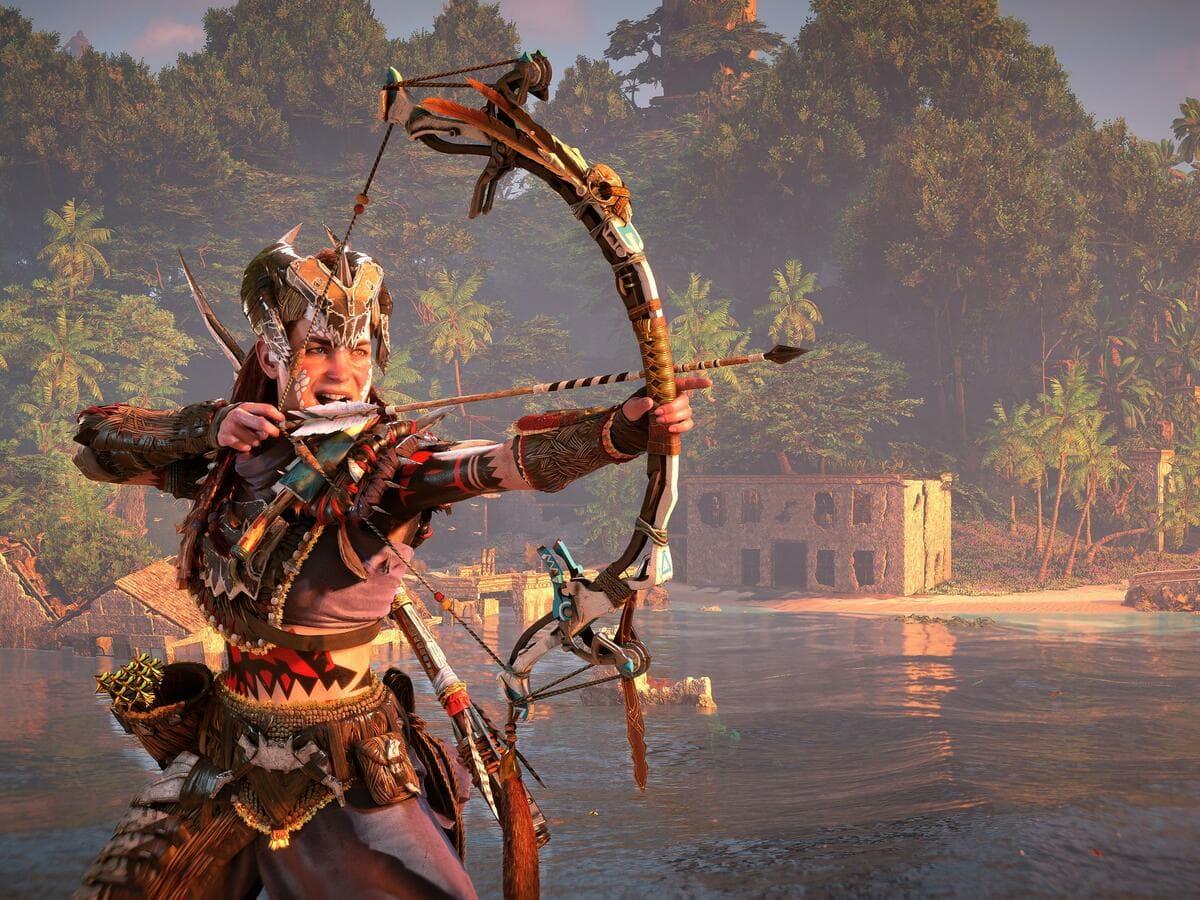
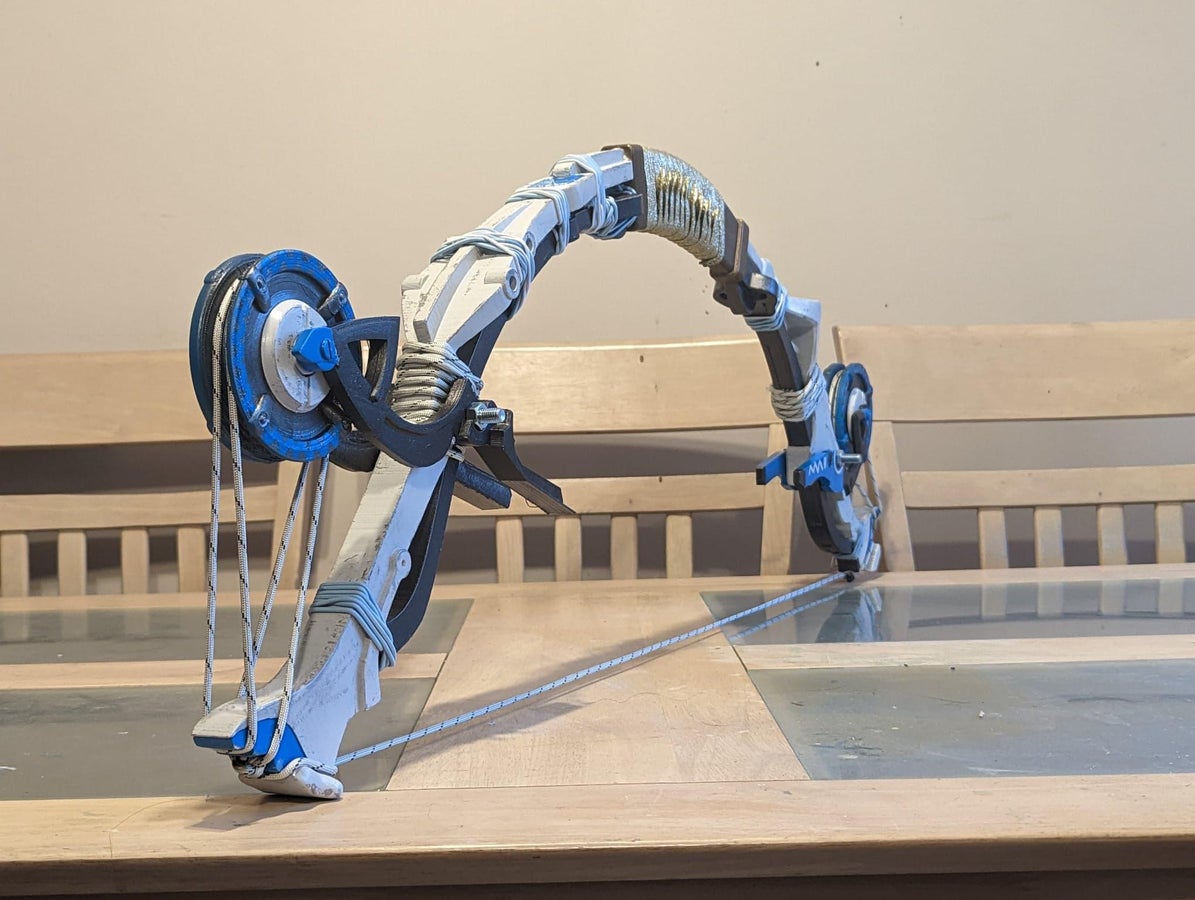
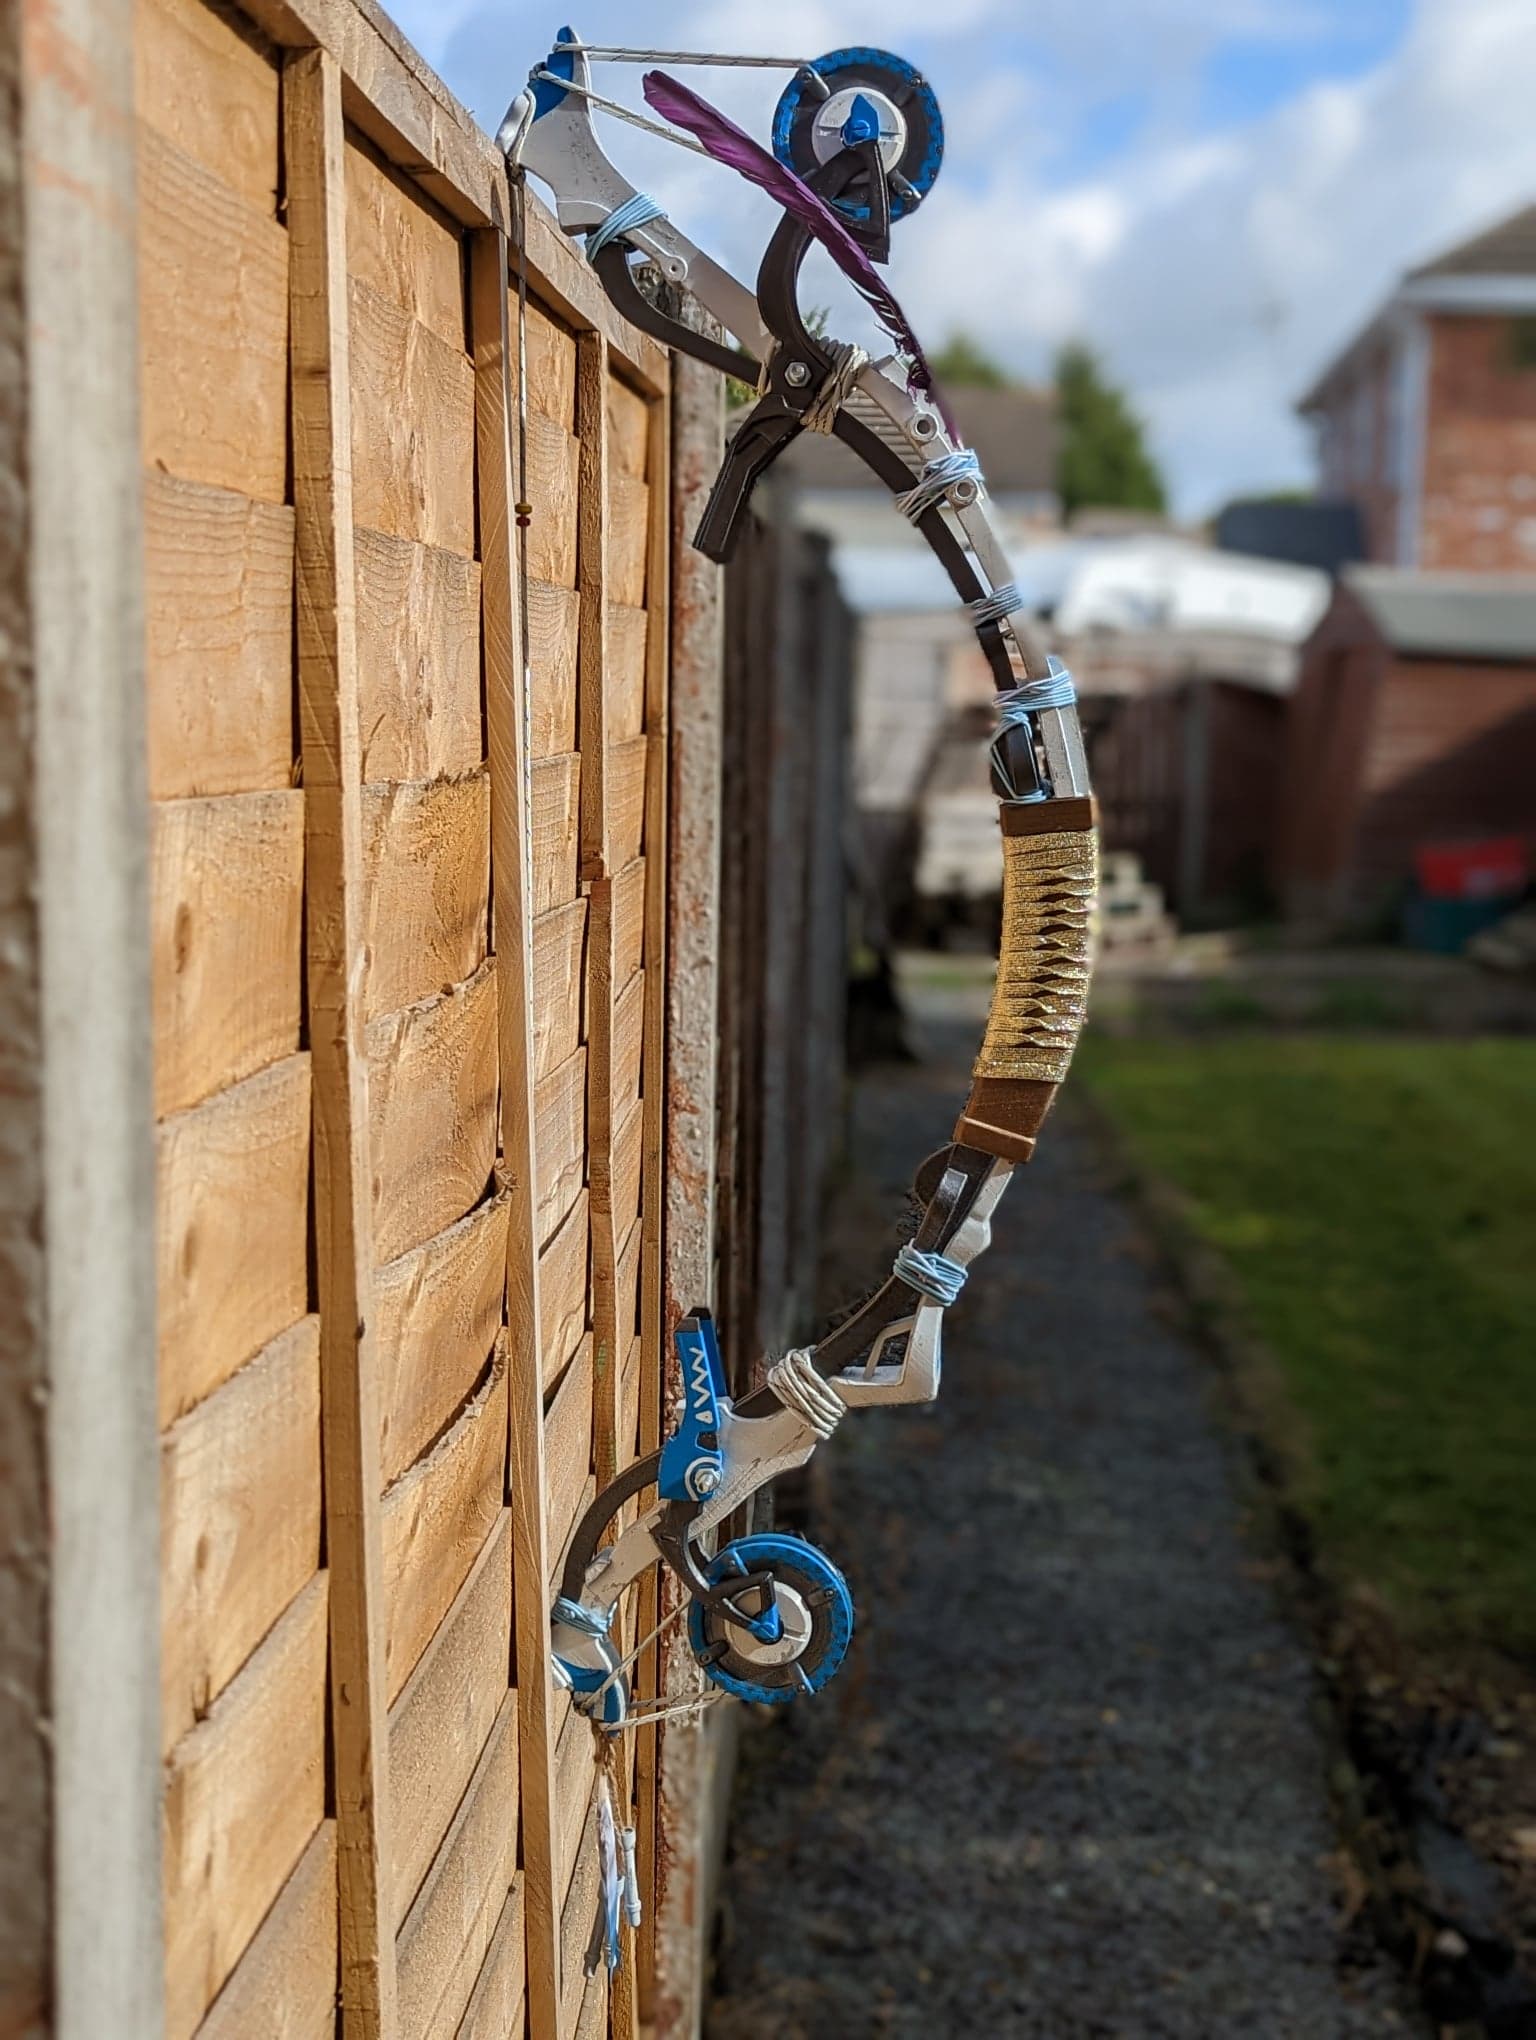
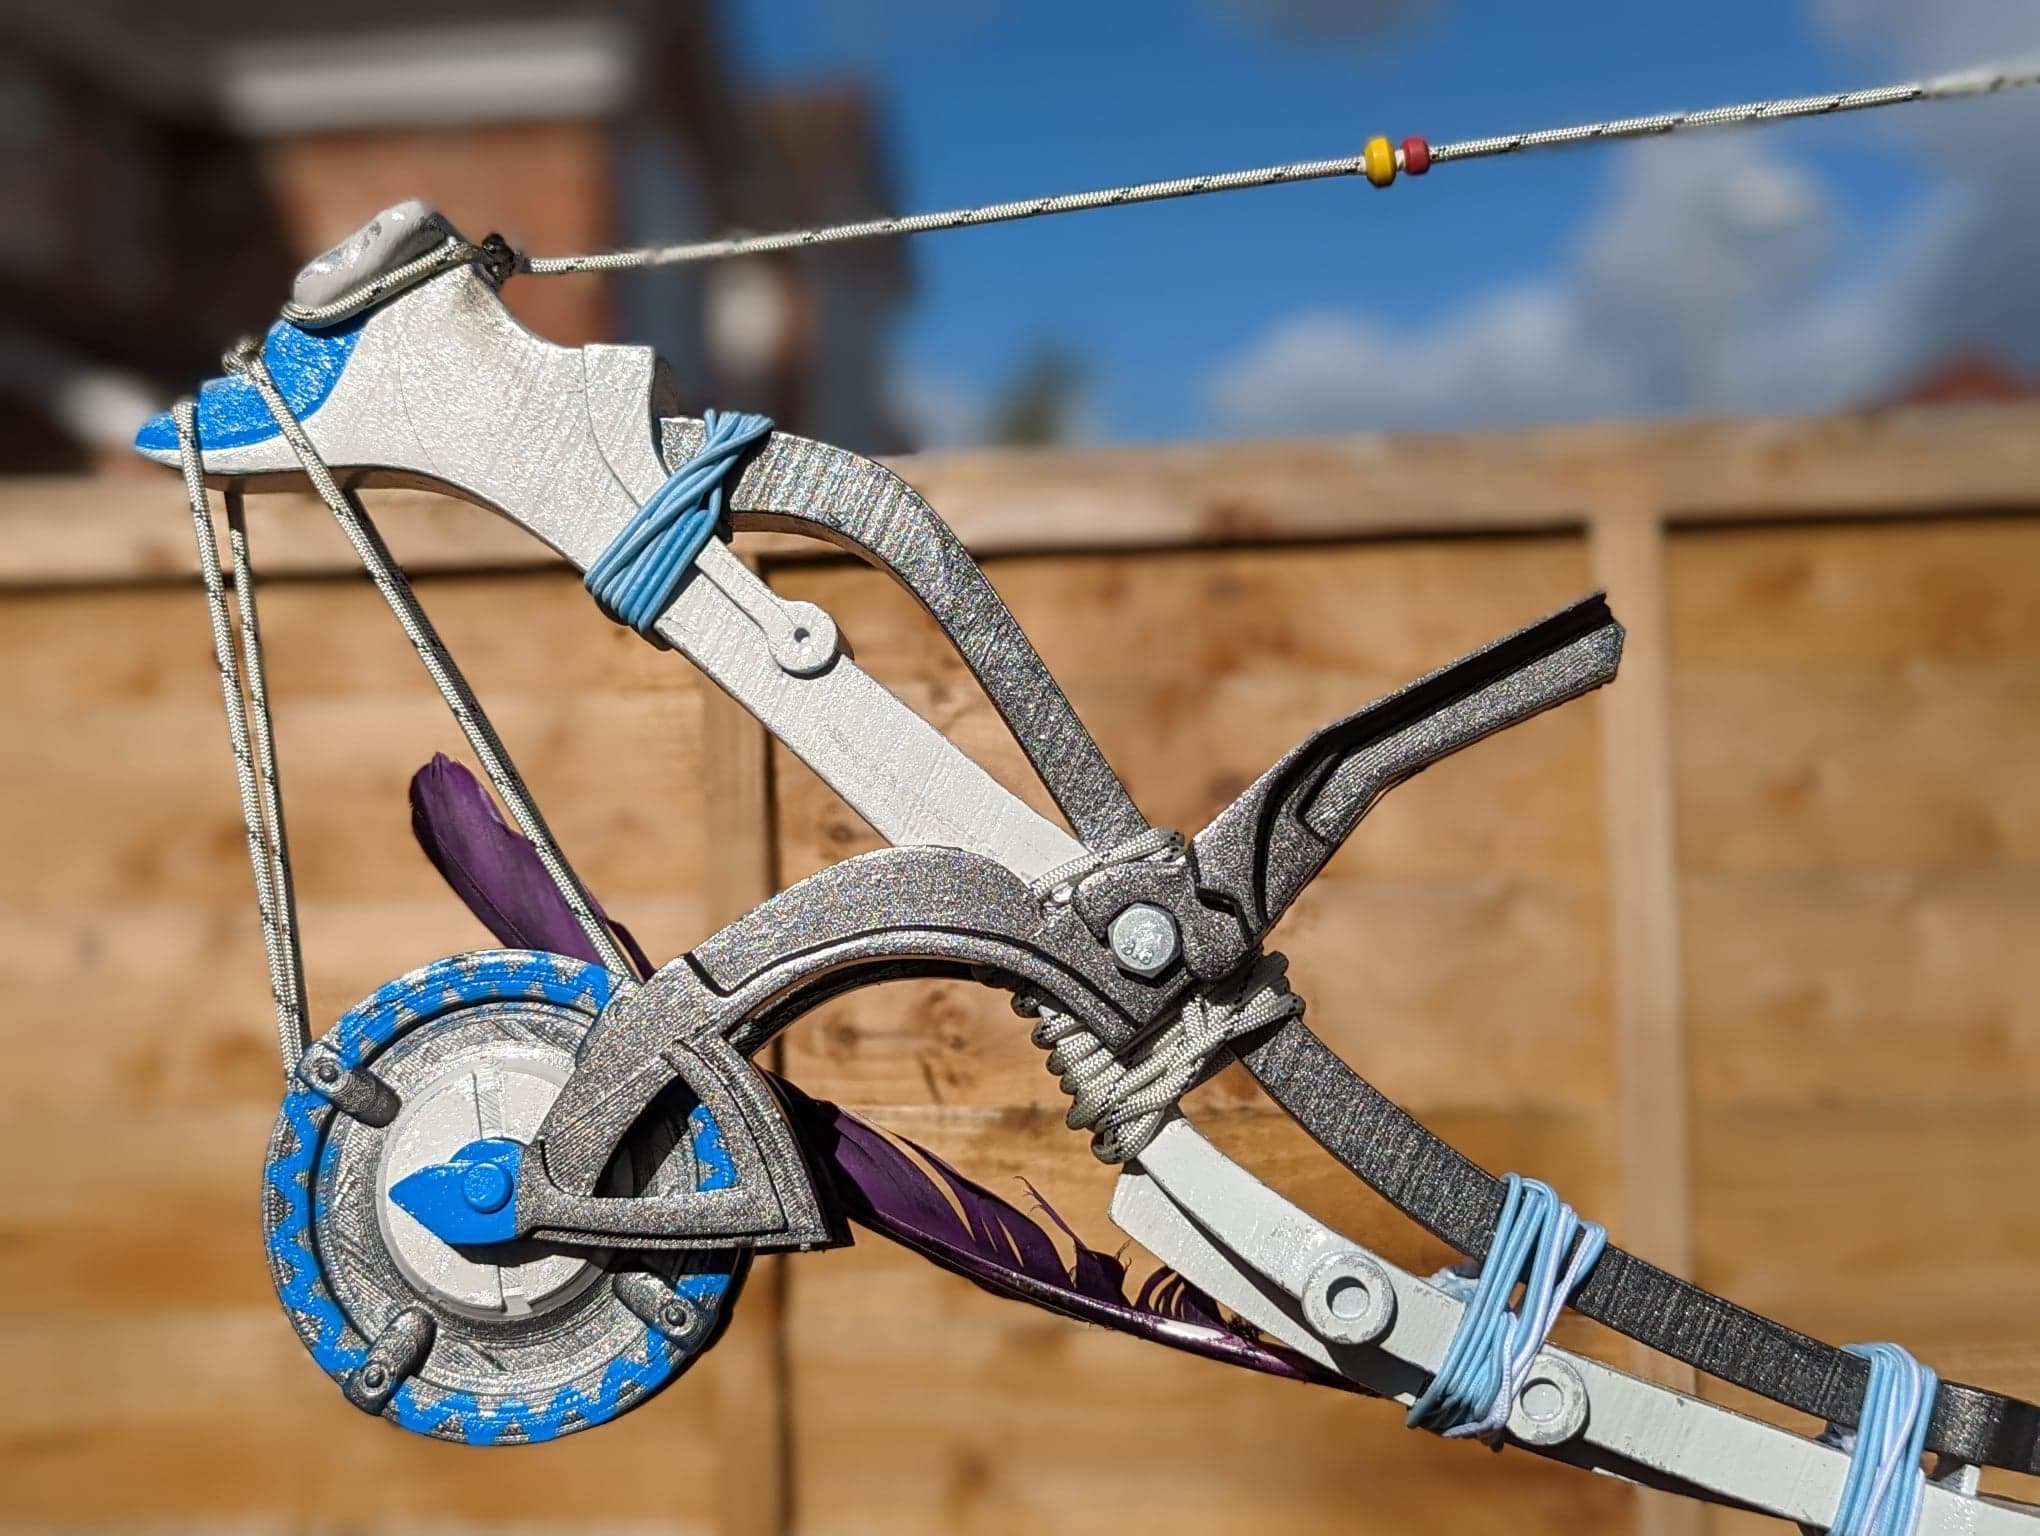
Realistic Weathering on Cosplay Props (Aloy’s Bow From Horizon)

Weathering is an important step that adds a realistic feeling to the entire cosplay. When it comes to props, you can use a few techniques to achieve the look. In this article, I’m going to describe the method I consider the best for metal-looking weapons (especially when it comes to 3D-printed props!)
The idea and photos were provided by Paul Stringer, who is an incredible cosplayer! (Instagram)
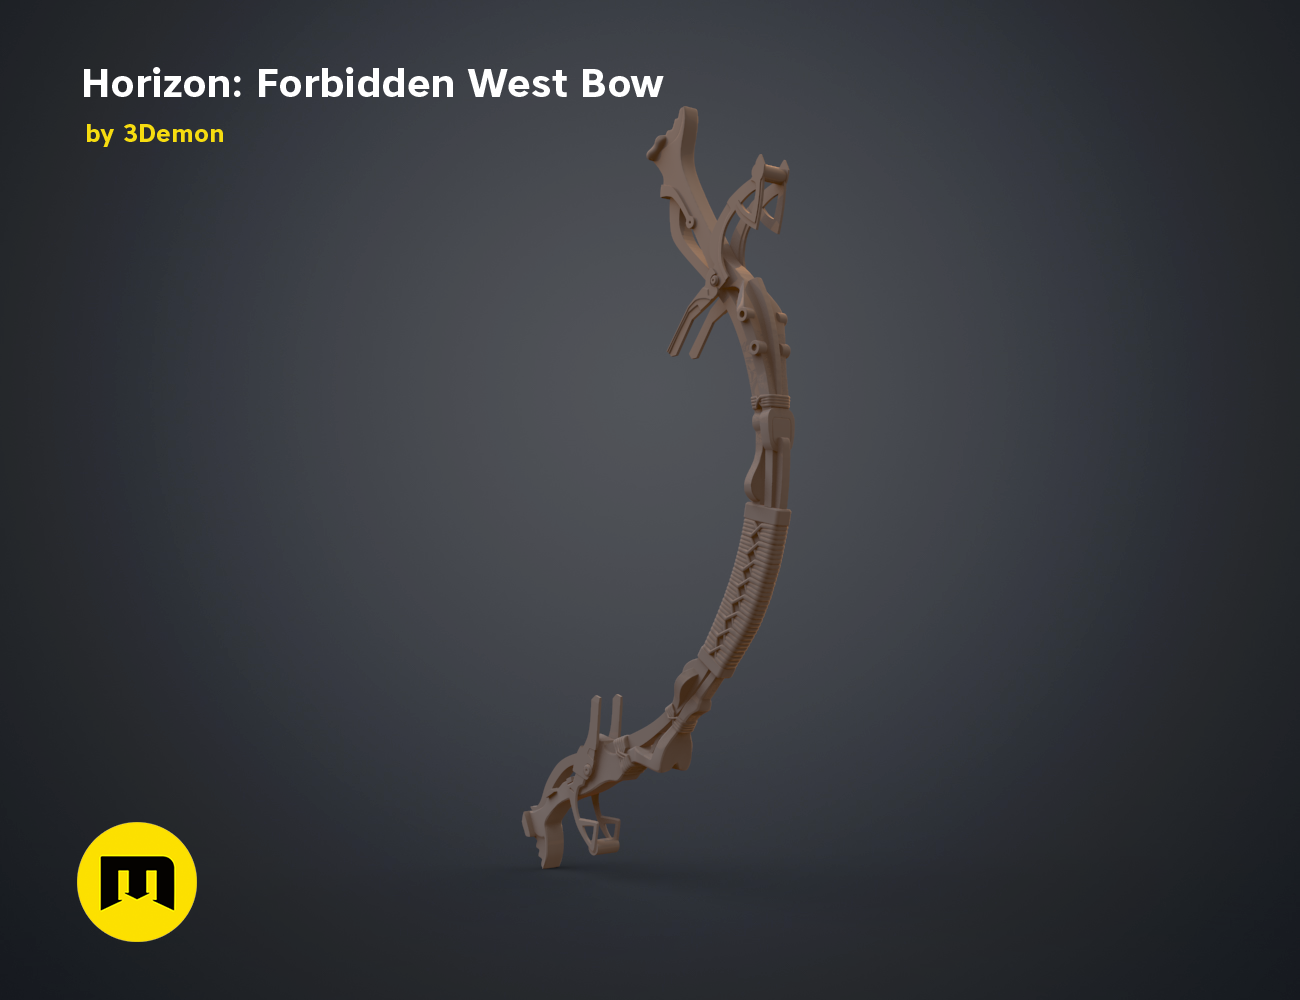
For Aloy’s bow from Horizon: Forbidden West, you’ll need
- 3D printable model of the bow
- 3D printer, filament (PLA)
- M4 bolts and nuts
- superglue
- thick spray filler
- ropes
- ribbon/paracord
- feathers
- beads
- fake leather, fake fur
For realistic weathering:
- Metalic spray paint
- Hairspray (trust me)
- Acrylic paints (white, black, and blue in this case)
- a toothpick
- a wire sponge (steel wool)
- clear matt coating spray paint
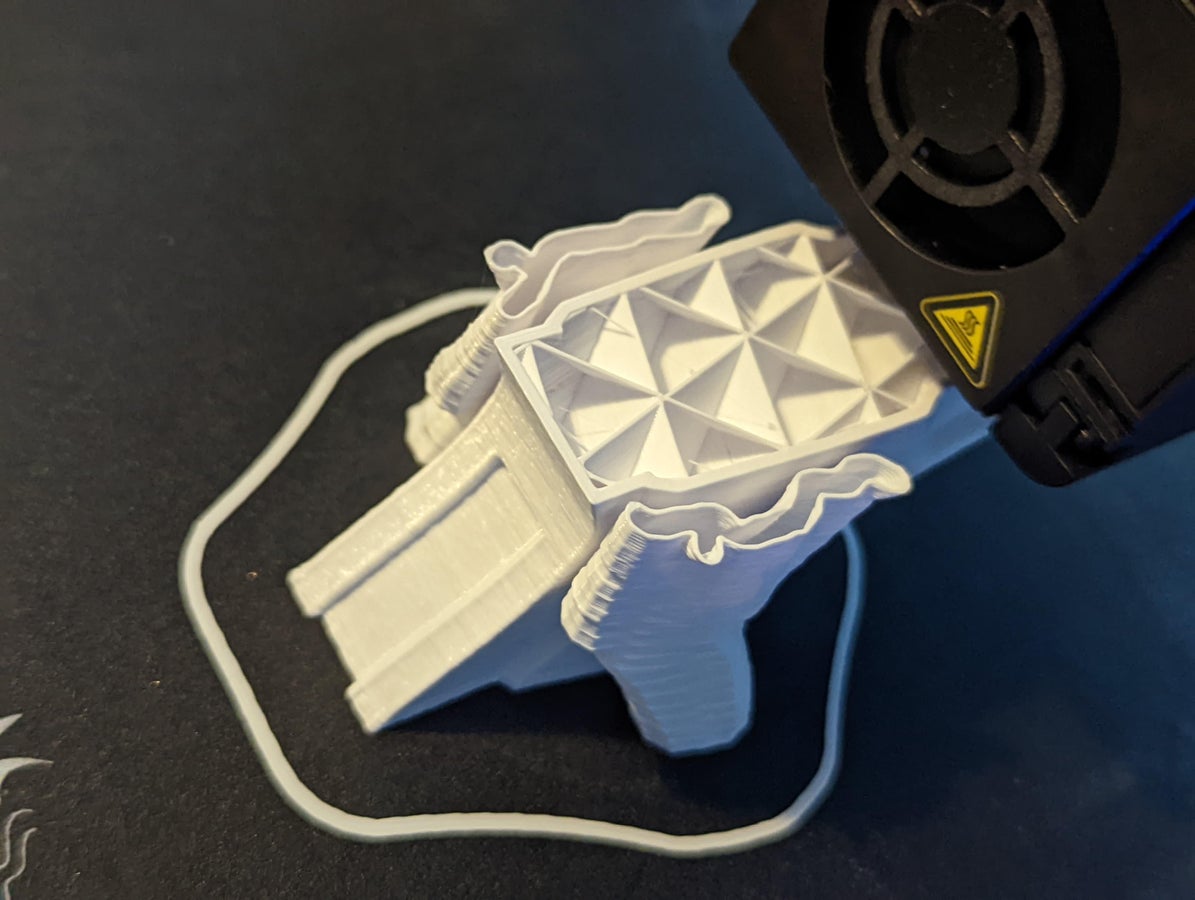
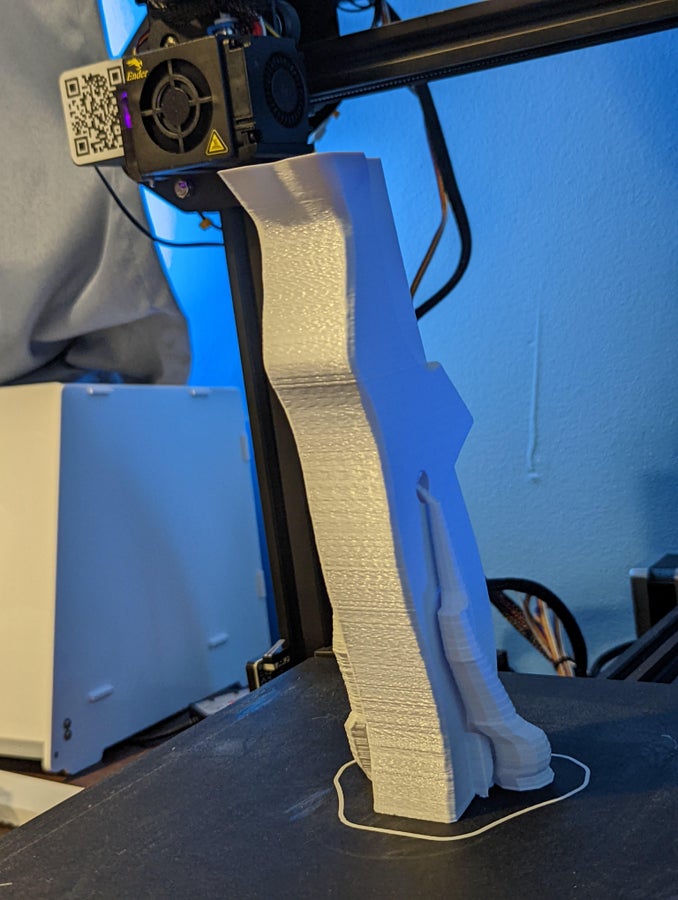

Step 1: Print The Files
Paul printed all the parts on his ender using these settings:
- Layer height 0.2 mm
- Infill 15%
We would recommend also:
- Supports 45°
- For parts that are tall but have a small base, use a 10 mm brim for better bed adhesion.
You can print it using PLA filament with no worries. PLA is durable enough for cosplay props!
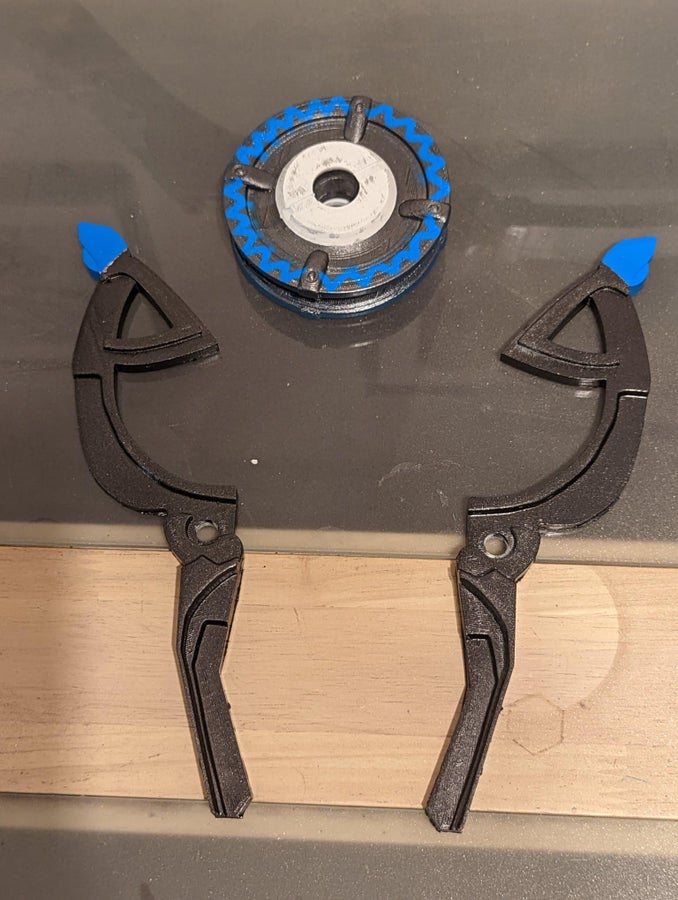
Step 2: Assemble And Coat In Spray Filler
Clear the support material and coat the pieces in spray filler and sand it down for a smoother surface.
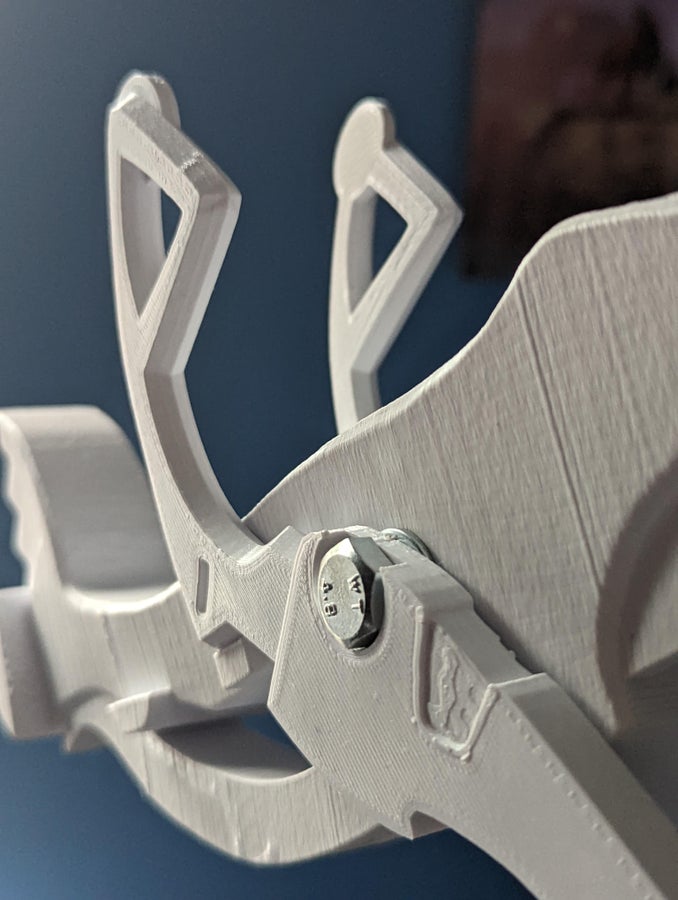
Use superglue or a 2 component adhesive to glue all the pieces together. You can use real bolts just for the realistic look of the bow.
Step 3: Weatherng: Base Color
This is where it gets really interesting. Think of the material which was used to create the real object. In the horizon game, the weapons are made of machine parts that are made of metal. The base color is metallic silver.
In other cases, your base color could be gold or black or any other, think this through! 🙂
Your first and base color will be metallic silver in this case. Once the spray paint is completely dry, spray the whole bow using hairspray! The Hairspray will cause the next layer of paint to rub off just like we want!
Step 4: Weathering: Main Colors
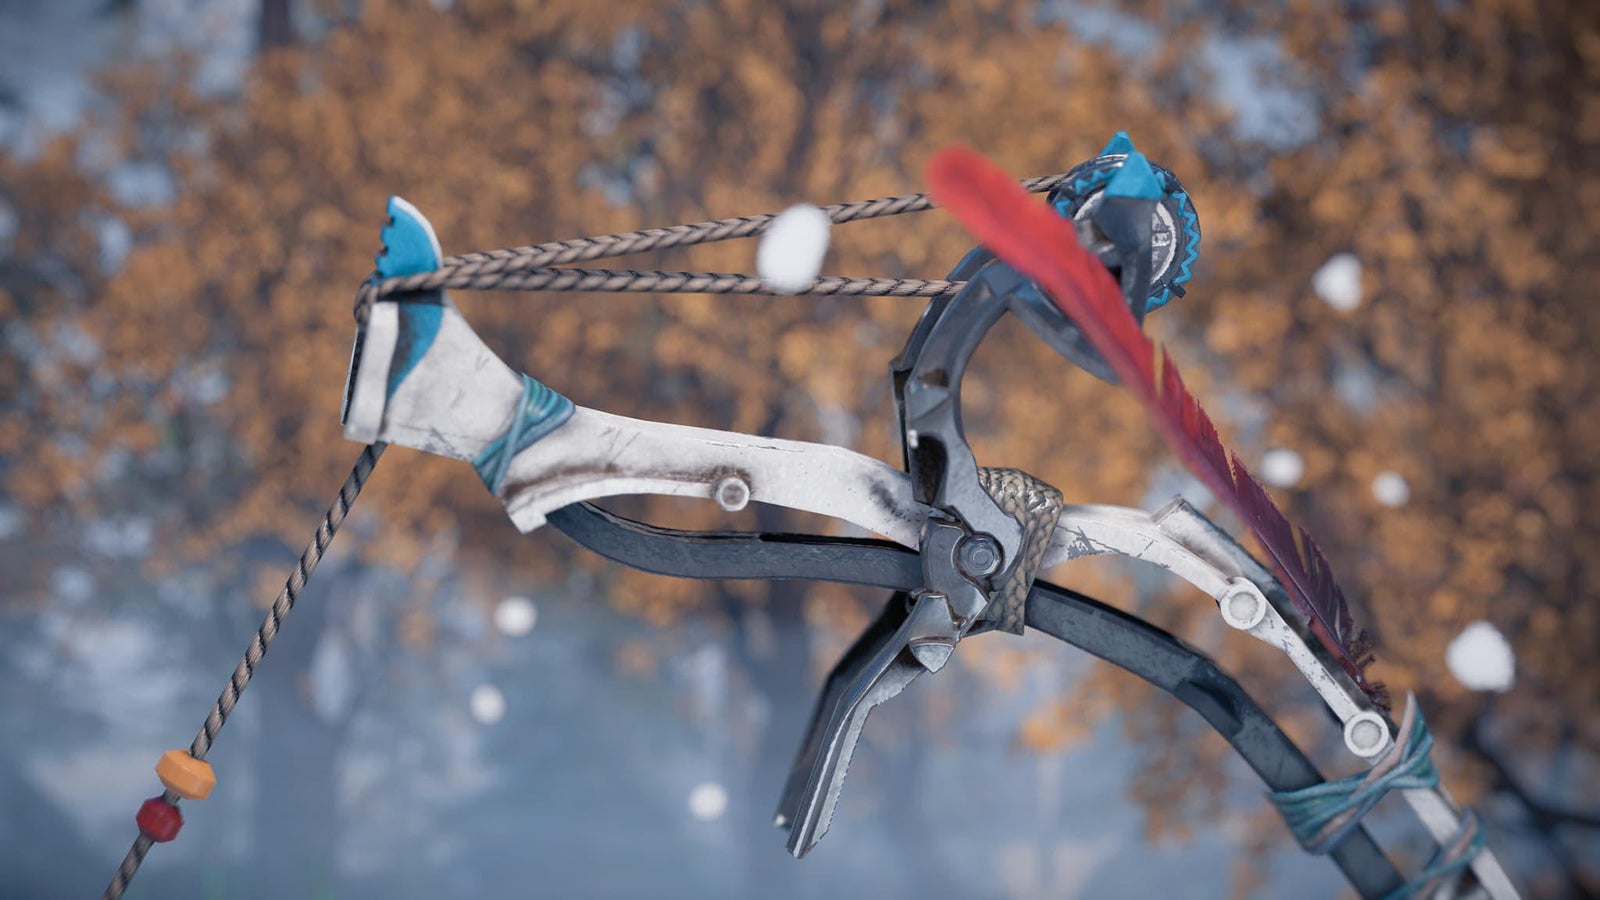
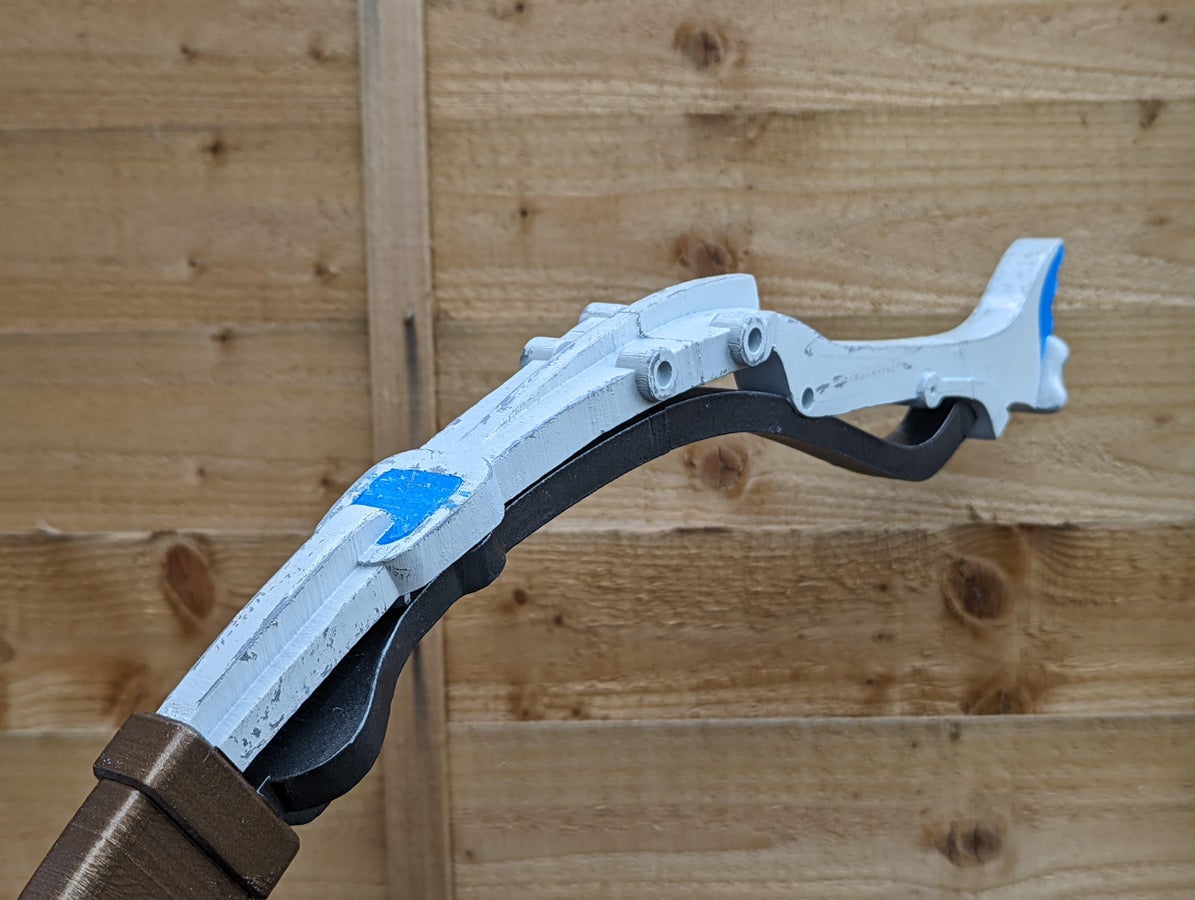
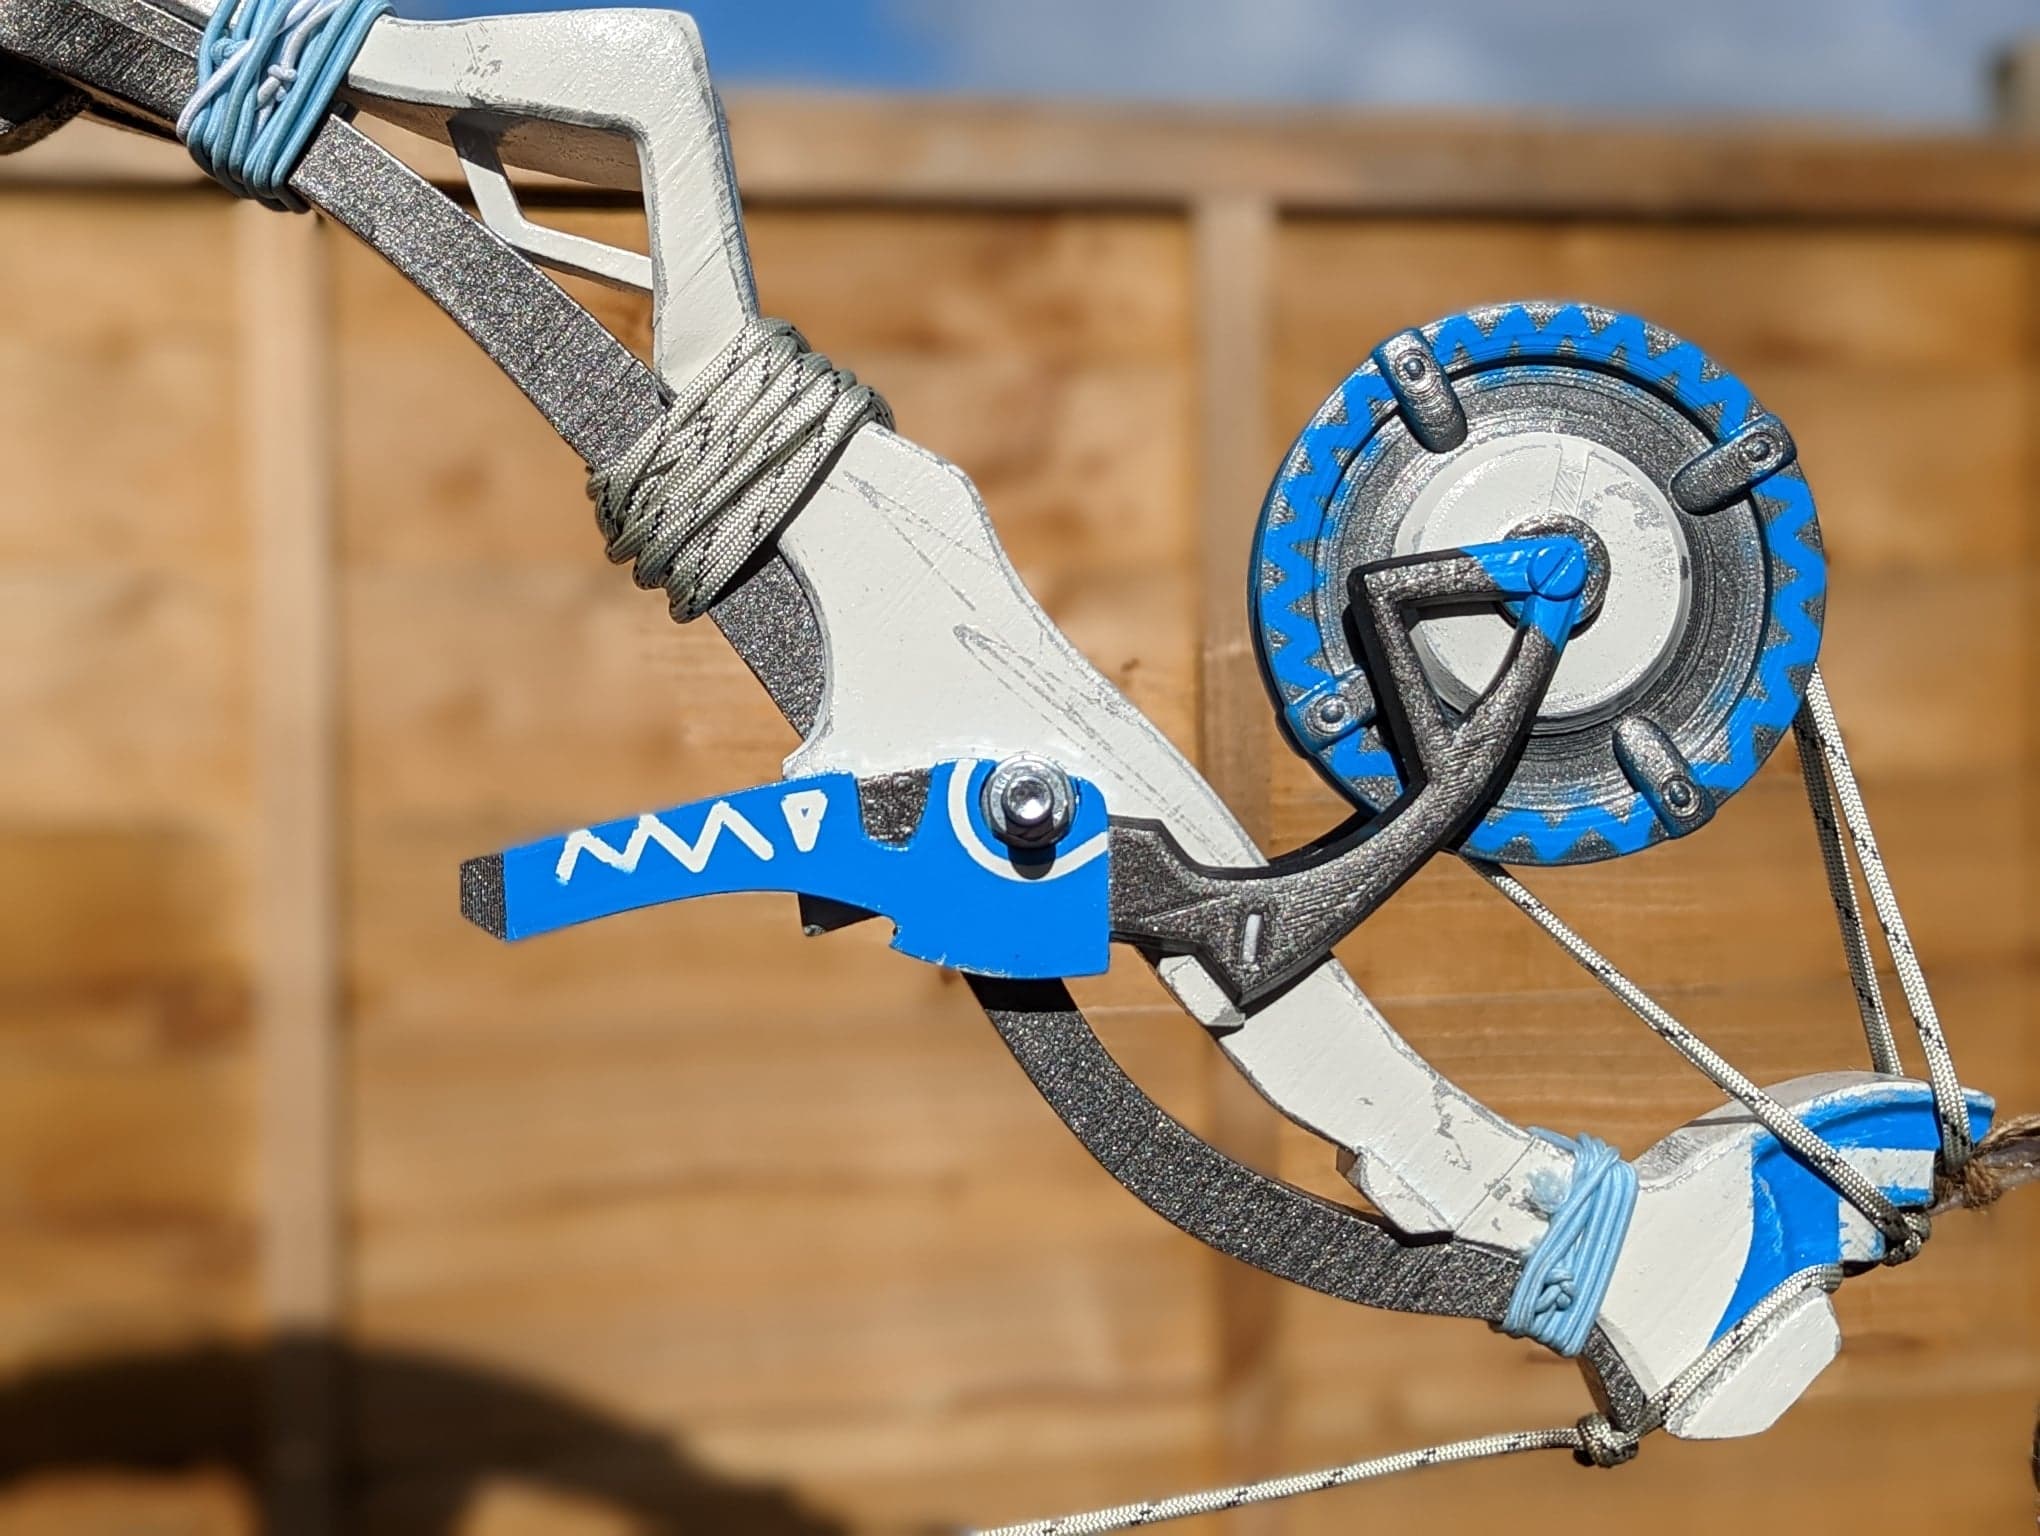
The bow Paul chose to do is mainly white, featuring some black parts and blue details. You can paint all of that on the hairspray-coated bow now. Don’t worry about it too much, you want it to look a bit rough.
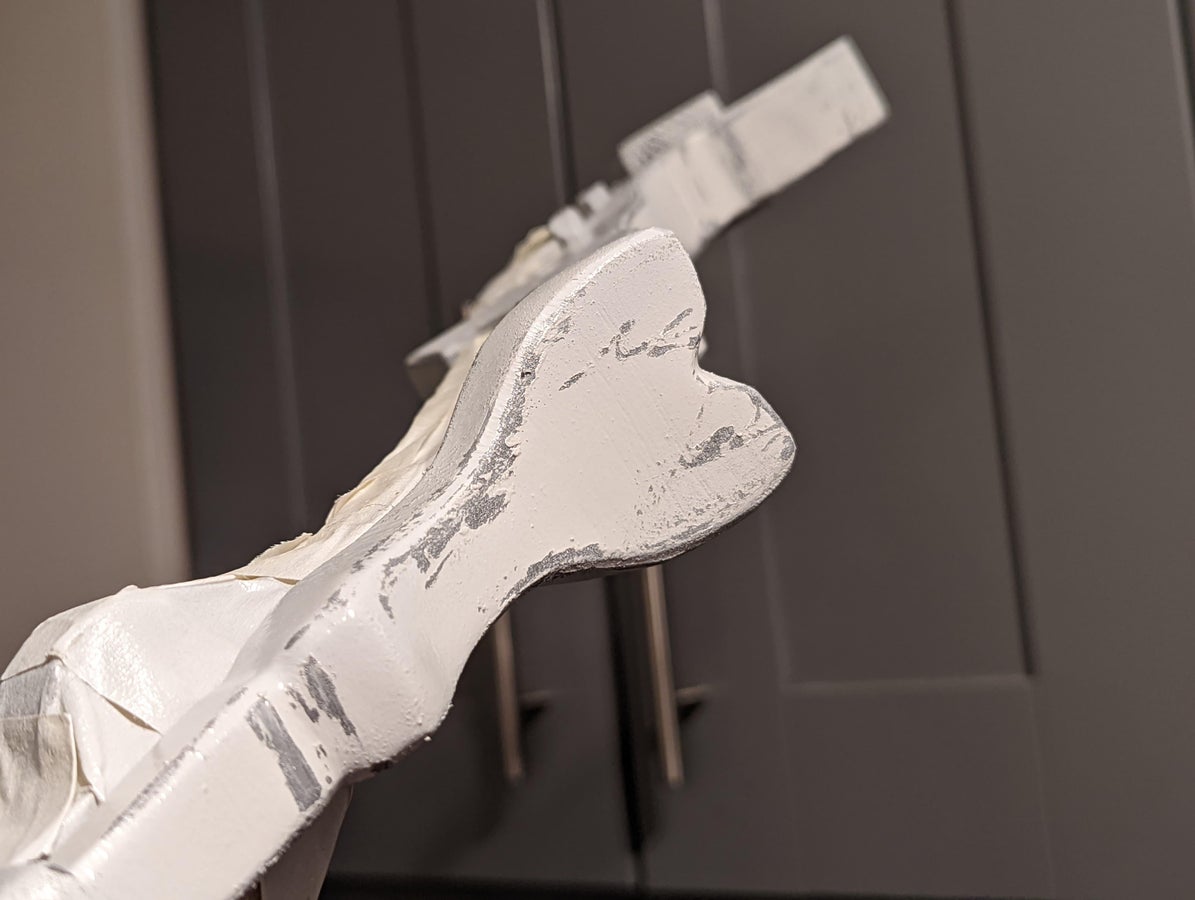
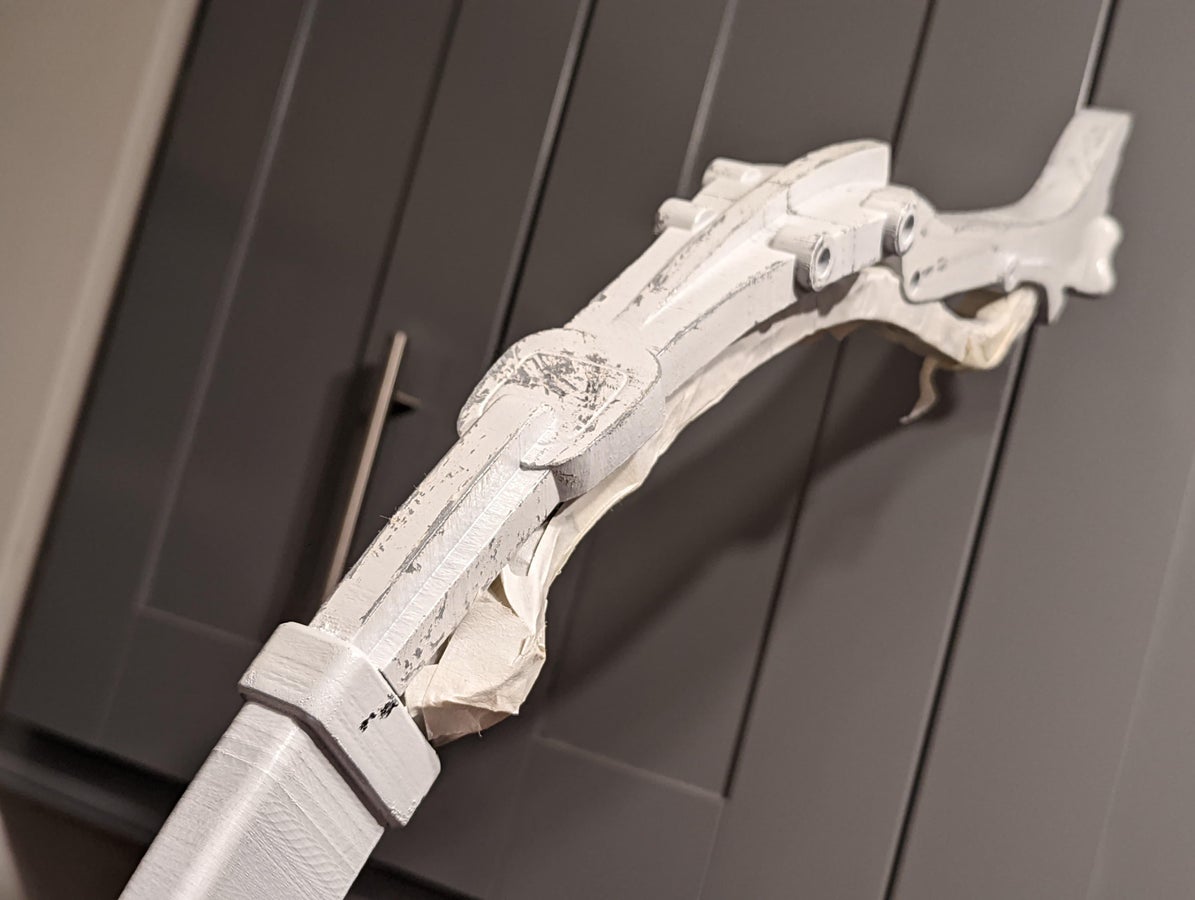
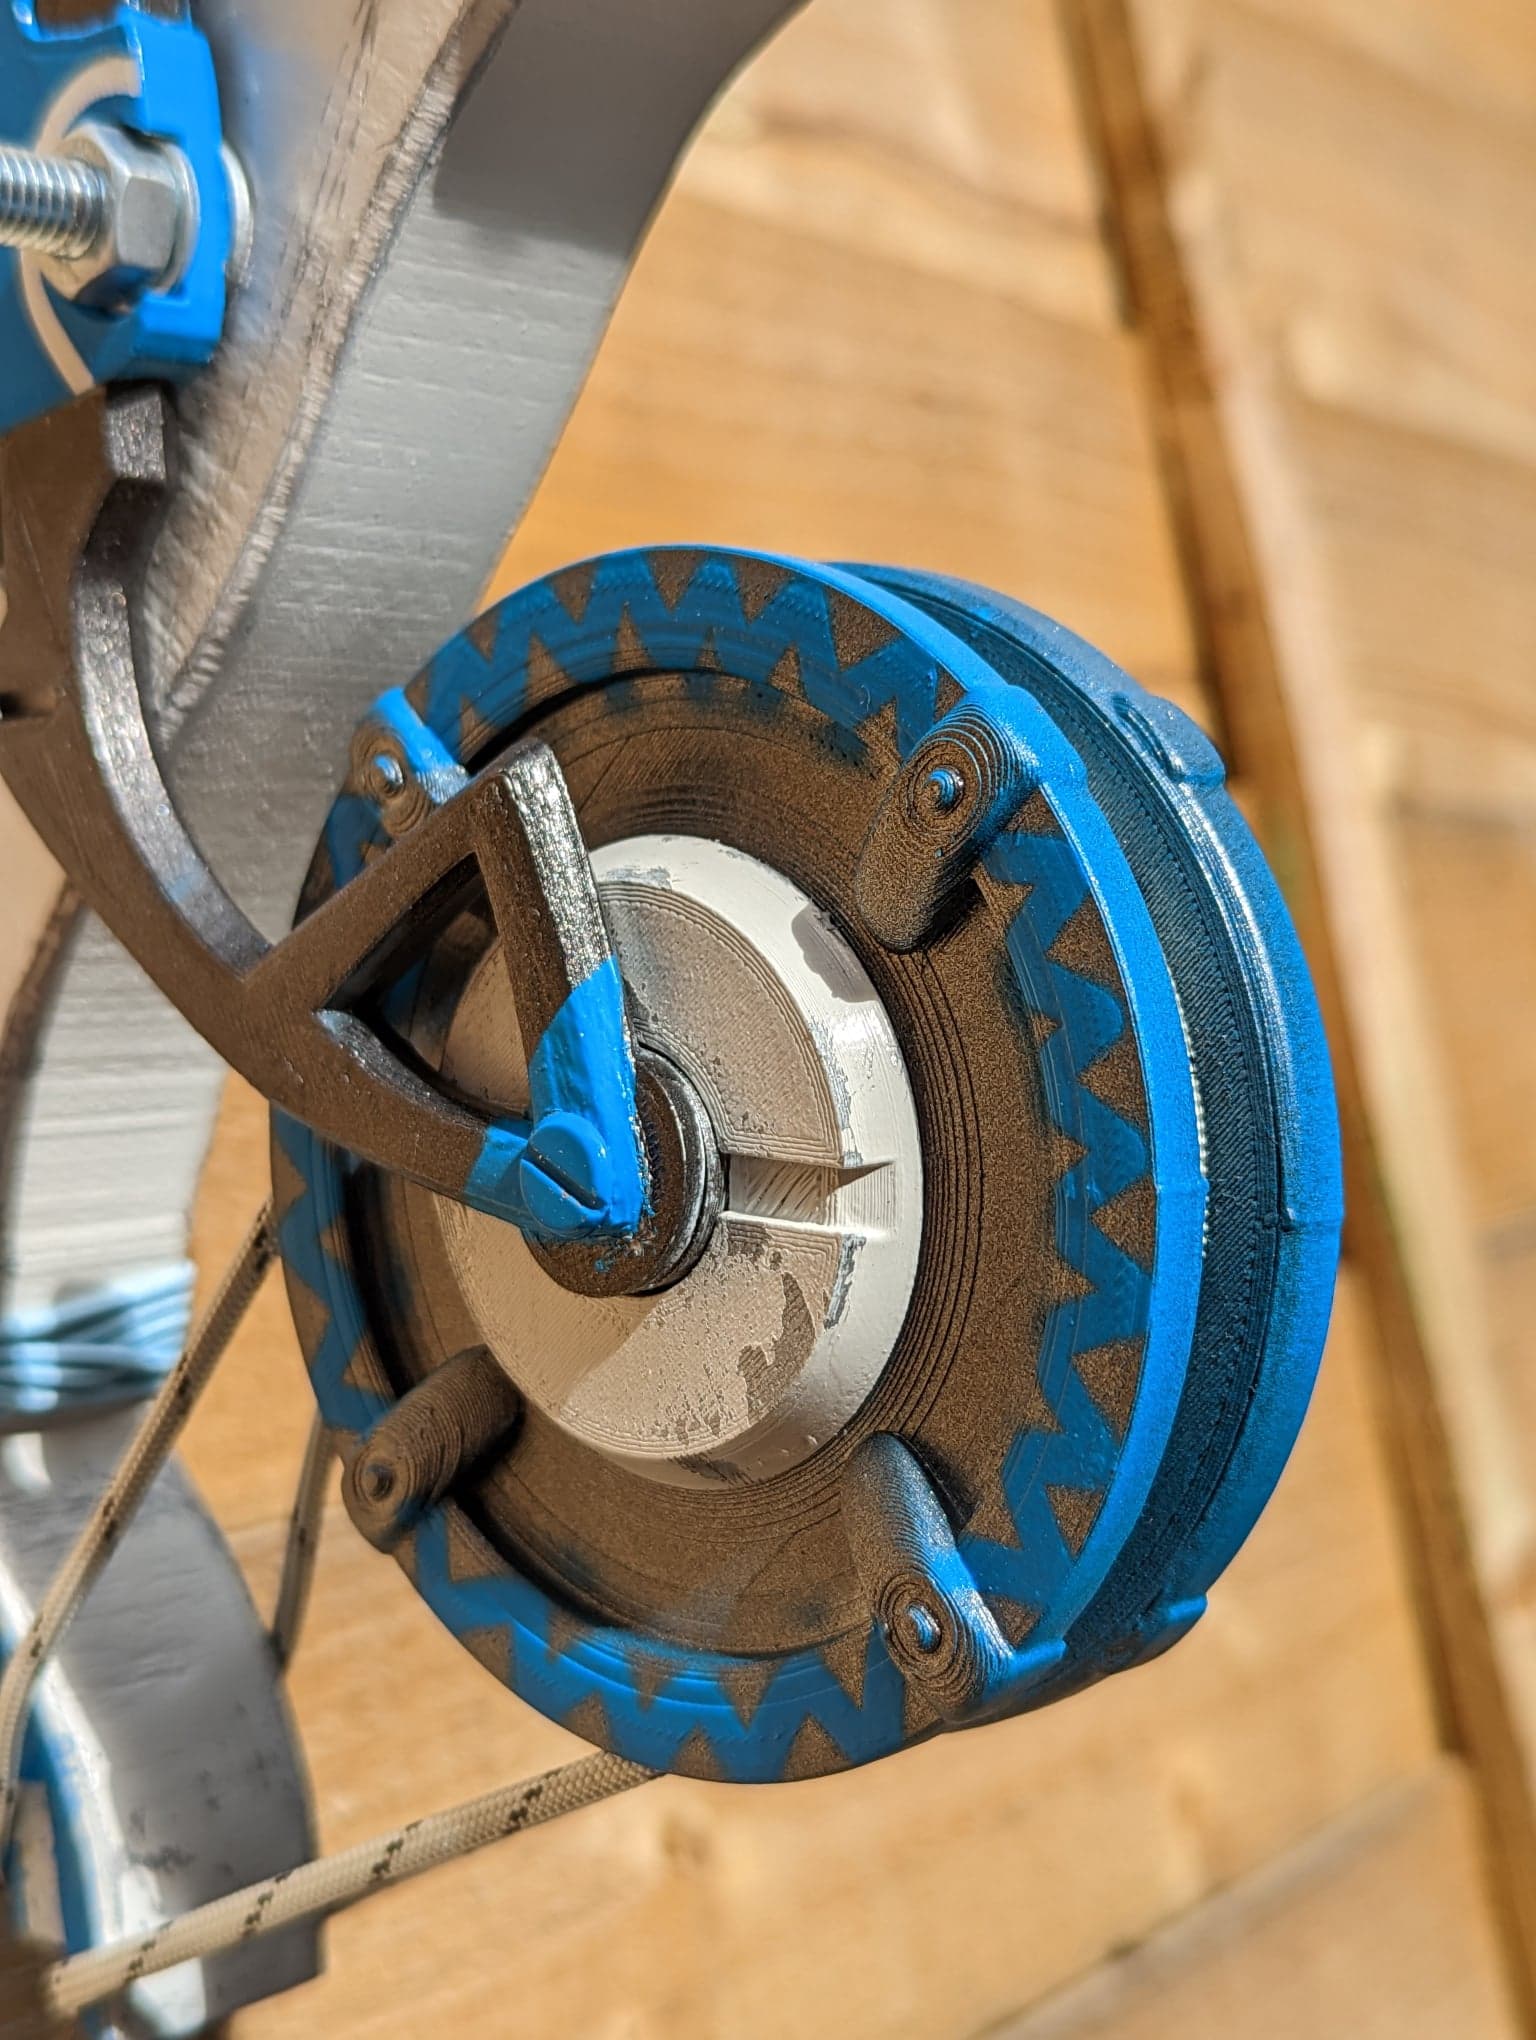
Once it’s all completely dry, use a toothpick to rub off the edges. The base silver color should show up!
Then use a kitchen wire sponge to create more battle damage on the flat surfaces of the bow.
Step 5: Weathering: Dirt
In this step, you can mix a bit of earthly brown, beige and black acrylic and carefully add these to some grooves or inner edges. Imagine you drop your prop in a pool of mud. Where would the mud stay the most? Apply the color there. Use diluted paints, and wipe them using a rag, tissue, or sponge.
Step 6: Bow String And Grip
The wrapping on the bow is quite similar to Tsuka Wrapping which can be seen on katana swords. There are plenty of tutorials on this! 🙂
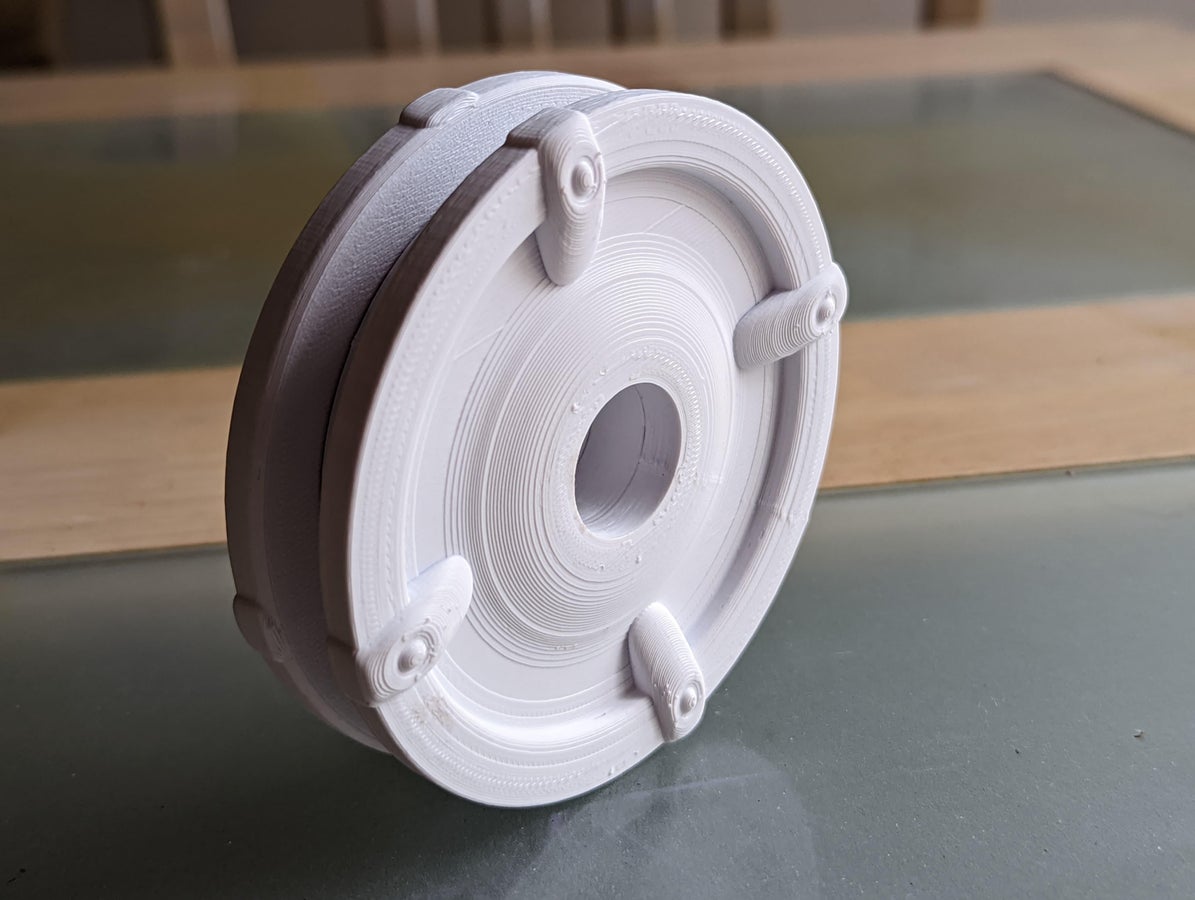
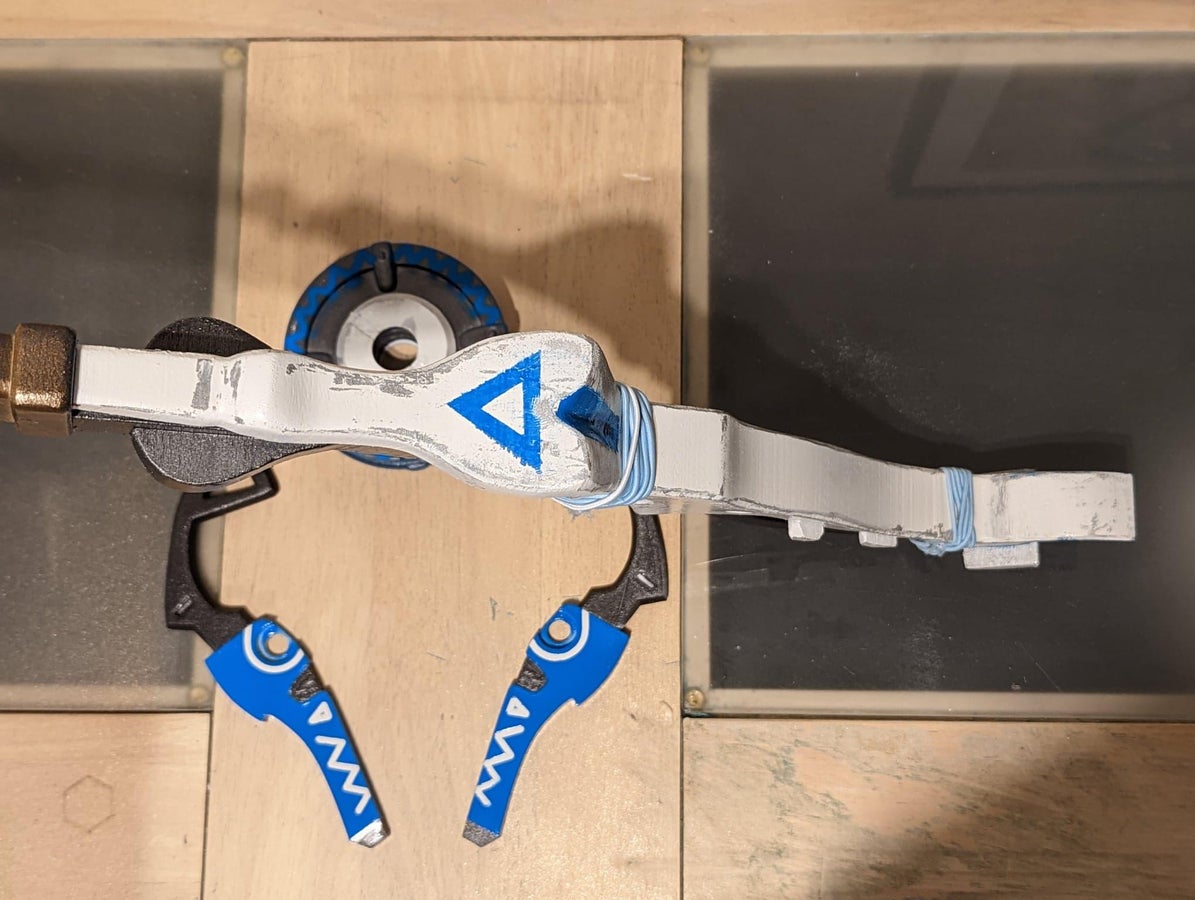
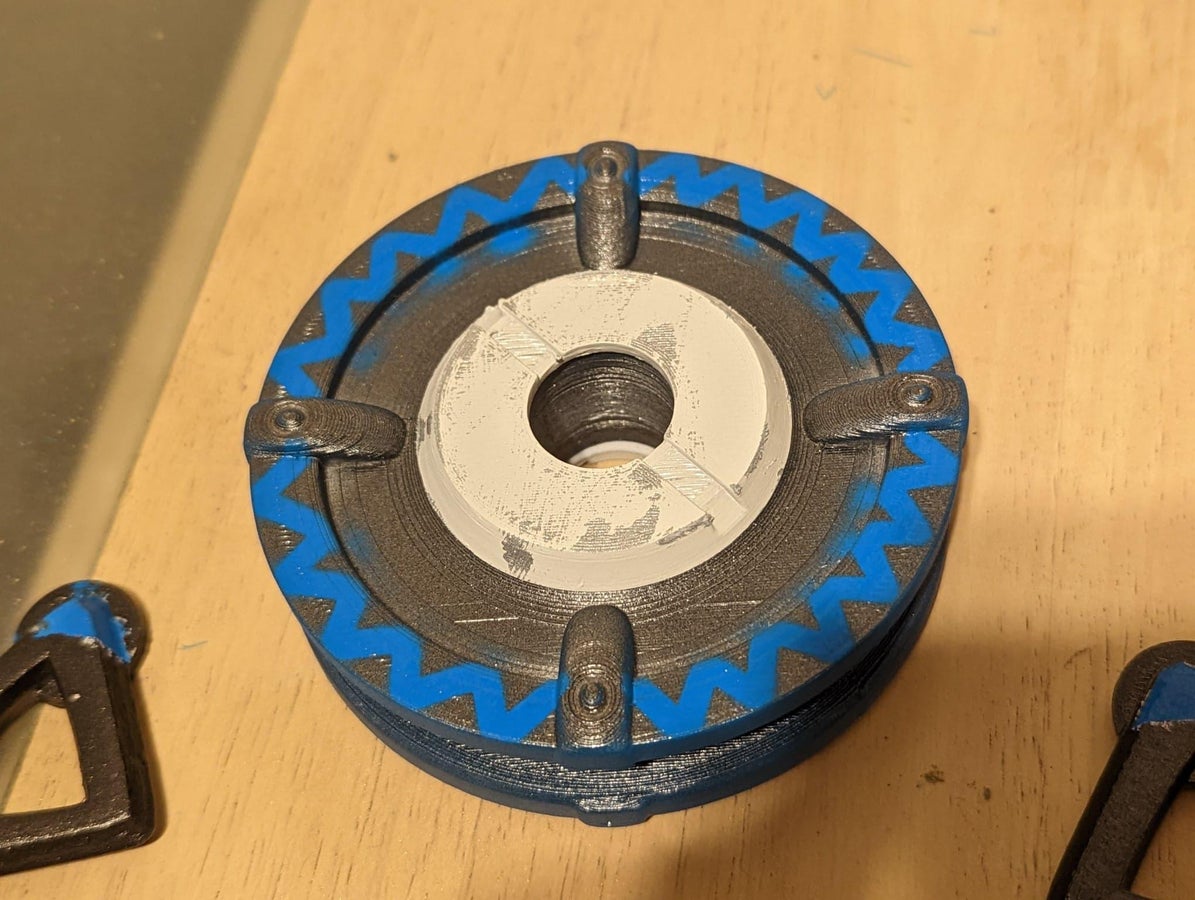
The bowstring (a thick rope with a nice pattern in this case) should be wrapped around the pulley 2 times.
in addition to that, there are more ropes/wires wrapped around the bow.
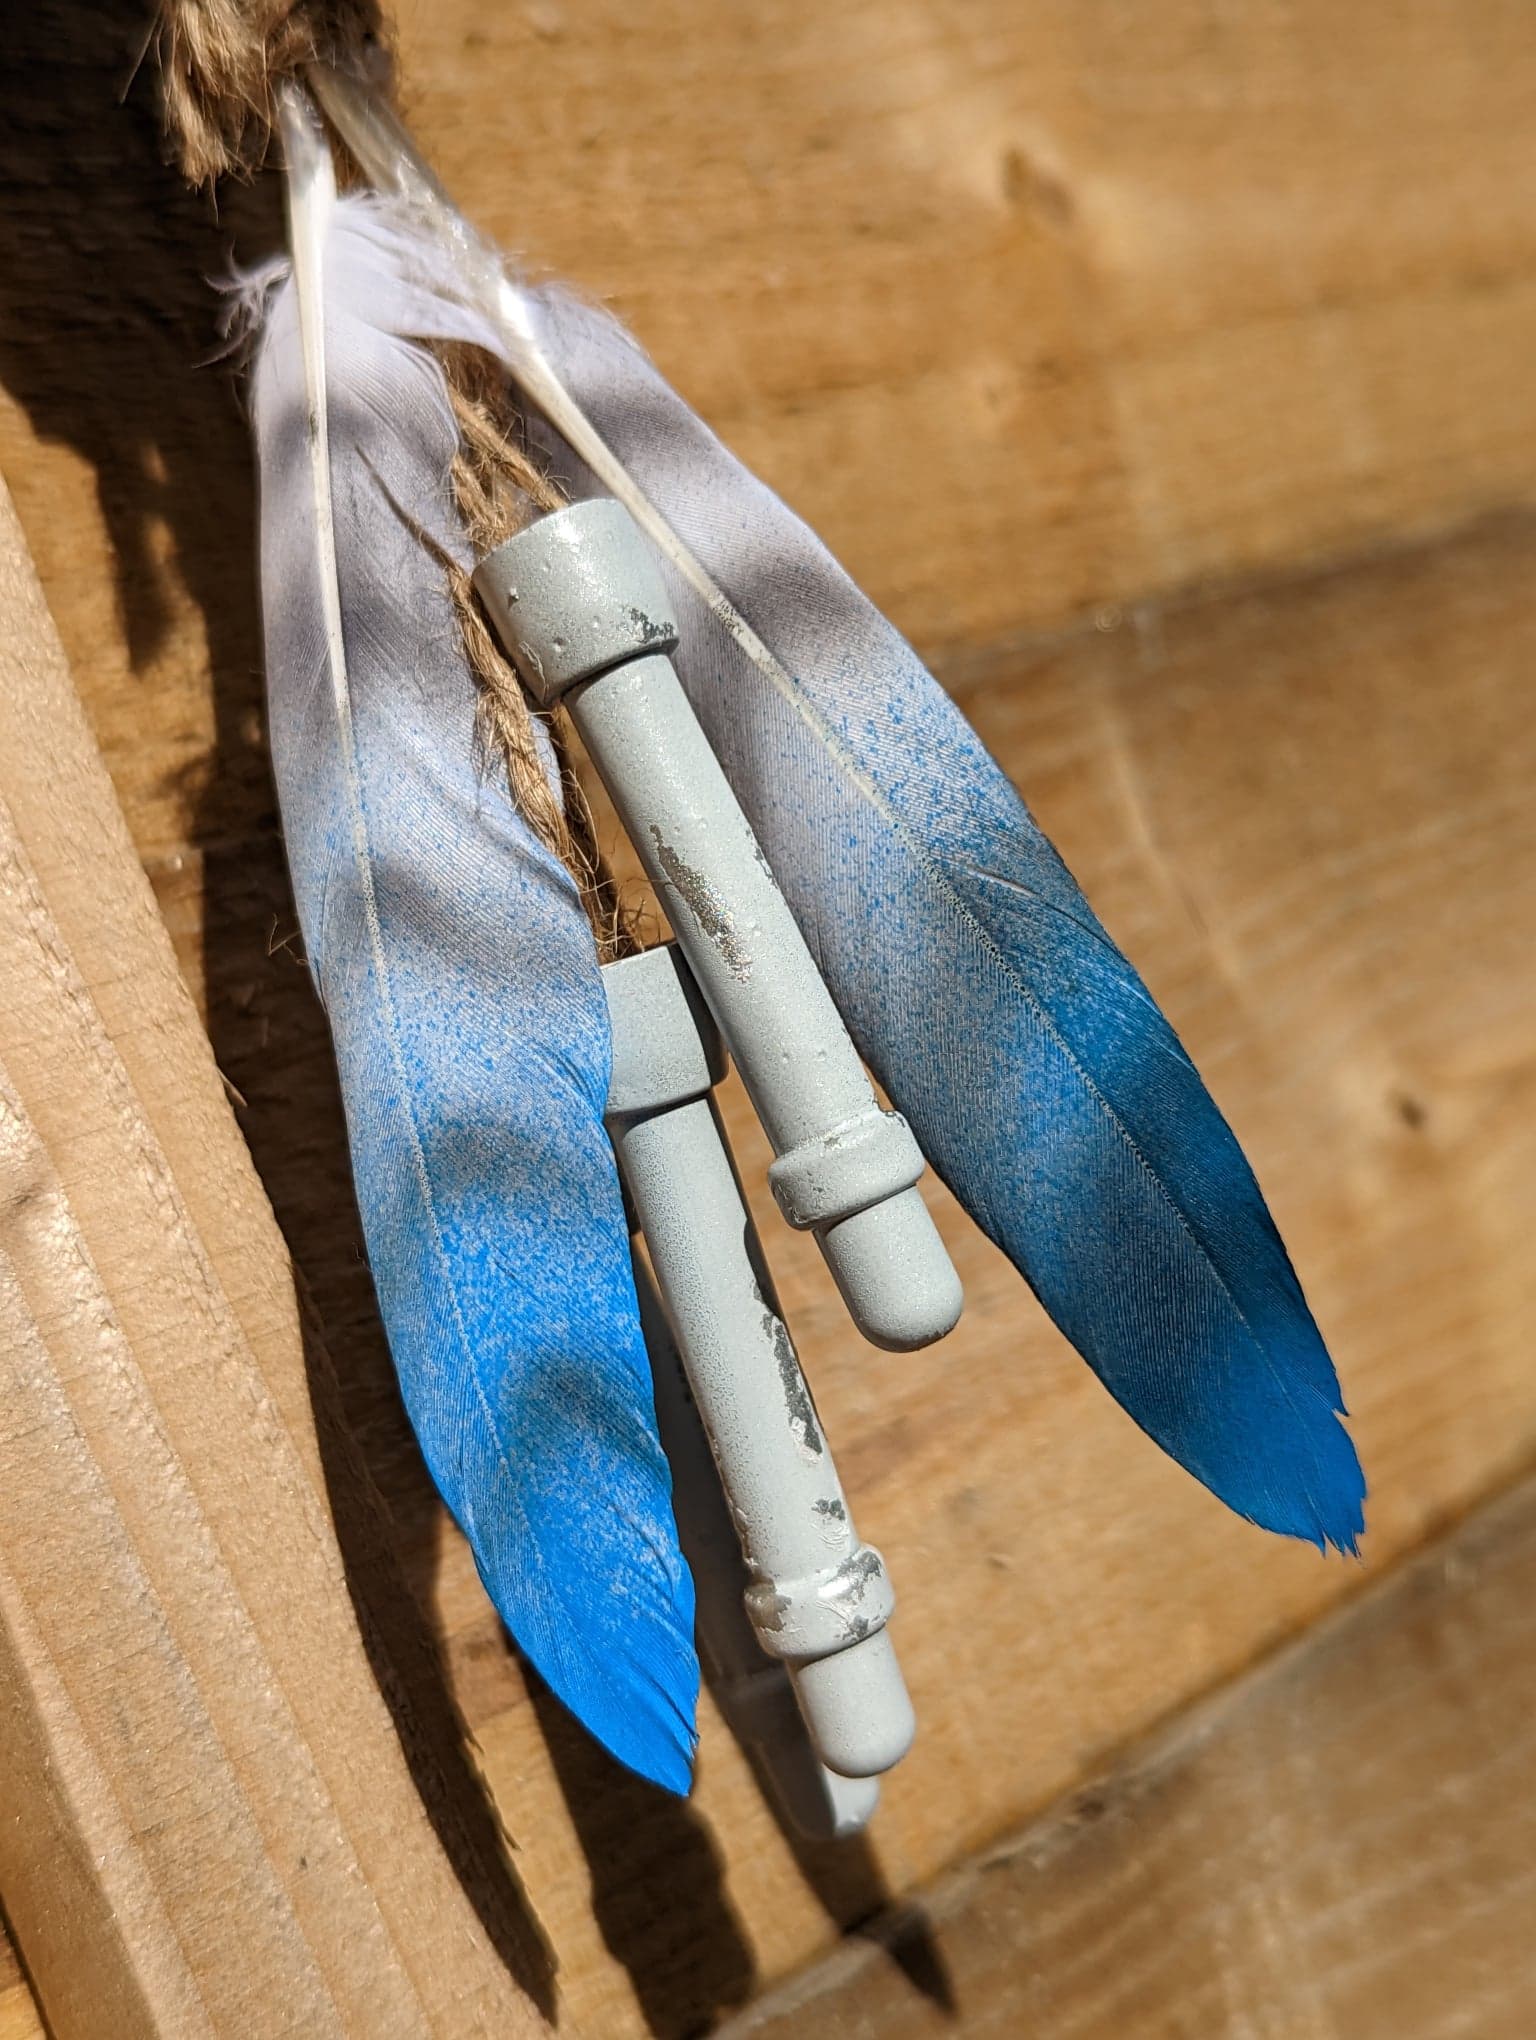
Step 7: Decorations And Finishing Touches
Depending on which bow you’re creating, it is decorated with feathers and beads of different colors. If you can’t find the color you need, simply paint it!

Leave a Comment