Fearne’s Staff for Cosplay (Critical Role) – 3D printing tutorial
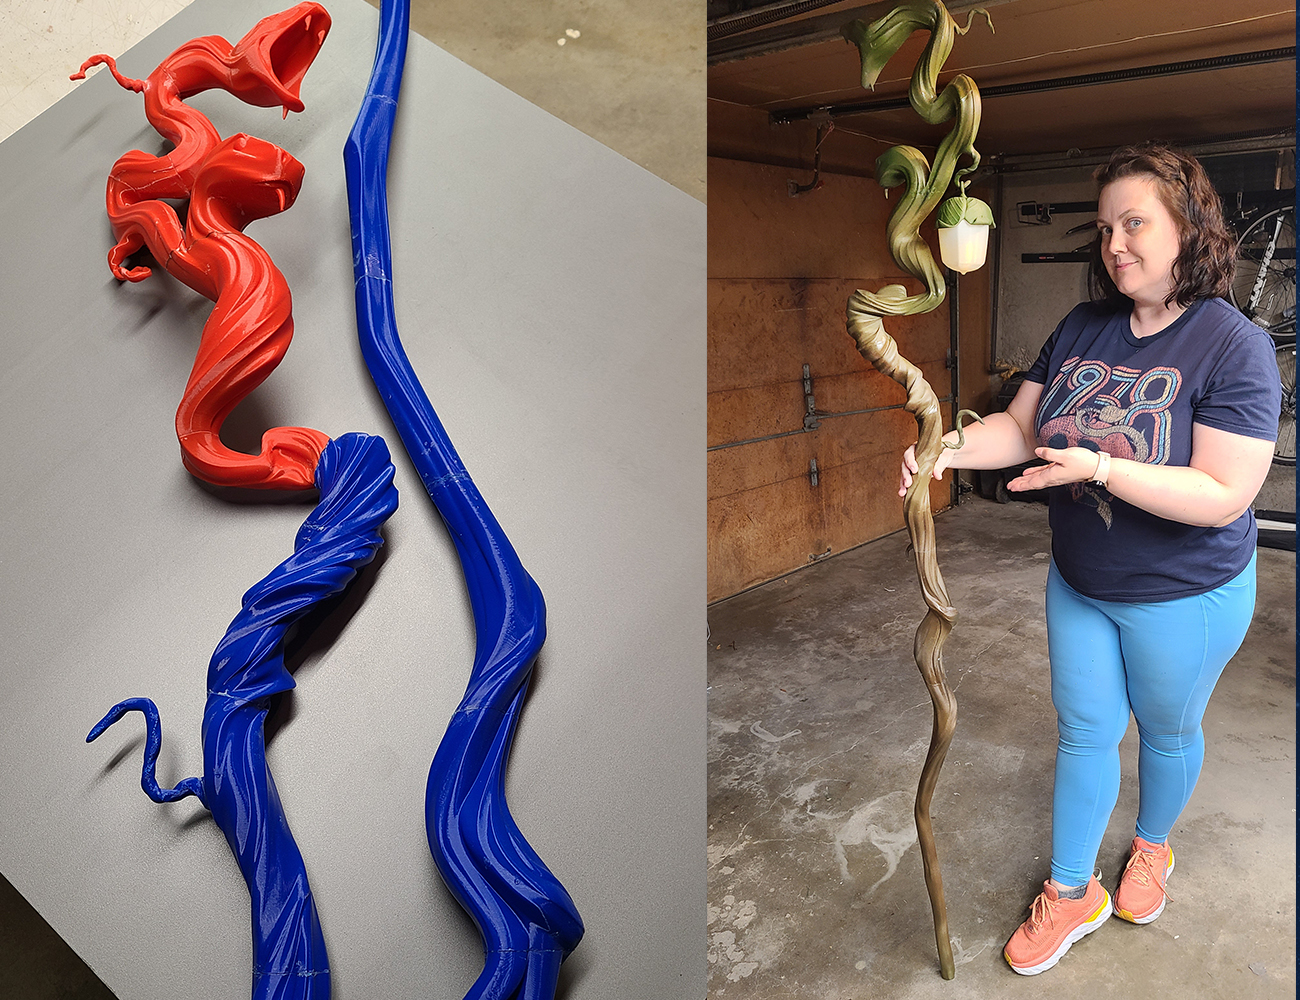
Let me show you how to 3D print this beautiful cosplay staff – Staff of the Adder from the Critical Role Play series!
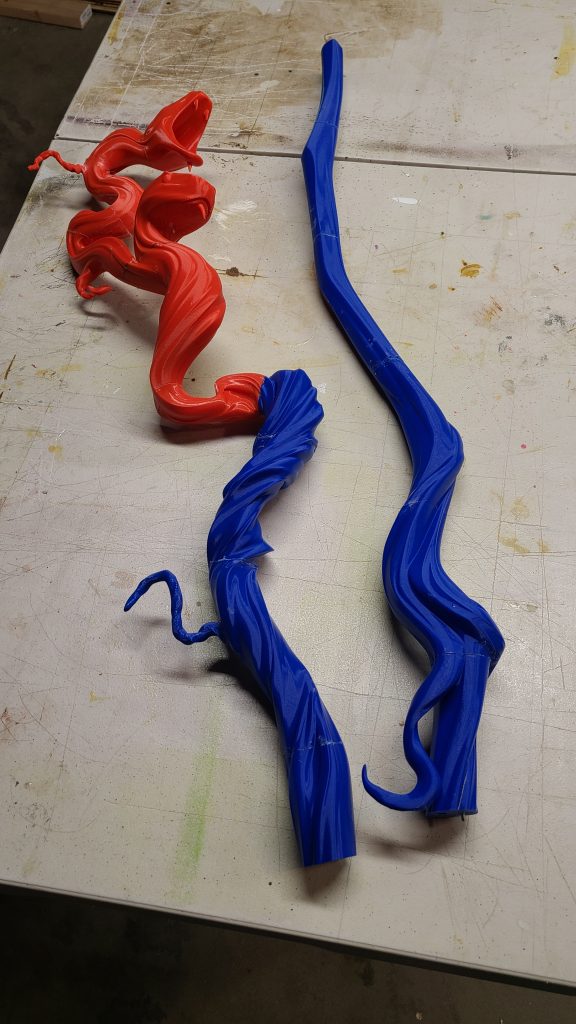
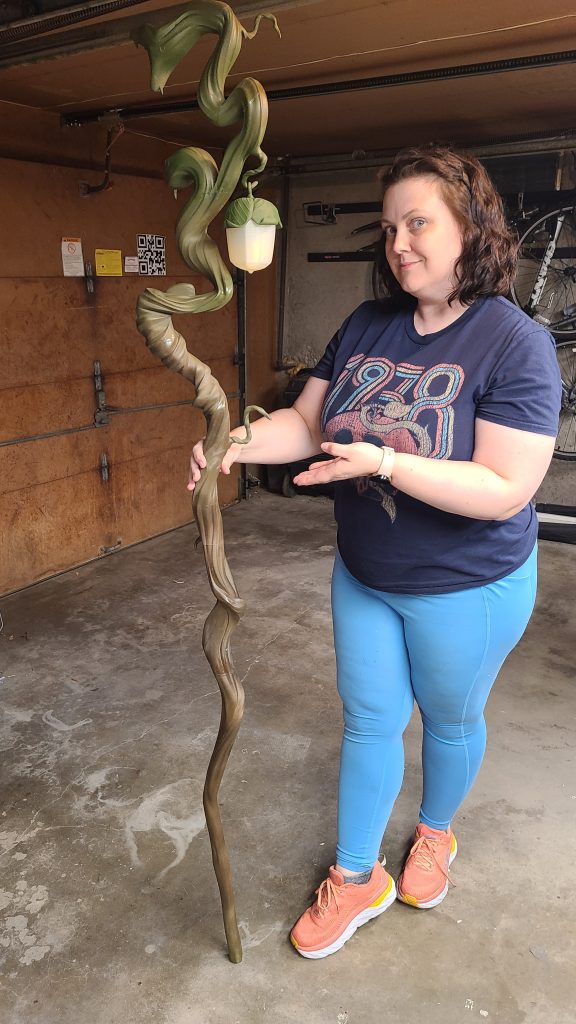
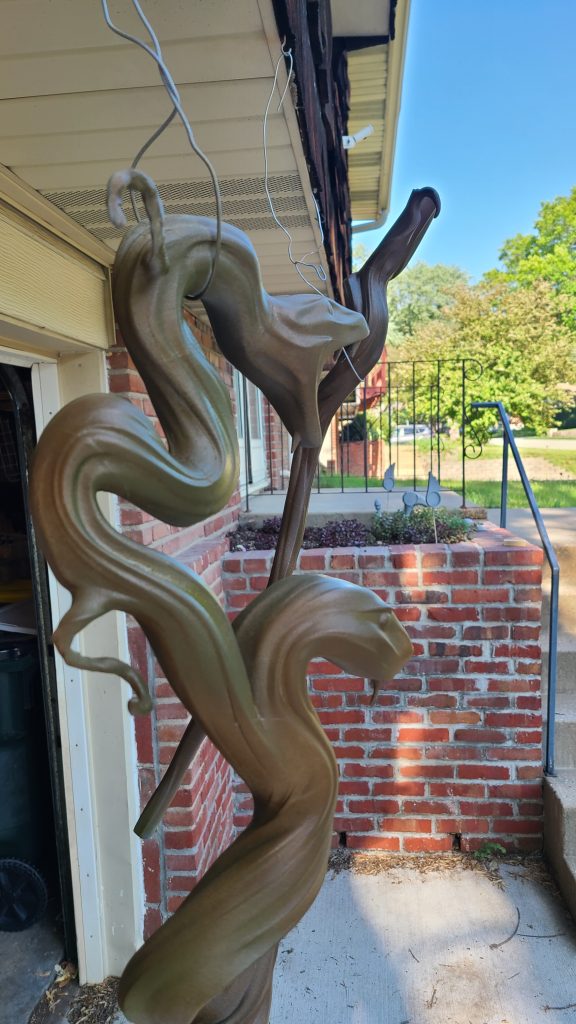
Great thanks to @remarkableprops for the images!
We created the 3D model based on the official illustration of Fearne Calloway in Campaign 3, by Hannah Friederichs. The prop features hex-shaped slots that will help you with the assembly using our hex pins. The lantern is hollow and therefore allows inserting an LED light.
Supplies
- 3D printer
- 3D model of the staff – STL files by 3Demon
- filament:
- any leftover PLA for the staff
- white translucent filament for the lantern
- LED light / IKEA candle
- soldering iron
- superglue
- Spray filler and putty
- Sandpaper
- Acrylic paints, brushes, spray paints
About the 3D Model
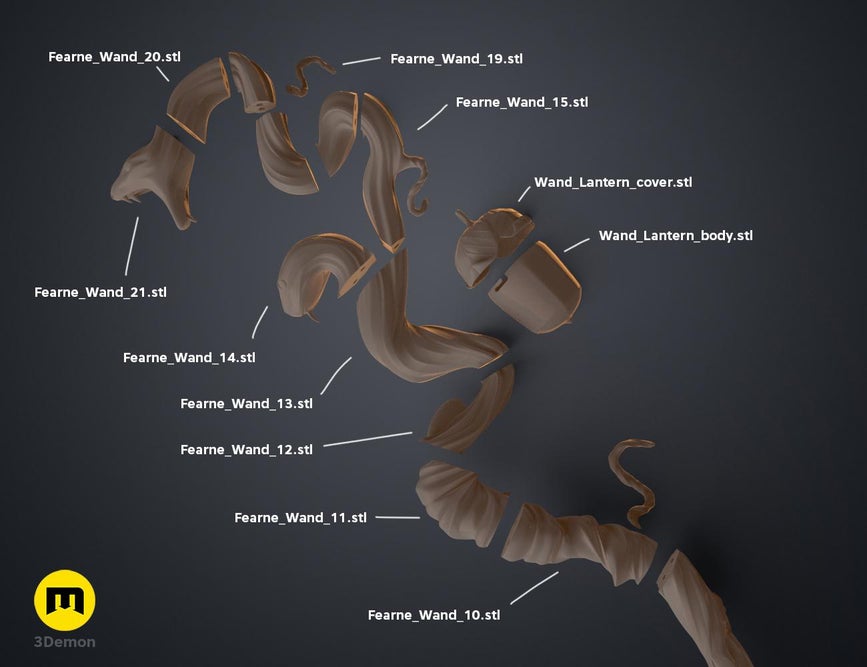
We modeled the staff from start to finish in 3ds Max, using step-by-step polygon modeling. Compared to sculpting, we had more control over the individual lines of the intertwining vines. We managed to create the contours of the texture in such an interesting design that, when viewed from any side, it shows various organic “twists”. The design work took about 10 hours. Then we had to cut the model into pieces and rotate them for the best printing.
Slicing
Our favorite slicing program is Prusaslicer. But you can use any program you like!
Recommended settings:
- Layer height 0.2 mm
- Infill 10%
- Supports 40°
- 5 mm brim for better bed adhesion
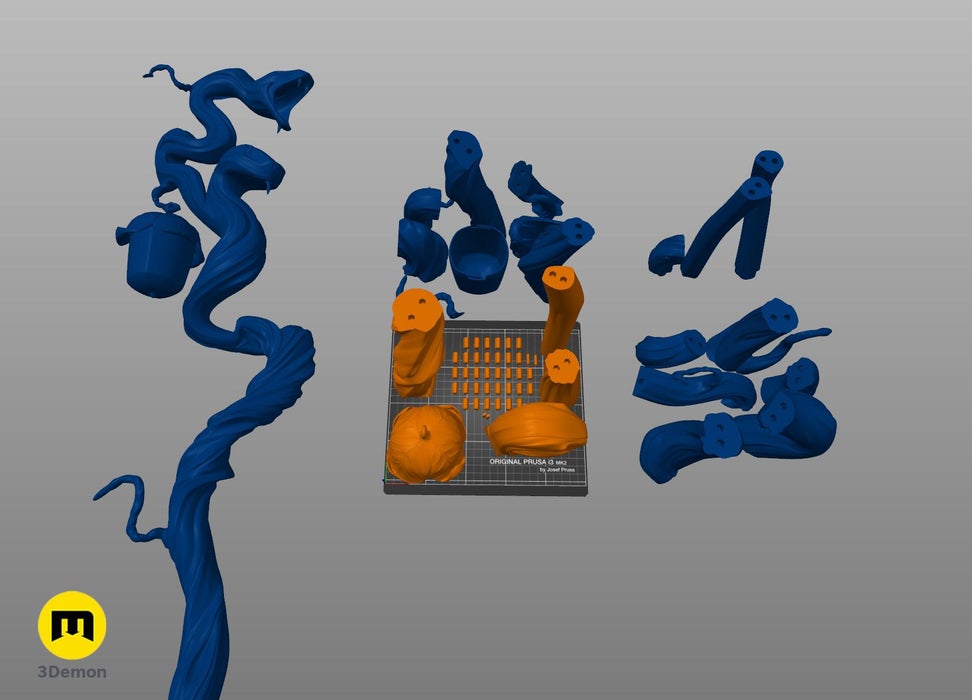
The files are already oriented and placed on the print bed. Each piece fits the standard 200mm printer beds.
You can use any leftover filament for the staff but the lantern should be printed in white translucent filament so that the light can shine through.
Make sure you print enough hey-peg pins! The little devil likes to get lost so print some spare ones – 40 pieces should be enough. I’d suggest printing the laying down as shown in the screenshot and adding the infill up to 80%. The hex pegs help you glue the pieces and support the staff so it doesn’t break.
Export the g-codes and print!
Bonus tip: You can also adjust the files (open in a blender or 3D builder, create a cylinder, place it inside the staff, subtract the cylinder) and create space for your rod to strengthen the staff even more.
Printing
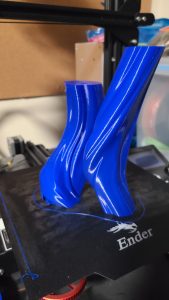
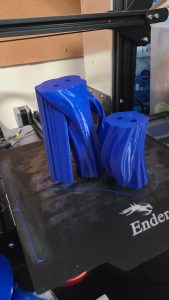
As mentioned before, you can print these on any 3D printer. The pieces fit 200x200mm beds, but you can cut hem in your slicer even more, if needed, or use the OBJ file and export larger pieces if you have a larger 3D printer.
Assembly
Use the strongest superglue possible! Two-component adhesives are also a great option!
The hex pegs (print these with at least 50% infill) will help you with aligning the pieces.
Here are some ideas on how to strengthen the staff:
- Use solder to melt the edges together. You’ll have to apply a thicker coat of putty in those areas later.
- Cover the staff in epoxy resin
Surface
- Apply sandable putty on the connections to hide the seams and sand them down.
- Use spray filler putty and apply a thick coat, sand it down. Repeat until you’re happy with the surface. 2-3 coats are ideal.
- Black spray paint as your base coat for painting
- Airbrush paint for the best result. Or simply 2 spray cans – green and brown and apply from a distance for the nice 2-color effect.
Finishing Touches
Add flowers and your LED light / ikea candle and let your cosplay shine! 🙂
Great thanks to @remarkableprops for the images!
Check our YouTube for more tutorials! 🙂





Leave a Comment