Making Life-size Todo 360! (Cad Bane’s Droid – Star Wars)
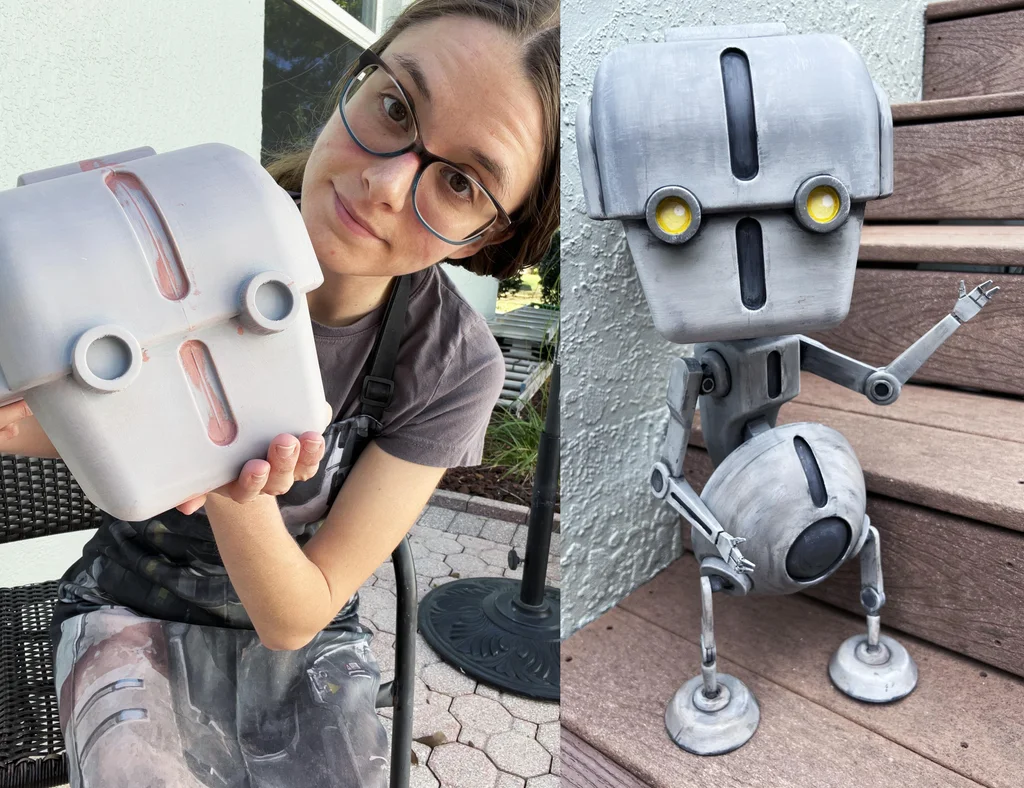
Todo 360 is a techno-service droid from the Star Wars universe. He fell into the hands of Cad Bane, a bounty hunter during the Clone Wars. He participated in several missions by his side. Despite being a techno-service droid, Todo is capable of aiding Bane in fighting his enemies, and keeping his funny personality (often reminding him he’s not a butler.)
In this tutorial, you will learn how to assemble your own TODO 360 droid model! Amazing Cori (@cave_dweller_creations on IG/TikTok) will guide you through the process!

Supplies
- 3D printer
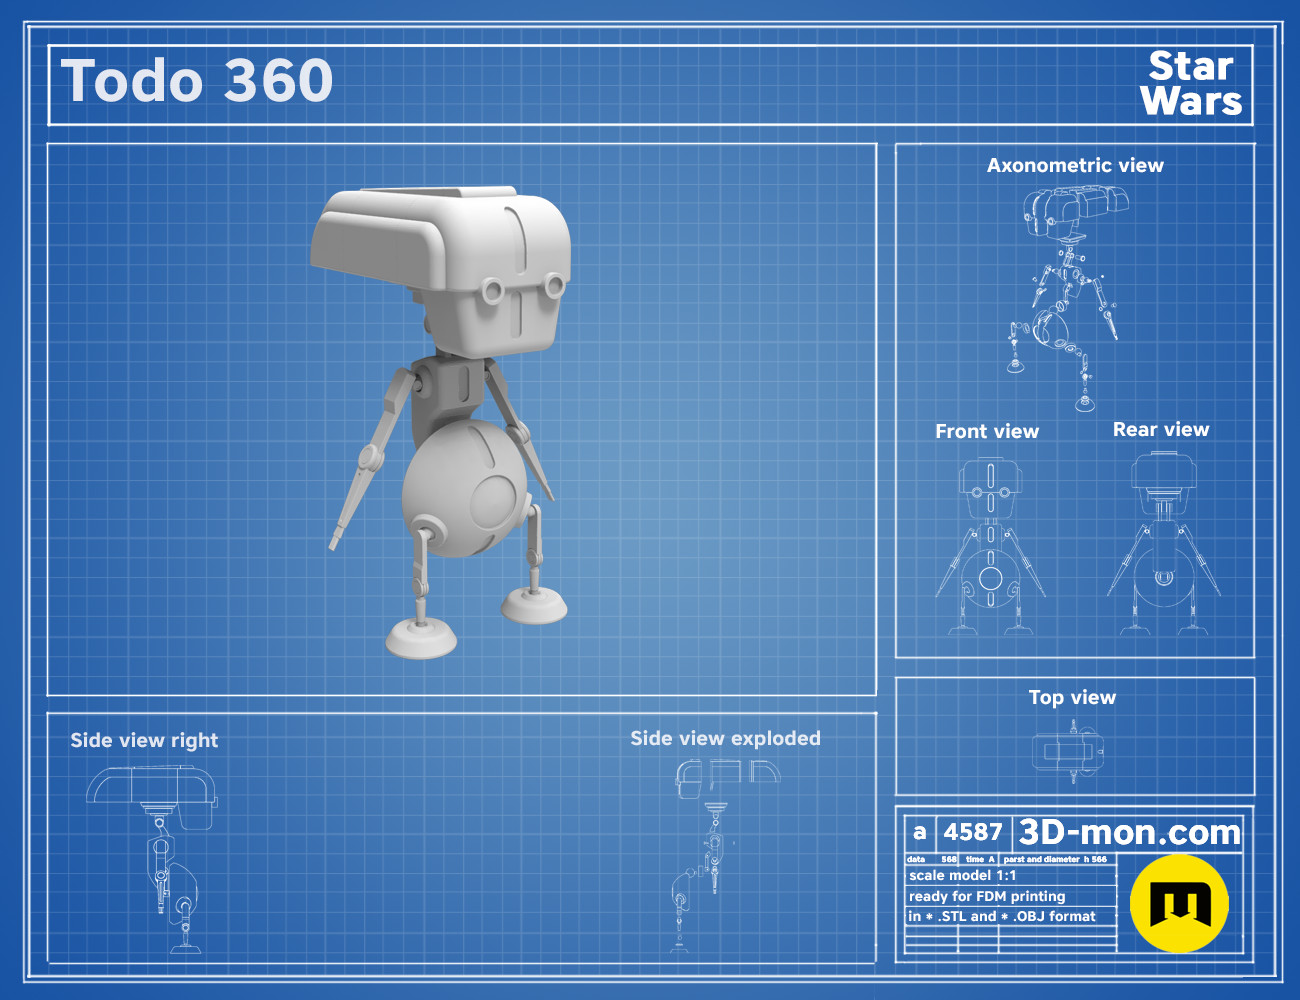
- 3D model of Todo 360 droid – STL files by 3Demon
- Filament: PLA or anything you prefer
- Superglue
- Sandpaper, electric sander
- Spray filler, wood filler
- Acrylic paints, brushes

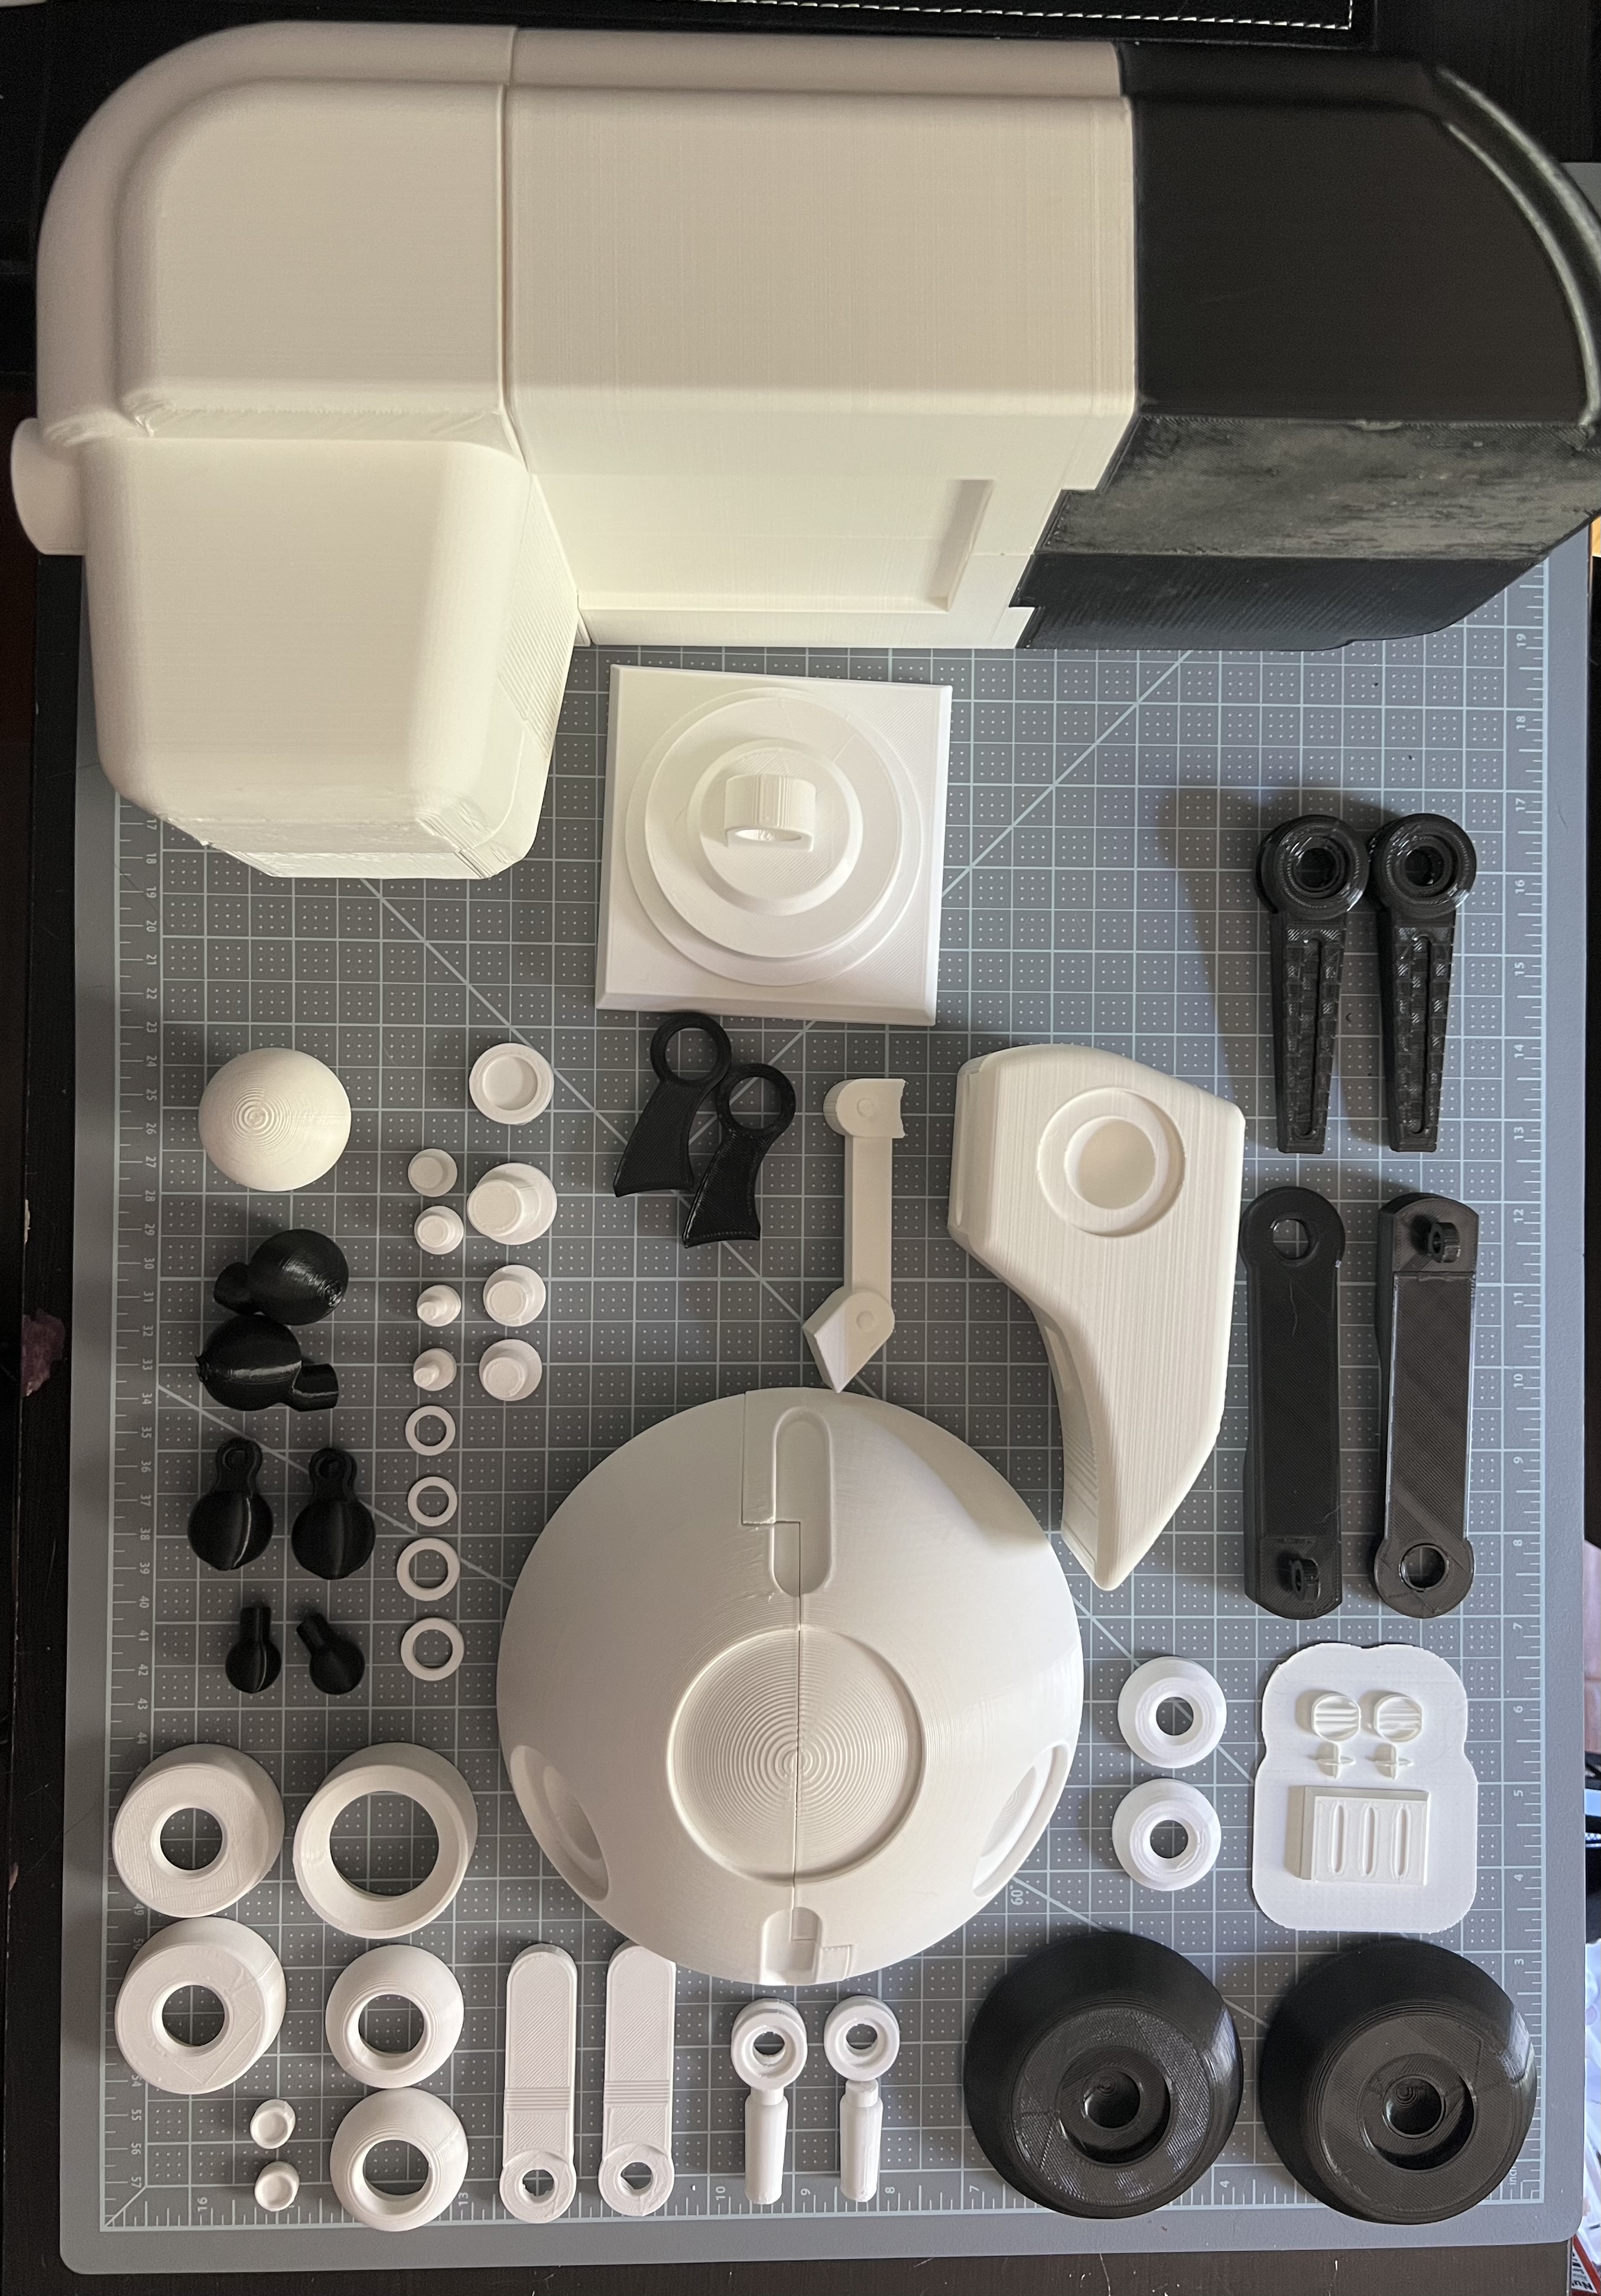
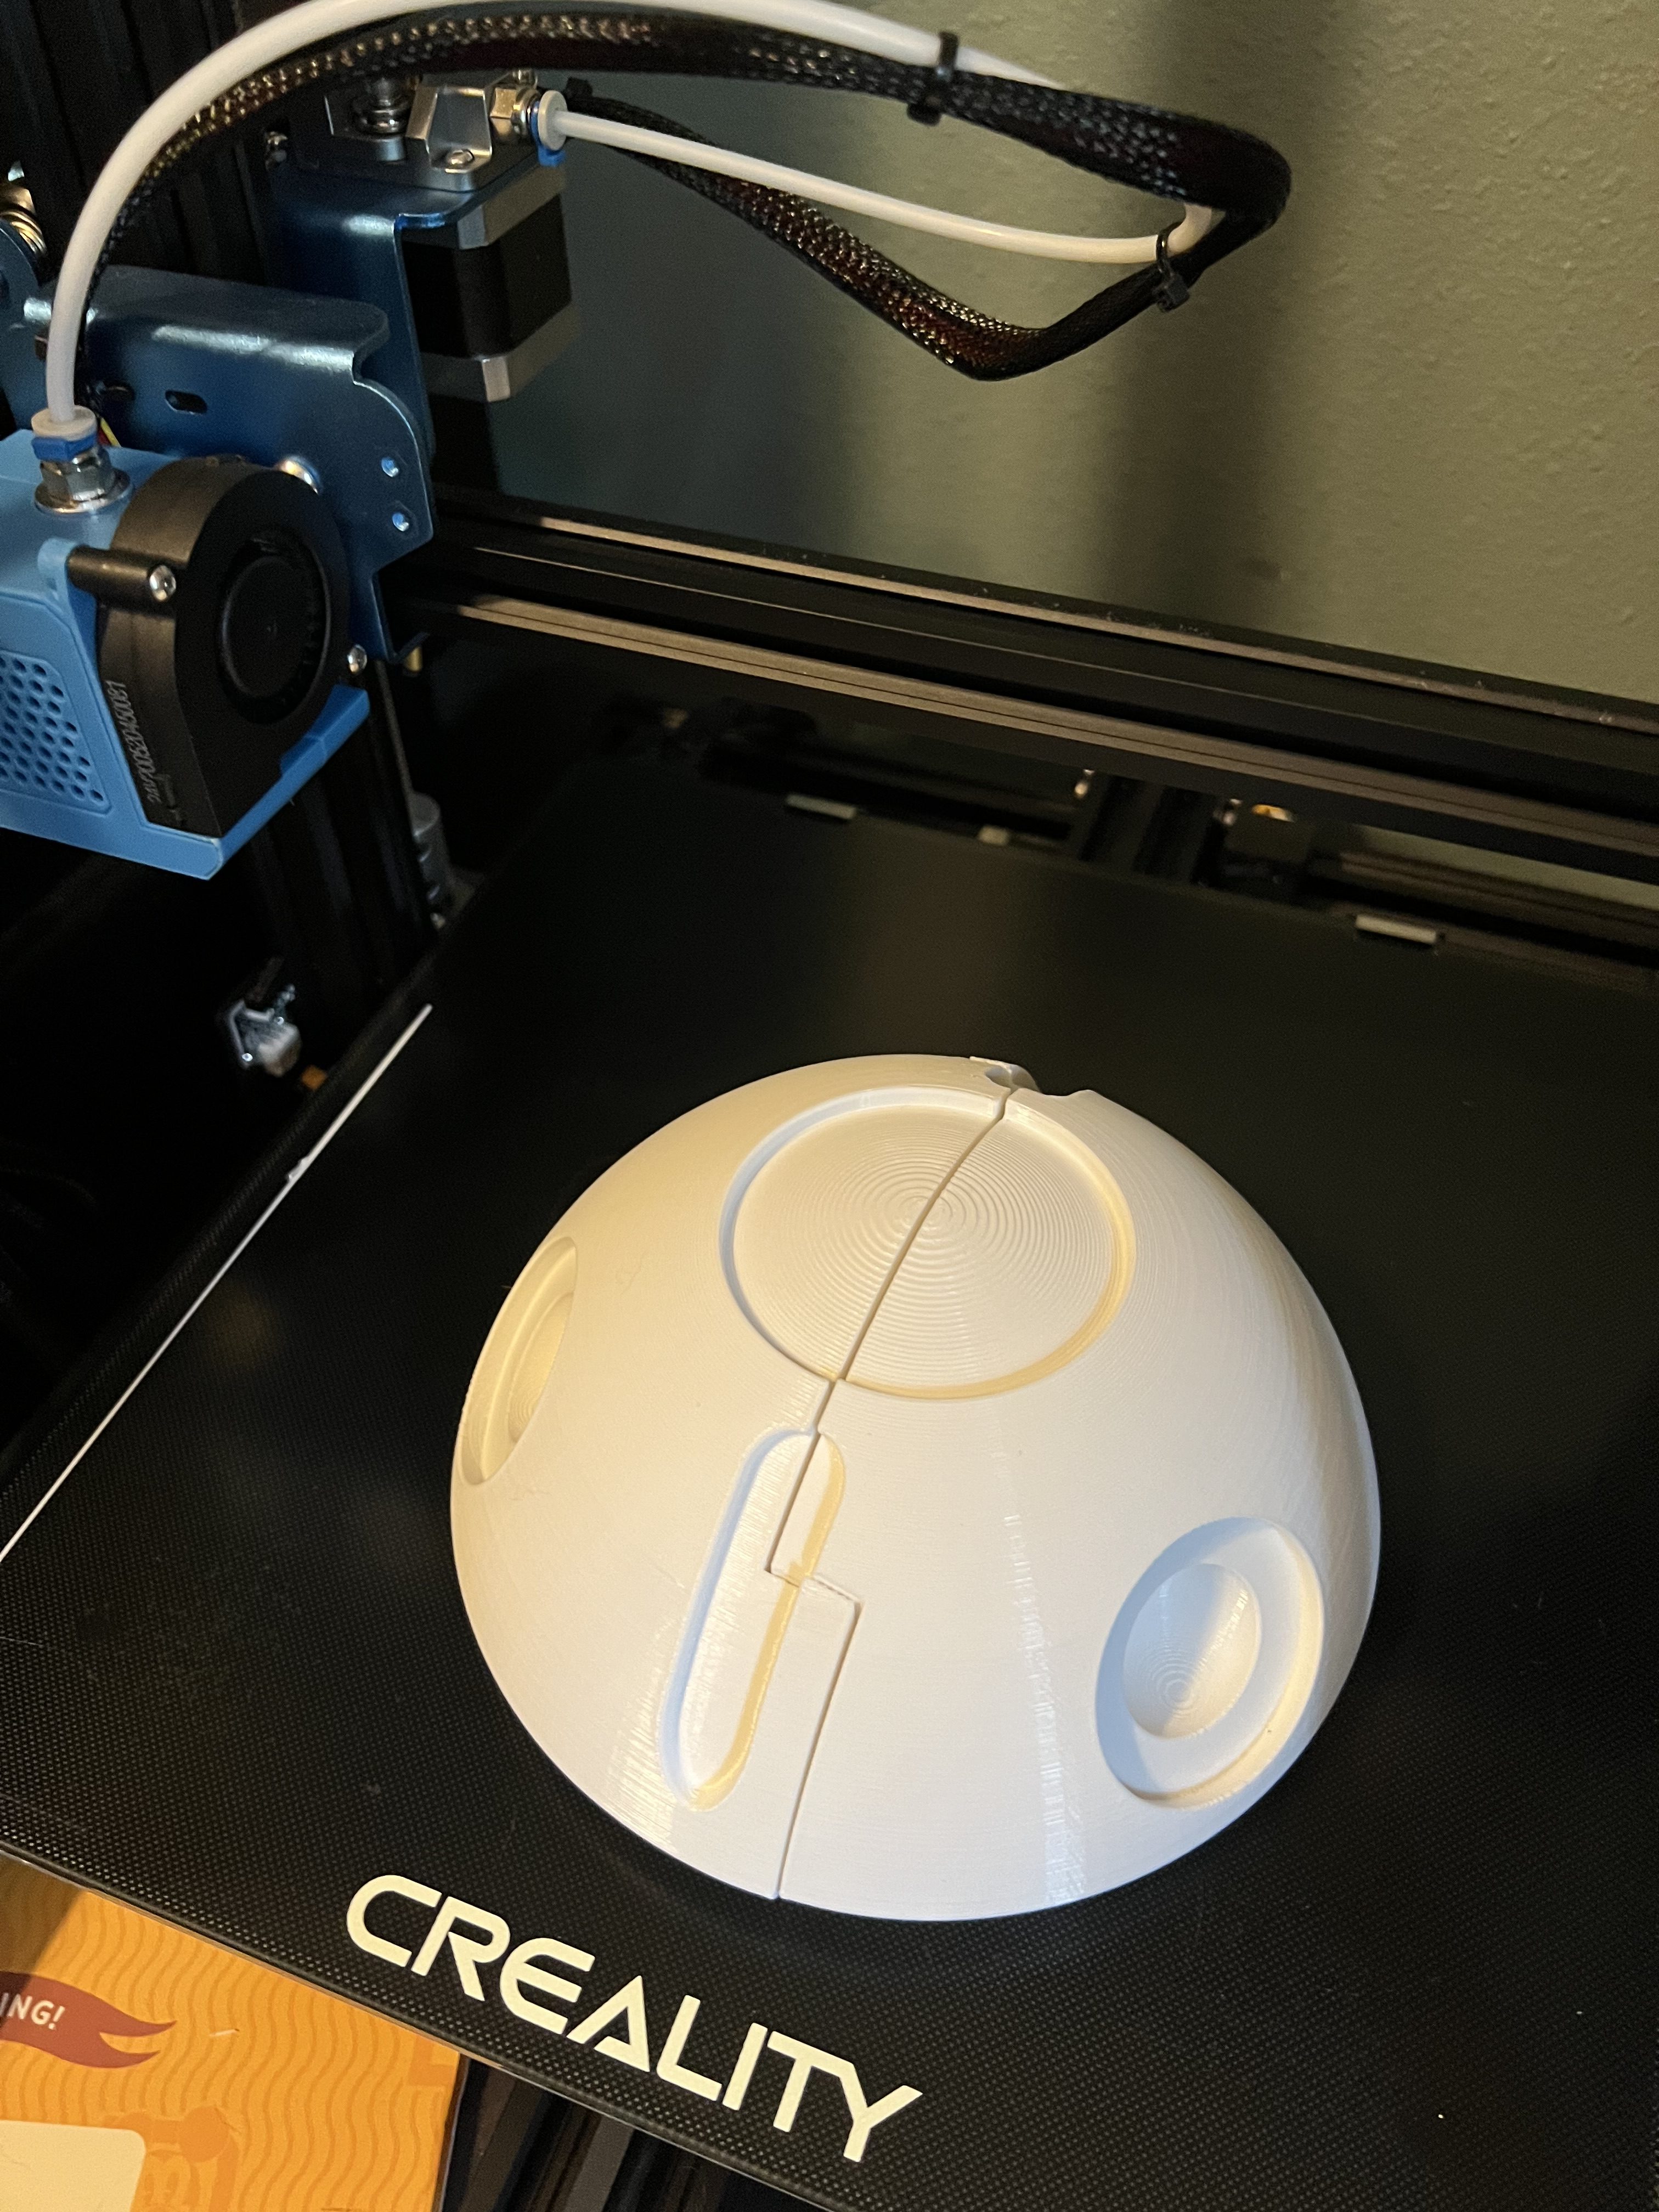
Step 1: Print the Droid Parts!
There’s a special feeling to printing small mechanical-like parts of a droid that just fit together. Almost as if you were the original droid manufacturer! Cori used her Creality CR10 V2 and it ran smoothly through every print.
You can use a silver-metallic filament, but she decided to use anything she had at her disposal (Black and White PLA) as she was going to post-process and paint the droid model anyway!
Printer setting:
- Layer height at 0.3mm and printing with 3 walls
- Infill percentage varied between 4% for the head because it’s so big compared to the body
- to 10-20% for some of the parts that needed extra support
- The layer lines were easy to hide at 0.3mm but Cori left some as she liked the look on the droid
Step 2: Smooth Out and Assemble Todo
Now it’s time to glue the head (3-6 pieces) and the belly (2 pieces) using super glue! We’re gluing only these so we can hide the seams using wood putty or any sandable putty from your local craft store.
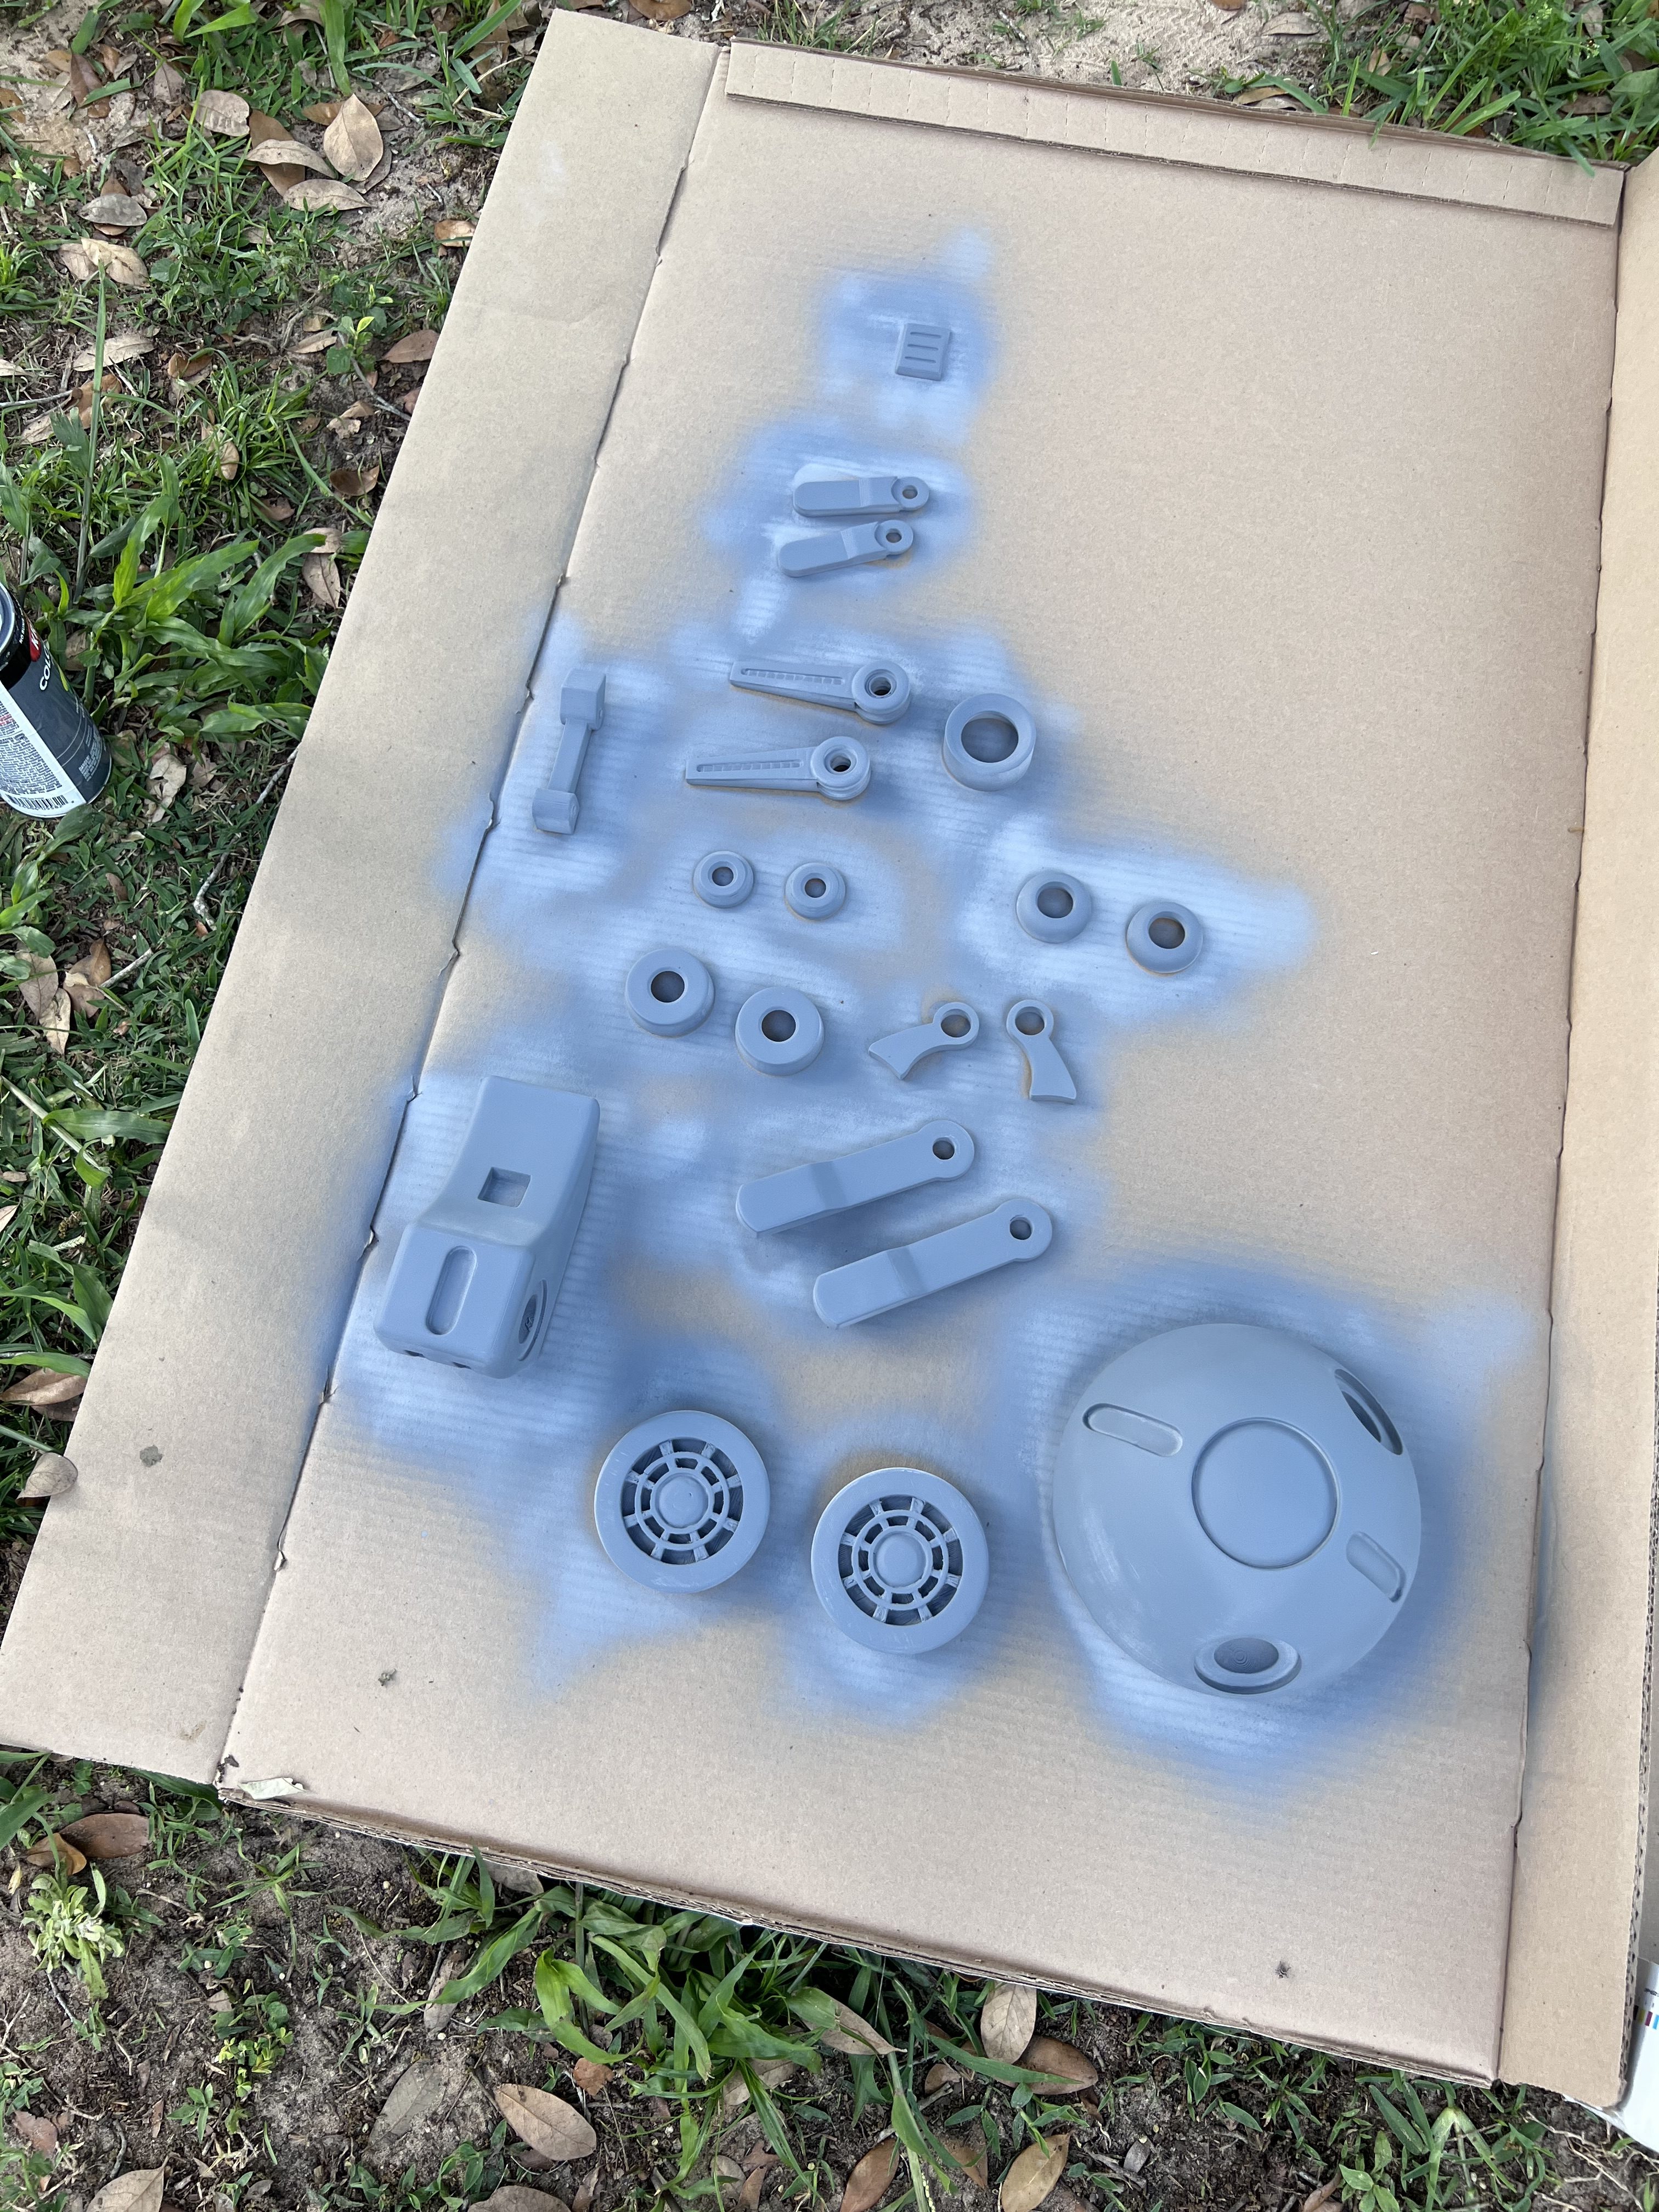
For the larger round parts, it is a good idea to get rid of some layer lines and for that, you’ll need a can or two of spray filler. Sand down each layer of filler or putty after it dries out properly. Finish with a coat of spray primer/base paint color.
Cori went for a TV show stylized look and started with matt gray paint color!


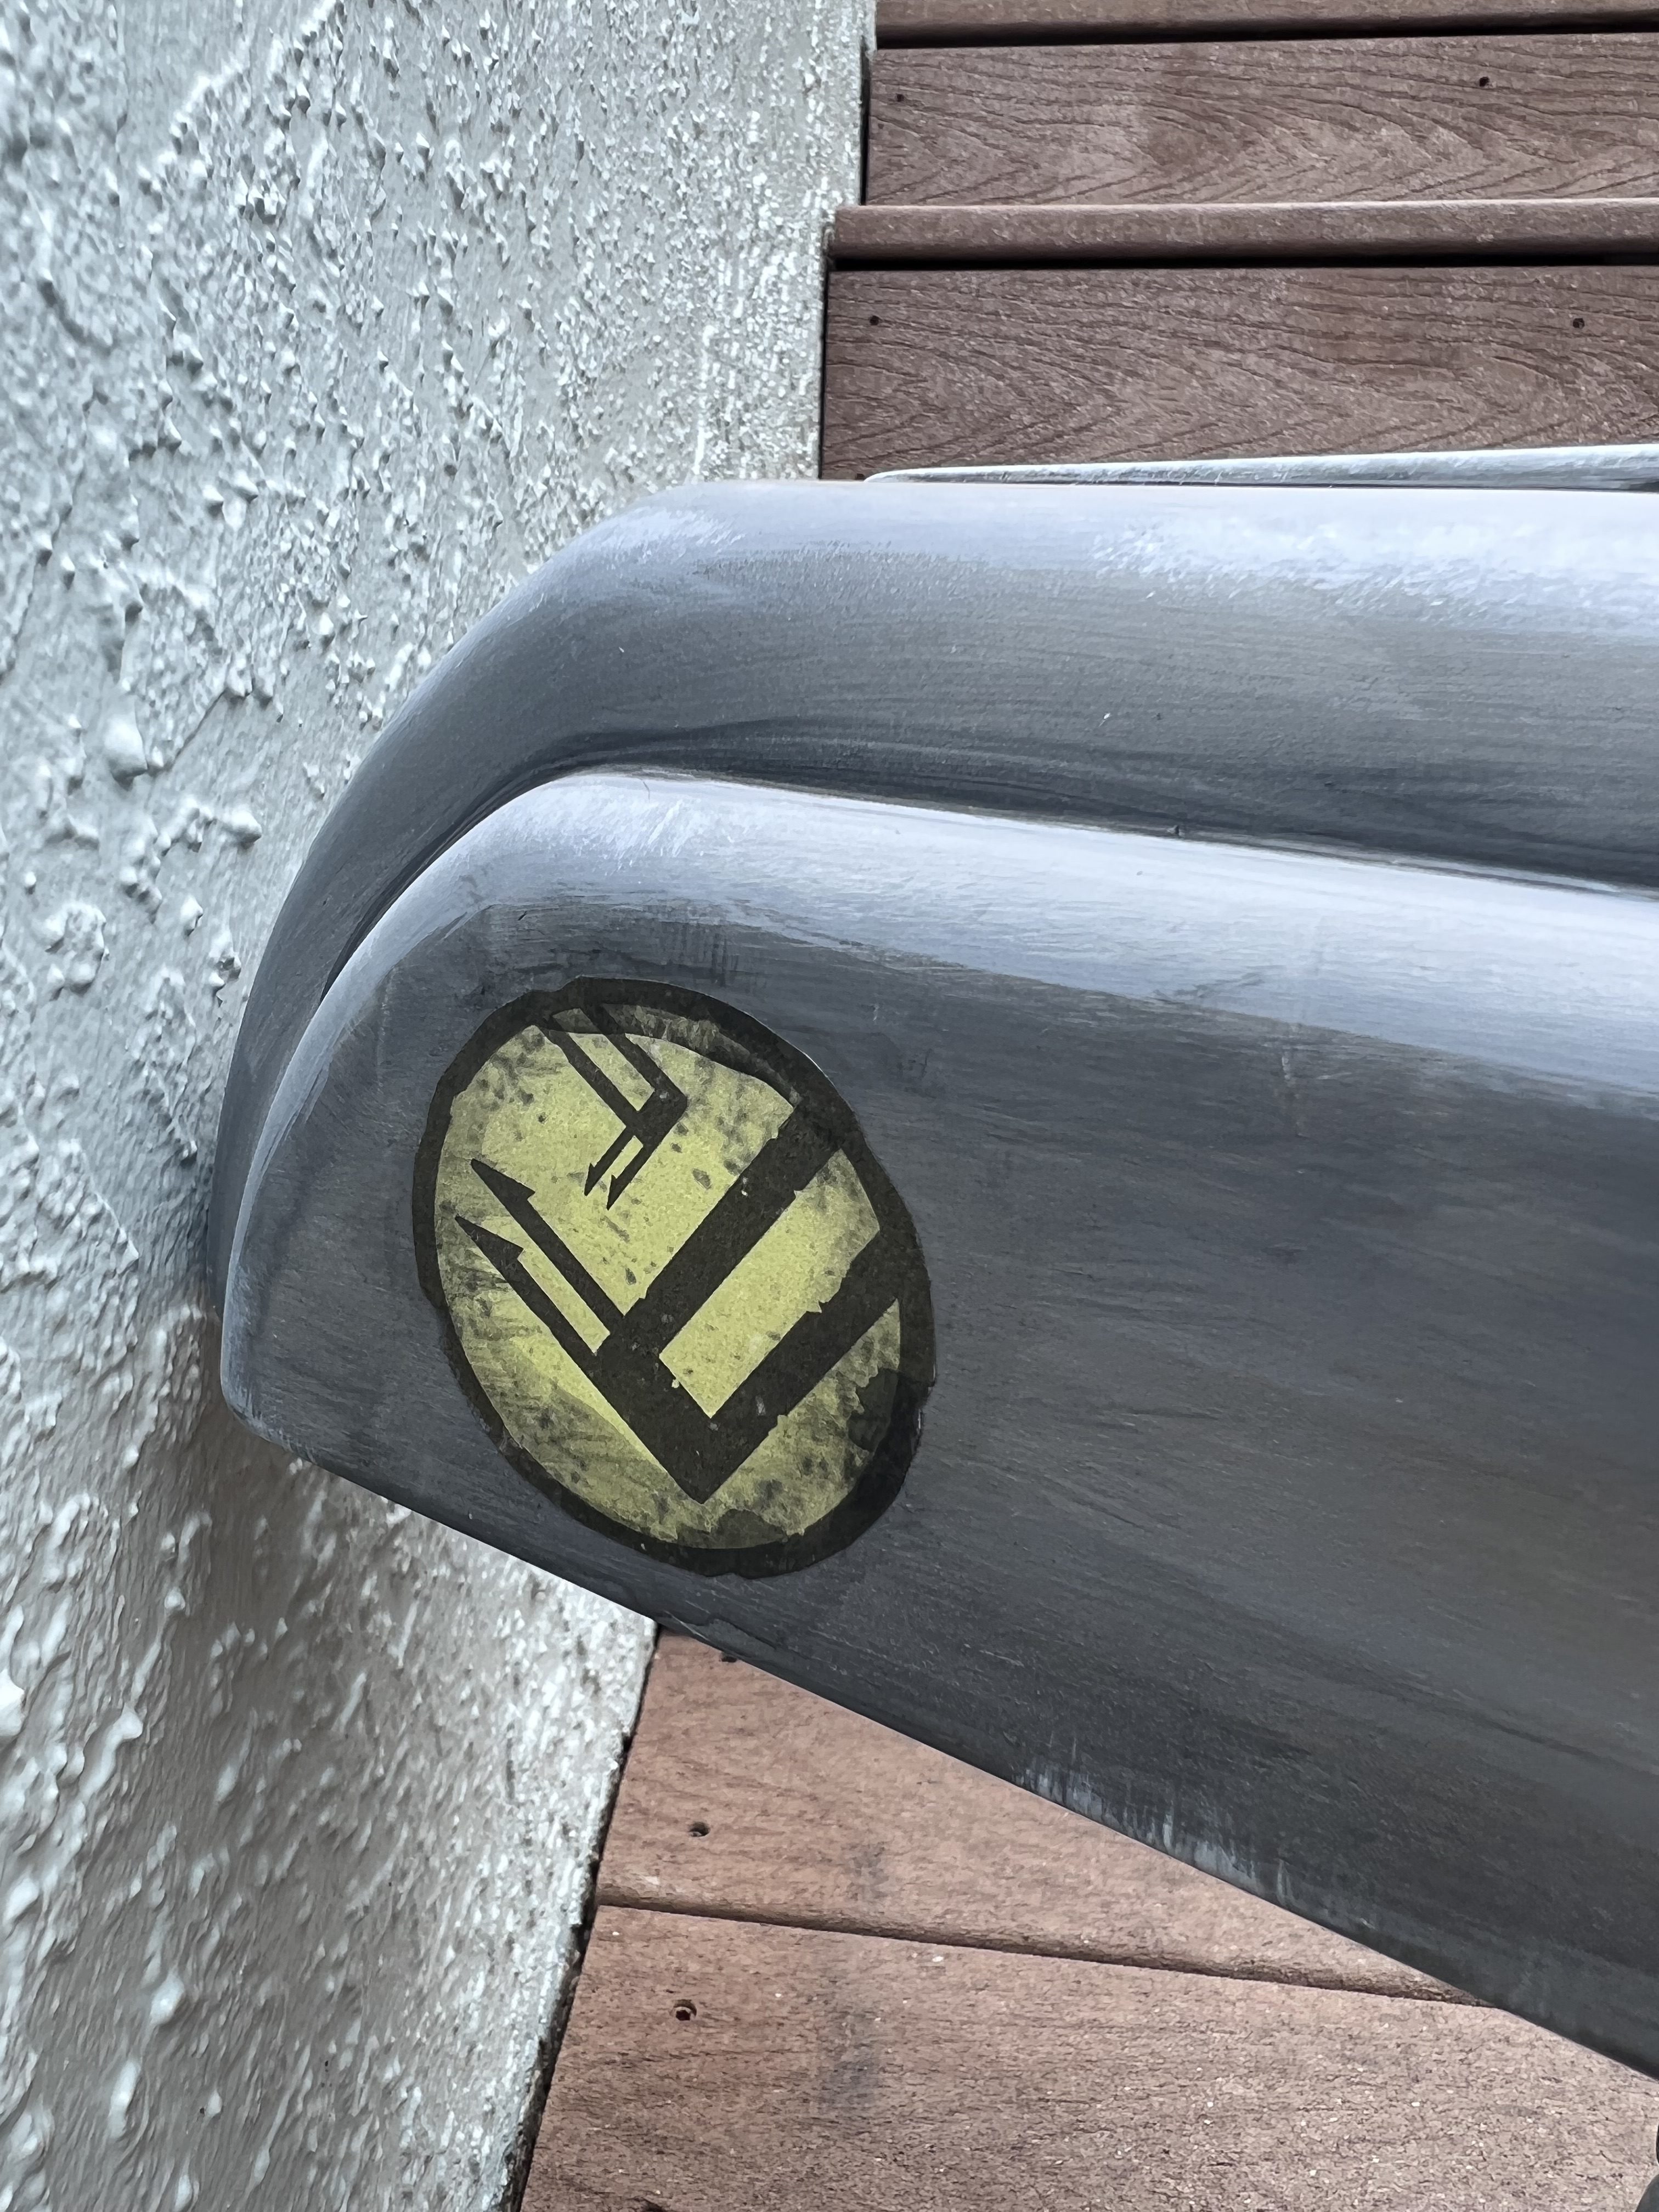
Step 3: Paint the Details and Glue
The Todo 360 droid model is fully posable. However, the knee joints and the shoulder joints are quite thin and therefore fragile, so be careful! Once you find a pose you like, glue Todo in position and finish with weathering and highlights.
Head to Cori’s Instagram to see more photos and videos of her Cad Bane cosplay and of course more Todo content! 🙂 Download this tutorial in PDF here.
Check more of our 3D designs and work: 3Demon
Leave a Comment