Custom DnD miniature cutting

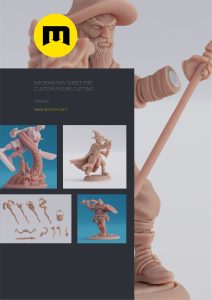
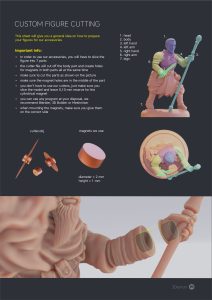
Make your DnD hero modular by cutting it and adding magnet slots! You’ll end up having thousands of assembling variations! You can cut any 3D printable figure, such as your own heros from the Hero Forge.
We love to explore the possibilities of magnetic modular miniatures. For example, we came up with funny magnetic condition markers and we also made this Free Modular Mage figure.
In this article, we will guide you through the process of preparing your own figures for inserting magnets. We will be using a program called Blender.
Before you start, we recommend checking our YouTube video. You can also Download our manual in PDF.
- Import the 3D figure you want to cut
- After that, import our 3D cutters.obj
- Once you import the cutters, select Move or press G on the keyboard and position the cutters in the correct location. There are multiple sizes of the cutters, pick the one that best fits your 3D figure – for example, the small one is the best for cutting the hands as it doesn’t interfere with the weapons. Don’t deform or resize the cutters.
- Move the cutters and rotate them by selecting „Rotate” or by pressing R on the keyboard.
- Duplicate the cutter and repeat the process. Press Shift+D for an easy duplicate.
- Repeat the process until you have moved and rotated all the cutters in the correct positions.
- Next, we will select Edit – Preferences – Add-ons and look for Bool Tool and activate it.
- Press N on the keyboard to show the side panel. Select Edit – Bool Tool.
Then we will select first the cutter we want to subtract, and after that, Shift+select the 3D figure.
Select „Difference” on the side panel.
The cutter should disappear and cut the figure all at the same time. - Once it’s done, press A on the keyboard to select everything. Once everything is selected, press P to separate. Select Separate by loose parts.
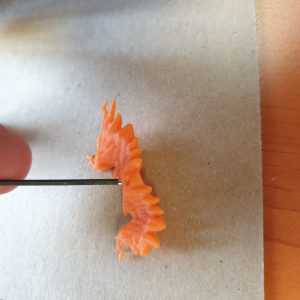
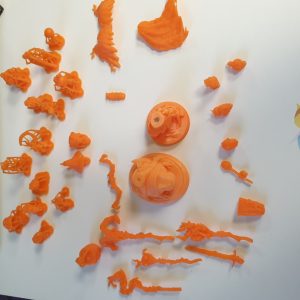
Once you print it and remove the supports, you’re ready for inserting 2mm magnets!
Enjoy your modular magnetic miniatures!


Leave a Comment