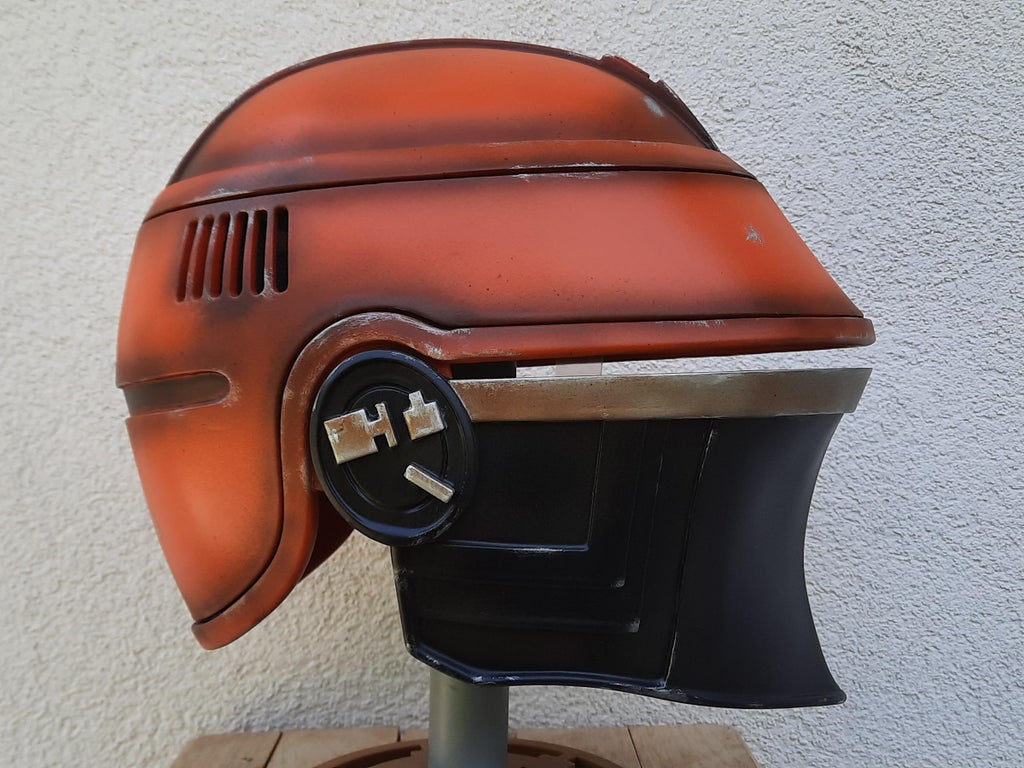
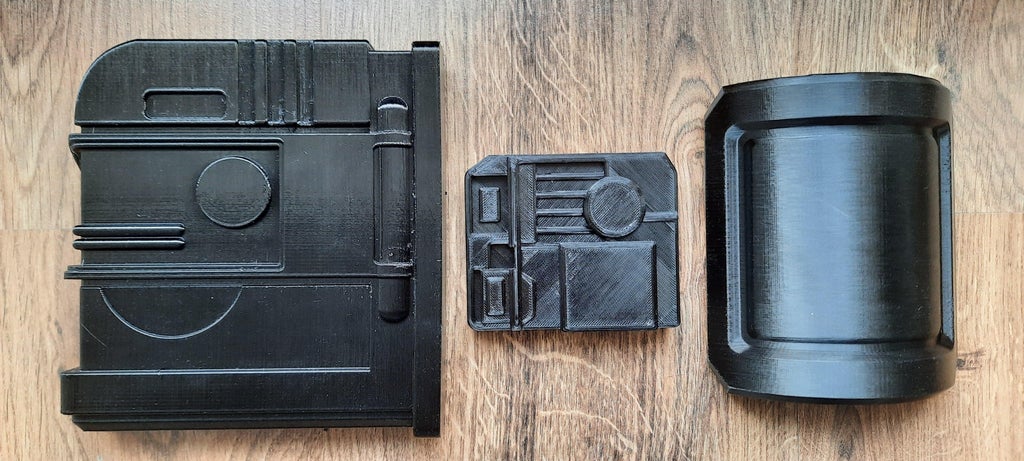
Fennec Shand is a character from the Mandalorian Series. We bring you a tutorial on how to make her helmet and armor accessories for cosplay.
- 3D printer
- 3D printing filament
- Files for printing
- Soldering iron
- Glue
- Resin
- Spray paint, primer, filler
- Sandpaper
- Acrylic paint
Step 1: The Printing Process, Printer Settings
For printing the Fennec Shand helmet and accessories we used PETG. It is chemically and thermally resistant, it is easy to print with, it sits well on the printing surface, it also has excellent color adhesion and it is odorless. In addition, the deformation during cooling is low.
Various settings were used during printing - Larger accessories, where there is less detail, were printed with a 0.3 mm layer, speed was set to 60 mm/s. Smaller accessories were printed with 0.2 mm layer details and 45 mm/s, although it takes longer to print, the details stand out better. The number of full top and bottom layers and perimeters is also important.
We usually print with 5 to 6 layers and 3-4 perimeters, 15 to 20% filling. The inner perimeters were printed first and then the outer ones. The infill does not show on the surface and the perimeters are evenly distributed. Supports were also required to print larger insignia.
Step 2: Gluing Parts Together
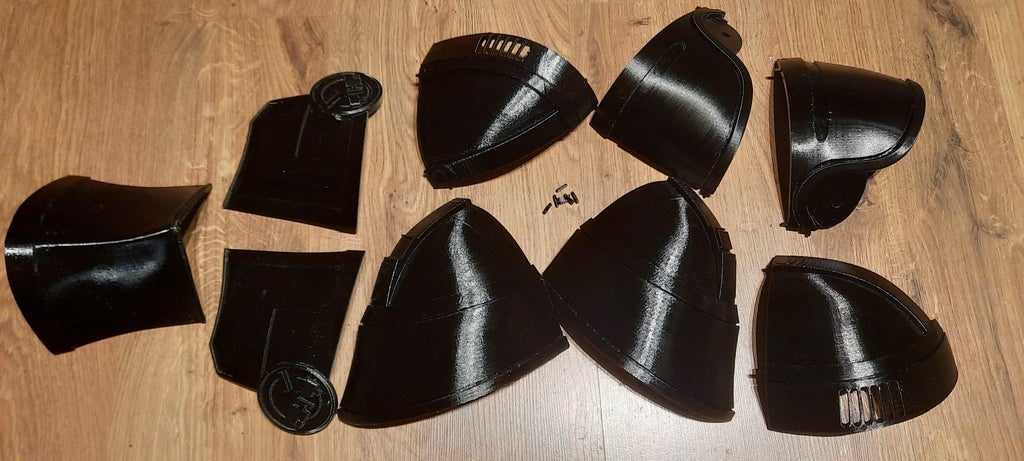

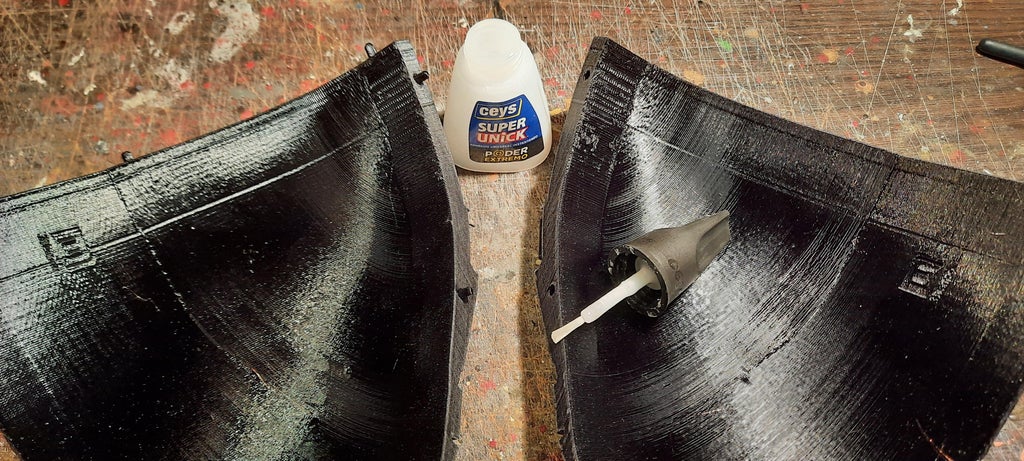
The accessories for Fennec Shand cosplay don't need any gluing but in our case, the helmet had to be glued together (if you have a big enough printer you can print the helmet whole and skip this step). The helmet files also contain small pins that fit exactly into the holes on the helmet and the parts fit together nicely.
When gluing PETG (but also PLA) a common instant glue will suffice. We prefer an adhesive with a gel consistency. Insert the pins in the holes first and make sure everything fits. Lightly sand, clean and degrease the edges before applying the adhesive. Apply the glue with a brush and press the parts of the helmet together for 20-30 seconds. Another possibility of strengthening the place of joining is gluing another plastic or fibreglass sheet from the inside with a soldering iron. If you are skilled with a soldering iron you can even smooth out the joints from the outside and this way you won't need further filling and sanding down.
If the helmet is only displayed in the display case (and seldom manipulated with) all you have to do is to glue it. If you want to wear the helmet with the costume, then we recommend using the soldering iron.
Step 3: Surface Treatment, Smoothing

3D printed models have visible layers from the printing, so it needs to be processed.
This can be done by the following procedures:
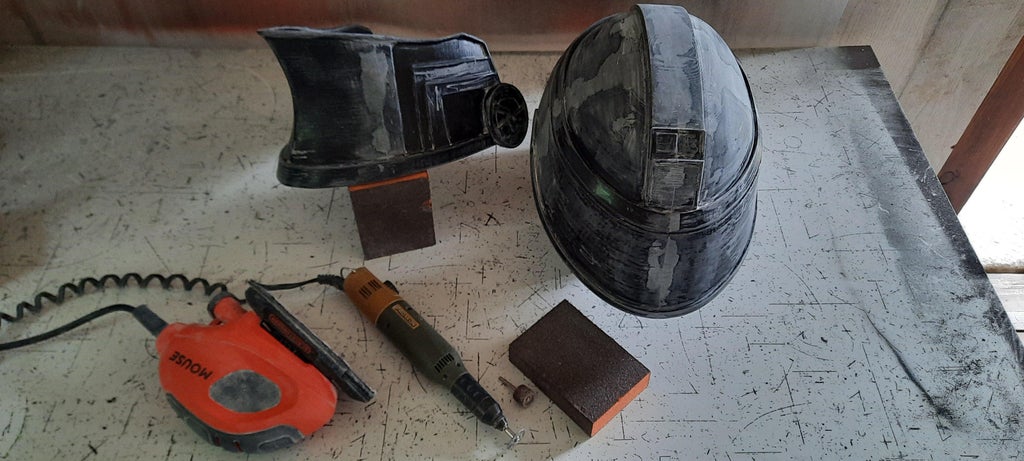
1) Sanding with sandpaper - after printing without any surface treatment, the model can be smoothed with sandpaper. This can be a lot of work and the result is not always smooth enough. A grinder can also be used. The sanded, cleaned and degreased models are then ready for further processing.
2) Creating a smooth layer with epoxy resin - (XTC 3D was used in this model) - mix the two liquids as described on the packaging. Apply the mixture to the surface of the model. It is ideal to use a brush, the strokes won't be visible on the surface. The processing time is 10 minutes and the curing time is approximately 4 hours (depending on the amount of resin and temperature in the room). The surface of the model must be cleaned and degreased before applying the resin. The whole package will last for a lot of printed models, so if you print often or if you post-process larger models, the resin is definitely worth the investment. Another advantage, in addition to smoothing the model, is its strengthening.
It is also possible to add color pigments. The model is hardened and shiny afterwards. It can also be sanded for an even smoother effect. From our own experience, we noticed that sometimes after the resin has hardened, the surface remains slightly sticky. There are also sometimes some visible drops that have not hardened. It is possible to immerse the model in water for a few minutes and the remains of resin will be washed away.
If using resin, be careful as some of the smallest details on the model can disappear.
If you use UV resin, you will need a UV light source. In this case, a UV nail lamp can be used. It has an effective UV lamp and strengthens the resin. Just insert it under the lamp for 2-3 minutes. Unfortunately, with the help of a UV lamp, you can only strengthen models that fit under the lamp. If it is bigger then you can let it cure outside, in the sun.
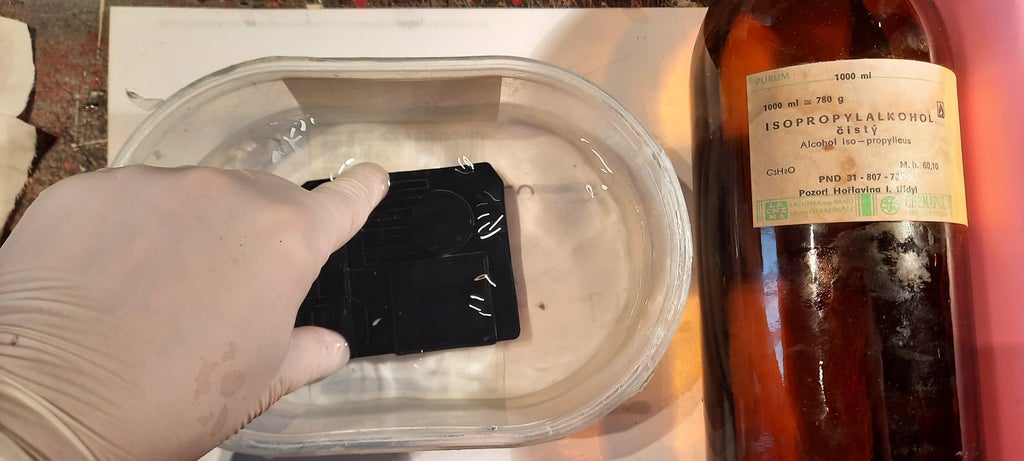
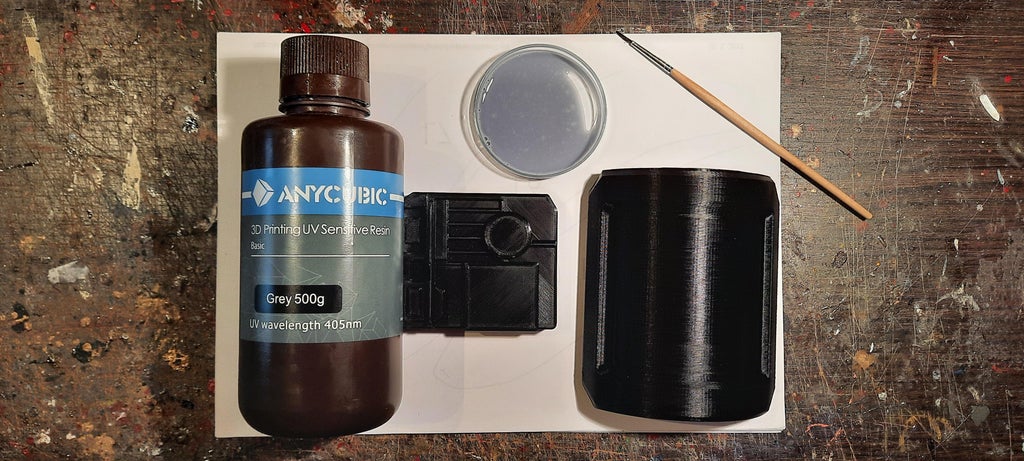
You can also use UV sensitive resin which is used as a refill for LCD / DLP 3D printers. It provides a very pleasant result, the printed model is smooth and much easier to work with, but you need more than just a brush when compared to XTC 3D. The surface of the model needs to be cleaned and degreased, isopropyl alcohol was used here. After curing, the model remains slightly sticky again and remnants of uncured resin must be washed out, in which case isopropyl alcohol (IPA) is suitable. Just 5 minutes and the model is ready for further processing.
Step 4: Further Smoothing, Sealing and Painting
Do not forget to use protective equipment when sealing, sanding and spray painting!
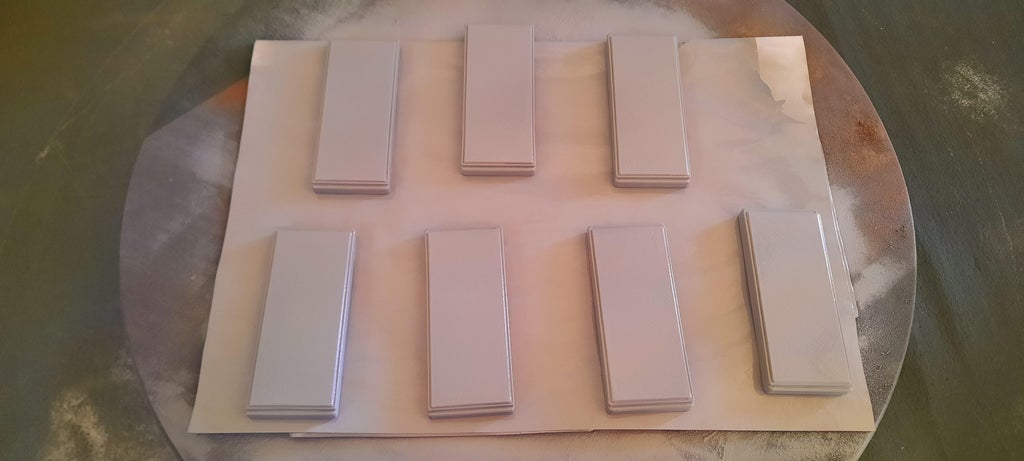
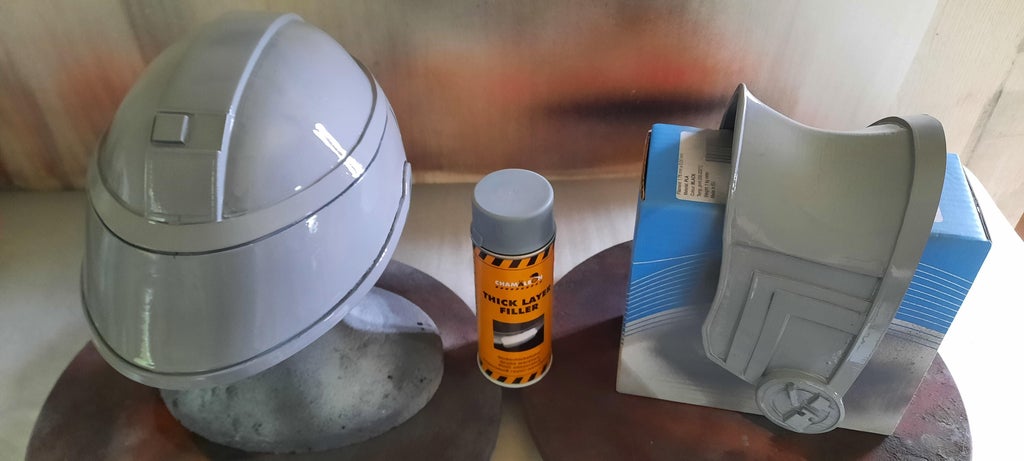
We cleaned and degreased the models and then sprayed them with primer. We sprayed the helmet and accessories with 5 layers. Be careful when layering. The previous layer should be completely dry so the paint doesn't create drops.
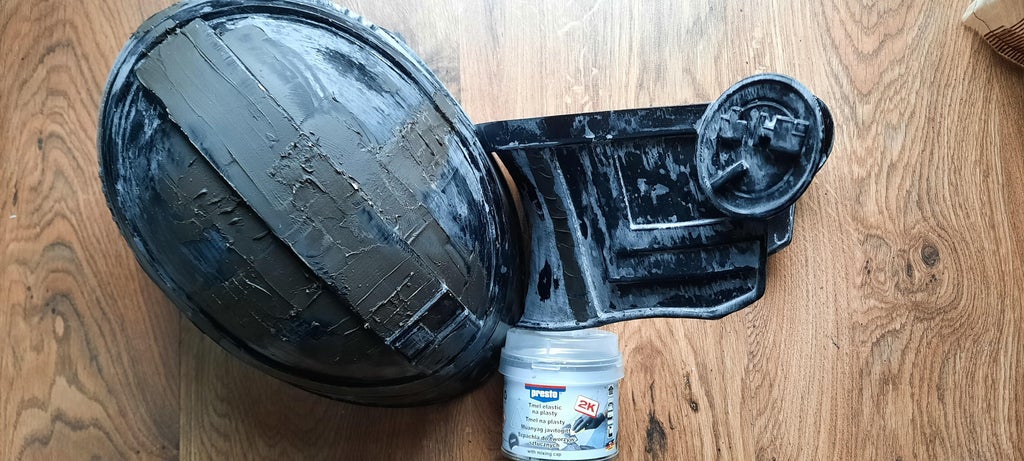
The helmet needed sealing to hide the seams. We used a filler for plastics and then sanded it down and covered it with primer and spray paint.
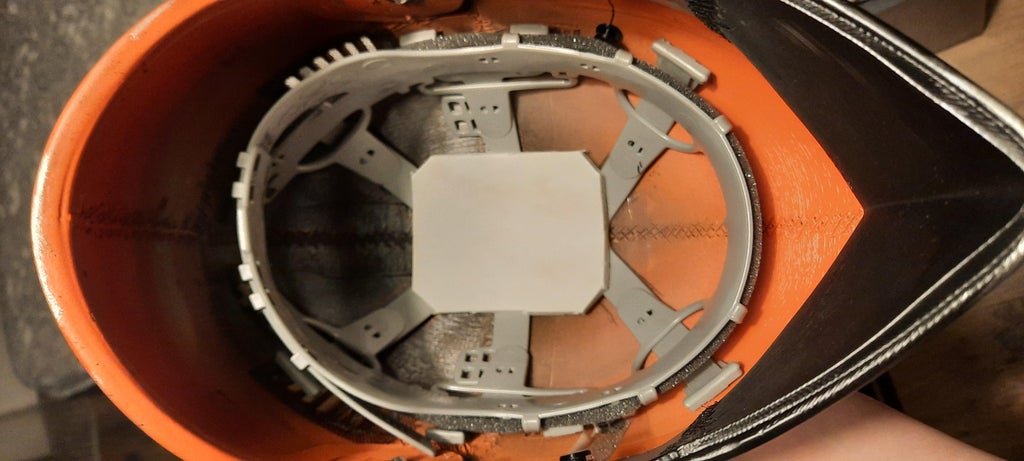
In order for the helmet to fit and work well, a few minor adjustments had to be made. We glued a hard hat inside to make it adjustable and more stable.
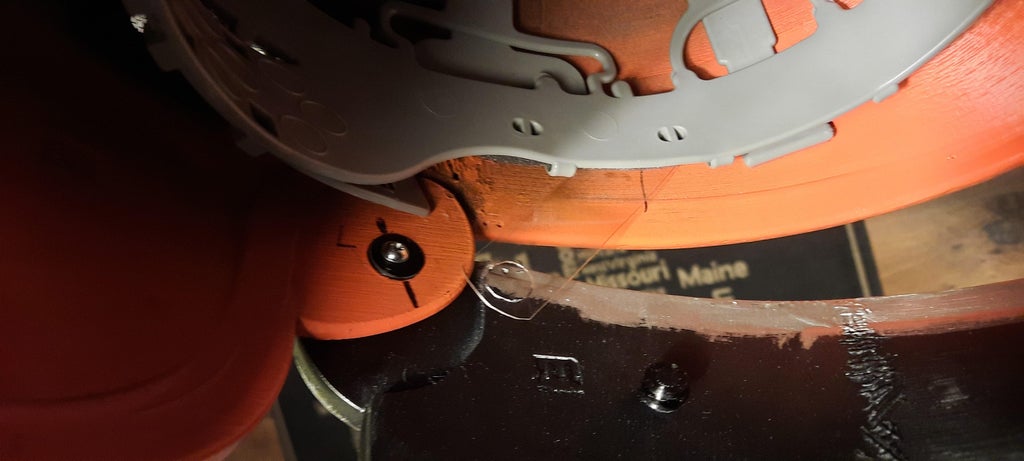
Fennec Shand wore her helmet closed, or the narrow window was ajar. Therefore we had to stabilize both positions. The open helmet is given by the construction of the helmet itself, the closed one must have a support so that the lower part does not fall when worn. We solved it with a piece of translucent foil, which is used, for example, as part of a shield for medics. We added two rivets, printed from PETG, to the inside of the helmet and glued them with instant glue. The foil is connected to the upper rivet so that it does not slip out, on the contrary, the helmet can be removed from the lower rivet so that the owner can wear it open or closed.
Step 5: Weathering and Battle Damage

An important step that makes the props look realistic!
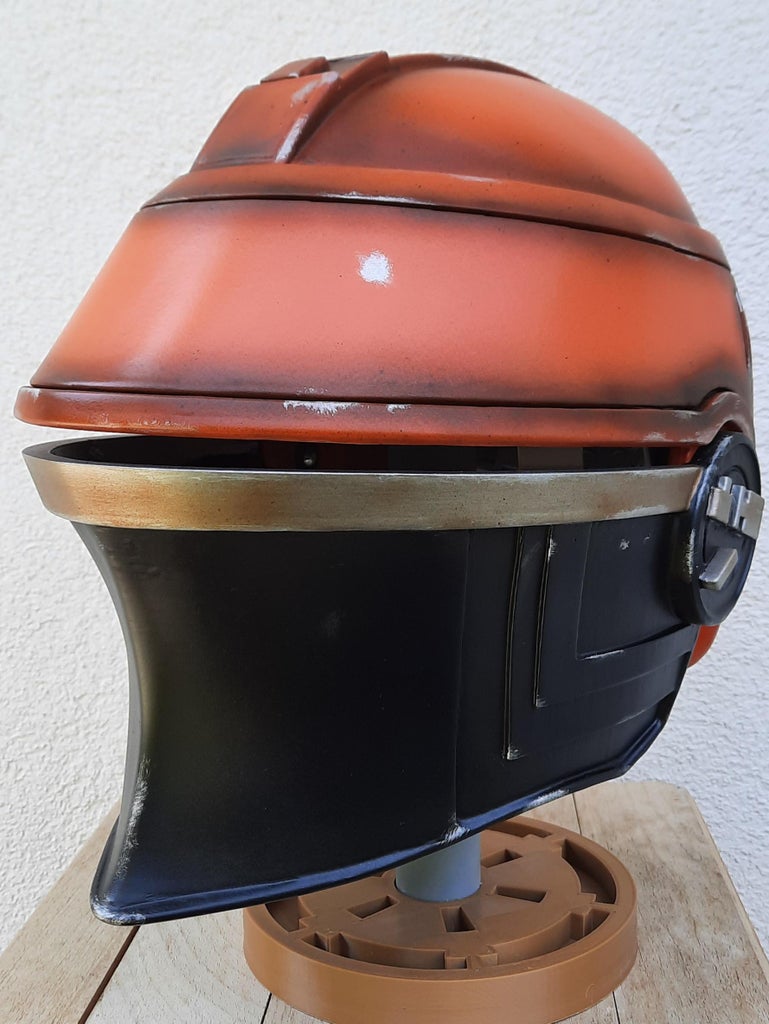
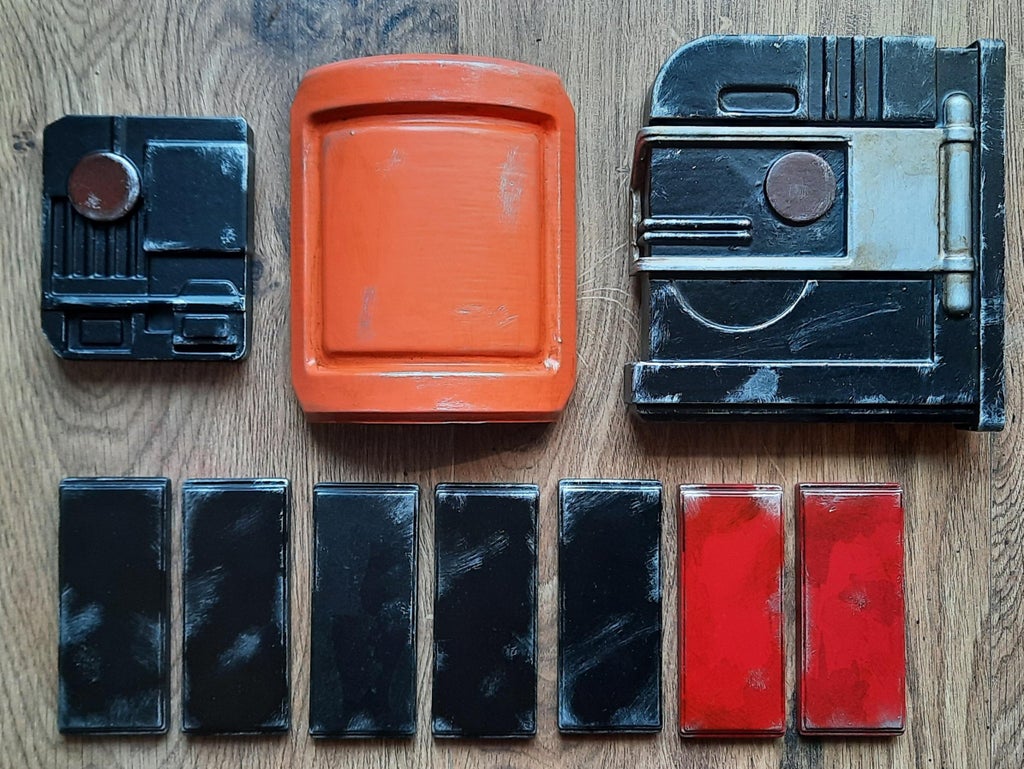
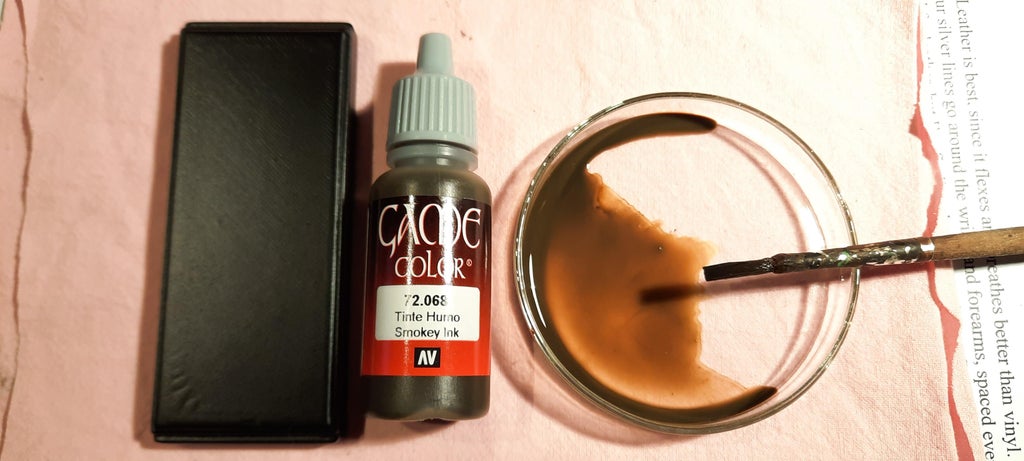
Since Fennec Shand has obviously been using her helmet and accessories for some time, it was unthinkable for them to look brand new. That's why everything needed to be adjusted to make it look realistic - that is, some abrasions, bullet holes, dusty or abraded parts. The first thing we did on the helmet was airbrushing - Smokey Ink from Vallejo, acrylic paint, in dark places according to the model.
After drying, we made abrasions with silver acrylic paint using the dry brush method. The color is a bit lighter than the one we used on the silver part of the helmet. We used an old and worn brush. After finishing, we coated the whole helmet with two layers of clear matt protective spray paint. We used a different approach with the accessories. Here we used a diluted color (brand Smokey Ink) which we applied to the corners, crevices and on a part of the smooth surface and then dried with a cloth. But be careful not to wipe, just apply it and let it soak.
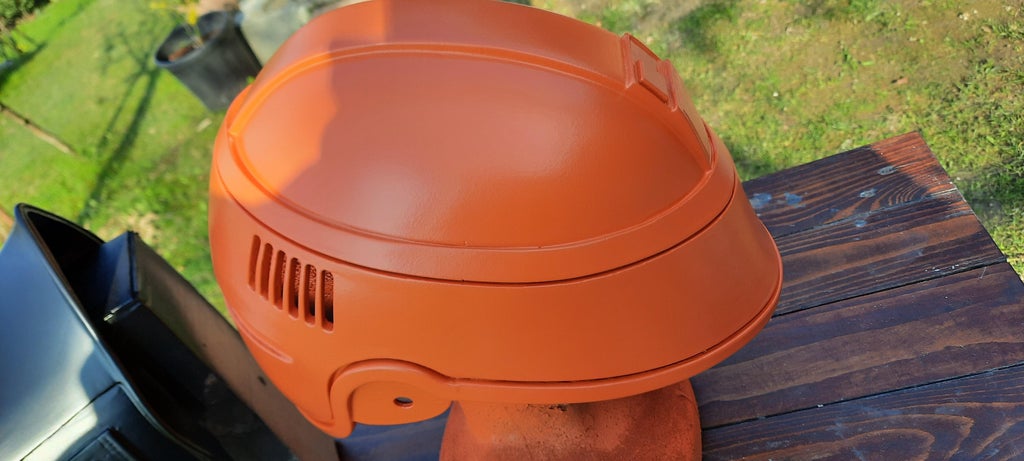
Finished Helmet
Ready to be worn with the rest of your cosplay!
Follow us on Instagram, and check also amazing Andrea and ZaraTrixie who prepared this tutorial for us!
Check also the printing files and come to say hi on our discord!