Even if you are not a skilled 3D artist, you can create a simple 3D models yourself online! In this tutorial I will show you how to create simple stencils for spray painting which you can 3D print on any FDM 3D printer.
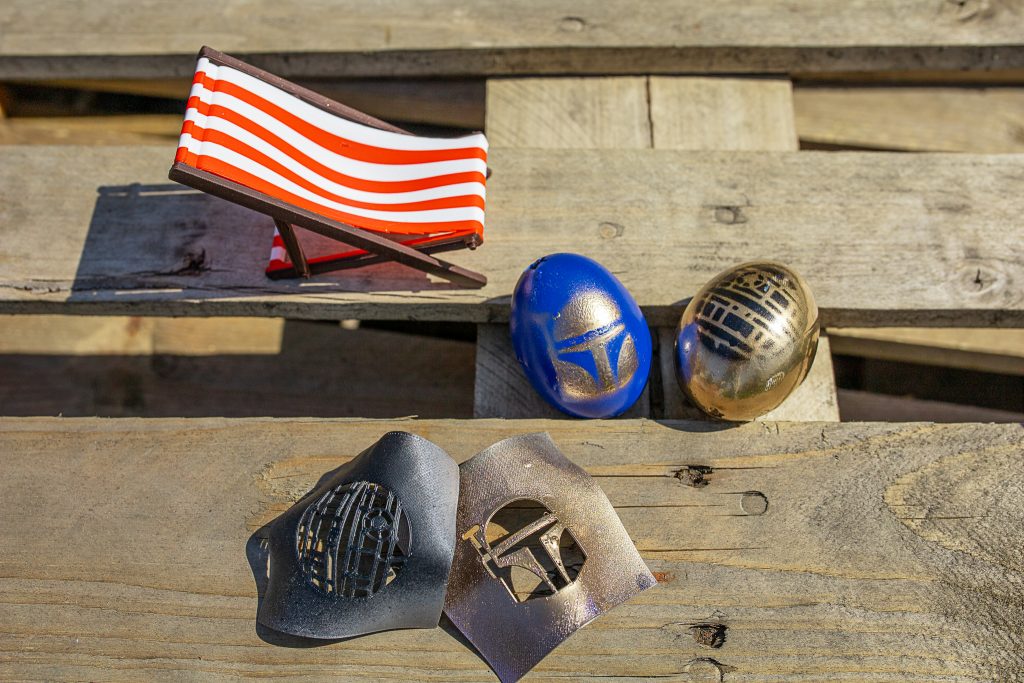
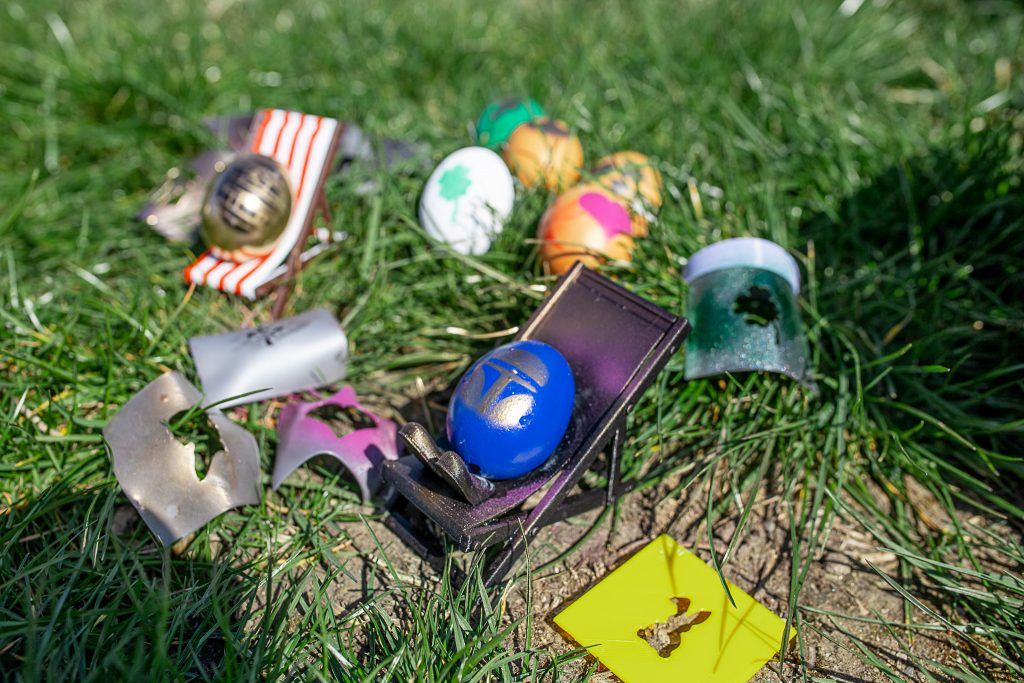
I used these stencils in my spray painted Easter eggs project!
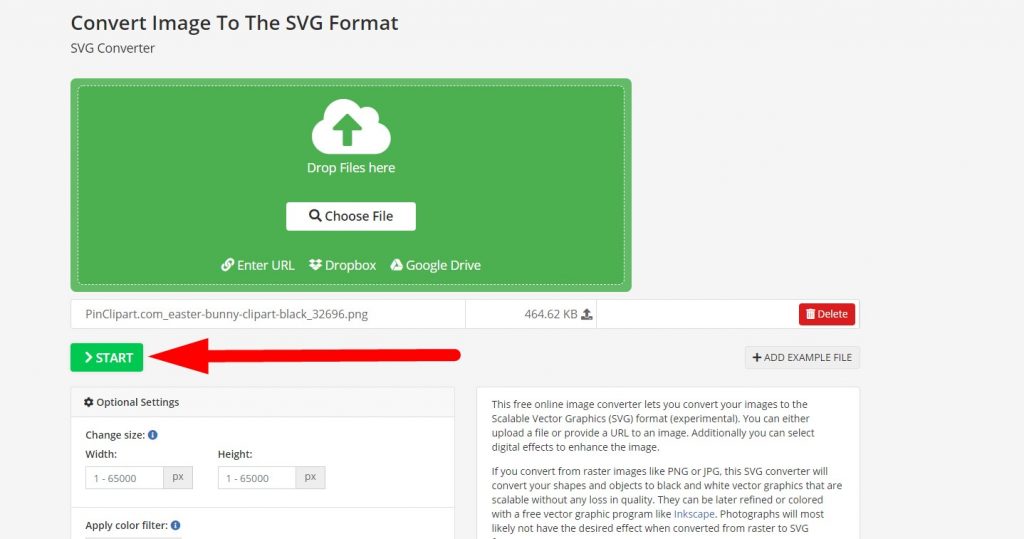
Firstly, find a flat icon/onecolour/clipart image. You will need it in svg format. You can either download it that way, or convert it from jpg.
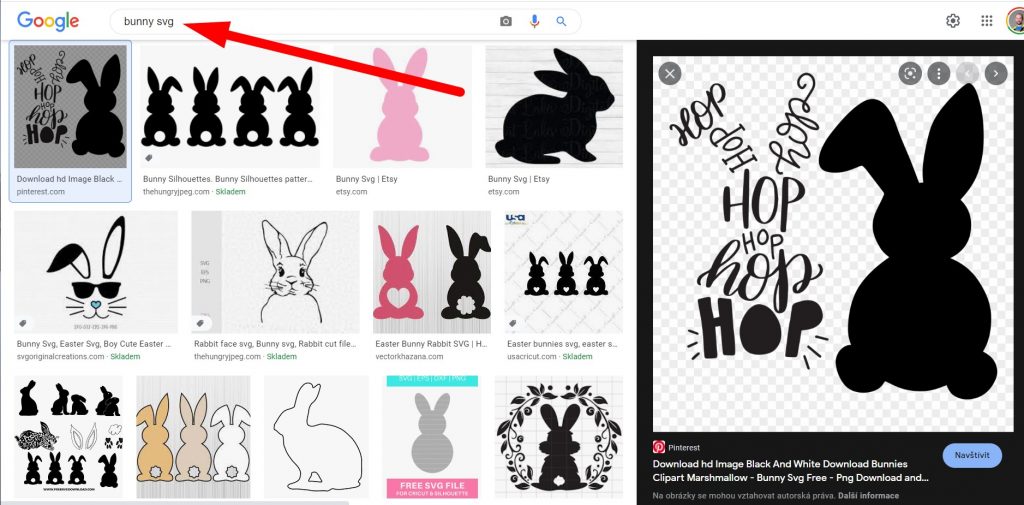
Here's an online jpg to svg conventor.
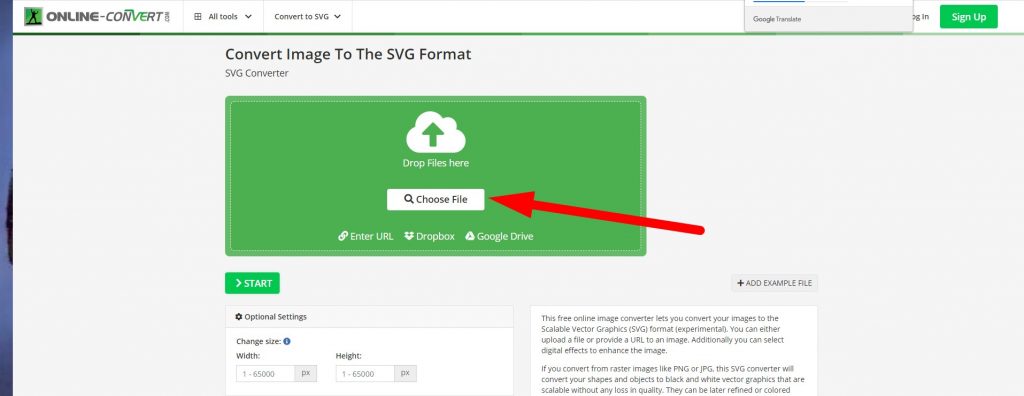
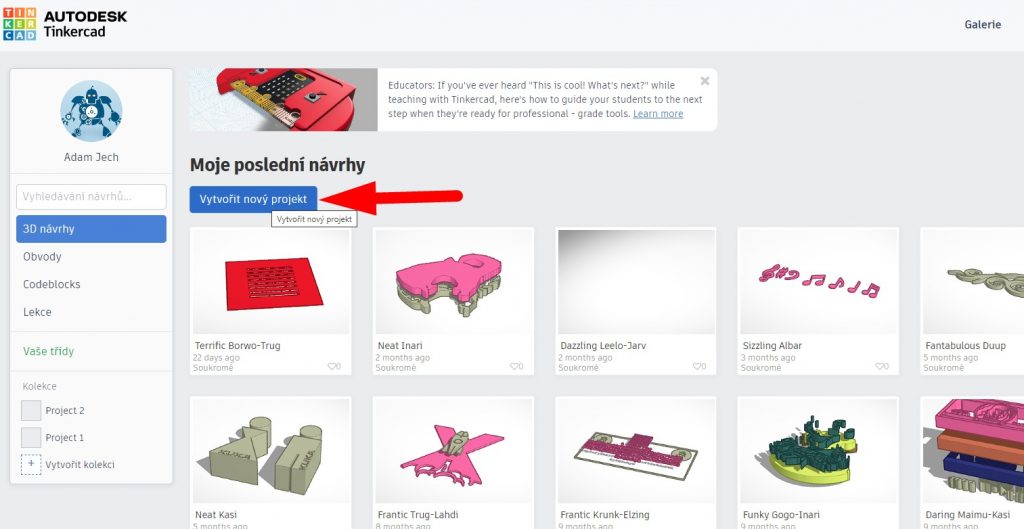
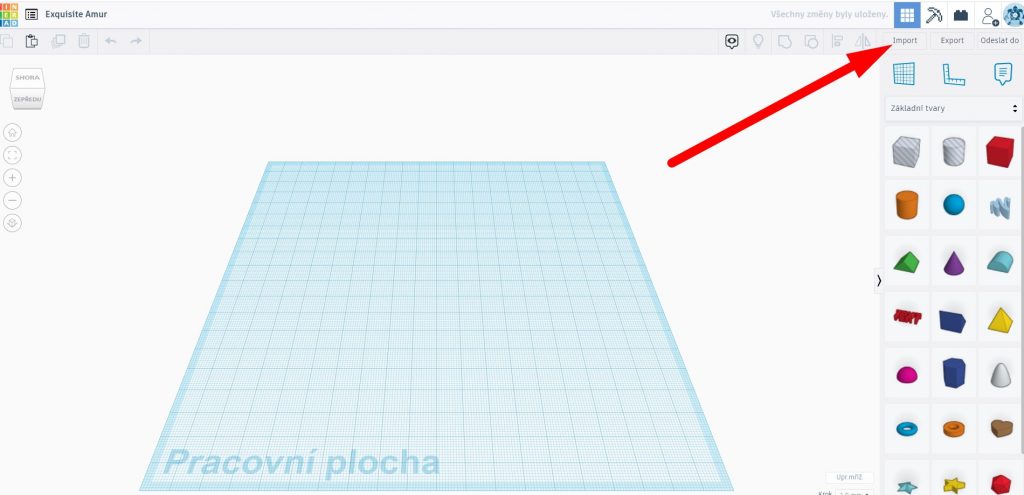
Once you've converted your jpg image to svg (or downloaded/designed your own svg) you need to open Tinkercad. It's a free, online and simple tool to use. Once you're there, click "start a new project" (sorry, my screenshot is in my native language haha) Then click "Import" and drag your svg file in there.

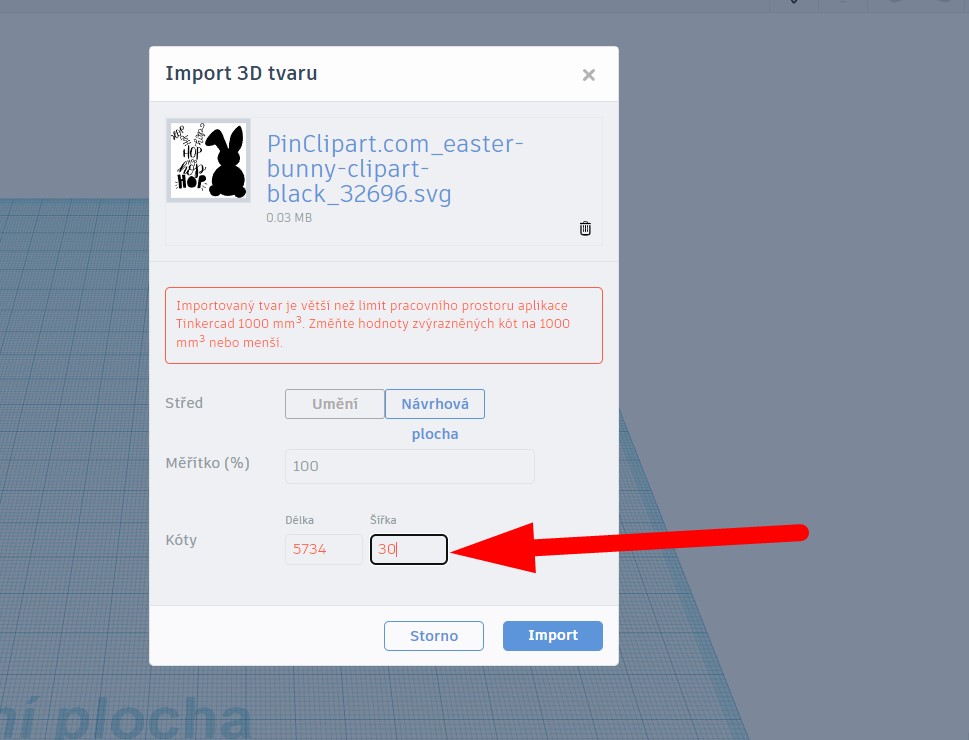
It might show you en error message that the file is too big. You can change the dimensions right away in the window.

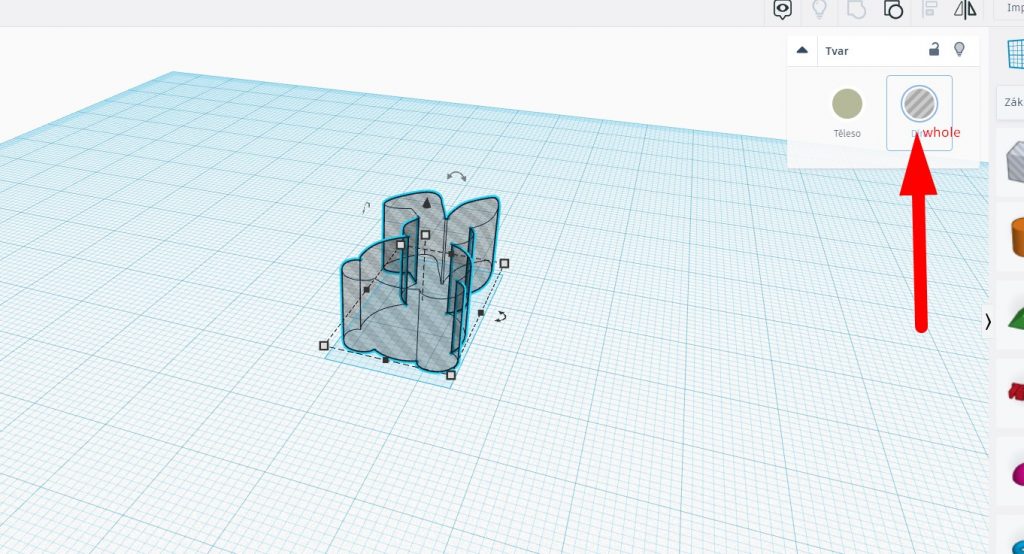
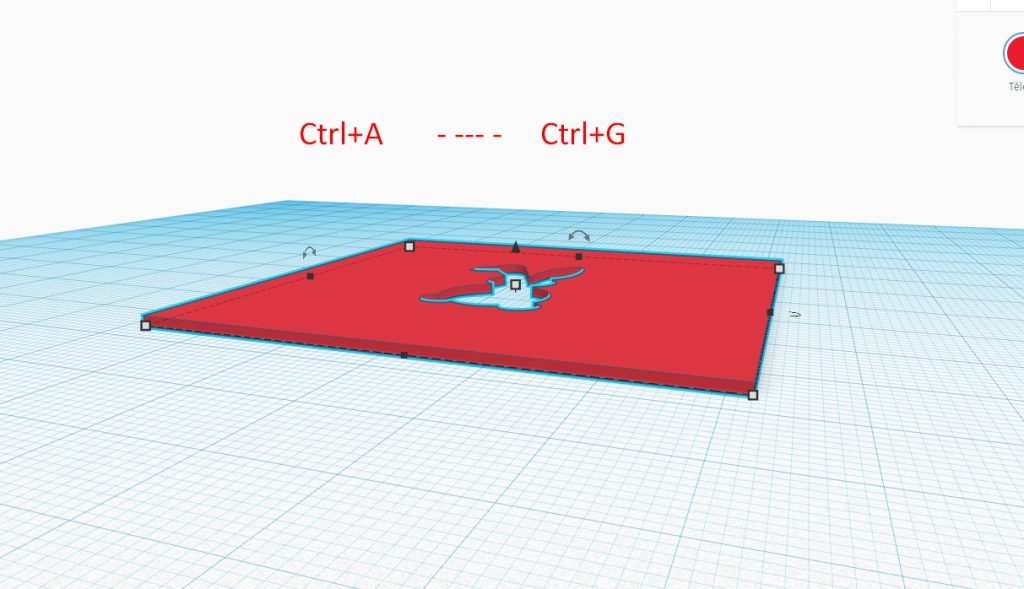
Now you'll have a full object out of your design. However, we need it reversed. For that you can use a shortcut ctrl+a and ctrl+g.
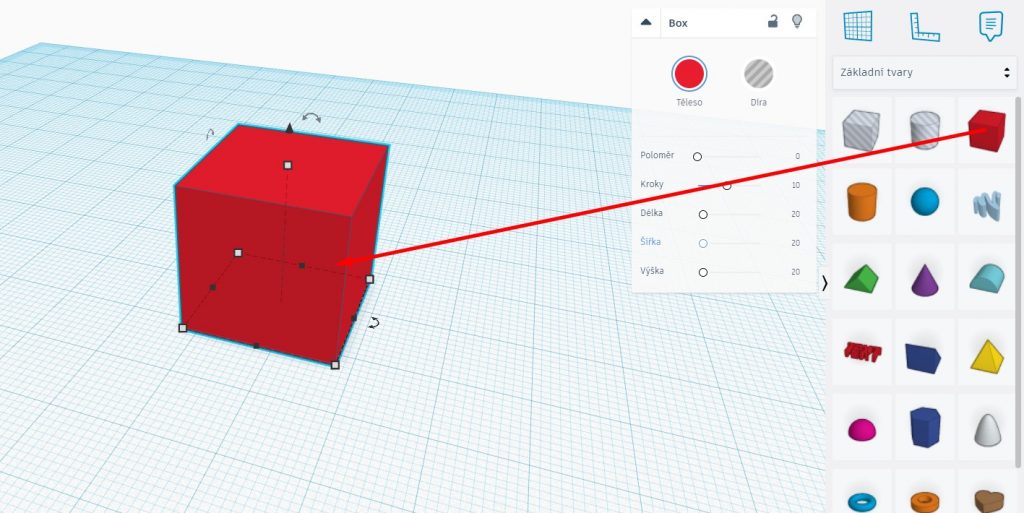
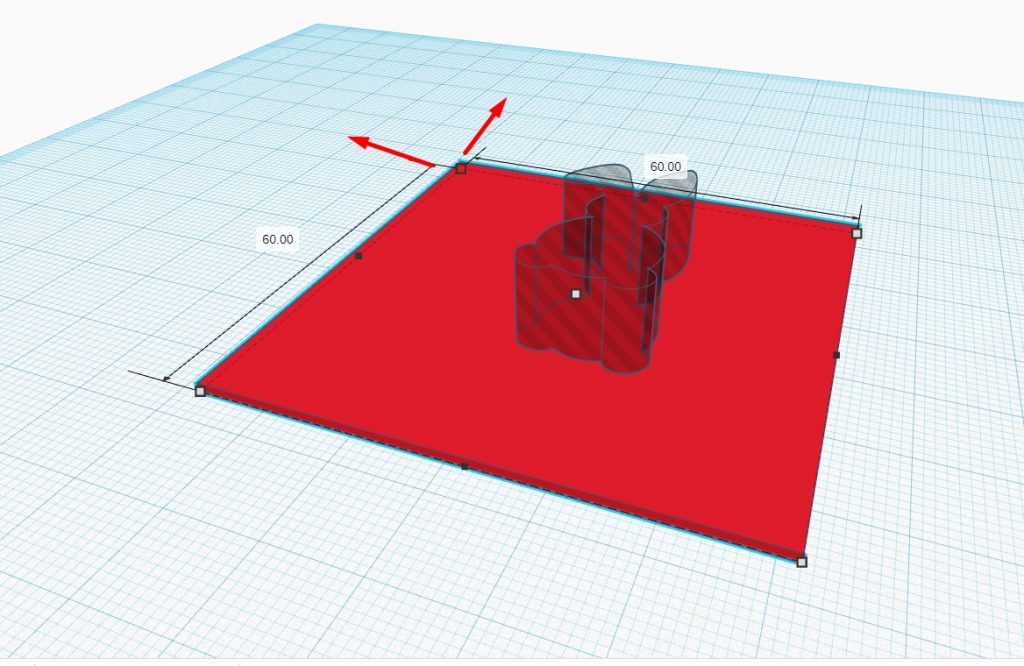
Then click the square shape, alter the dimensions to 60×60 mm and about 2mm height. Until you end up with a flat square shape.
Place your object on the square as you can see in the screenshots bellow.
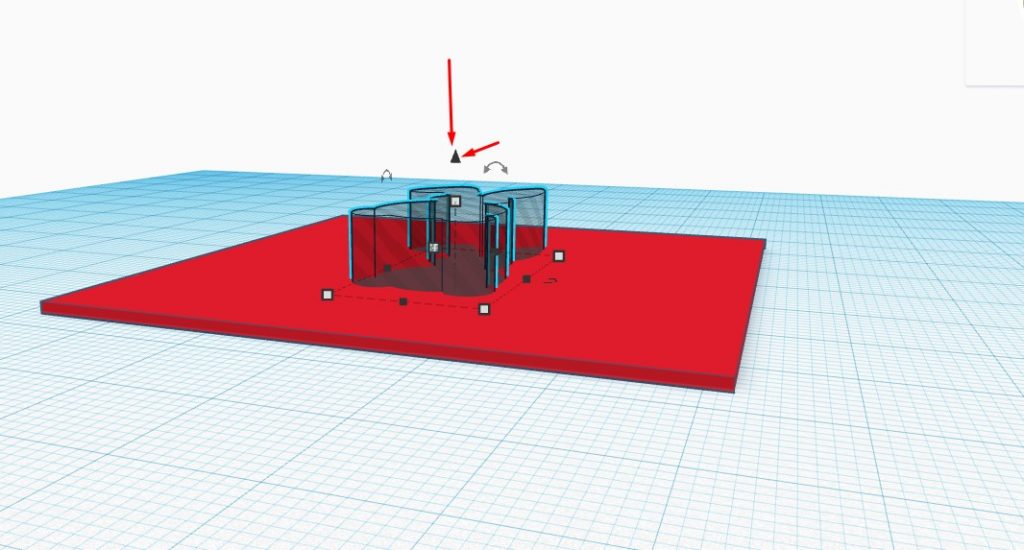
You'll end up hollowing the shape into the square and creating the stencil.
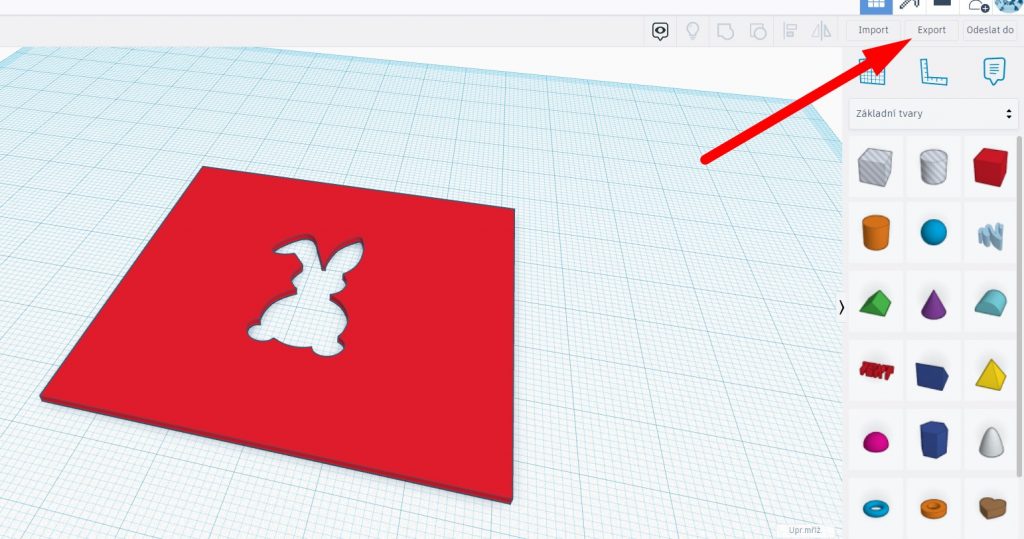
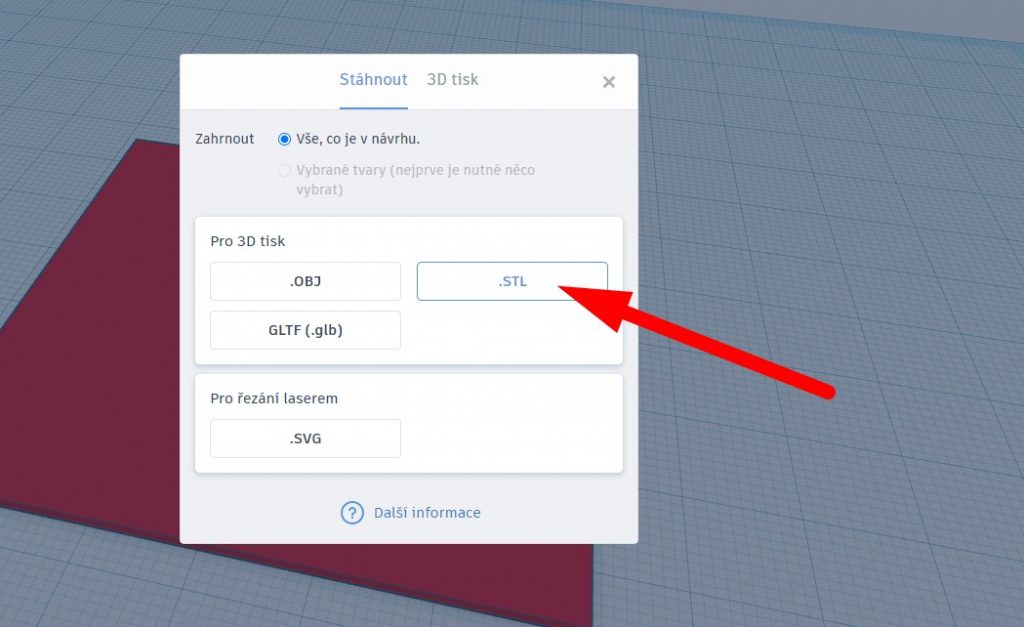
Export it as an stl file and upload it into your slicing program.
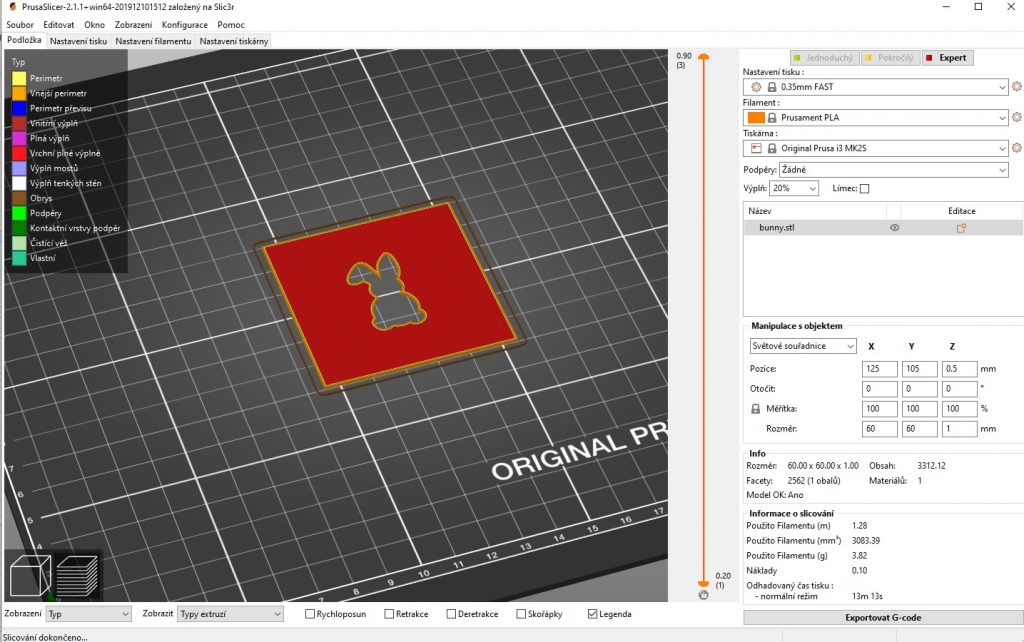
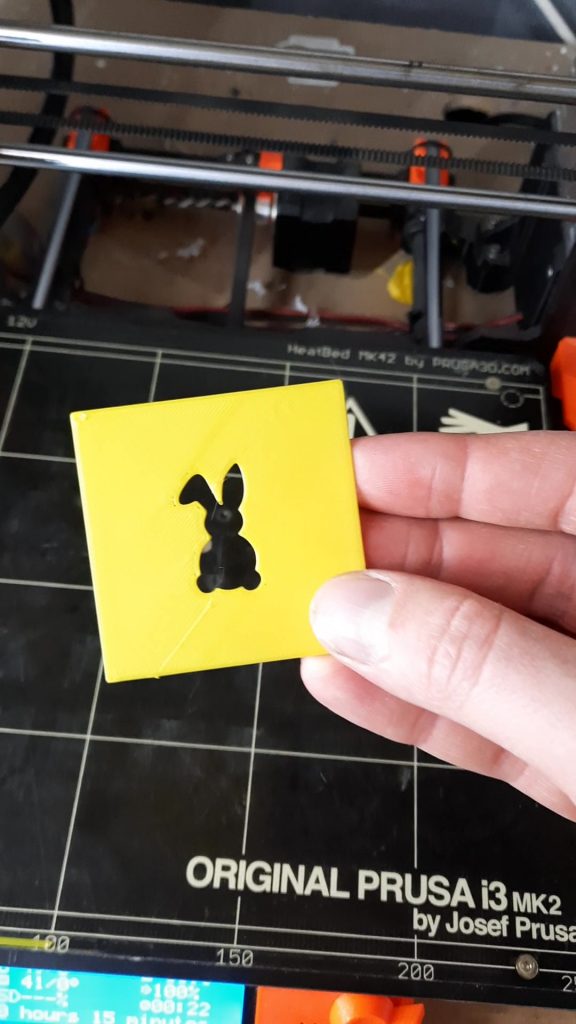
It shoould be printed quite quickly. And you're ready to use your stencil for spray painting. Here's how we used it to paint our Easter eggs! 🙂
You can also download our STL files for free!