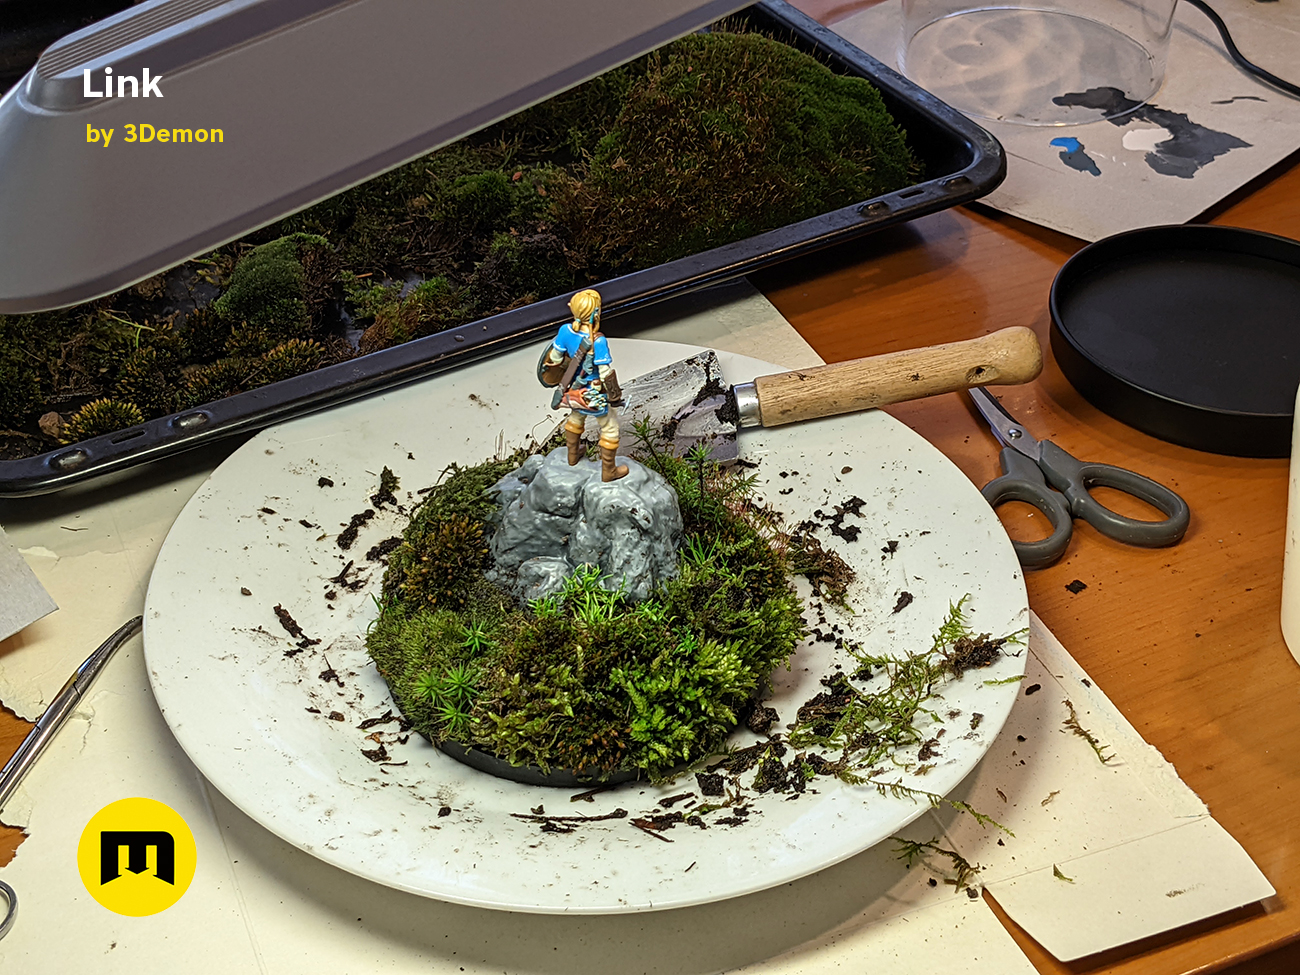
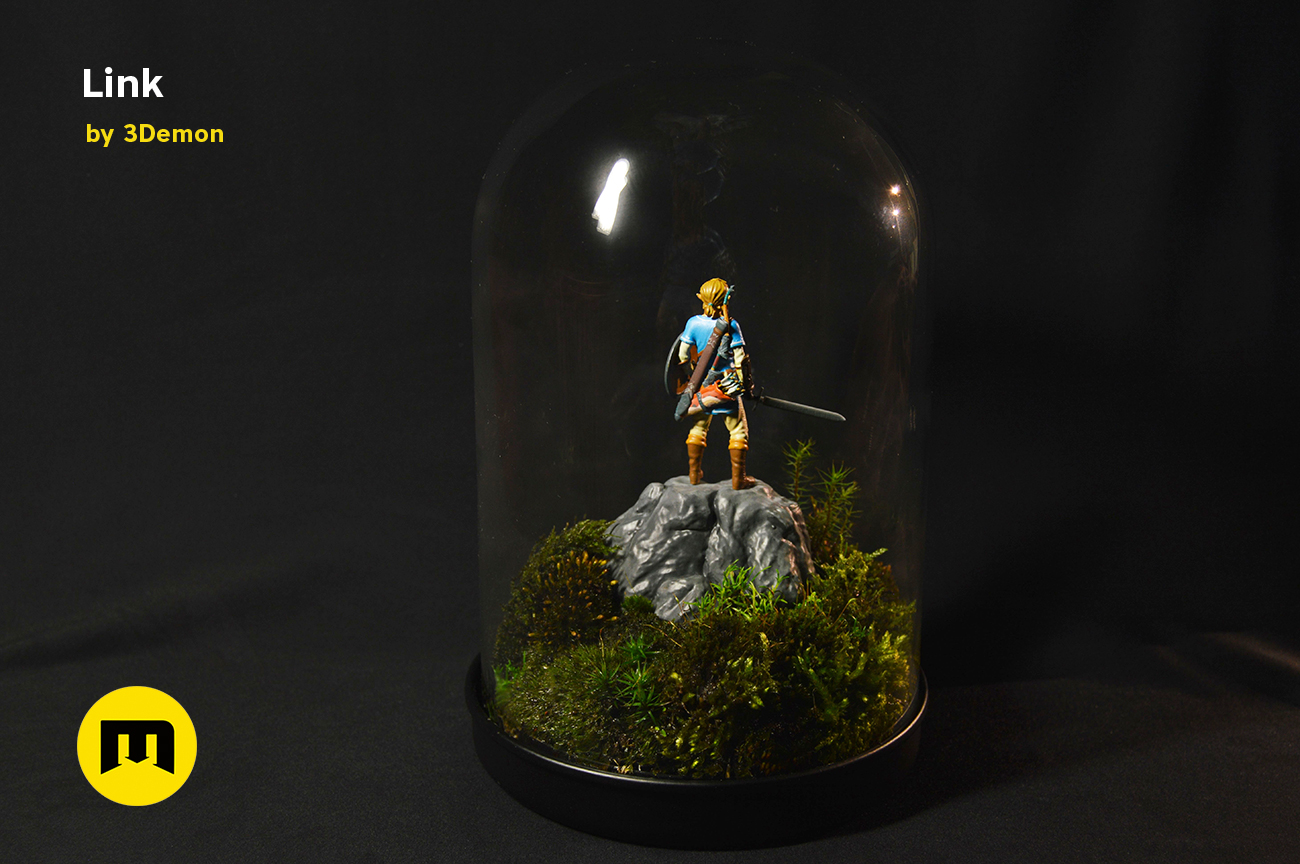
The Legend of Zelda – Moss Terrarium Using IKEA Glass Dome
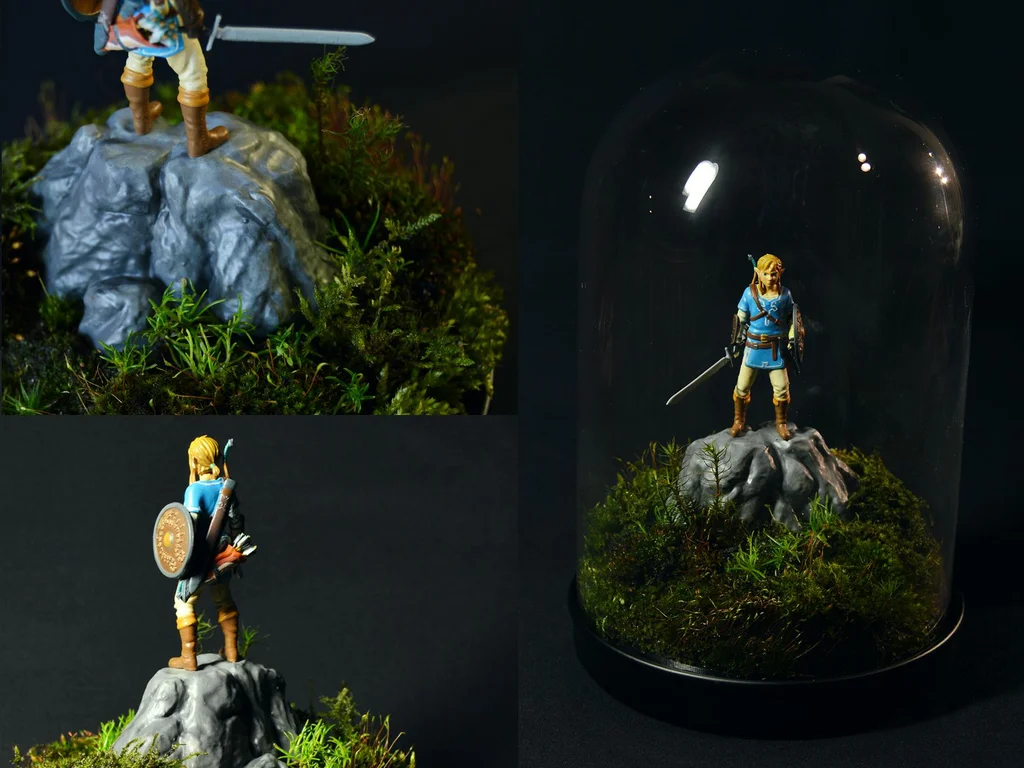
Mossarium is a small and low maintenance terrarium with various species of moss. You can use the moss to create an effect of rolling hills, dense jungle, or wild grassland such as the one in The Legend of Zelda: Breath of the Wild. It brings any diorama to life!
If you want to create your own mossarium with Link standing on a rocky hill inspired by an official Breath of the Wild poster, continue reading!
Supplies
For the figure:
- Paint (primer, acrylic paints, clear spray paint)
- Brushes
- Glue
- 3D model
- 3D printer (SLA)
For the mossarium:
- Moss
- Glass Dome Ikea SKÖNJA
- Soil
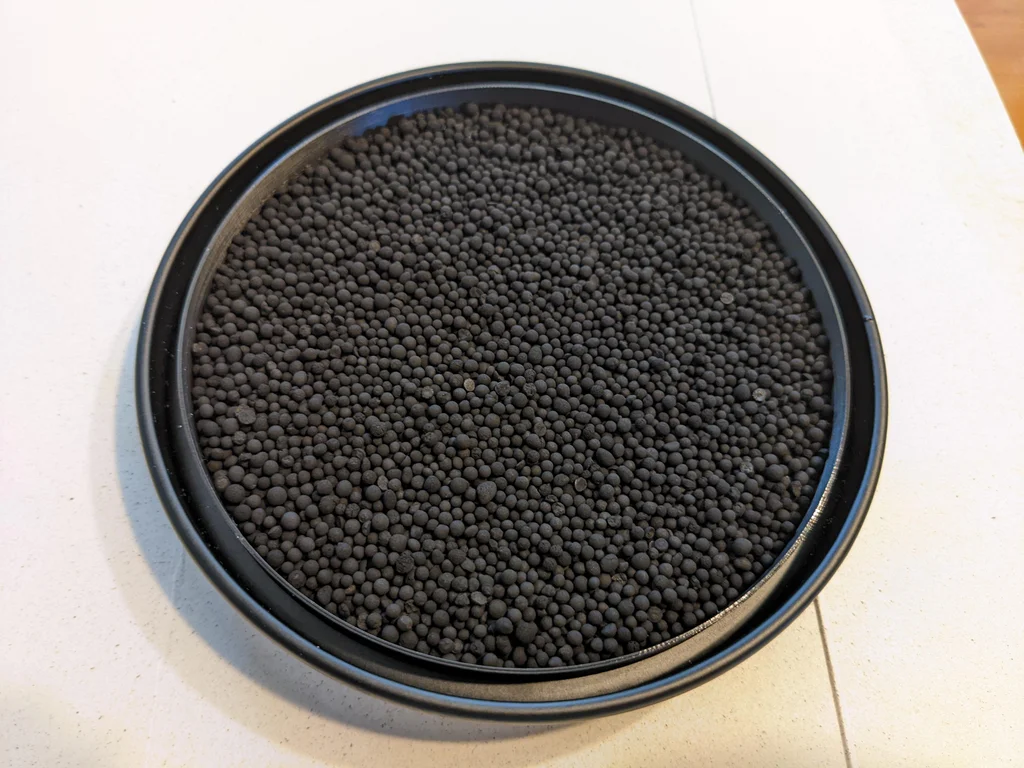
- Activated Charcoal
- Tweezers
- Scissors
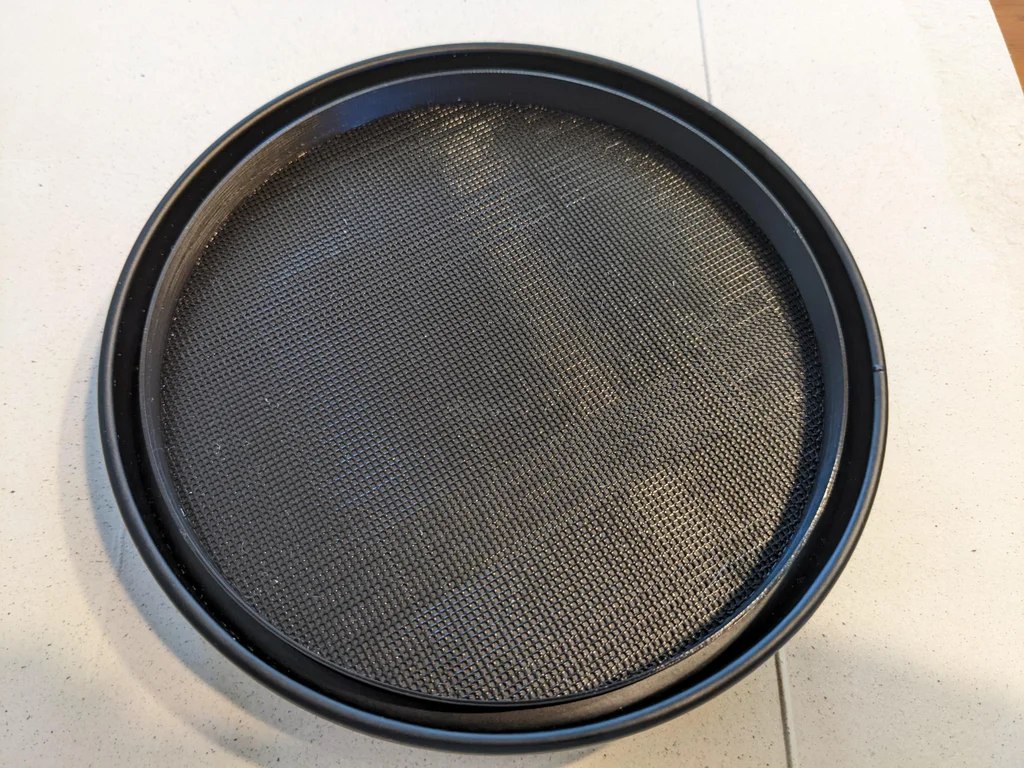
- Mesh – can be 3D printed
- 3D printer (FDM) – for the mesh inset, can be made otherwise

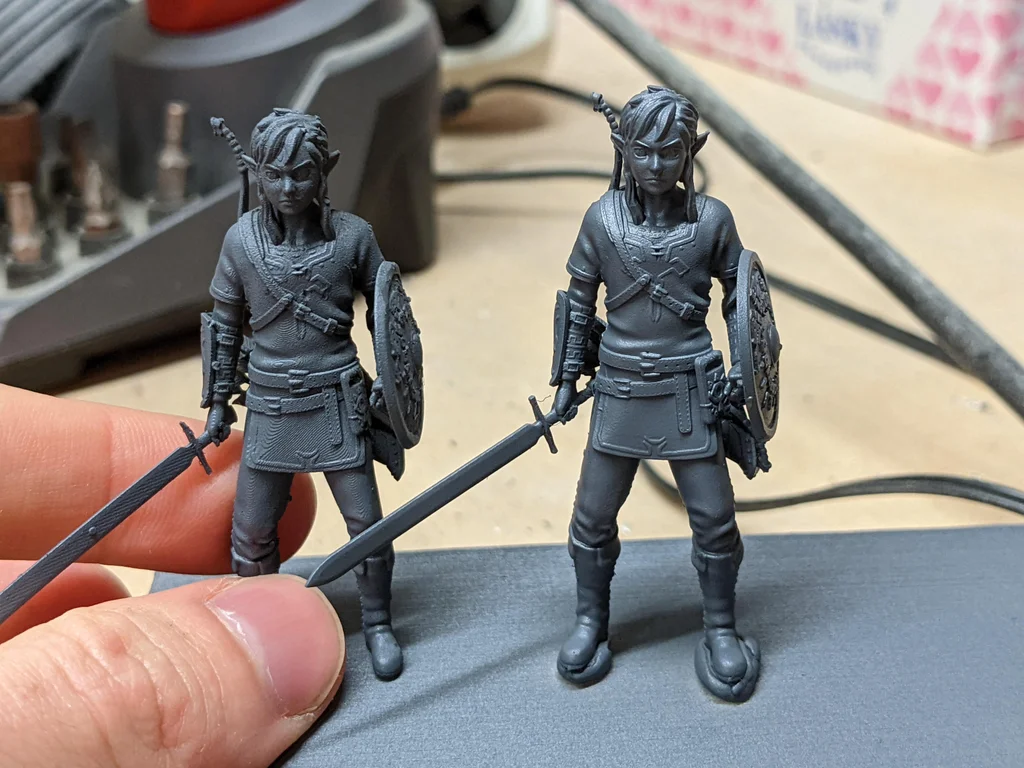
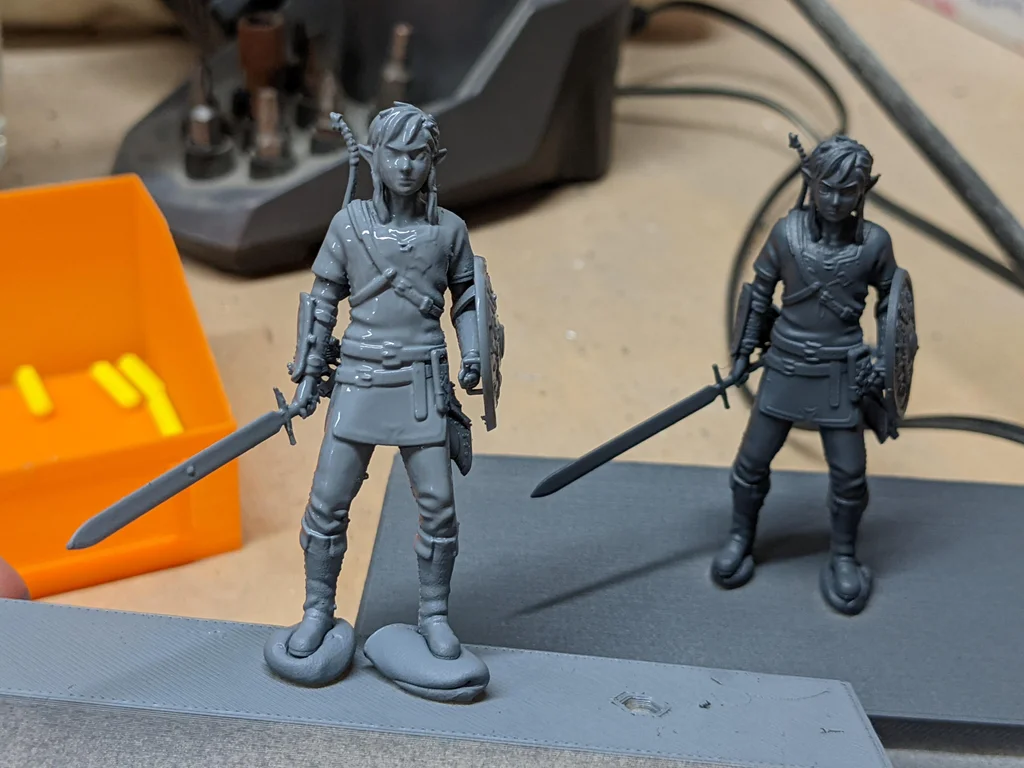
Step 1: Print Link
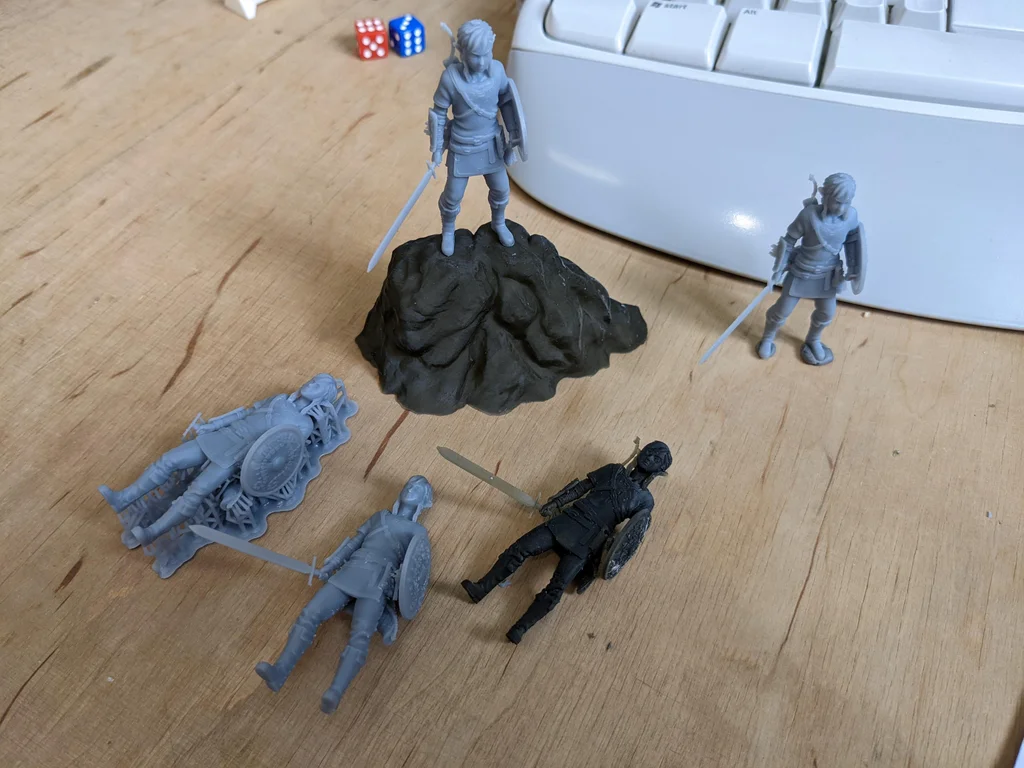
When printing such small and detailed figure, the SLA printer is a go-to. I recommend printing multiple Links, so you can test your paints and have a backup in case something goes wrong. (For example, my sword didn’t print straight, so I snapped it and used the sword from my backup model.)
You can use beige resin for a nice base skintone color, but I didn’t have one at the moment. It would be a nice-to-have though.
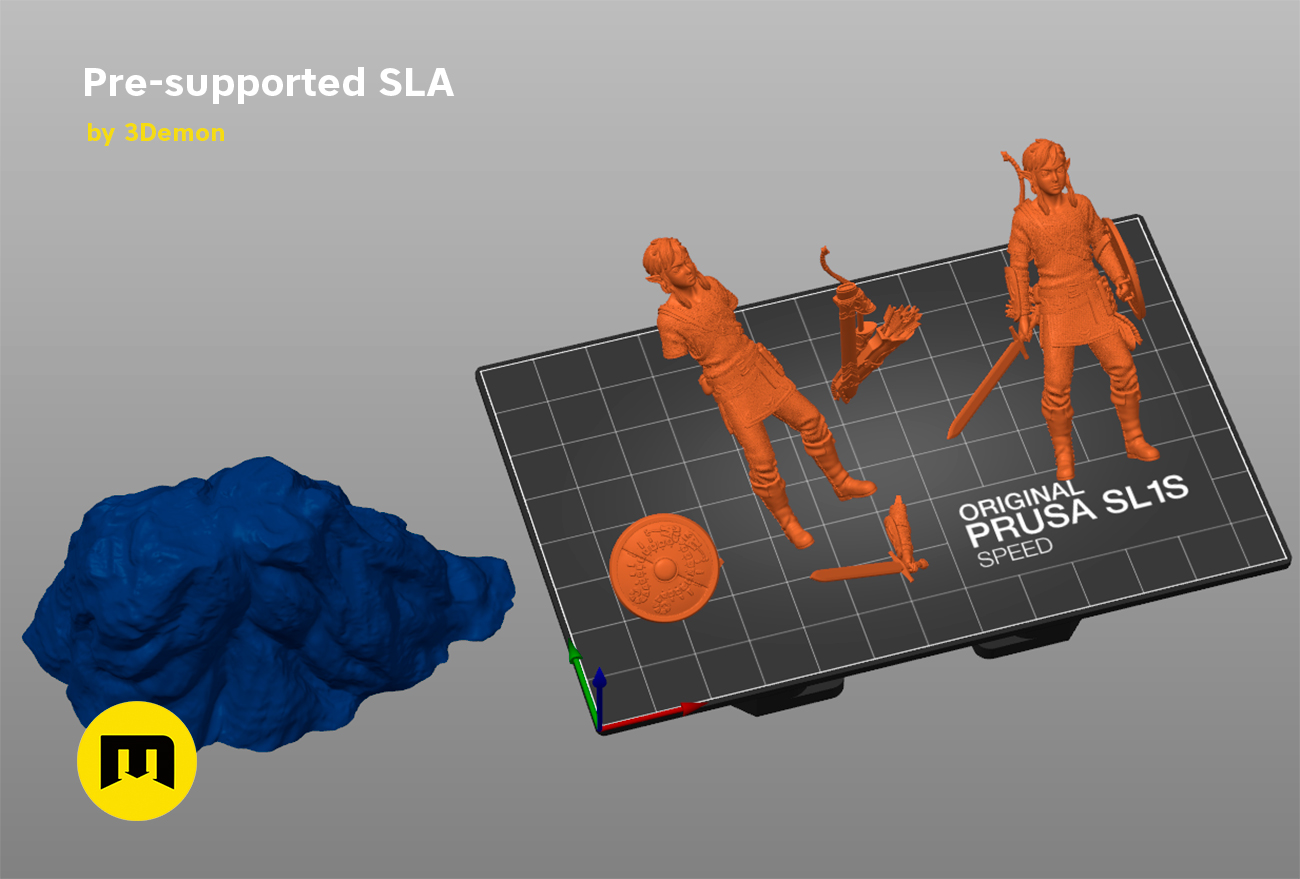
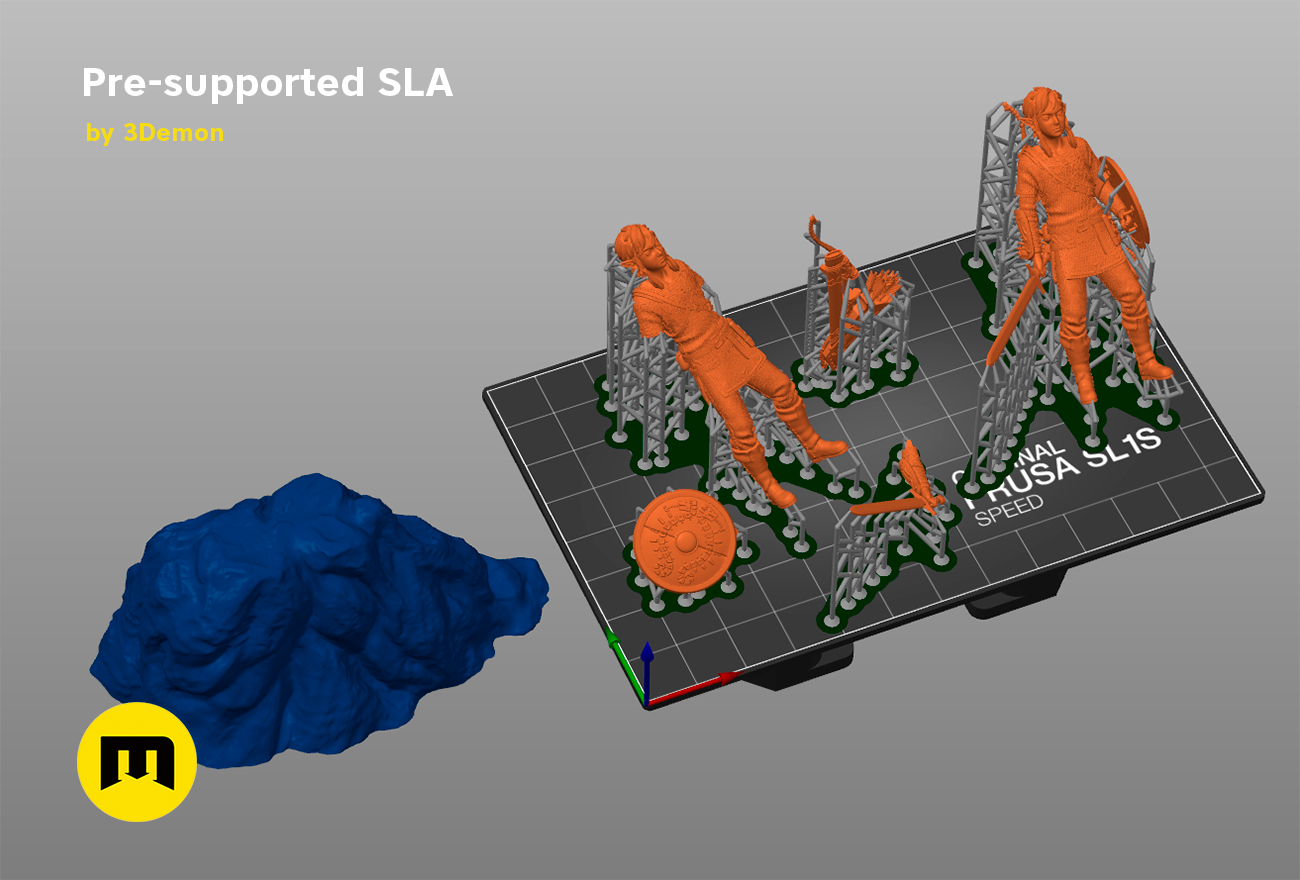
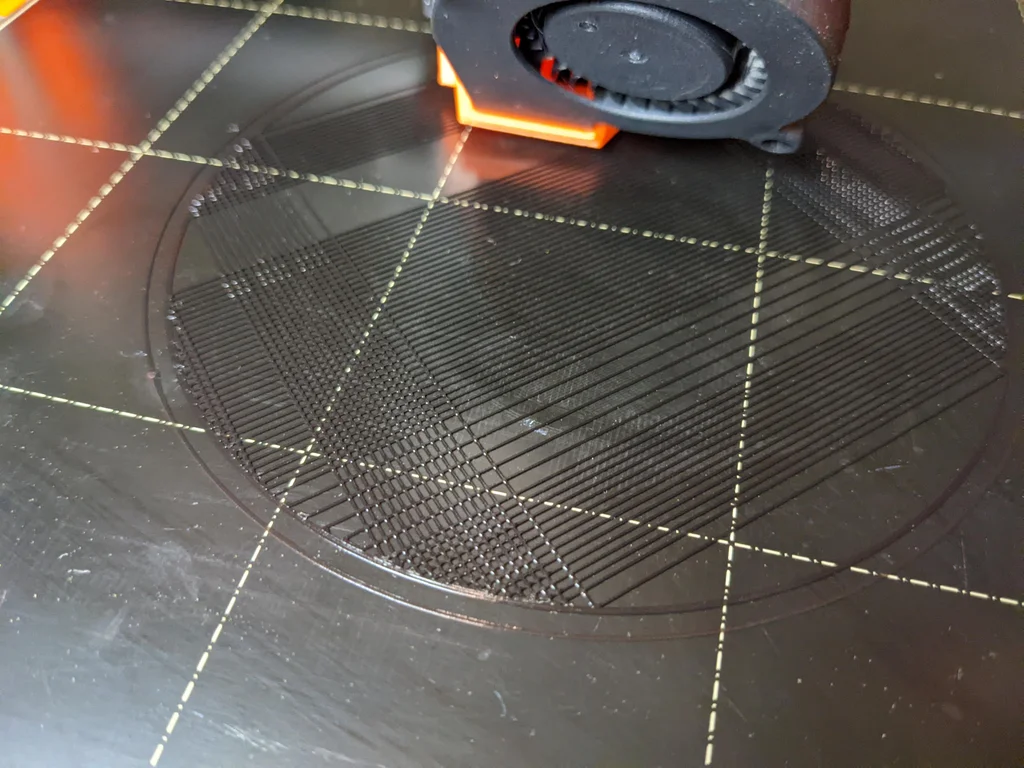
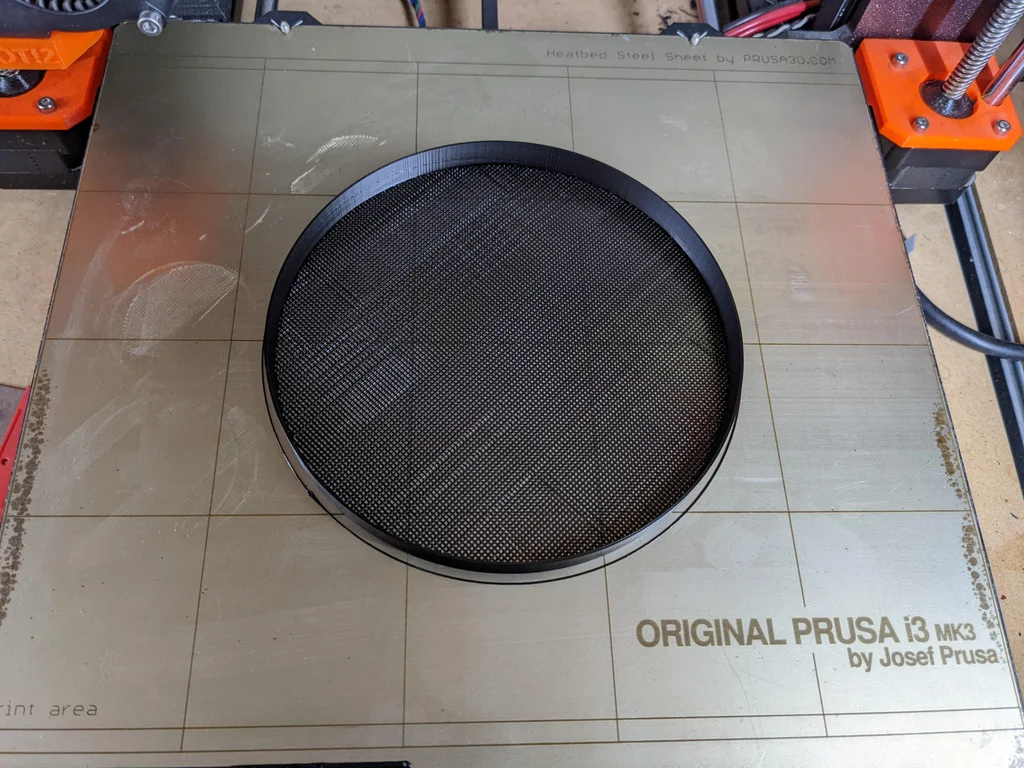
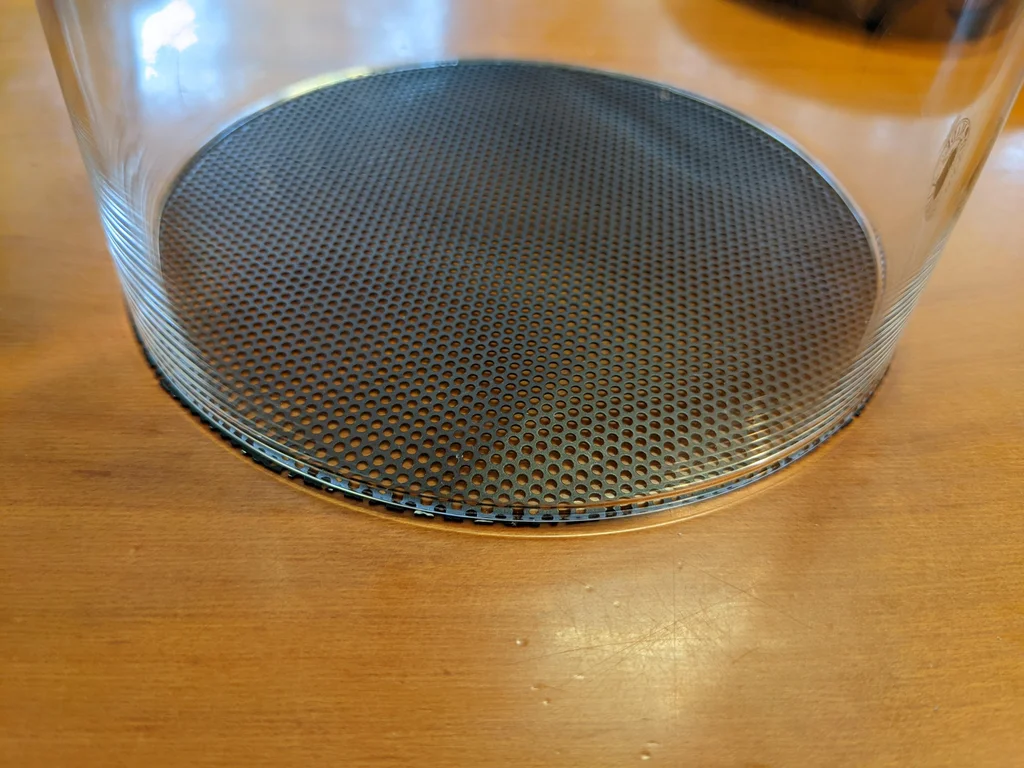
Step 2: Print SKÖNJA Inset
While removing the supports, send the SKONJA_mossarium_inset.stl to your FDM 3D printer. It will hold the glass dome nicely in place while keeping the charcoal at the bottom. It is included among the files. 🙂
3D printing settings:
- solid layers top: 0
- solid layers bottom: 0
- perimeters: 2
- infill: grid, 70%
- modifier: infill 0% on all of the model except where the first layer is

Step 3: Prime
Firstly – before painting, attach your Link figure to some sort of a flat surface or a holder. I used wall gum adhesive for that.
Secondly, I tested various spray fillers on the printed figures. I came across a “thick spray putty filler” which is great for smoothing rough surfaces, but in this case, it hid too many details. Any basic spray filler will do just fine. A thin layer will be enough.
Using another spare test-printed Link, I tried spraying the figure with white spray paint from the top angle just to have some reference on where the shadows should be (second picture) which helped me later during the painting. You can skip this step and use the second photo as a reference.
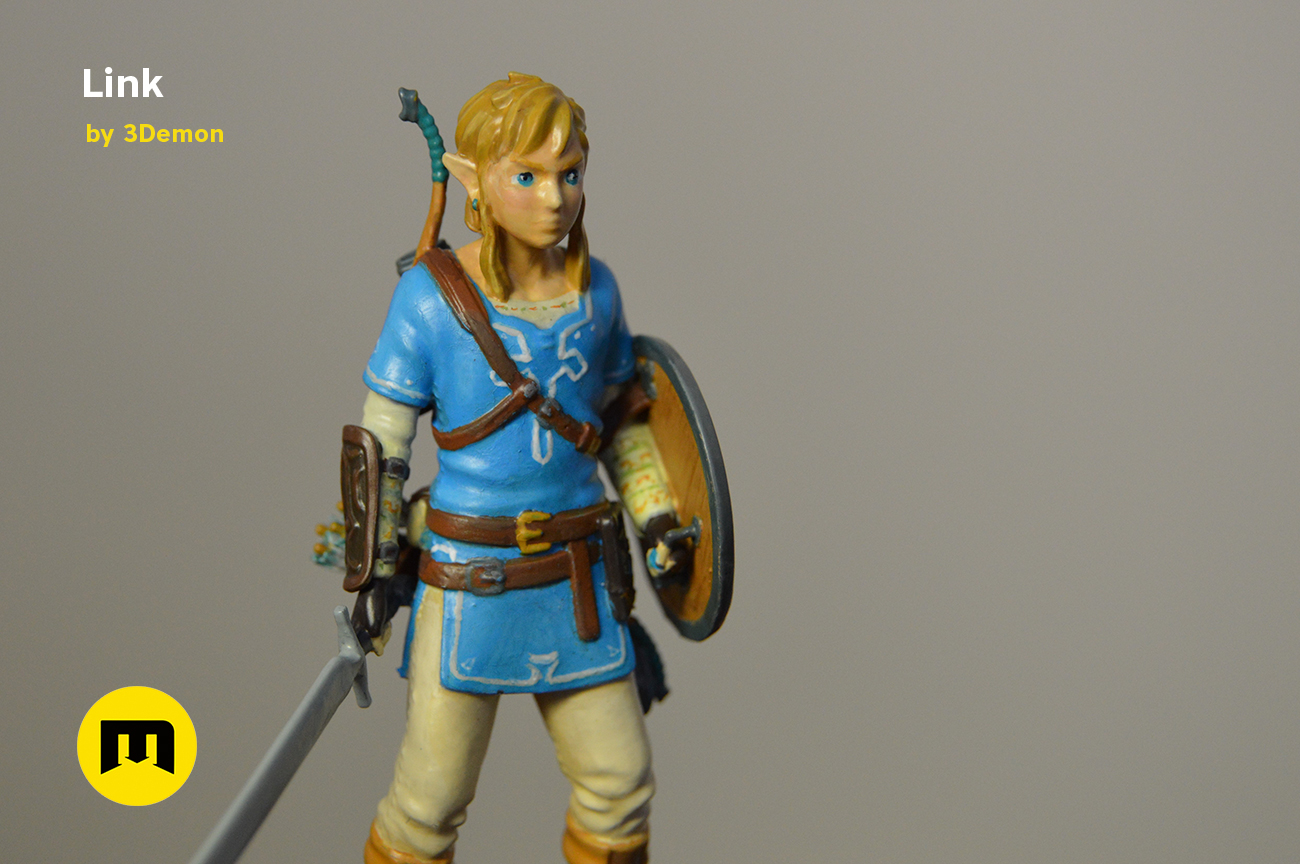
Step 4: Base Paint
I can’t give you much advice on this, as all you need is just a little patience. 😀
Use acrylic paint with the best coverage possible. It is better to start with the lightest colors and then move to the darker ones. From the bigger areas (the blue tunic) to the raised details (brown belts) but you will probably need to go back a few times and do some repairs. Use tiny sharp quality brushes.
At this point I was glad I had another Link figure printed because I could always test the paints before applying them.
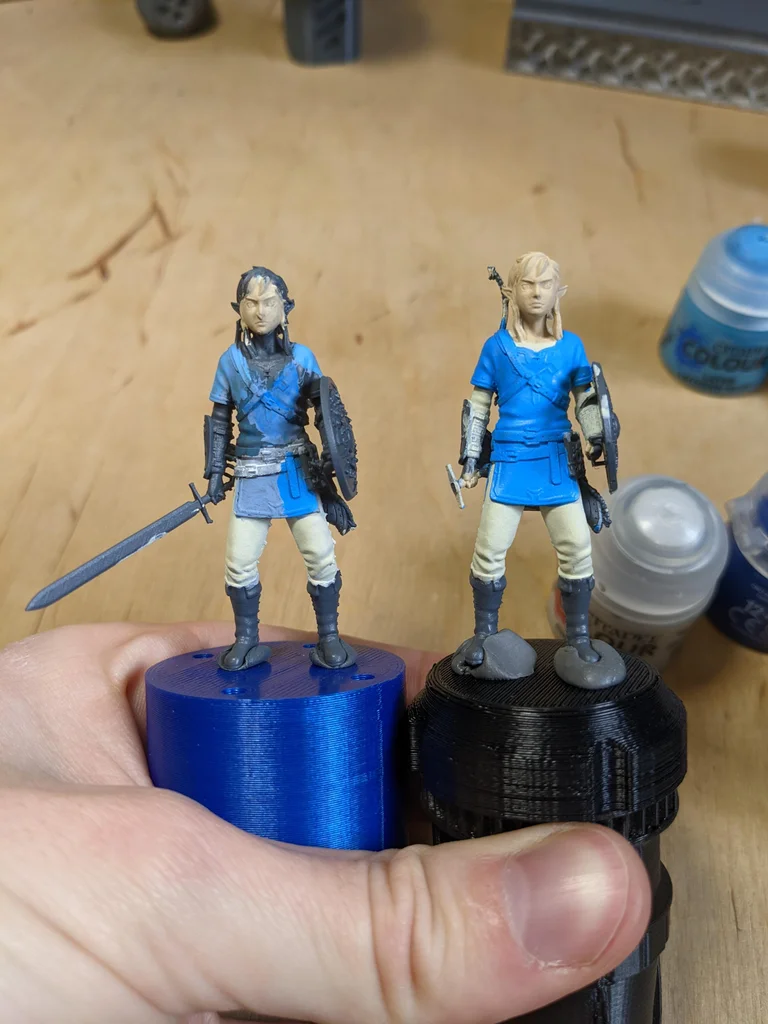
Step 5: Main Colours


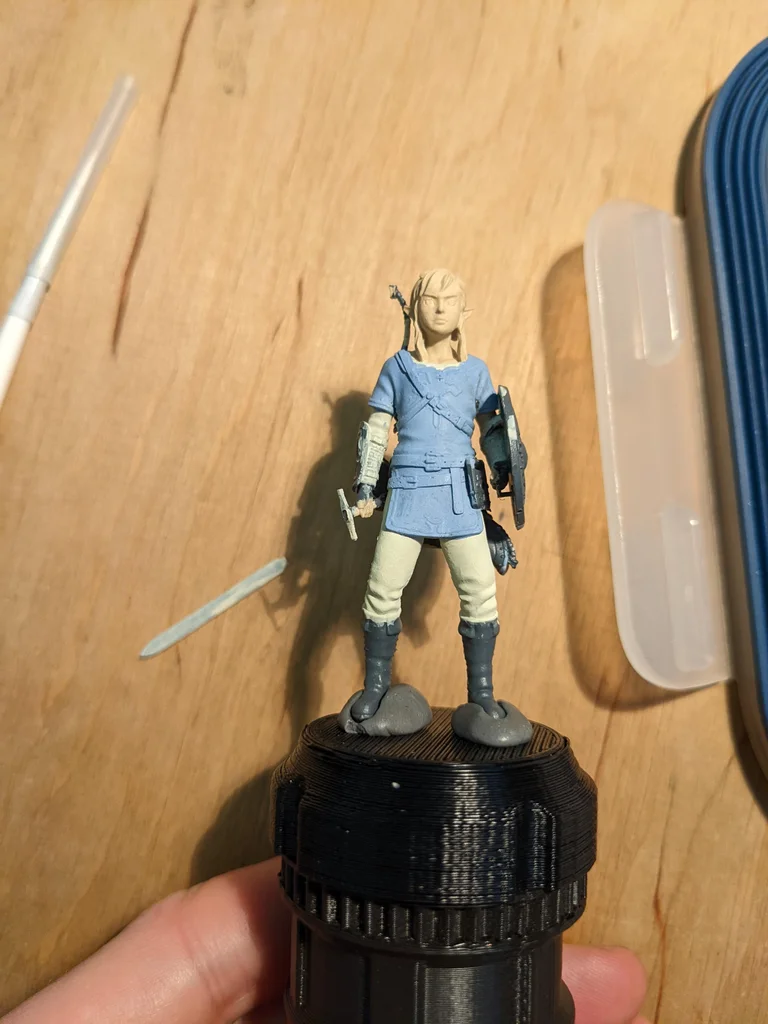
Step 6: Shading
Using a white spraypaint, I lightly sprayed the rock from the top angle to see where the dark shadows should be. It helped me with shading. For the rock you could also use a technique called “wash” – paint the rock with a diluted black paint and wipe it off using a tissue. The black paint will remain only in the crevices creating a more realistic look.

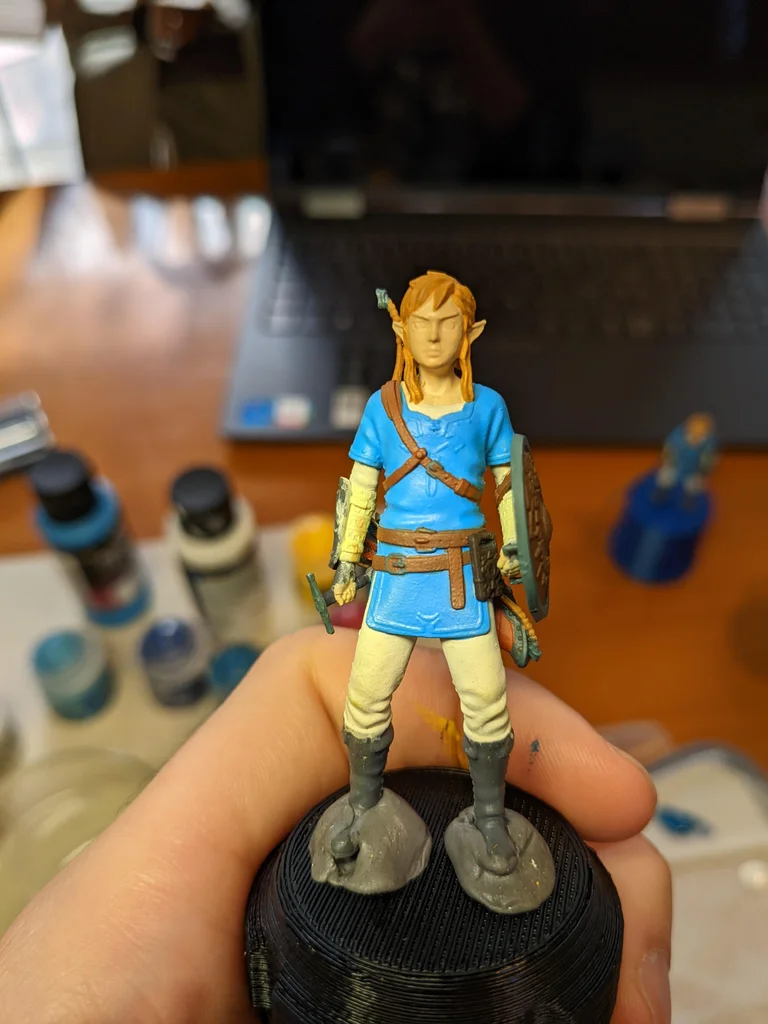
Step 7: Details
Once my base colors were 100% dry, I continued painting the details. Sometimes the patterns are raised enough that you can dry brush over them (the patterns on the sleeves) but in the case of others, you have to do it the hard way. Use a tiny sharp brush and a good light source.
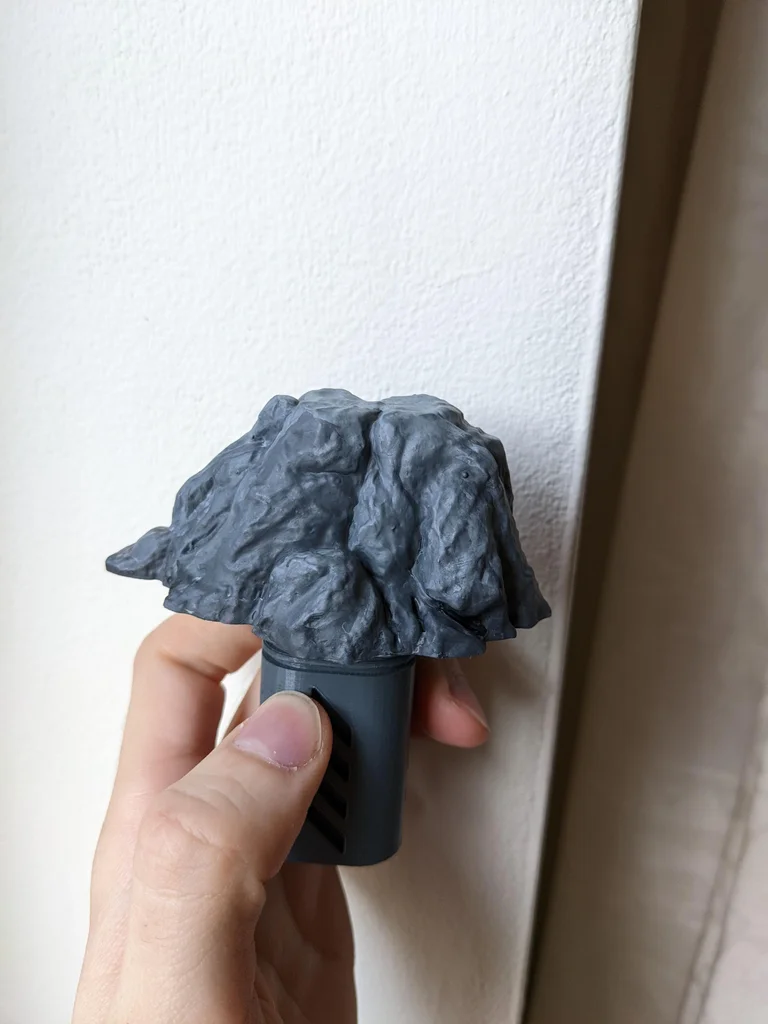
Step 8: Glue Together and Clear Coat
When everything was completely dry, I glued the Link figure to the rock and coated it with clear protective spray paint.
Step 9: Gather Moss
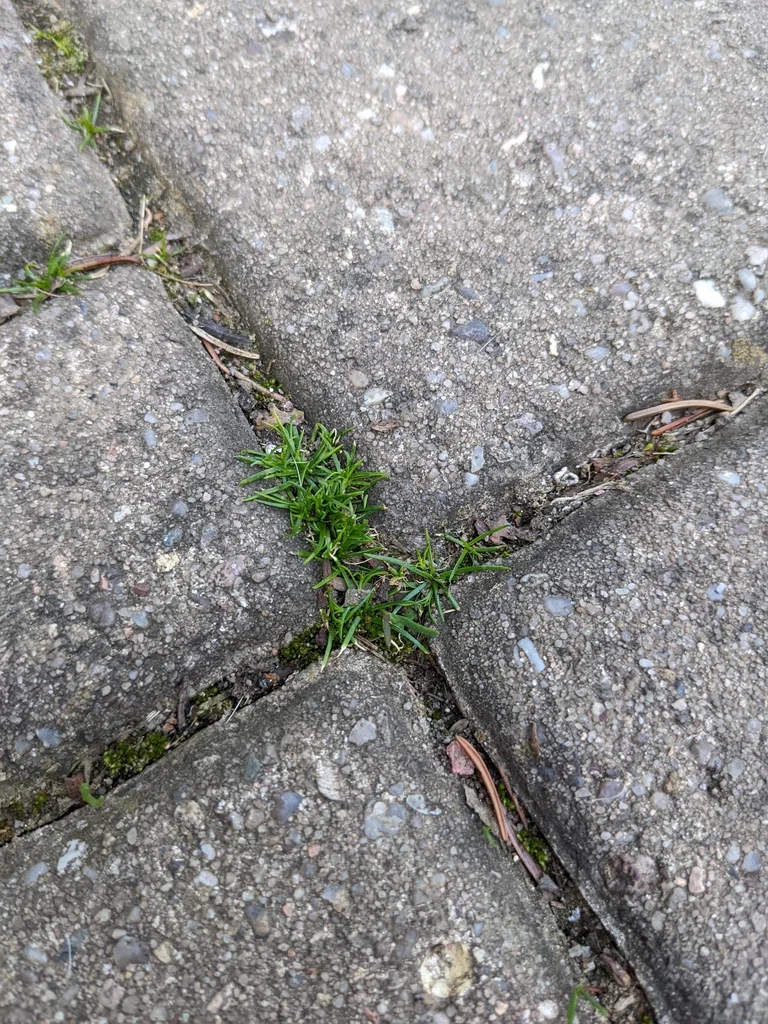
The safest way to create a mossarium is with store-bought sterile moss like these ones. The reason you should buy terrarium mosses is that they grow it in lighthouses and keep it clean. If you decide to gather the moss in your surrounding, you have to keep in mind that it might contain bugs and you might need to change the moss some time in the future as it might also get moldy over time. I still think it is worth the risk as it was the best part of the project.
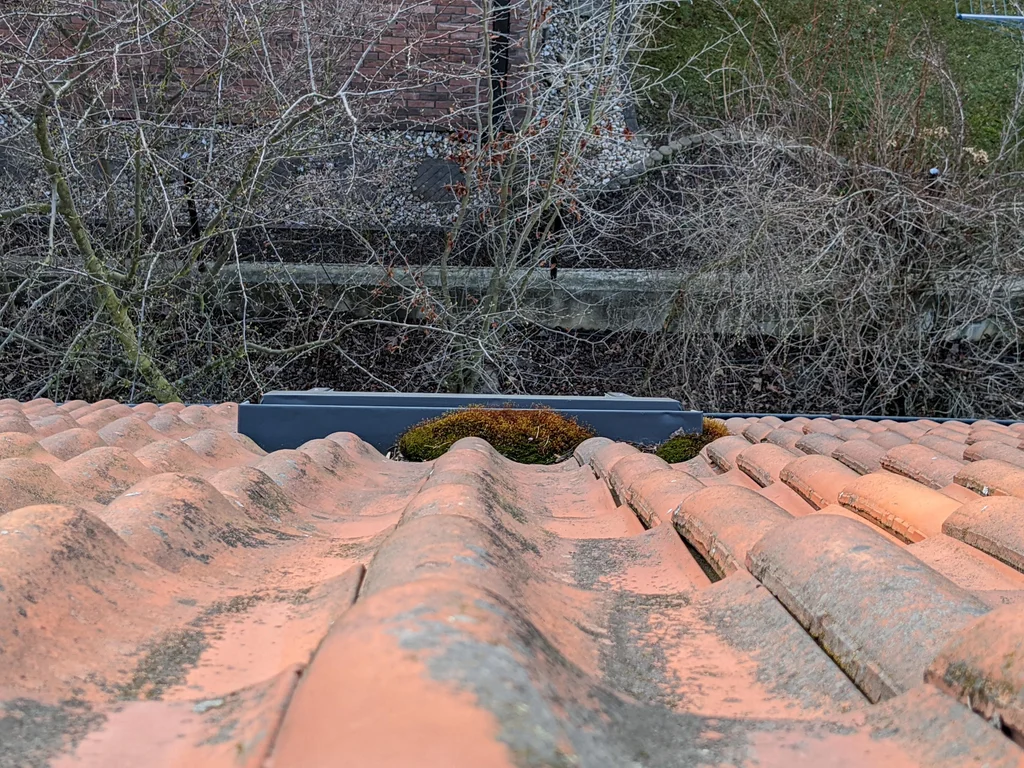
I gathered different species of moss on different spots including a roof. 😀 You want your mossarium to be as diverse as possible!
- If you don’t mind your Link ending up in a jungle, you can gather also some small ferns, mondo grass, or tropical houseplants such as small begonia or peperomias.
- Clean your moss after you gather it and trim it using scissors if needed.

Step 10: Set Up the Base
Now let’s assemble our Legends of Zelda inspired mossarium!
Firstly: inset, then activated charcoal. It’s key function? Filtration. Then mesh, then soil.
Mosses generally prefer compacted, clay-based soils. You can look for terrarium soils, or mix your own using a bit of basic soil, orchid bark, perlite and a dry sphagnum moss.
In hindsight, I would have attached Link’s rock to an actual rock, so it wasn’t just lying on top of the soil and moss because it was too light and I had to constantly correct the way he was tilting.
Step 11: Add Some Moss
Start stuffing the soil with the moss. For now without the metal base. You might need tweezers in this phase.
Place Link on top of the moss and hide the edge of the rock with some more moss. Try different heights of the moss for a realistic look.
Step 12: Protect Him From the Rain
We all know Link hates the rain, especially when climbing rocks. Place Your Breath of the Wild Diorama On The Metal Base and cover it with the glass dome.

Step 13: Give Him a Nice View and Watch it Grow!
Where to place your diorama:
Keep you mossarium in relatively shaded area that doesn’t get blasted with direct sunlight regularly. 🙂
How much to water:
The amount of moisture needed will depend on which moss you’re growing. In general, most species like to be evenly moist but not wet. Less is more, as over watering can lead to harmful mold and algae. Use a pipette to water the moss evenly, keep it moist, but not too much. The glass dome should get a little hazy at the bottom, with a few water drops, but never fully cloudy! In case that happens, leave it open a bit to ventilate.
Have fun creating this Breath of the Wilds inspired mossarium with 3D printed Link! I would love to see your vercion of this creation, so feel free to share it on social media and tag me!


Leave a Comment