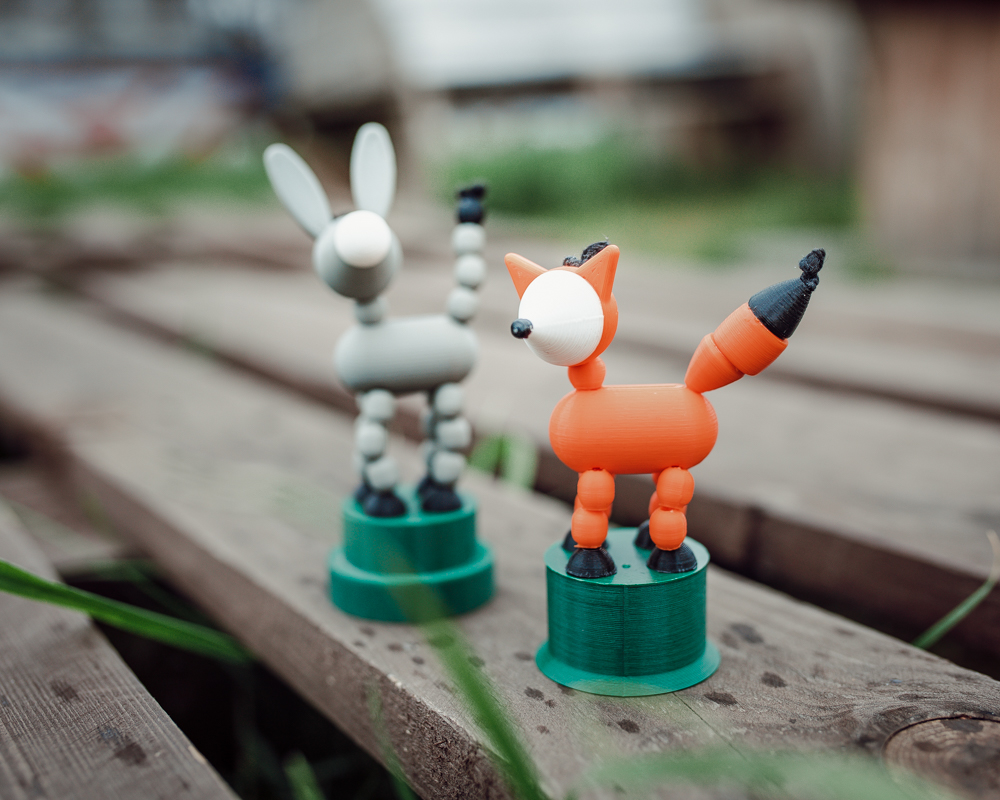
Collapsing Animals – moving 3D printed toys (free STL)

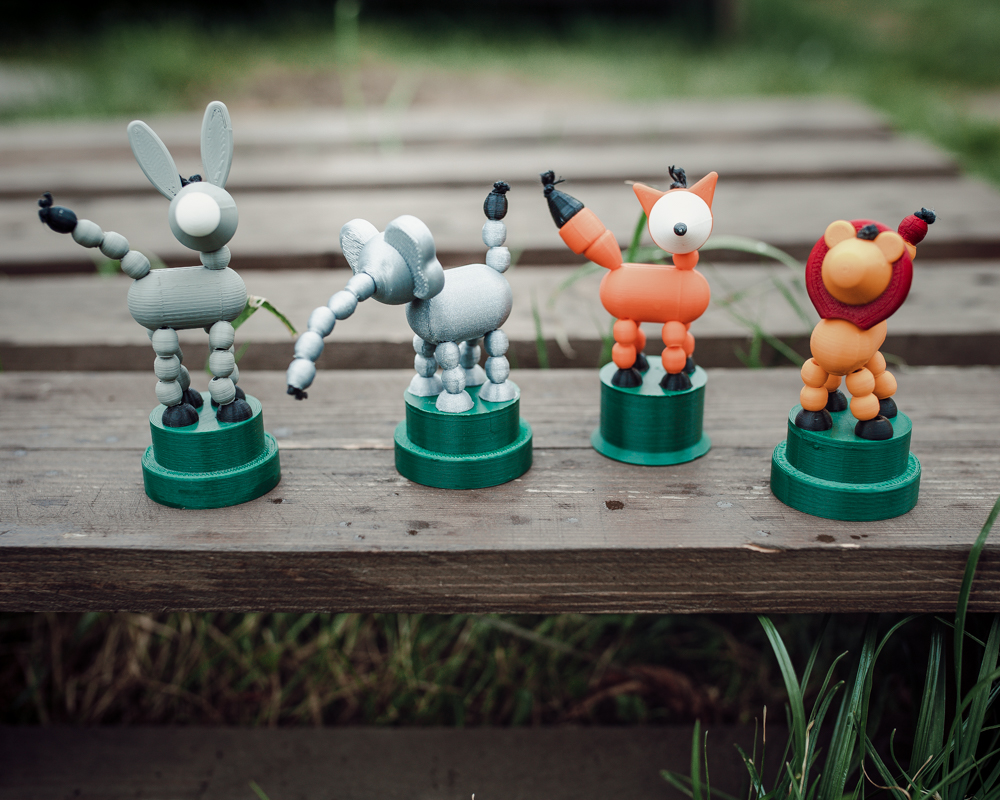
We’ve designed these collapsible animal toys for 3D printing based on toys from our childhood that were made from wood. When you press the button that is spring-loaded, the strings that hold all the parts together get loosened and that makes the animal collapse. This model was made by Adrien from our 3Demon team.
We’ve also made a time-lapse of us assembling the fox which you can watch below.
Supplies
– 3D printer 😀
– 3D printing filament (we printed these with Fillamentum PLA)
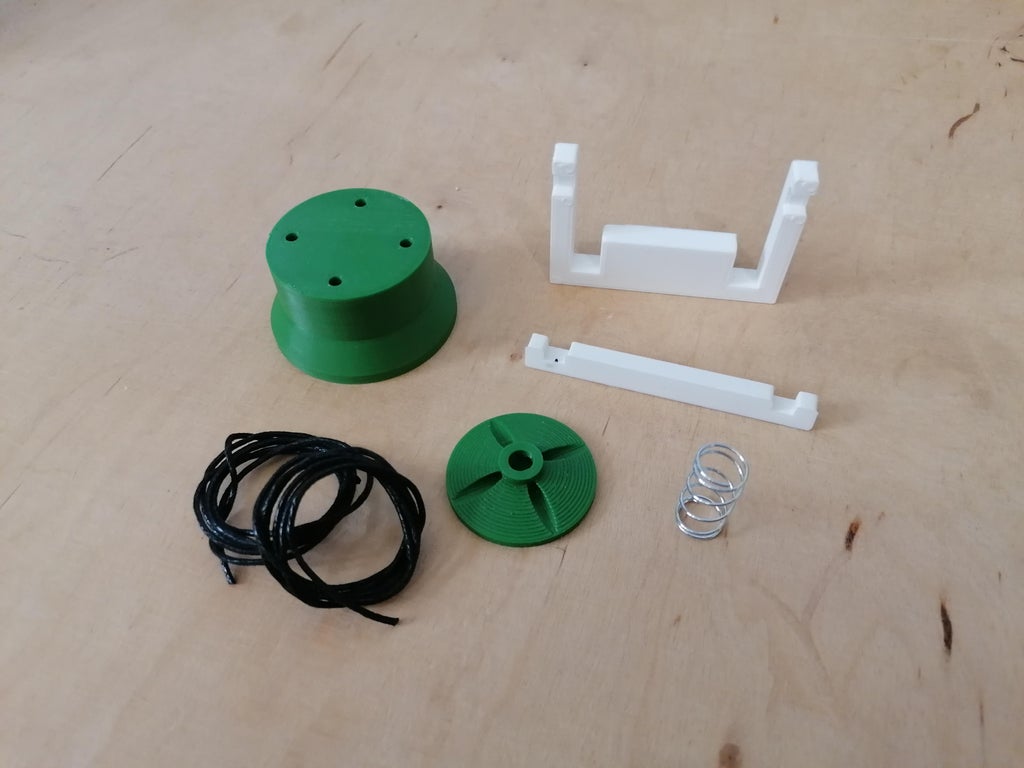
– 60cm of thread (e.g. cotton thread, 0.8mm diameter is perfect)
– Spring (9.5 x 19.0 mm). Any diameter from 8mm up to 14mm should be ok, but you’ll have to print the corresponding standard_support and standard_pushbutton
– Files for printing free to download here
Step 1: Time-lapse
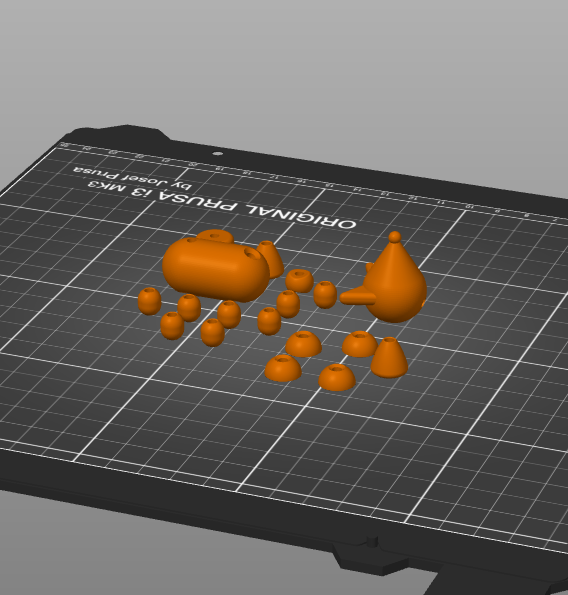
Step 2: 3D Printing
Advice
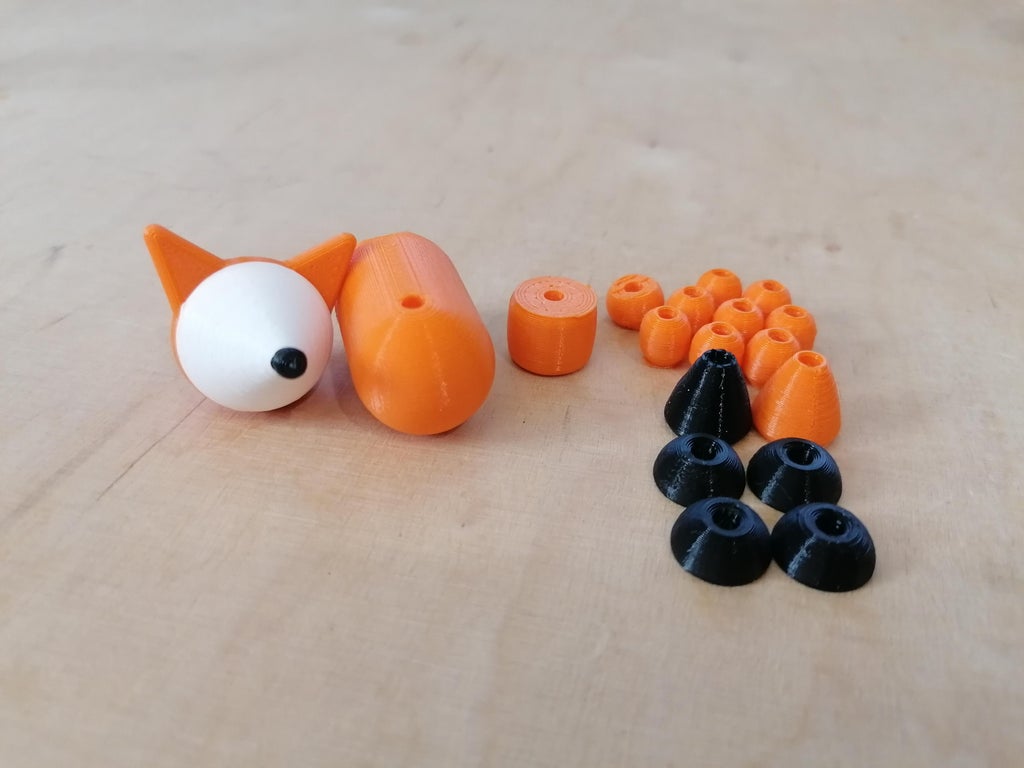
– The legs and the tail of collapsing animal toys are composed by the files standard_pearl and standard_foot (except the fox and pig tails composed by specific pearls). So print the standard_pearl and the standard_foot as many times necessary.
– Print the pearls vertically – Print the right standard_support and standard_button that fit with your spring ( e.g. for a 10mm diameter spring, print the standard_supportd10 )
– The head should be printed with its ears horizontally and muzzle on top.
– Manually remove in your slicer the supports inside the holes. They are not necessary and you will have more work with the print if you would let them generate.
Print Settings
– 0.2m layer height
– 45° supports
– 15% infill
– Brim: 4mm
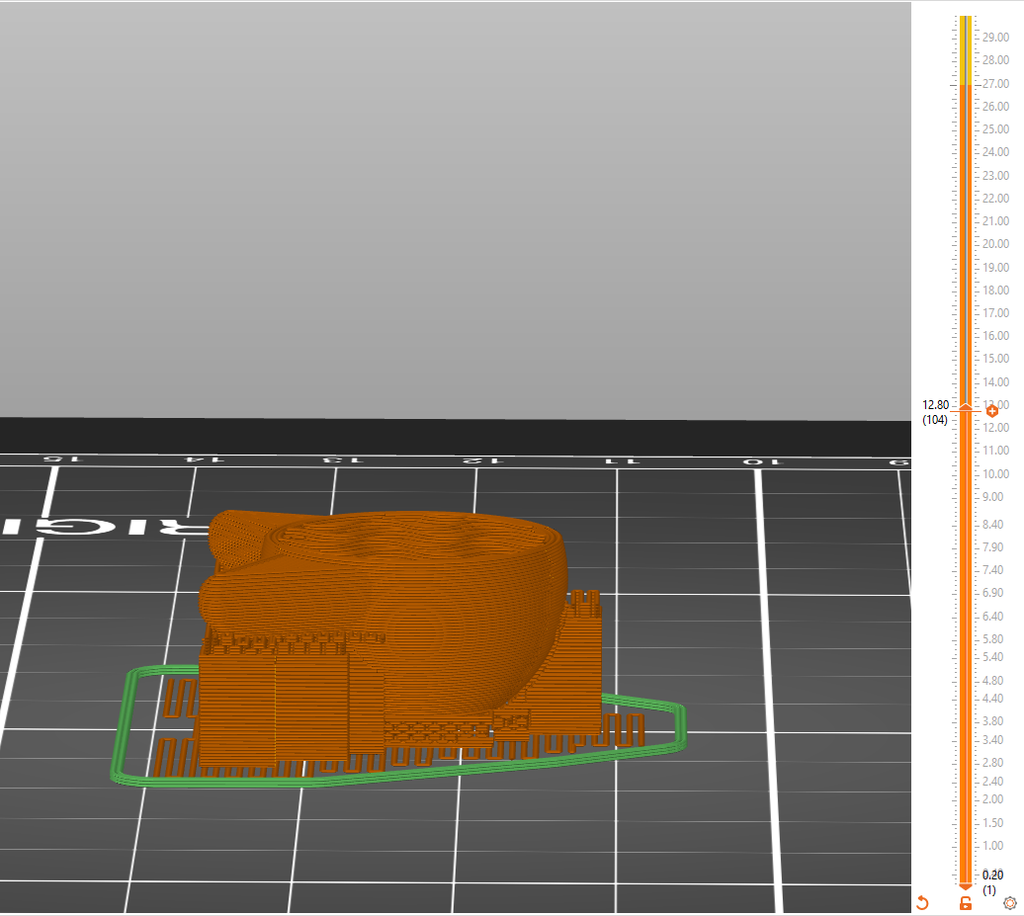
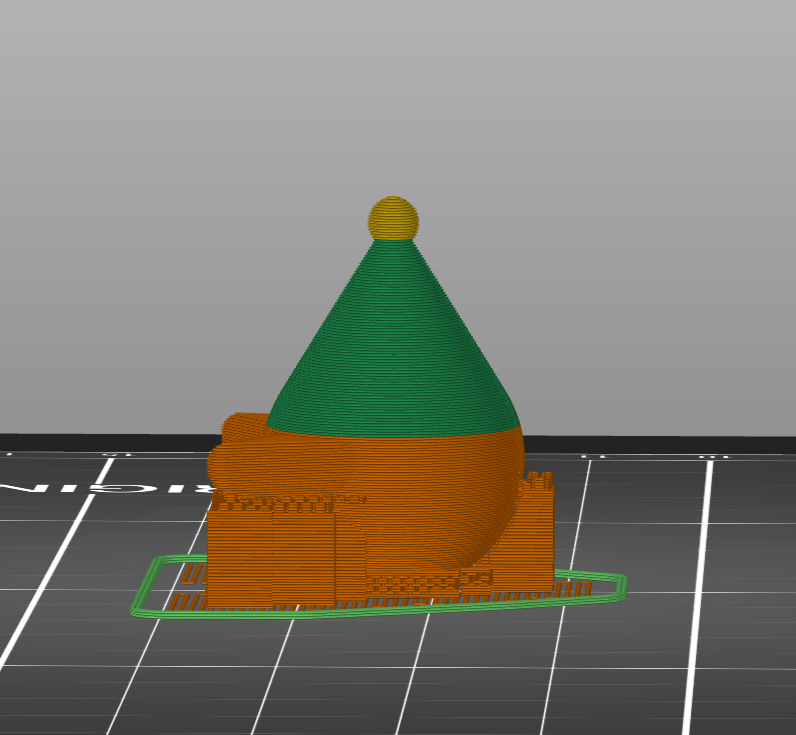
Step 3: Color Change in the Slicer
If you want some pieces of the collapsing animal toy to change color at some point in the print, here’s how:
PrusaSlicer: If you are doing the slicing in Prusa, it’s pretty simple. Slide down to the layer you want your colour to change click on the plus sign like it’s shown in the second image. If you want it to change somewhere else just repeat the same process and after slicing it you should have parts with different colors.
Other:
1) On your slicer, find the layer where the color has to be changed.
2) On the file .gcode (open with Notepad), before the line corresponding to the layer, put a new line with the command M600.
3) Your printer will pause printing when you set to change the filament.
This way, you can make the nose black and the rest of the body orange without using acrylic paints which are likely to peel off and not always safe for children.
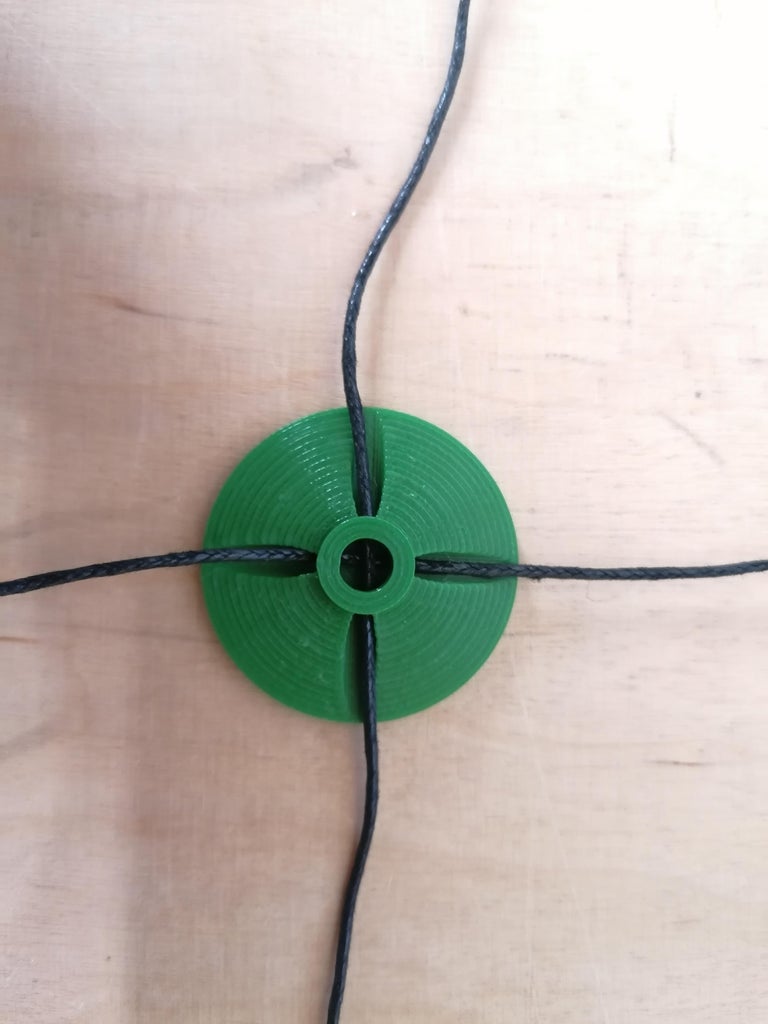
Step 4: Put Thread Through the Button
Firstly, cut the thread into 2 equals parts.
Then pass the threads horizontally through the lateral holes of the standard_pushbutton, having in mind that they should cross in the middle.
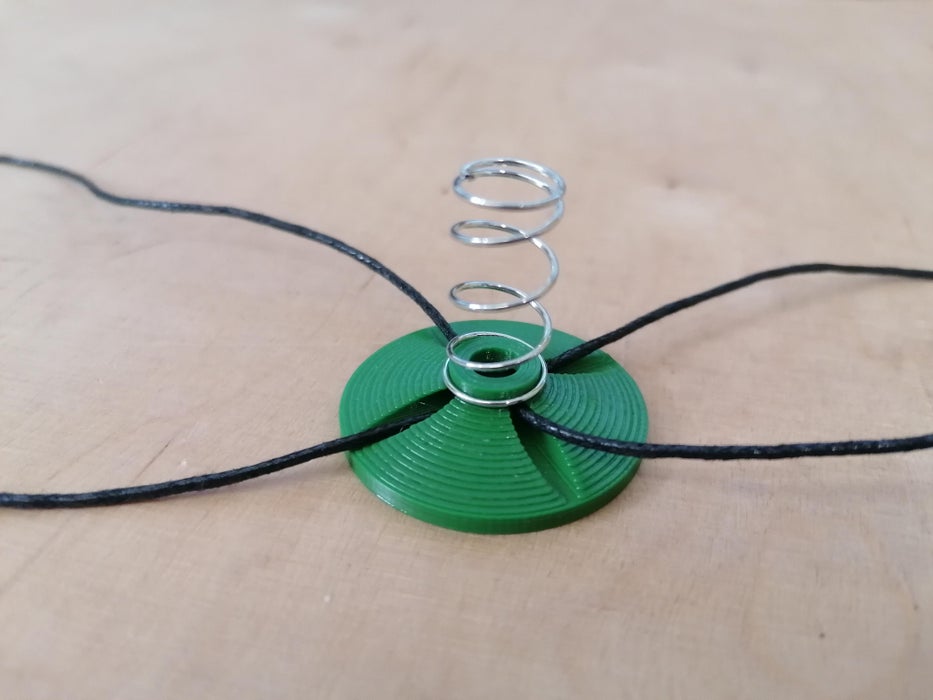
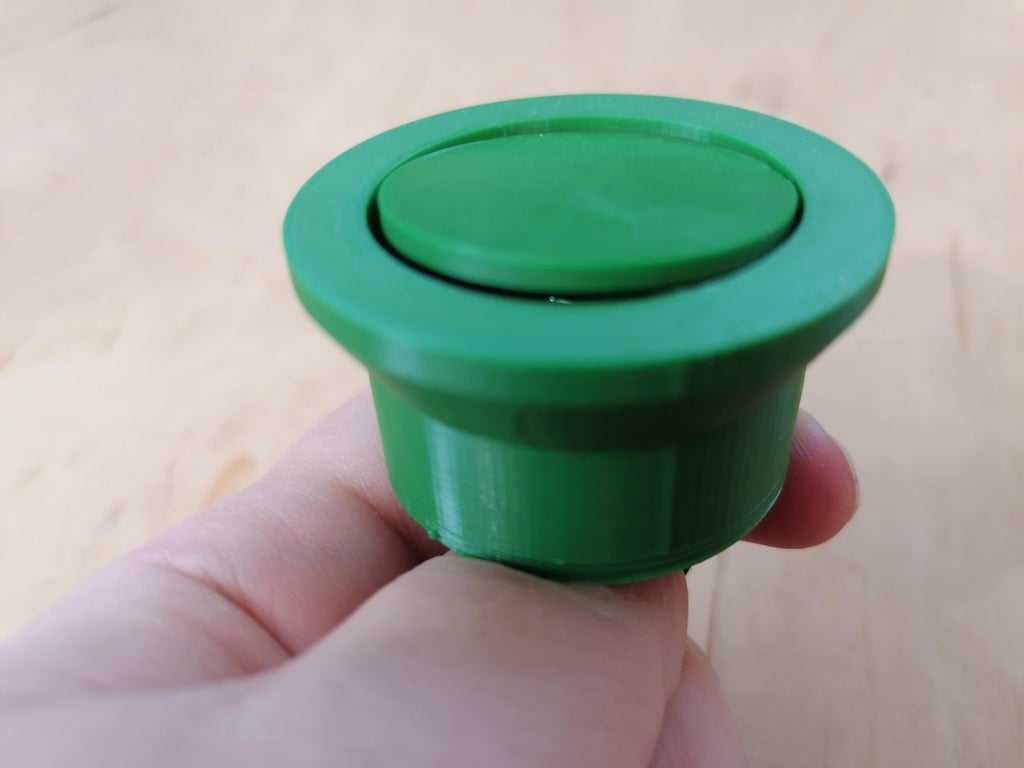
Step 5: Putting the Spring on the Button
Now, put the spring on top of the button. If your spring is too tight, try to widen it with your finger and put one side first and then the other. You can also cut the base of the spring to make it looser.
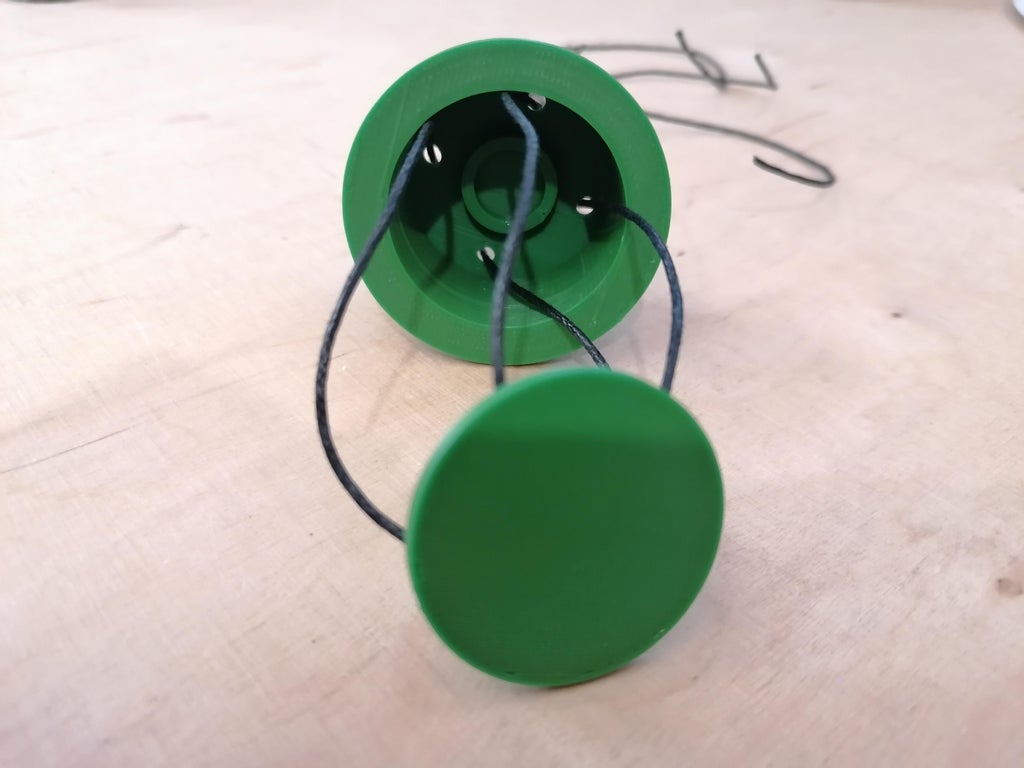
Step 6: Passing the Thread Through the Holes
You should start by passing the thread through the corresponding holes of the button, like it’s shown in the first picture. After that’s done, place the spring and the button inside the standard_support, while pulling on the threads at the same time.
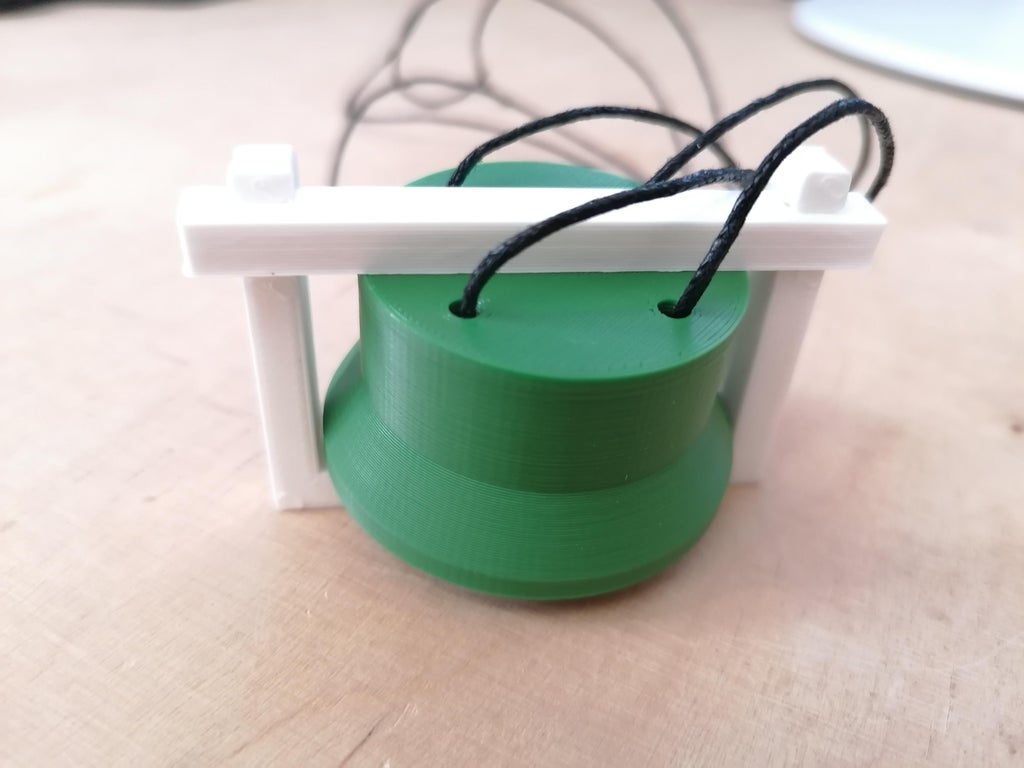
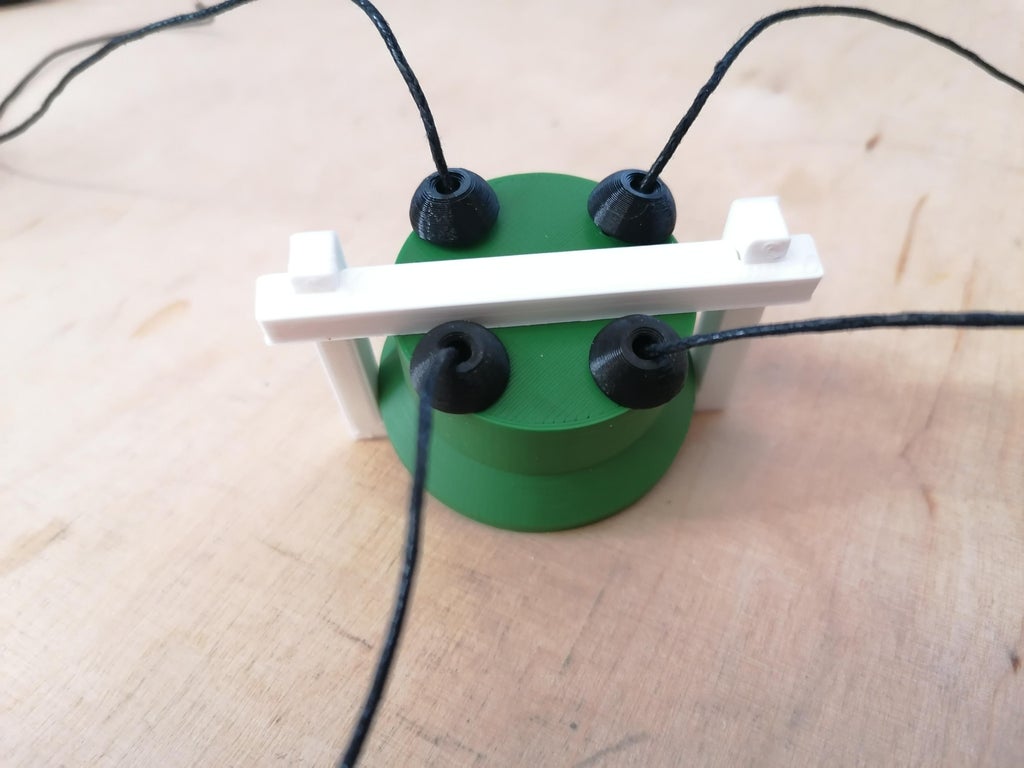
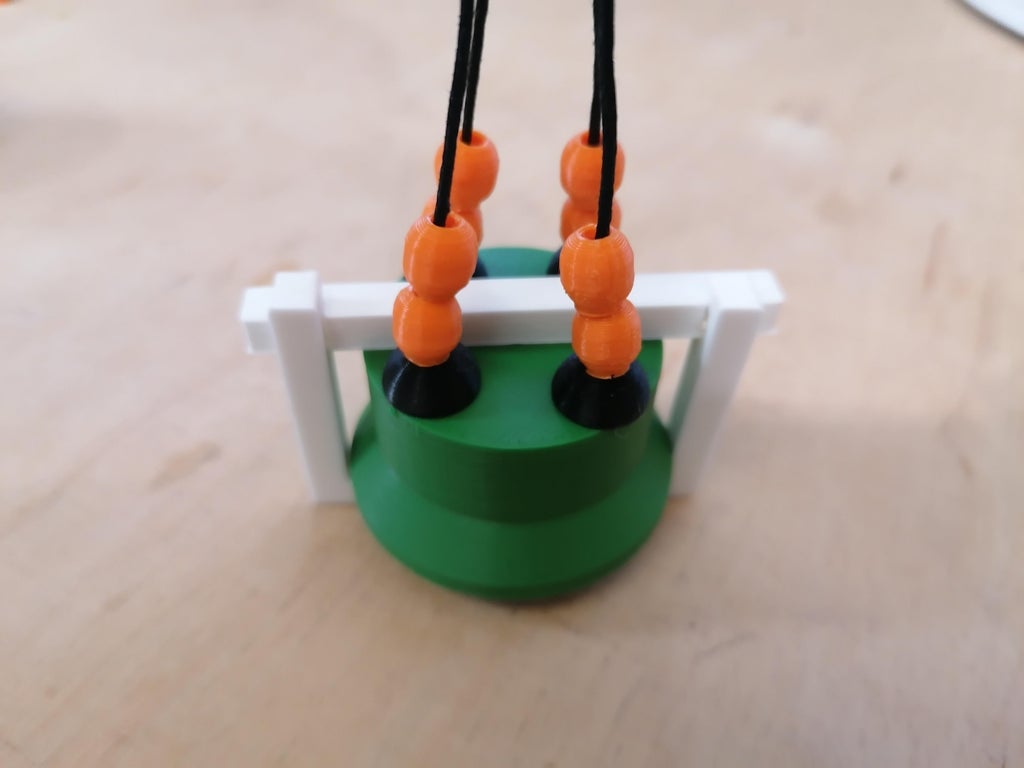
Step 7: Getting the Base Ready for Assembling
Use the standard_tool_part1 to compress the spring and lock it with the standard_tool_part2. Be careful not to get the strings below the standardt_tool_part2. There have to be two on each side of the part.

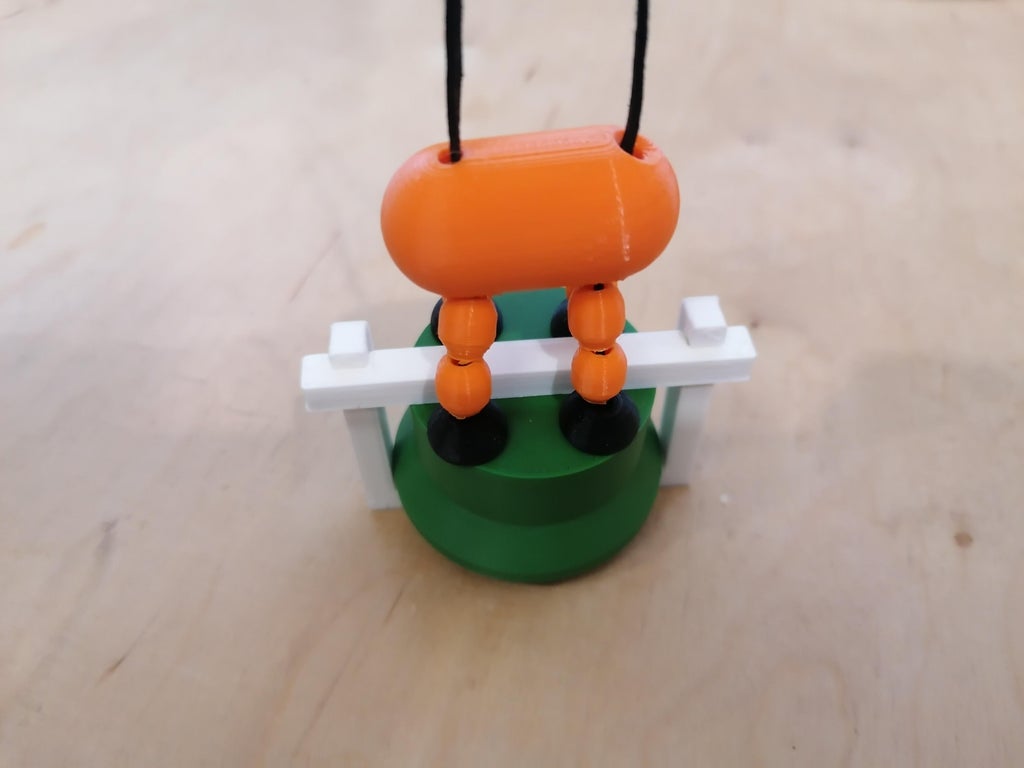
Step 8: Assembling All the Pieces
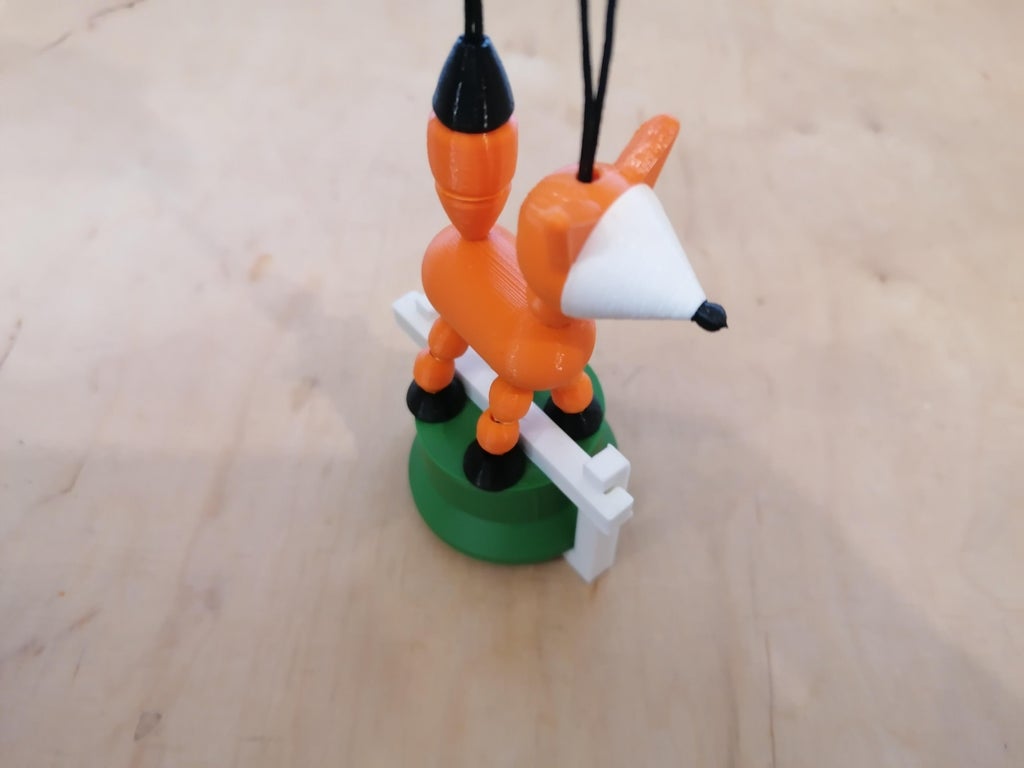
Start by assembling the feet, after that the legs, the body and the head.
Do the back half of the animal the same way after you have tied the knot on the front half as described in step 8.
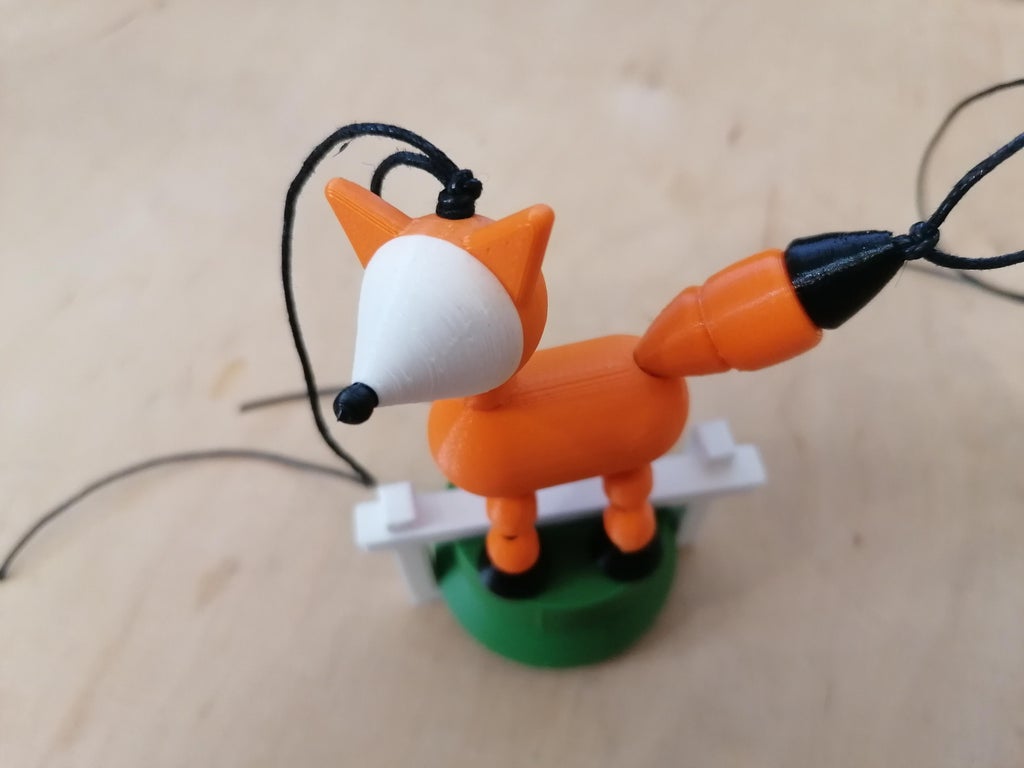
Step 9: Making the Final Knots and Cutting Them
Start by making knots as close to the head and tail as possible. However, since the toy is in its collapsed phase if you make it a little bit further from the head and tail it should be fine.
Remove the bar that is pressing the button down and try how the animal collapses. If you like the way it moves, cut the thread above the knots. If it’s too tight or too loose, put the bar back in place and try again.
Step 10: There You Go, You Have Your Animal Assembled!
I hope you enjoyed this project. Let us know on social media how you assembling p! Our social media.
Leave a Comment