Sizing and Post-processing a 3D Printed Helmet (Red Guardian – Black Widow Movie)

Hello everybody! My name is Erik Watts and I run Watts Next Cosplay. My good friends at 3Demon have asked me to write up an Instructable on how to properly size and finish their Red Guardian helmet. During this process I have skipped over finer details of printing models and focused solely on these two steps. Let’s get started!
Supplies:
- 3D printer (Yup, captain obvious here)
- 3D printing fillamentum (I used PLA)
- Spray primer
- Sandpaper between 80 to 100 grit
- Plastic Wood or another wood filler
- 90° awl or any similar tool
- Soft padding – commonly found in your craft store in the upholstery making section
- Software:
- 3-D scanning application
- Slicer you your choice
- Files for printing
Sizing and Printing
The following video contains all of the information needed to properly size a helmet based on my method.
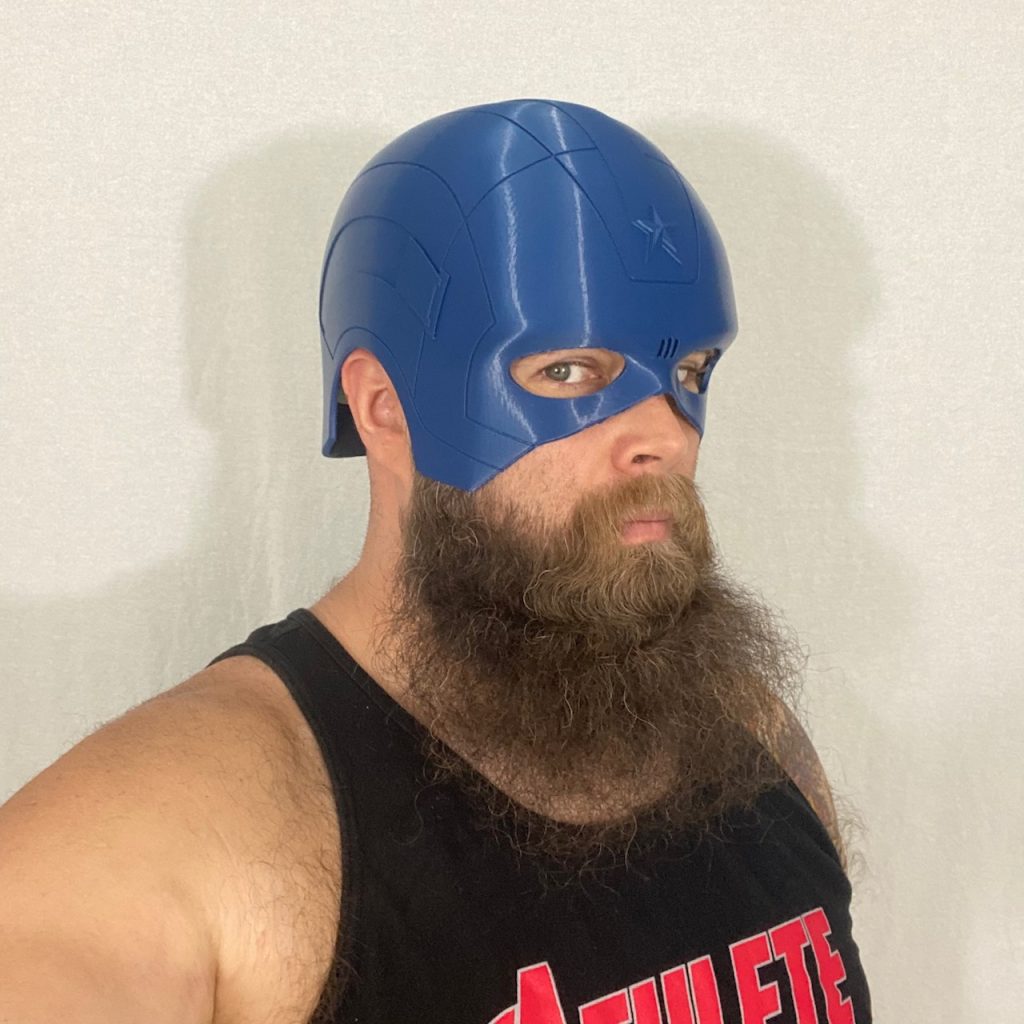
First, you’re going to want to load your helmet file into the slicer of your choice. I use Simplify 3D. I have already used a 3-D scanning application on my phone to scan my head and export it as an STL file. This makes sizing my helmets very simple because all I have to do is bring this model and my helmet together and make sure that there are no overlapping pieces. It would be quite uncomfortable to think that my helmet would overlap with my head too much.
Once you have your helmet properly sized along the X, Y, and Z axes go ahead and send it to your printer.
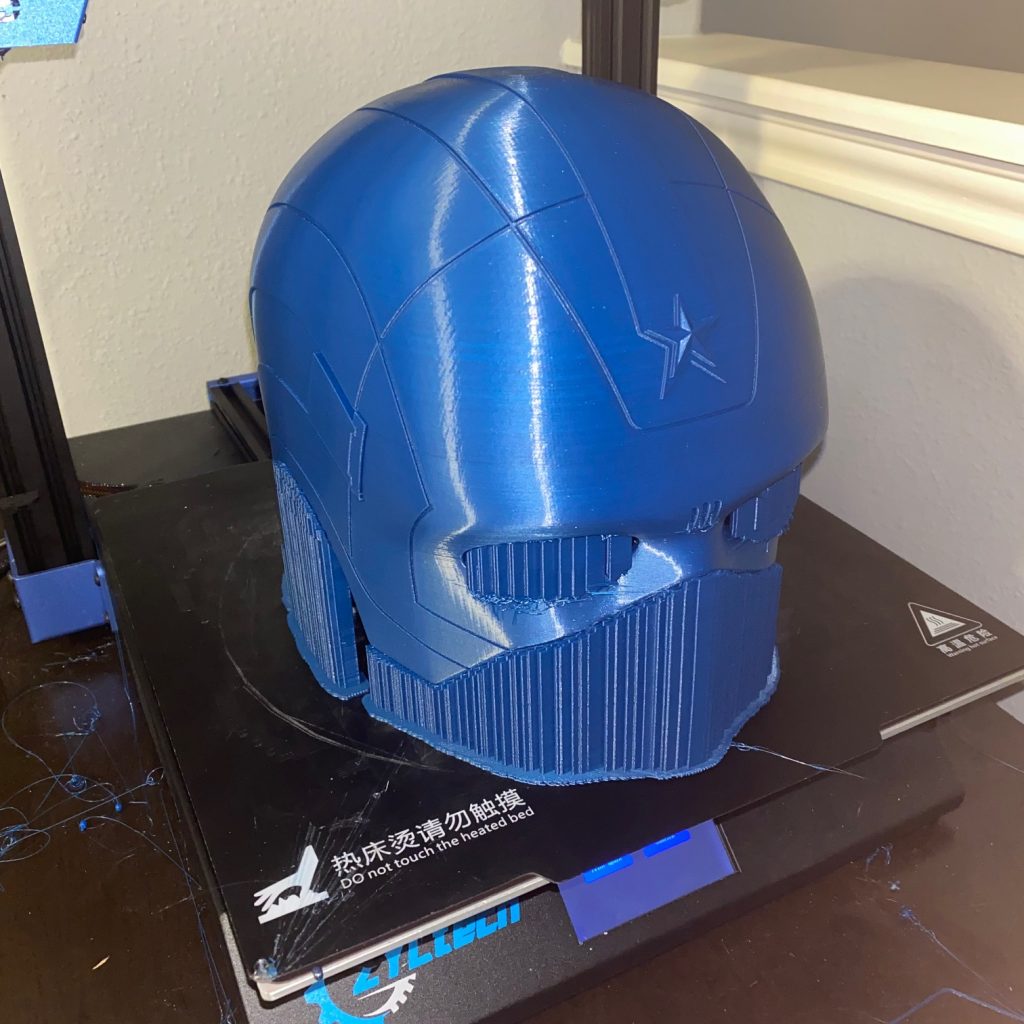
Prep
After removing your print from the print bed, carefully remove all of the supports and prep the model for painting by using a file or straight edge to score off any burrs or strings.
You may as well double check that it fits at this point as well.
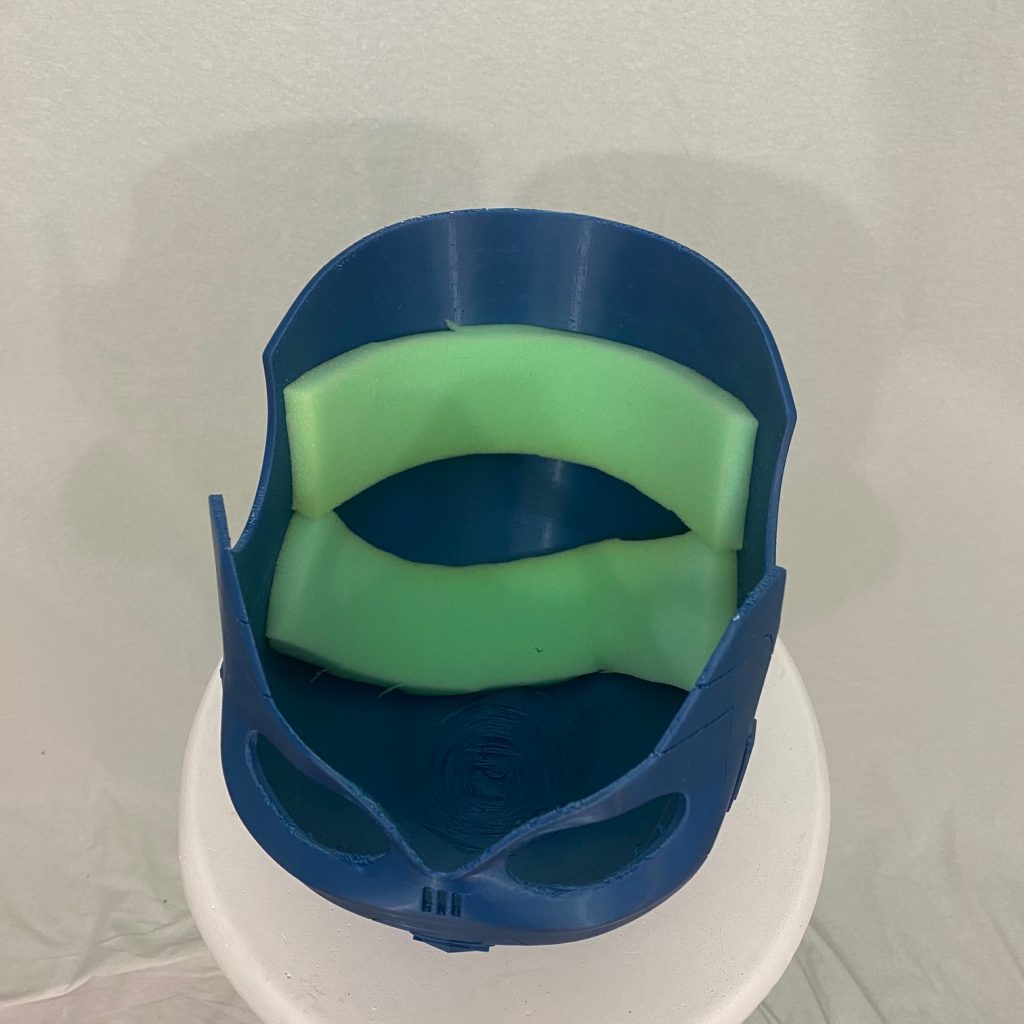
Since this helmet is PLA, a non-flexible material, I went ahead and printed it a little large so that I could add some padding on the inside. This is commonly found in your craft store in the upholstery making section.
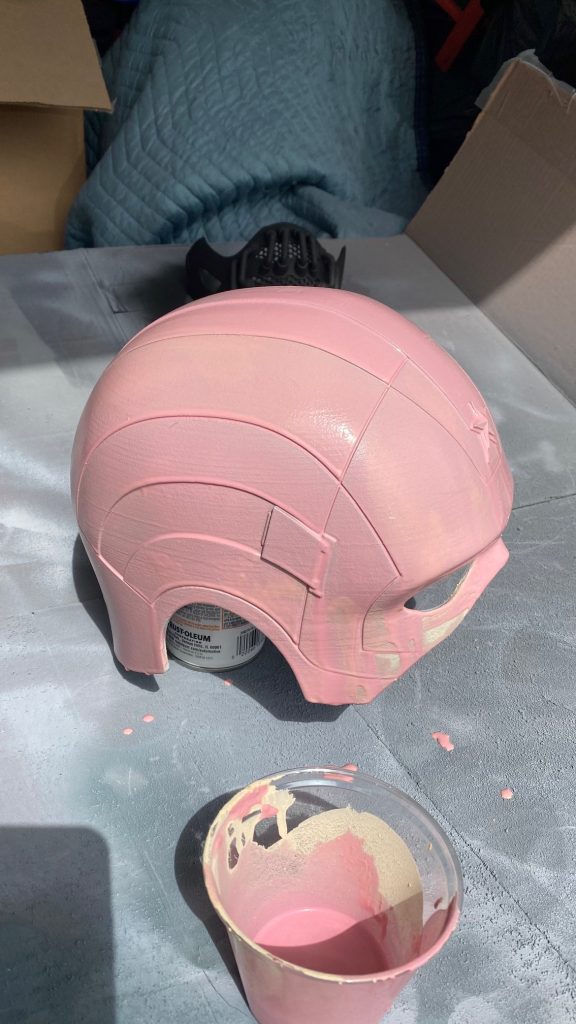
Priming
Priming
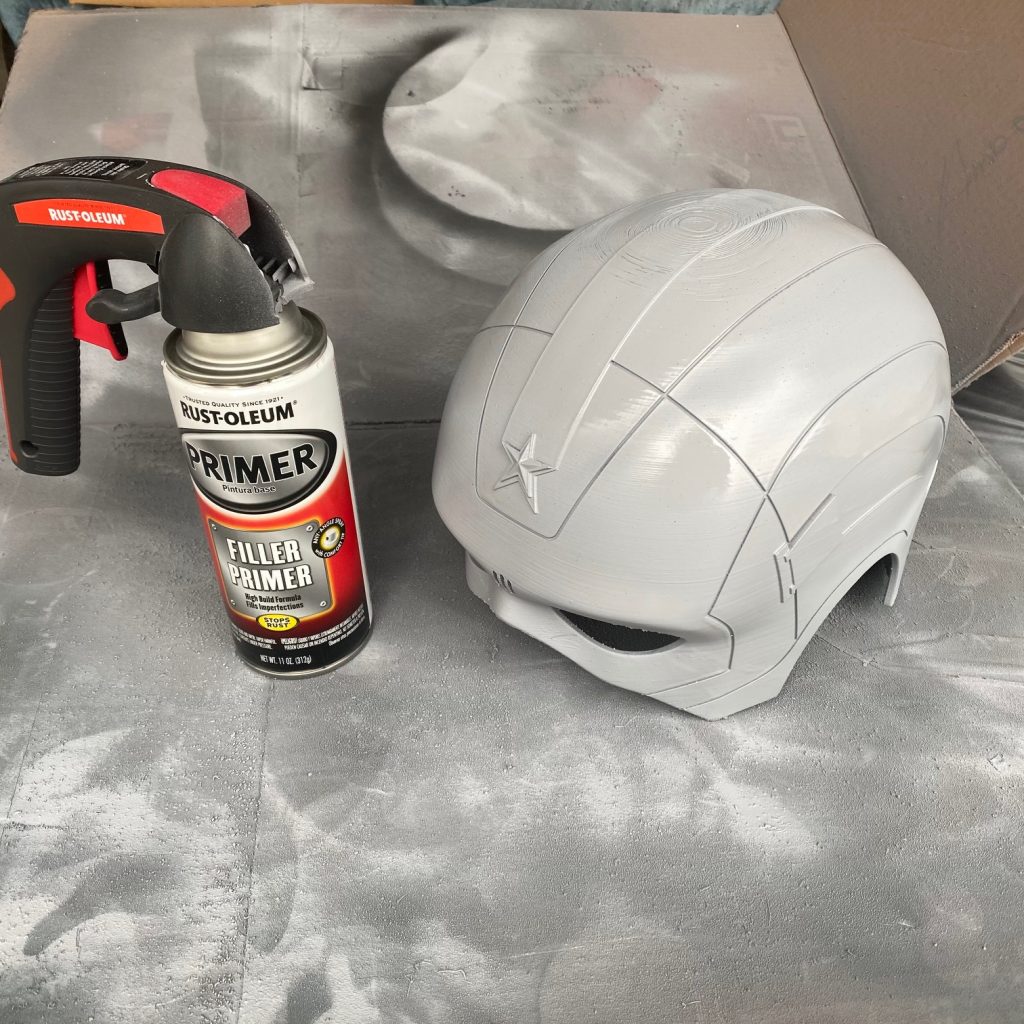
To begin the painting process, I use a product called filler/primer. You want to use this very similarly to any spray paint and not try to use excessive amounts all at one time. Once you have a few good coats of this product on your print you will take a sandpaper between 80 to 100 grit and give your model a light sanding. Since this is not the final sanding, Don’t worry if it’s still a little rough.
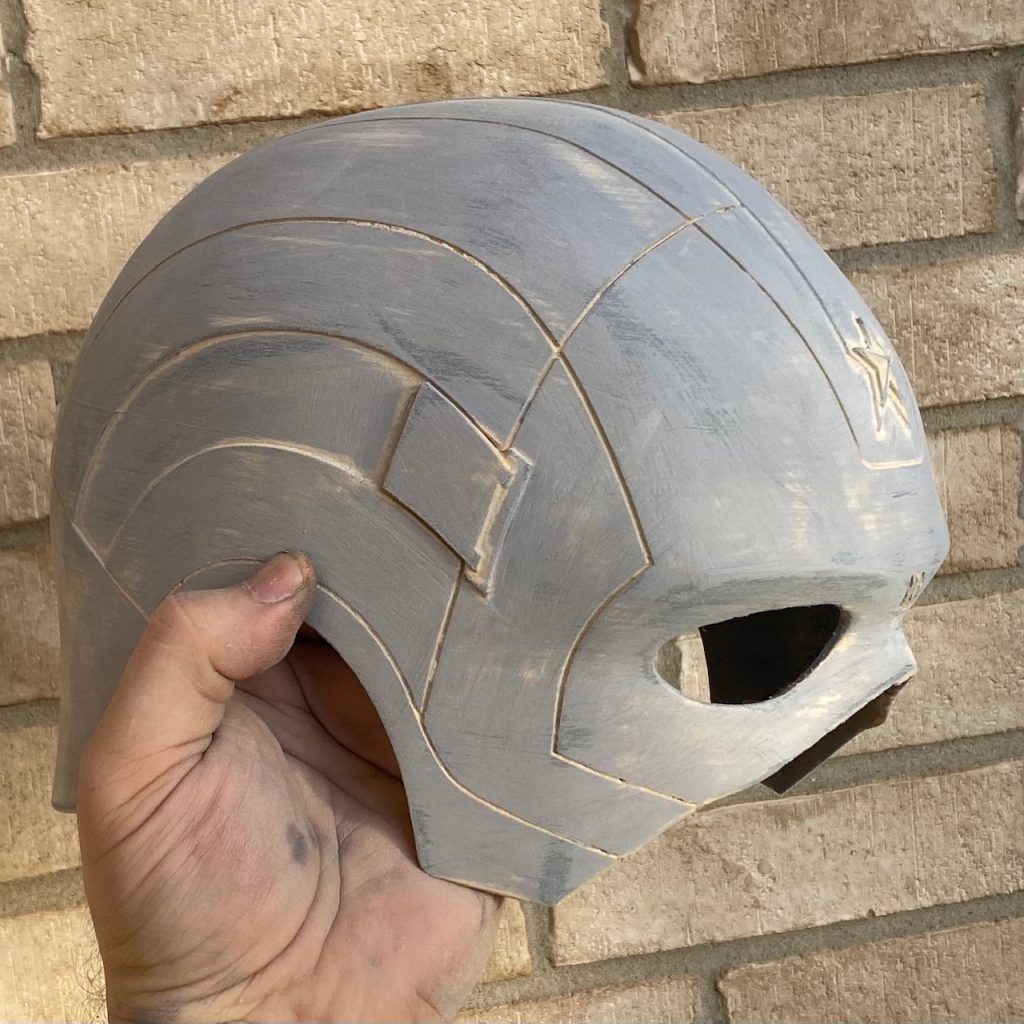
In the next step, you’ll be taking Plastic Wood or another wood filler and watering it down before using a paintbrush to paint it onto your model. Since this is very watery, make sure you don’t let it pool up in areas to much as you’ll have to scrape it out to keep details.
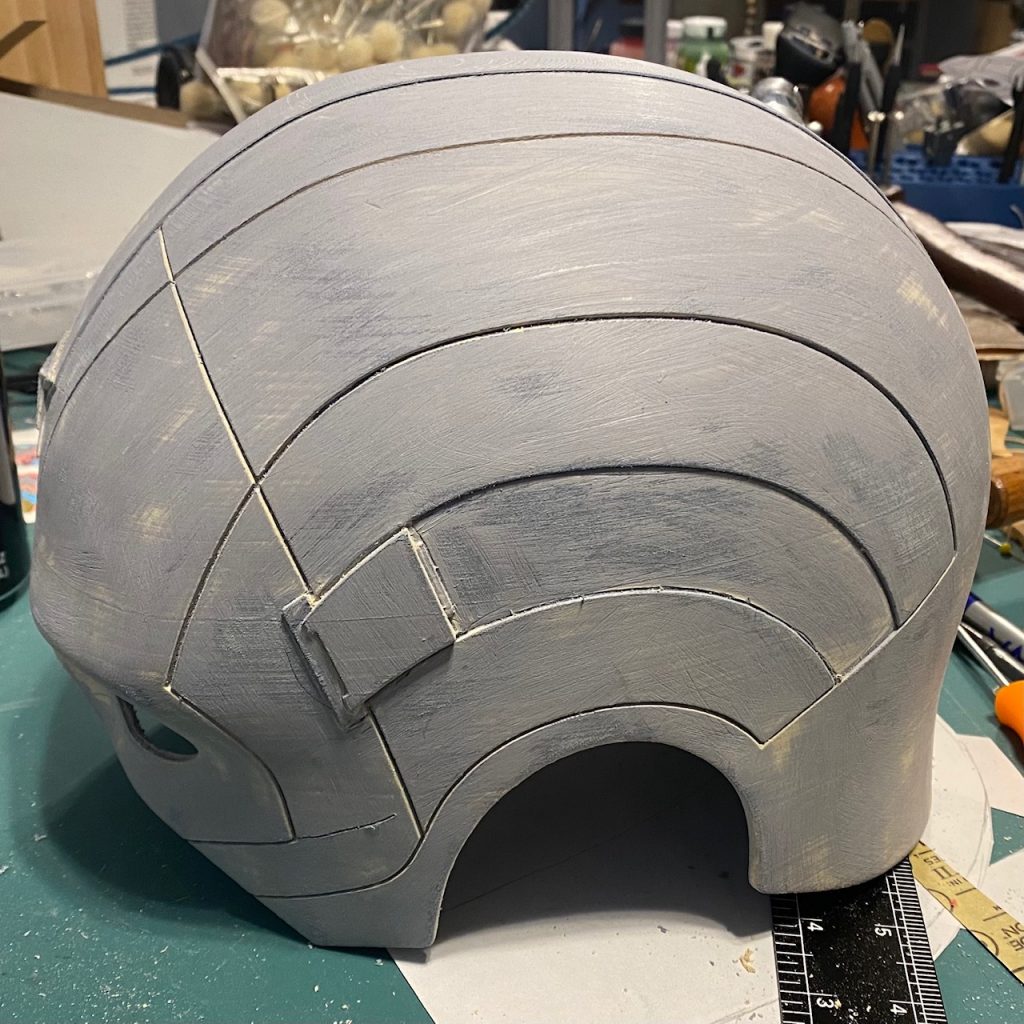
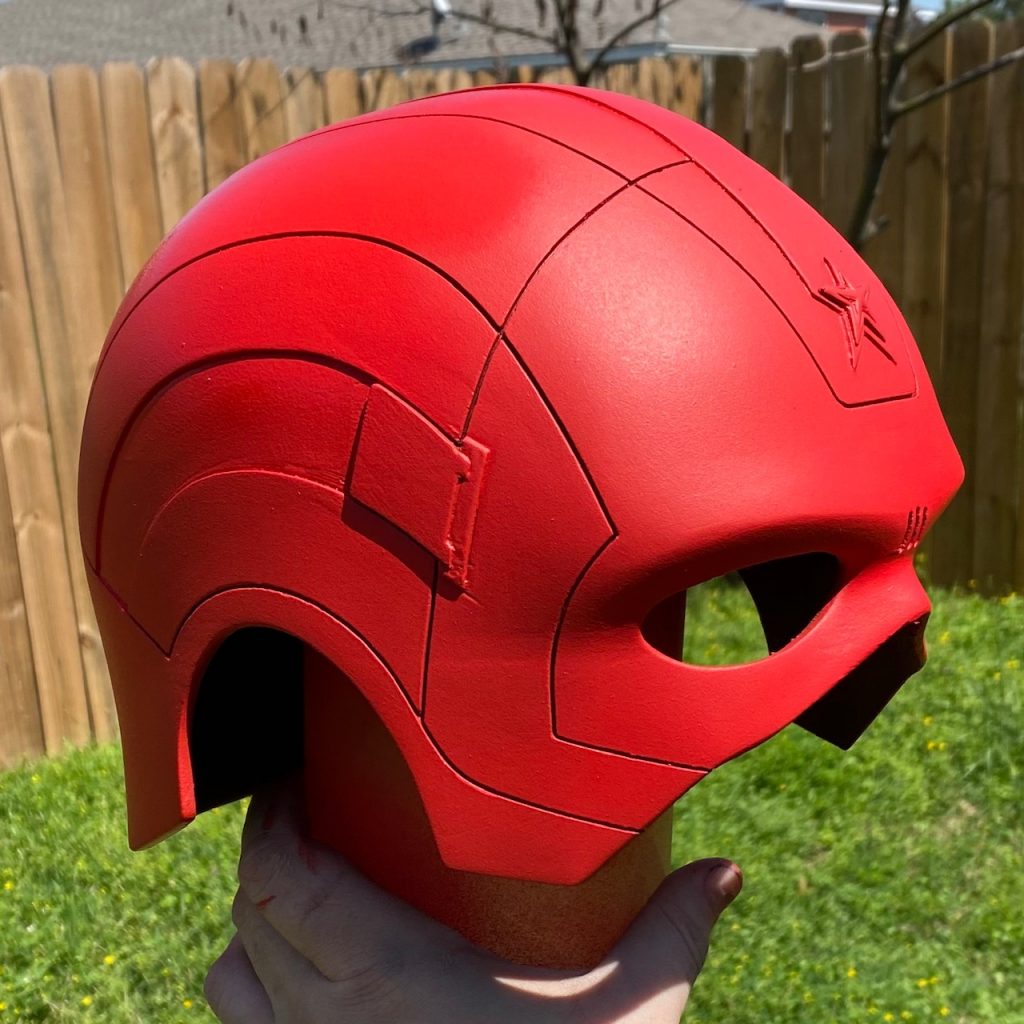
After another run of sanding, your helmet should look something like the one in the picture. You will notice that there are still visible layer lines but we are starting to lessen them. You will repeat the last few steps (filler primer, sanding, plastic wood, sanding) A few more times. I would suggest at least three times through completely. However, it is up to you.
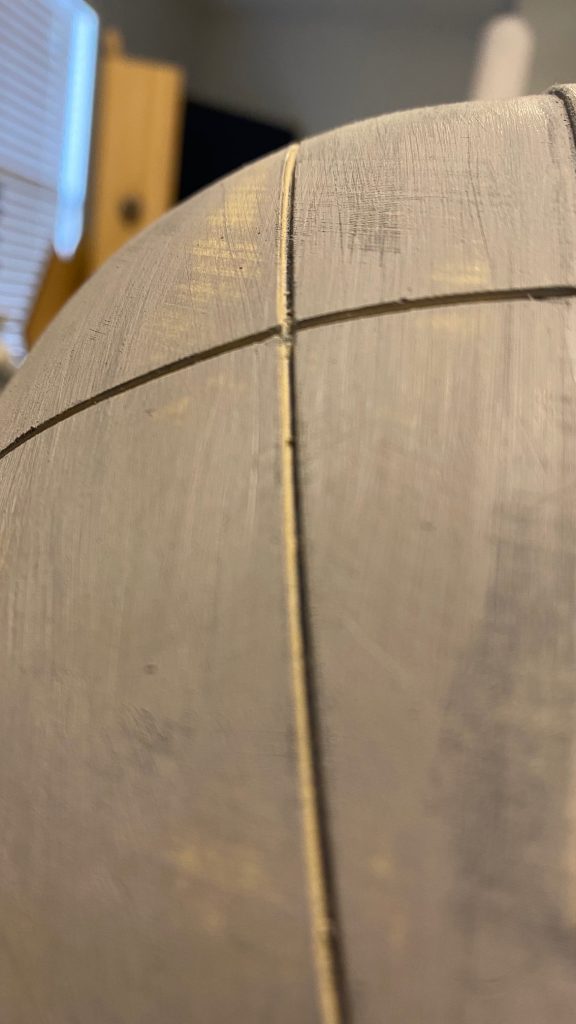
Throughout the process, make sure that you keep all of your details nice and crisp. I use a 90° awl to scrape out my lines on this helmet.
Each time you move through the sanding process, increase the grit to ensure you’re getting the print as smooth as possible. If you want a super smooth finish, you may even want to wet sand the entire helmet. This is a process where you literally went down your model or dunk your sand paper in water while you are sanding. Once you are happy with the texture of your surface it’s time to move on to painting.

Painting
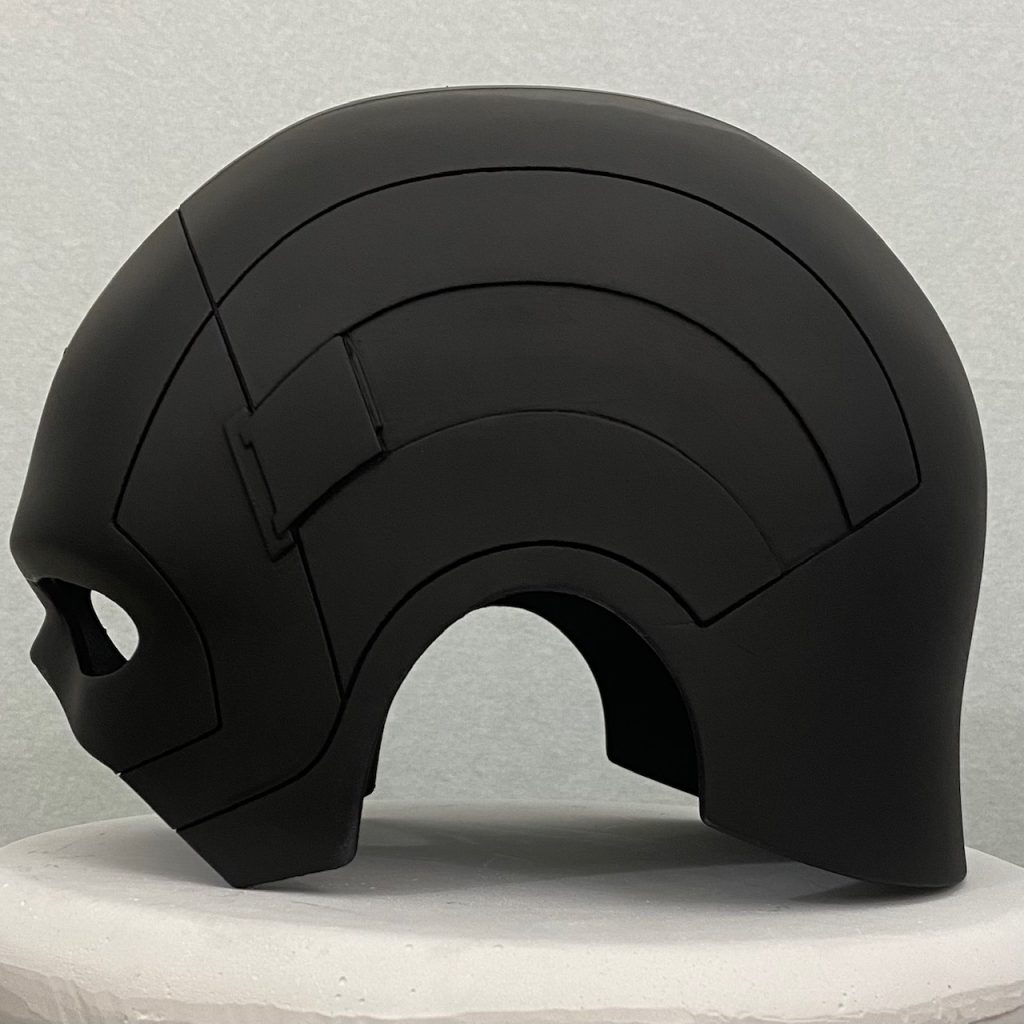
I began the painting process by using a flat black primer. Not only does this give us a good base in addition to the filler/primer but it also lets us know where there might be any major issues with our sanding. At this point, if you do notice that there are any issues with your surface, you will want to address that by going back and re-sanding.
For our base coat I decided to go with Apple Red acrylic craft paint. This type of pain can be found at most craft stores and they have a fairly wide variety. To be completely honest, I attempted to brush the craft paint on so that I could avoid getting the red inside the cracks. In the end, this did not work out. I did wind up putting my acrylic craft paint through a siphon sprayer which hooks up to an air compressor. They can be found at some craft stores, hardware stores, and I found mine online.
To add a little depth in the red I took a darker shade (the same one that I will eventually use on the star) thinned it out and sent it through my standard airbrush. I did not coat the whole thing, simply adding a few areas that might look like they were more shadowed.
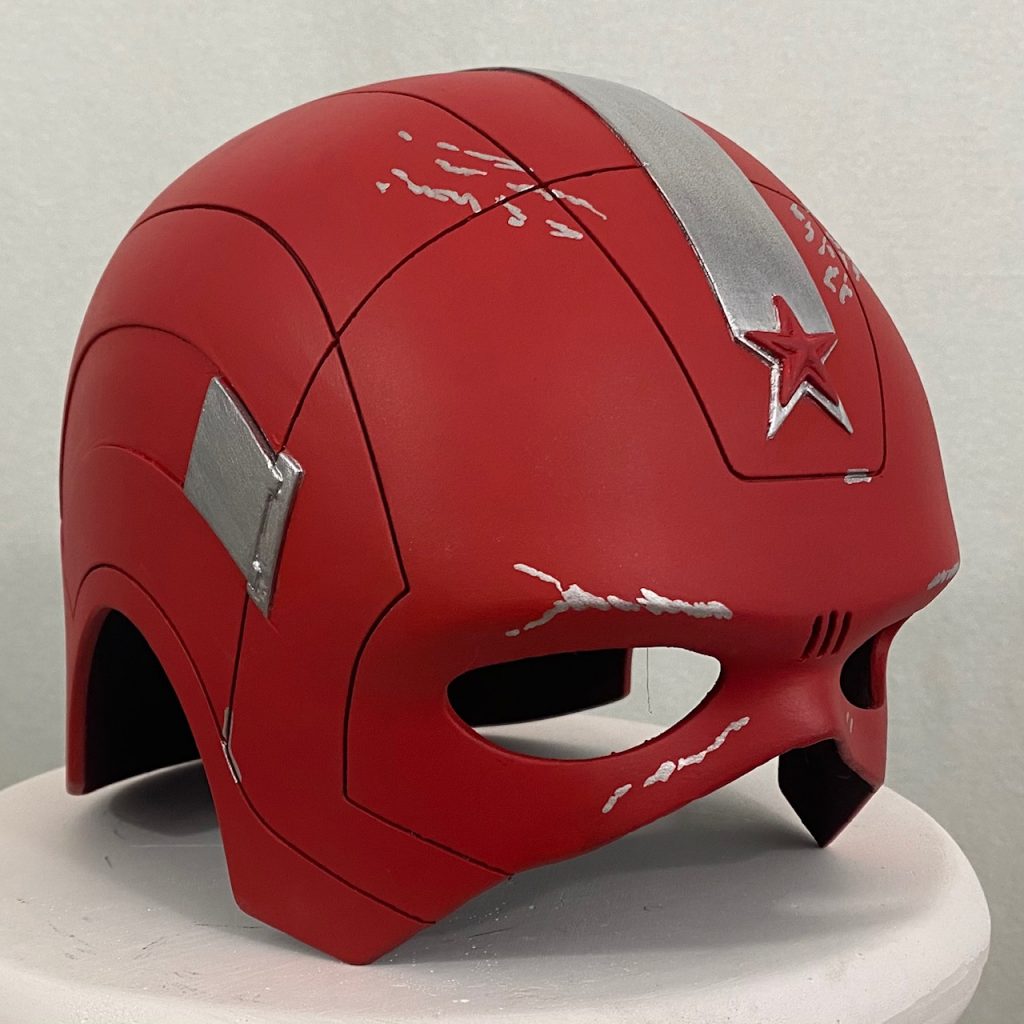
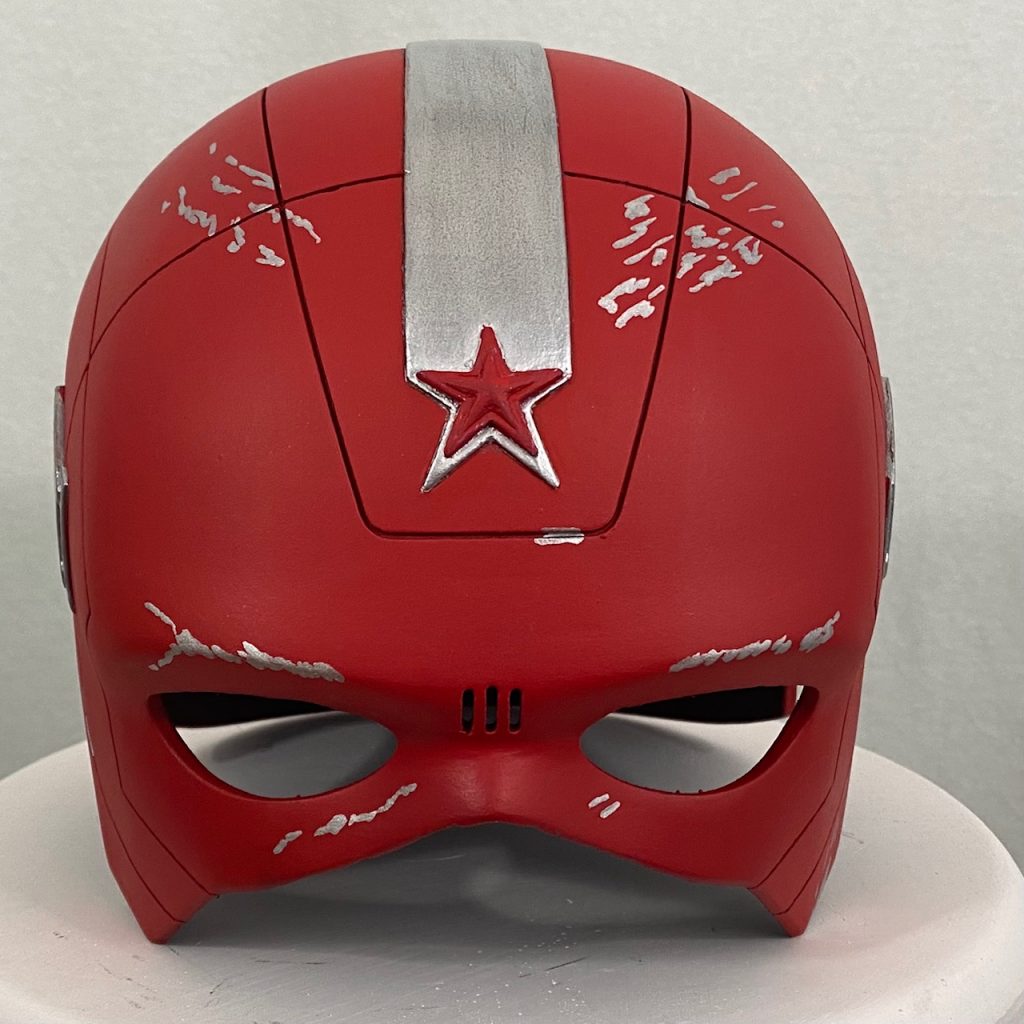
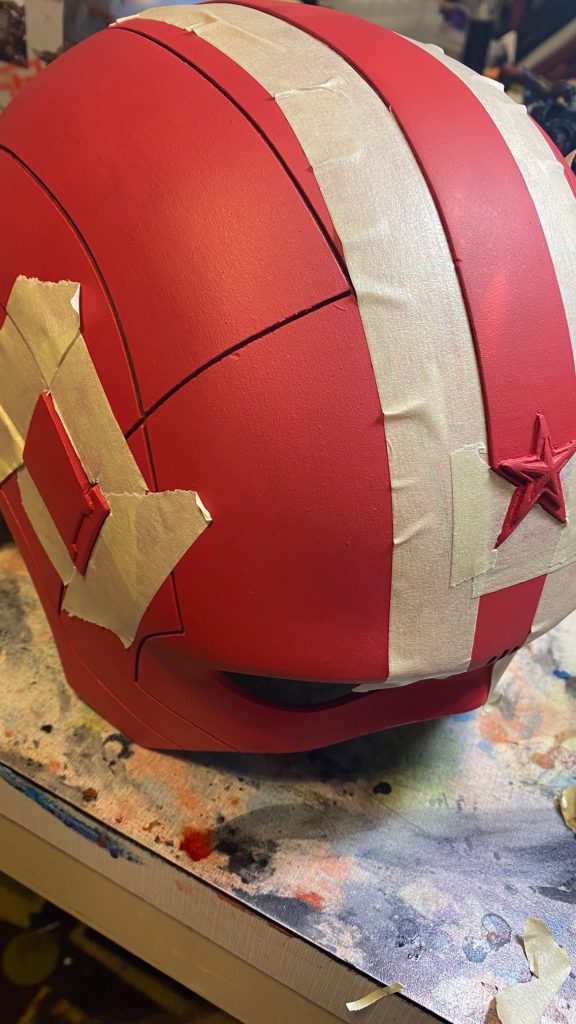
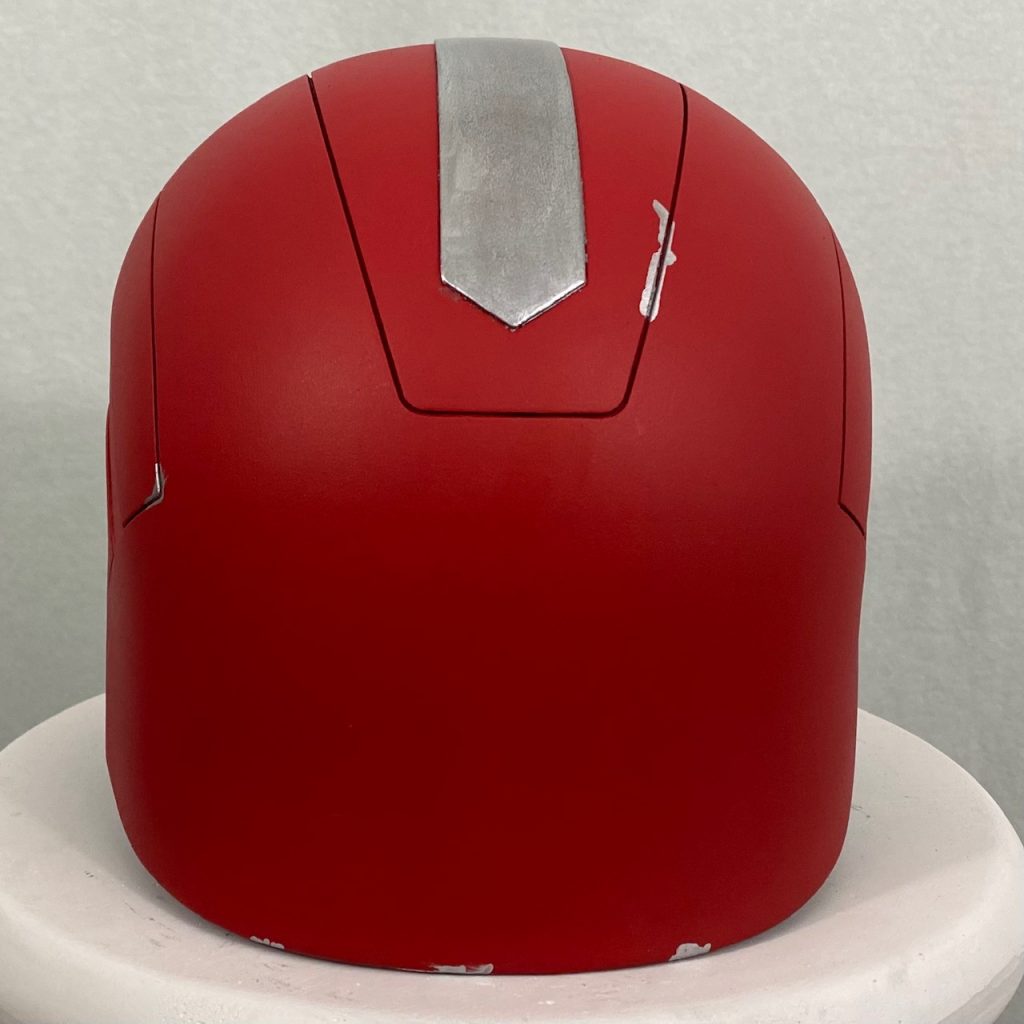
Since our helmet has some amazing silver accents, I went ahead and taped off the bits that would need to be silver. After that, you can paint them with whichever brand and color you’d like. Just be careful not to get any underneath the tape or you will have to repaint your red. After this, carefully apply the red paint to the star. This should be our last bit of painting.

Weathering
(My version of weathering is the final step of the process. However, there are other ways to weather your 3-D prints. If you want large gouges, cuts, bullet holes, or anything else like that added to your prop you will want to add them well before painting. You can take a rotary tool, a woodburning tool, or even a power sander to carefully add large weathering to your props. Please note: if you cut too deeply into the piece there is a long drawn out process to attempt a fix which is why I go the safe route.)
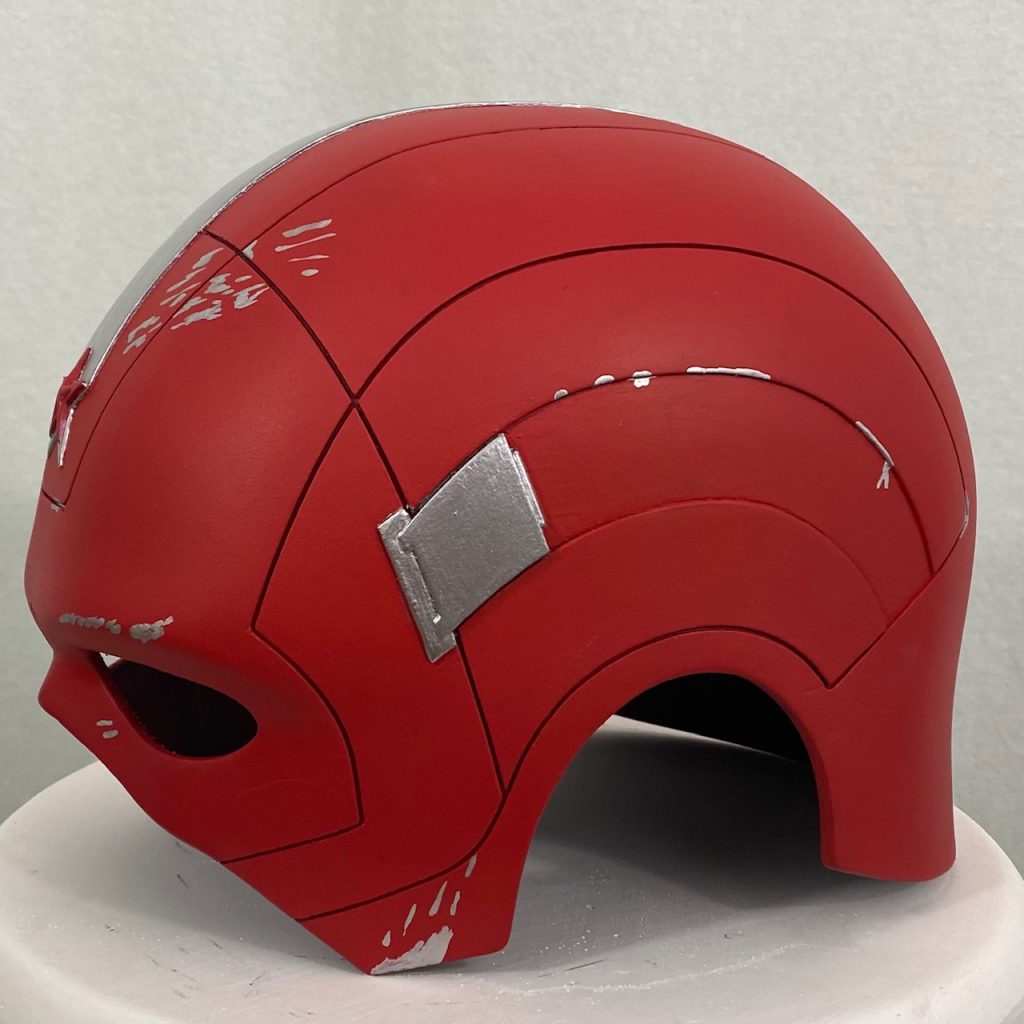
Once you’re completely happy with your paint job and you want to rough it up a little bit I suggest using a silver paint pen (for this print in particular, since the underneath is hypothetically metal). By lightly dragging the paint pen across the raised areas of your helmet, you can create an excellent weather in effect. You want want to be very careful to not glob it on and you will want to try to keep the areas light and sparse.
Done!
Ladies, gentlemen, and everyone in between: I hope this brief tutorial on 3D printed helmet of Red Guardian from Black Widow helps you out and I hope you always continue to learn new things.
Socials:
If you would like, look me up on Facebook, Instagram, and TikTok under @wattsnextcosplay.
You can also find my completely safe for work Only Fans @owlbear.
If you decide to follow our instructable, don’t hesitate to tag @3demon3dprint on Instagram, so we can share it!
For discussing any issues or just a friendly chatting – join our Discord!
Leave a Comment