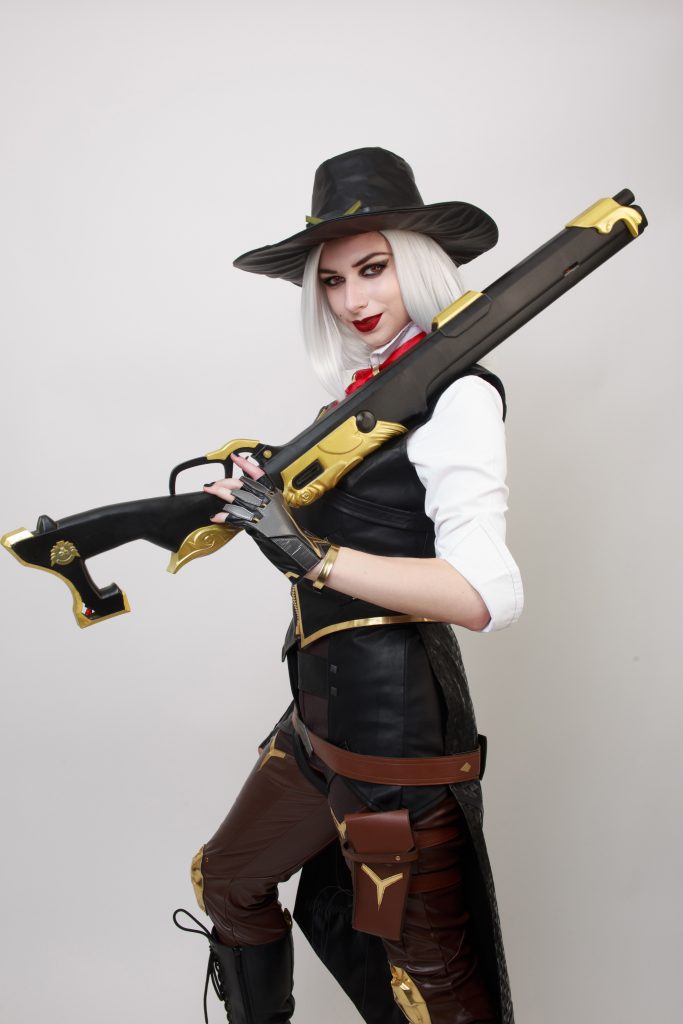
3D Printed Ashe’s Rifle (Overwatch) Cosplay Tutorial

Ashe is one of the playable heroes from Blizzard’s online multiplayer team based videogame. She fires a rifle called “The Viper.” In this tutorial, we’ll have a look at the process of creating Ashe’s rifle in real life for cosplay.
Supplies
- 3D model of Ashe’s rifle
- 3D printer, filament
- Glue (contact adhesive)
- Putty, filler
- Sanding paper
- Masking tape
- Primer, spray paint
- Protective clear spray paint
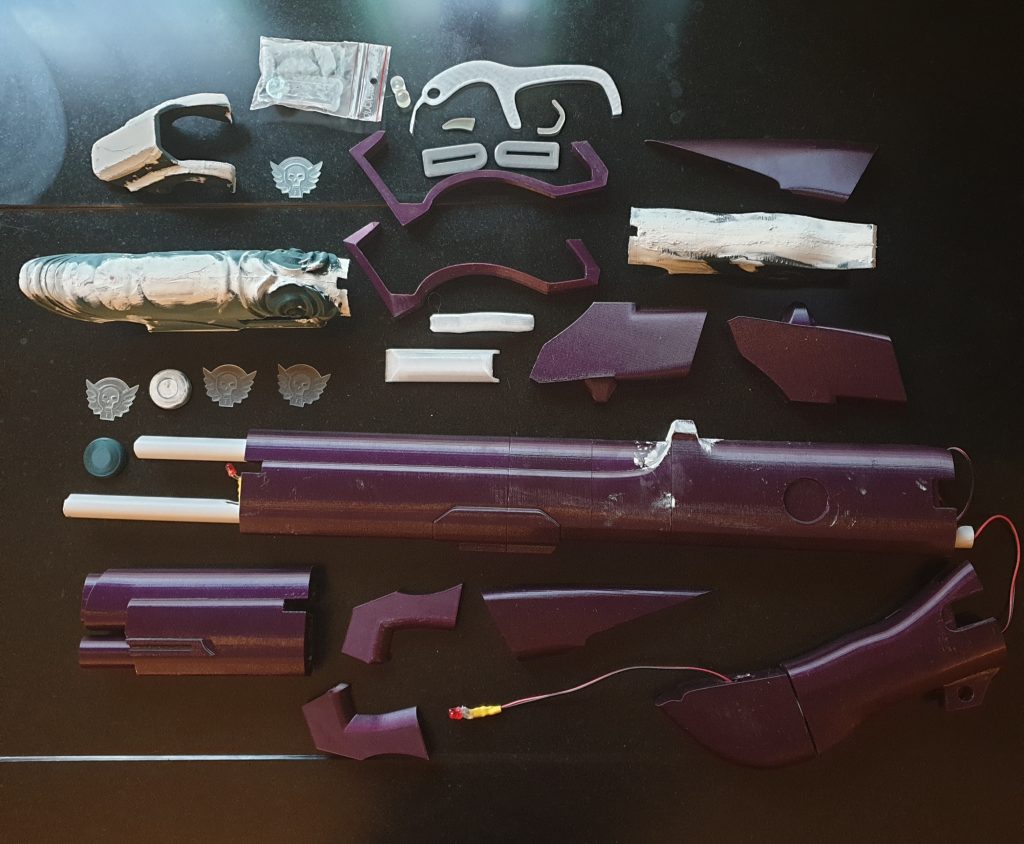
Printing the Model
You can download the 3D model of Ashe’s rifle here. I got it printed and slightly adjusted in length according to my height by PropsItYourself.
Cleaning Up and Sanding
After removing supports, I used a sandpaper (grit 80) to clean up any excessive filament and aimed to make it smoother. Don’t forget to wear a respirator during this process.
Mastic (a resin obtained from the mastic tree) can be used to fill in any holes. Smooth it out using a sandpaper again.
If there are any major printing errors, you can hide them with a thick layer of a plastic putty.
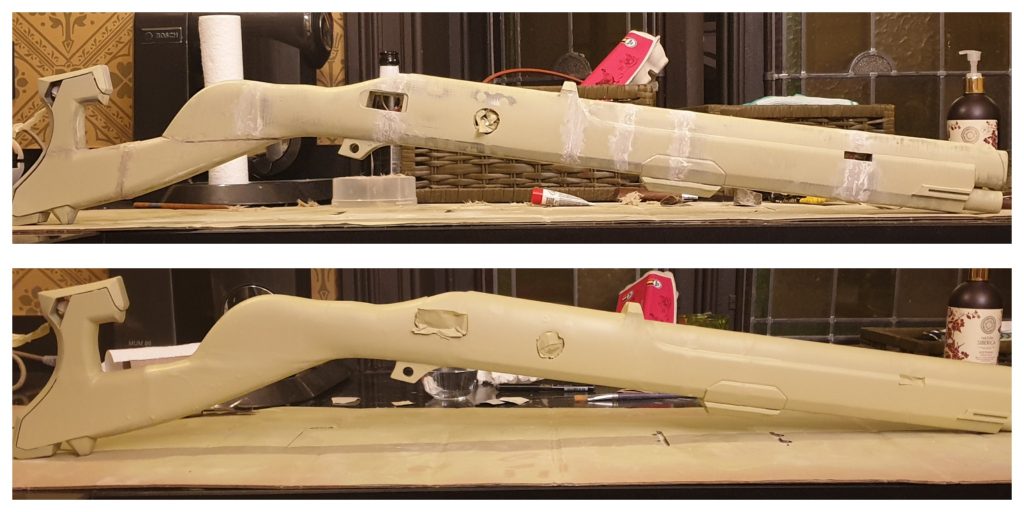
First Assembly, Sealing and Further Sanding
Assemble the main horizontal body of the rifle (from the barrel to where the grip of the handle). If you want to add some lights or electronics, protect them with tape.
The parts need to adhere to each other perfectly, so use a strong glue (contact adhesive for example, but don’t use neoprene glue as it takes too long to dry and the parts could move).
Then, fill in the gaps with putty/sealer (I used fiberglass putty which is strong but a bit harder to work with, any sealer will do).
Sand down thoroughly. Start with grit 80 and slowly move to 240, 400 and then 600 for even cleaner result.
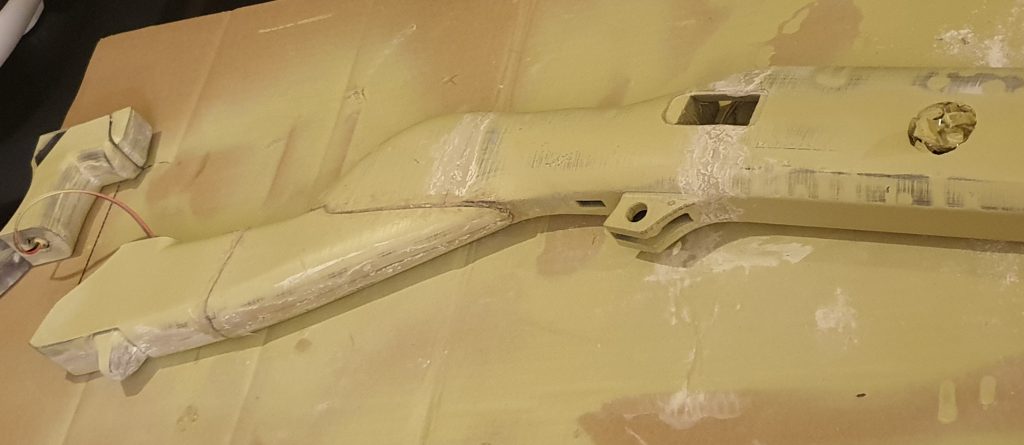
Filler, Wet Sanding
Apply your spray filler of choice (before doing so, clean the rifle so no dust gets in the way).
Wet sand the details and the seams using 240, 400 and 600 grit sandpaper. Repeat the process described above few times if needed. Remember, the paint won’t hide any errors in the texture. so spend some extra time on sanding after each layer of the filler. Patience is key, this build will take a few days.
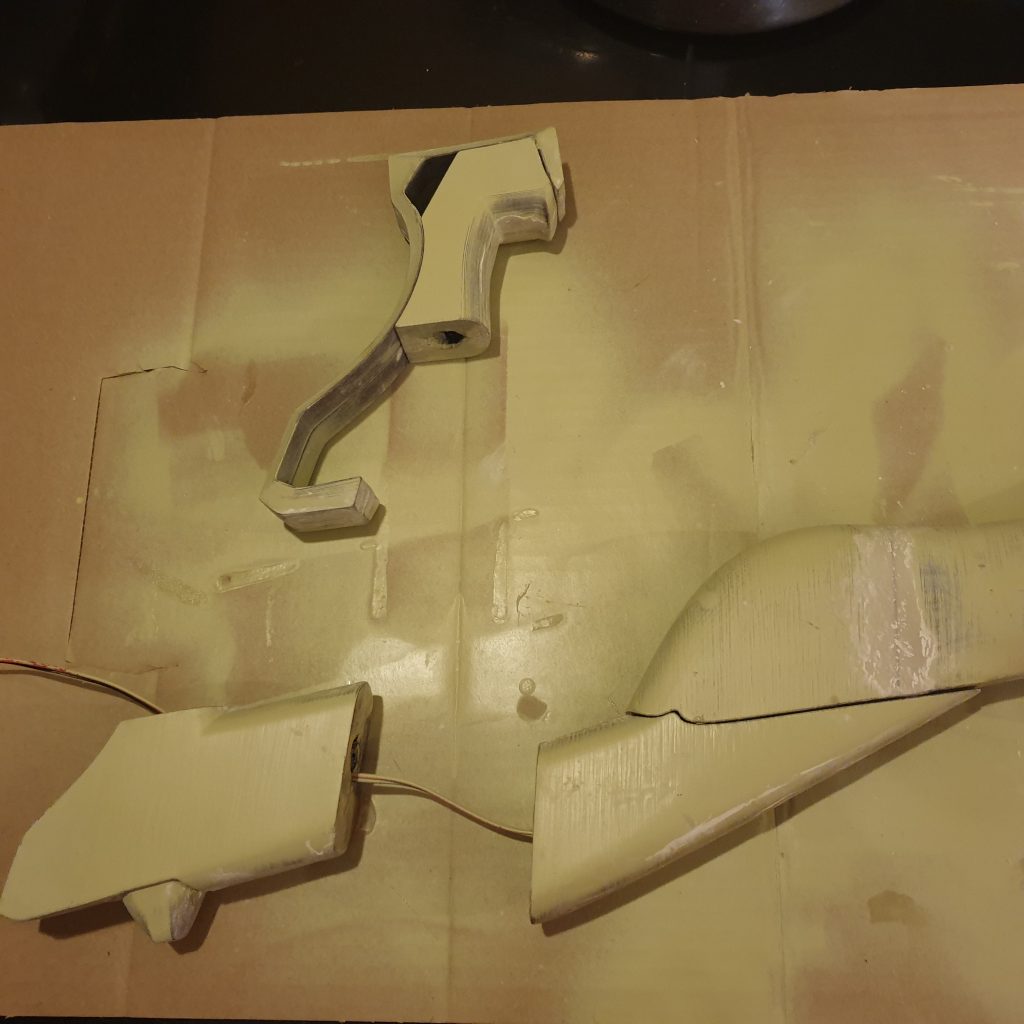
Handle Assembly, Putty + Filler
Assemble each component of the handle using glue. When you’re sure the glue is dry, apply putty, then sand the seams. Connect all the parts together and then assemble the grip with the main body of the rifle, using the same techniques as before.
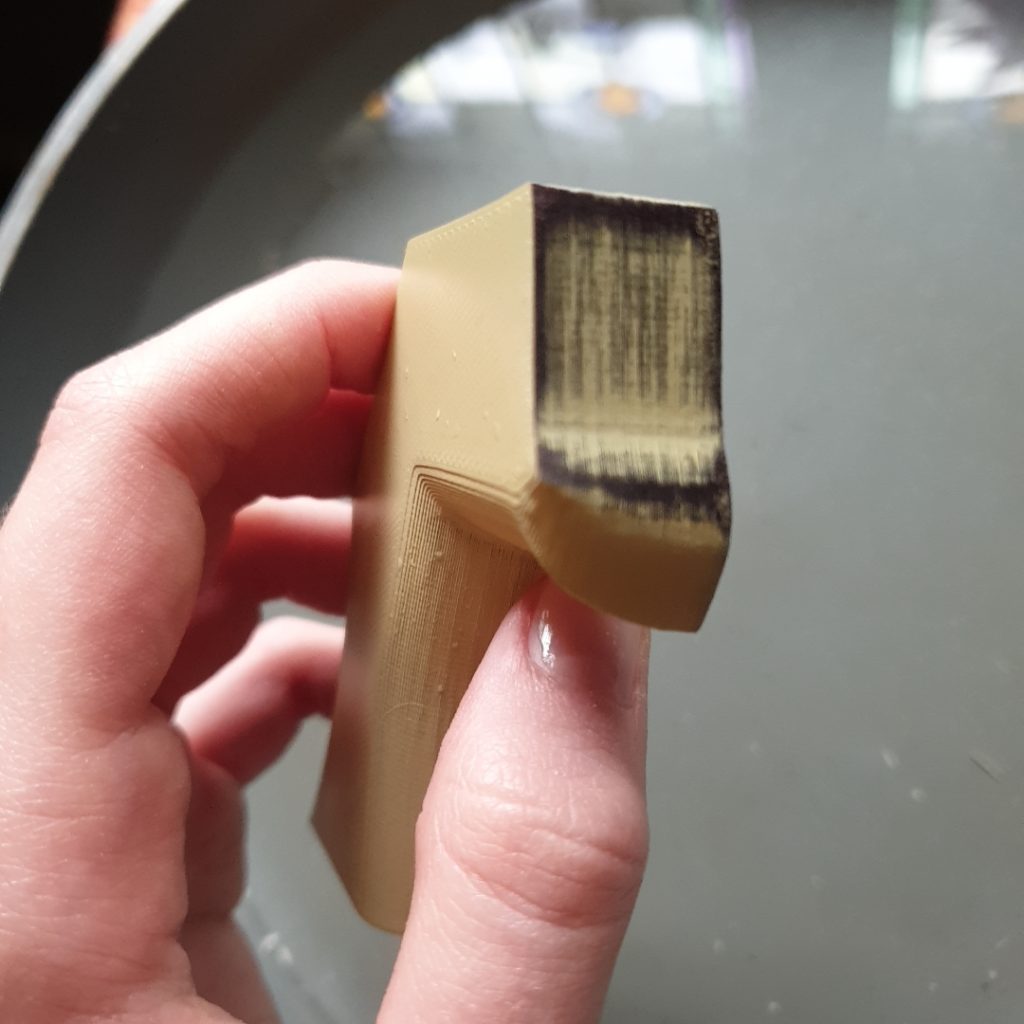
Sand thoroughly, use filler, sand it down, get rid of the dust and repeat until the rifle is smooth to the touch.
There may be some small crevices caused by the putty or some air bubbles. Spray small amounts of the filler into a lid or any small container and then precisely apply it on the uneven surface using a small spatula.
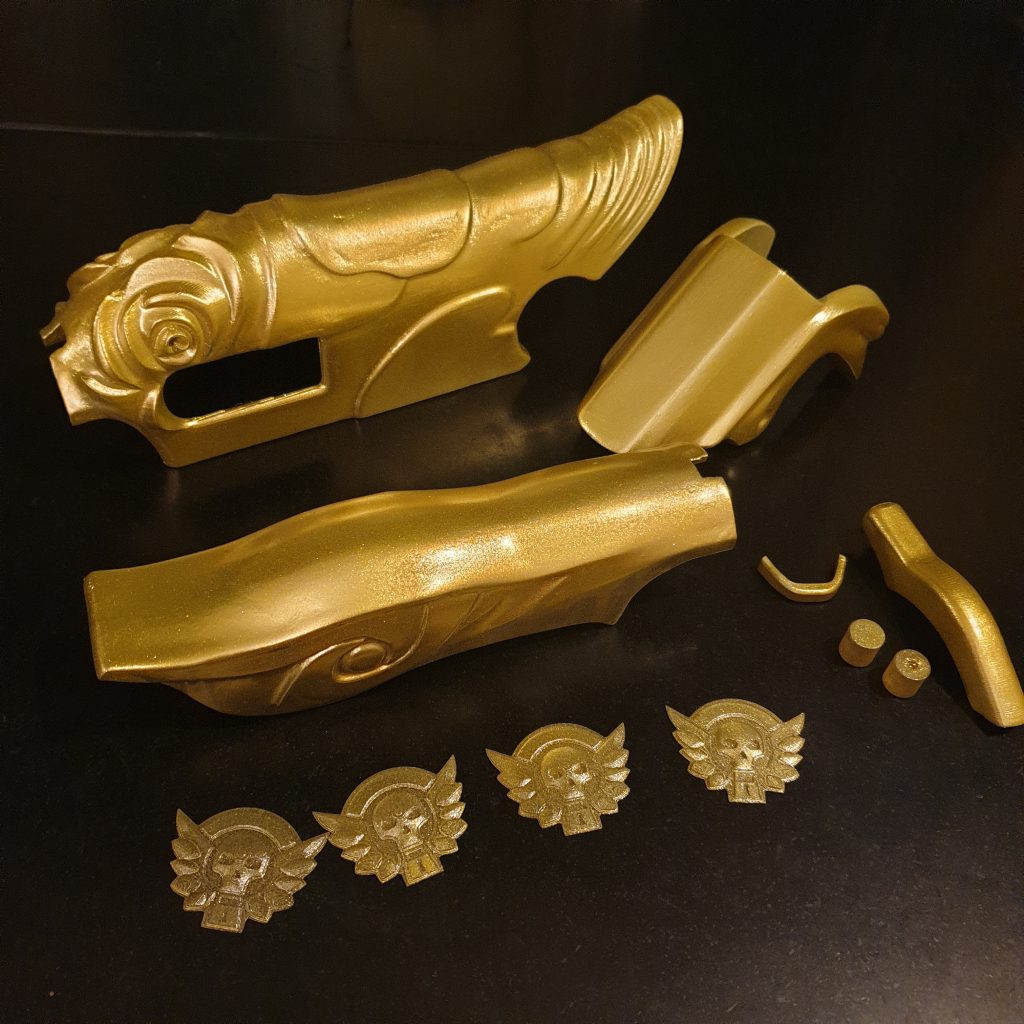
Painting
Sand and prepare with primer filler the appliques and small details like the trigger (it needs to be glued together before painting).
Use a regular spray primer before painting (I used a transparent primer for plastics).
Paint them gold and black. When using spray paint, don’t get too close to the 3D printed details with you spray can. You can use regular acrylic paint compatible with plastic as well or car paint for a special shiny effect of the golden parts.
When painting the body of the rifle, be careful as there are some golden parts. Protect them with craft tape and paint the rest of the rifle black. Be careful to let everything dry to avoid sticky disasters.
Use clear spray varnish to protect the painted rifle.

Finishing Touches
Assemble and glue down the trigger, the appliques and the small details of the rifle. The two golden appliques can be glued together beforehand, but I recommend doing it on the rifle itself, since the seam is fragile.
Clean up any paint using precise brush.
You can play with more colors like silver to create scratches on the black “metal” parts or use diluted black paint to make the rifle look dirty and used. It depends on your preferences.
Thank you for reading! Good luck with your project!
Follow us on Instagram, and check also amazing Darks Lauf who prepared this tutorial for us!
You can also have a look at our website where we upload cool stuff and come to say hi on our discord!
Leave a Comment