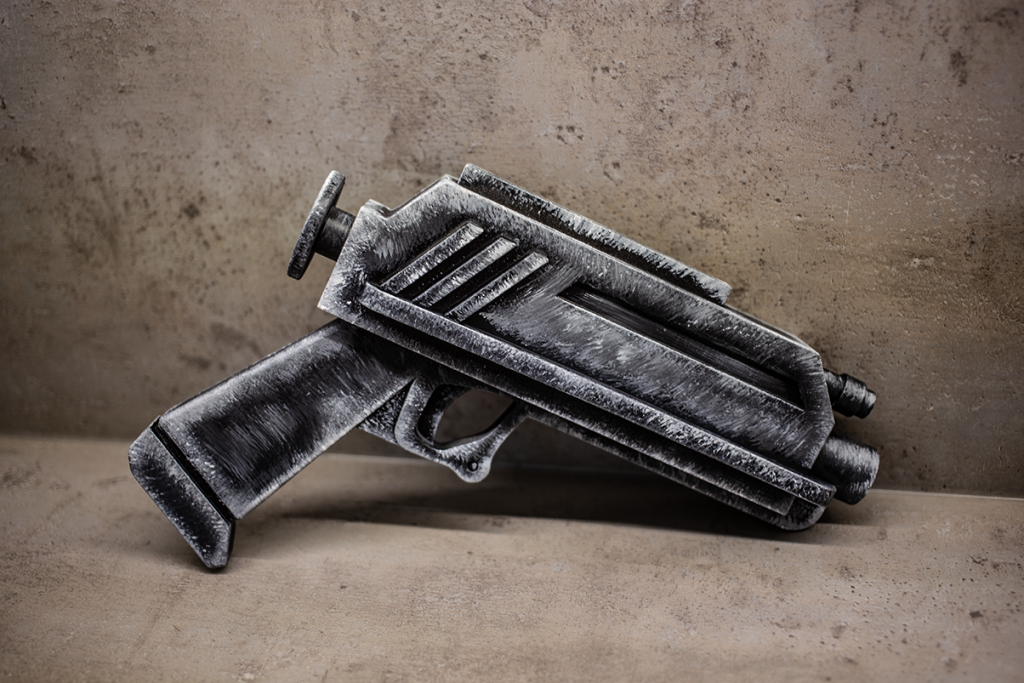
Hunters’ Blaster (Bad Batch) in Animated-like Shading
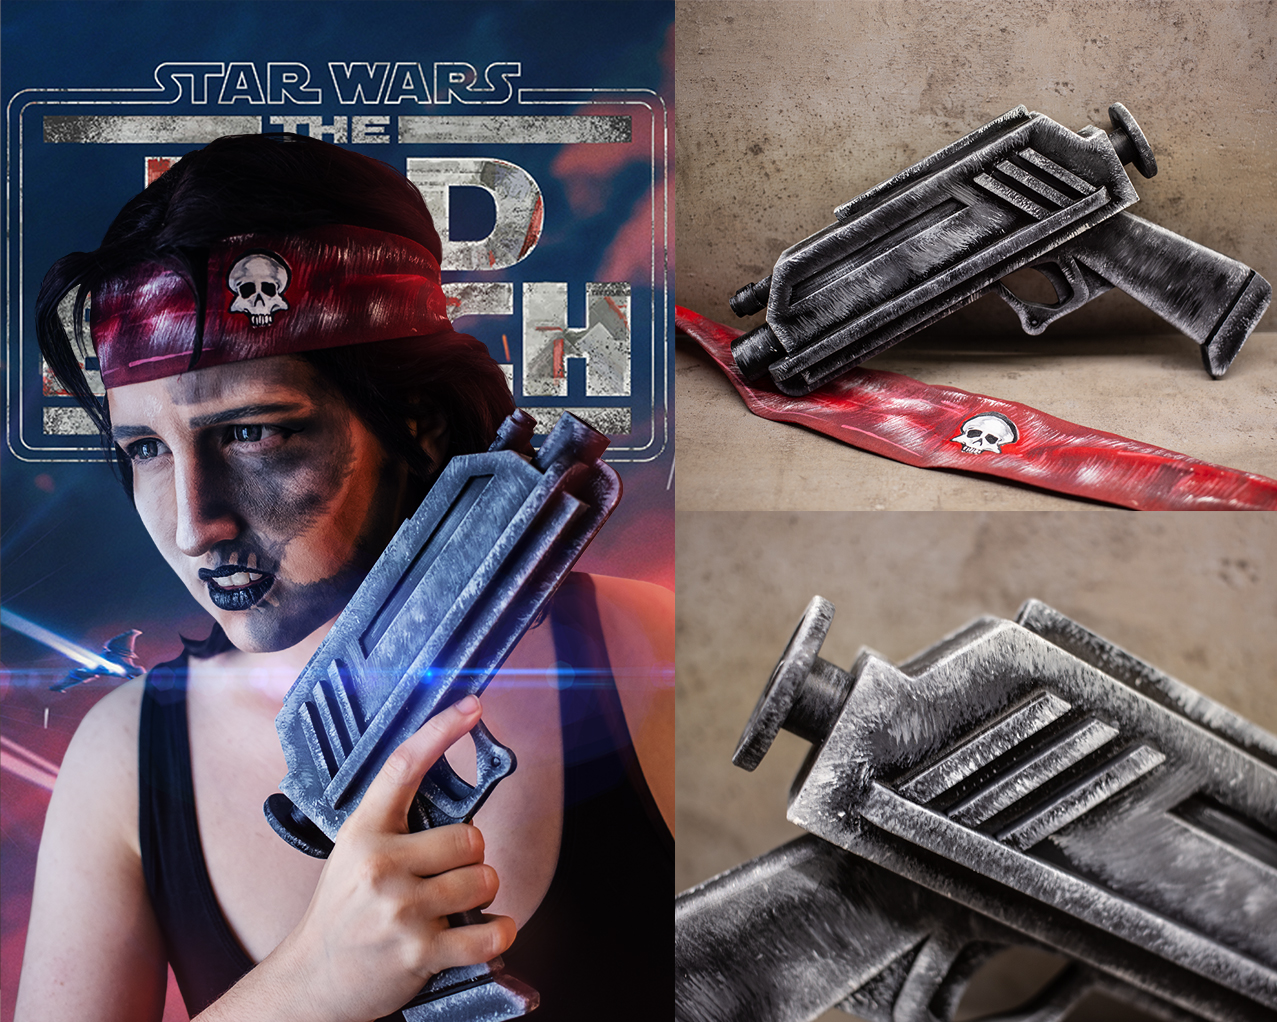
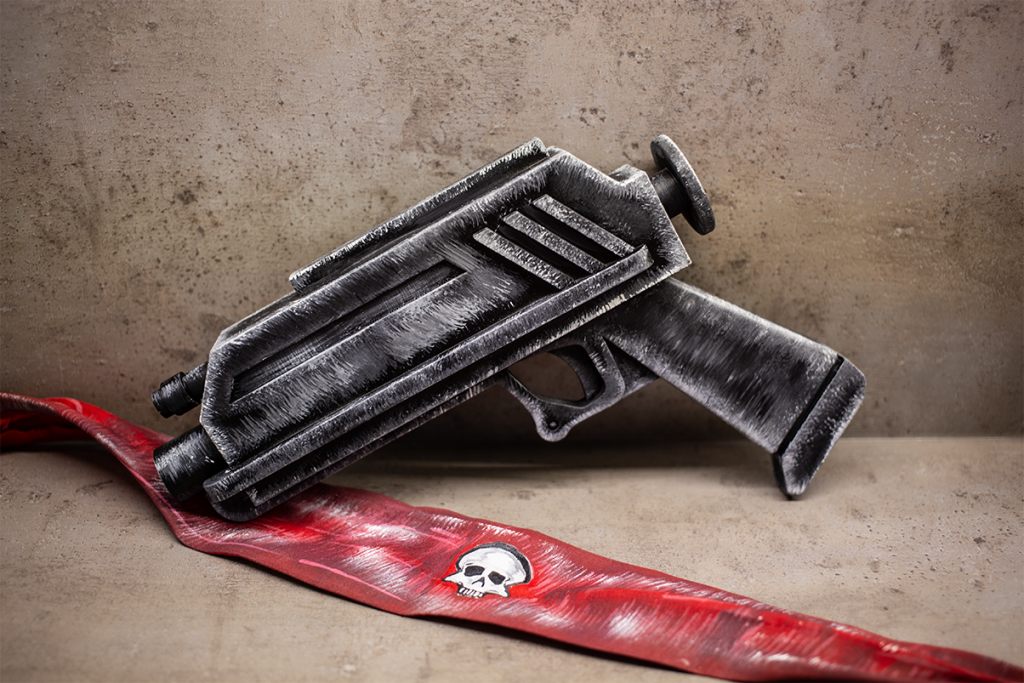
Sometimes a certain costume requires a certain style of painting. Not every time a hyper realistic look is needed. Especially when you want to cosplay as a characzer from an animated movie / game or from a comoc book.
In this tutorial, Mary form Mary&Feinobi cosplay will show you how to 3D print, post-process and most importantly how to paint a DC-17 blaster in an animated style of Bad Batch.
Supplies
- STL files for 3D printing
- 3D printer
- Epoxy glue/Super glue
- Filler
- Sanding paper
- Spray paint
- Acrylic paint
- Small flat brush
Step 1: 3D Printing the DC-17 Blaster From Bad Batch
Using the 3D model from 3Demon , printed on Prusa I3 MK3 printer with PLA filament.
We use these settings for most of our prints:
- Layer height 0.2 mm
- Infill 15%
- Supports 45°
For parts that are tall but have a small base, we use a 10 mm brim for better bed adhesion.


Step 2: Assembly and Smoothing
When everything is printed, the assembly starts. Add a small spring for the trigger first, then glue the handle together. I’m using clip as well for better hold and stability.
After gluing parts together, spray it with thicc filler. After a few layers, sanding. Then another layer of filler, sanding again. Repeat the process until it’s nice and smooth. 😀
After you’re done with sanding, use black spray paint as a base color. Now the fun begins. 🙂


Step 3: Painting
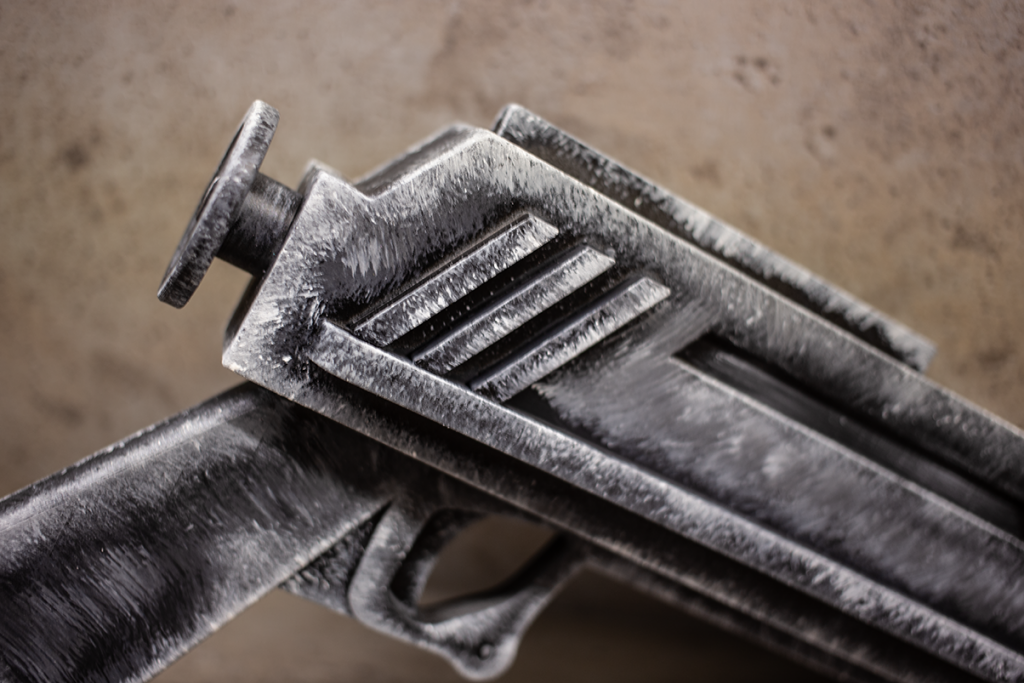
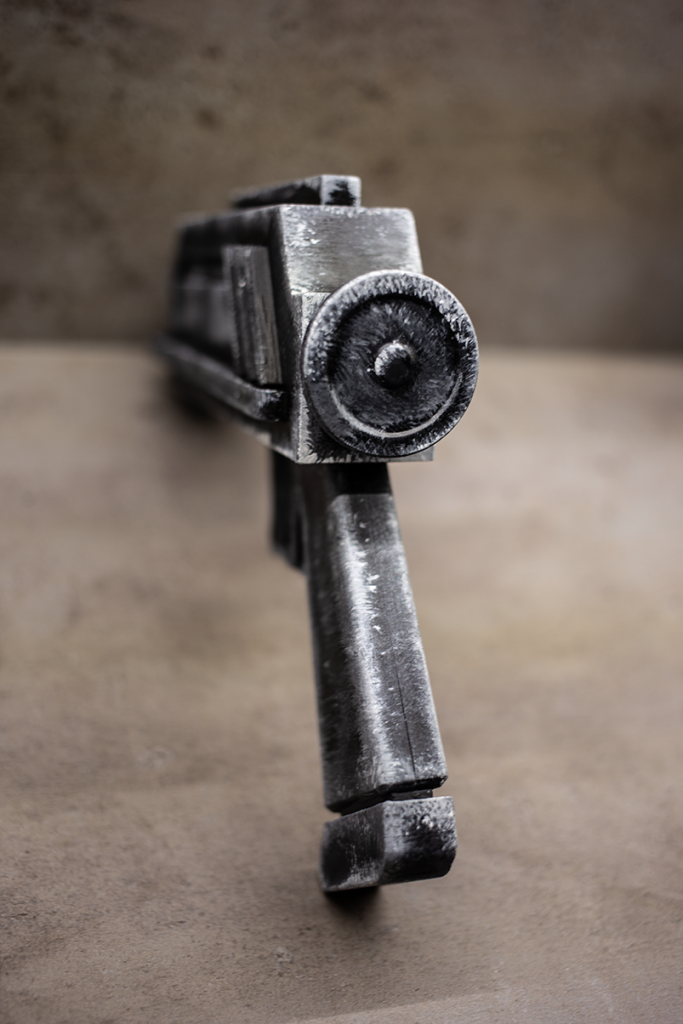
It’s a nice base color, but to achieve the look of Clone Wars and Bad Batch, we need to use acrylic paints, Firstly, take an old damaged brush, ideally a flat one – small or medium sized. Secondly, mix white and black acrylics to get your fifty shades of grey. Next – Apply the colors with damaged brush, layer after layer. Do not go too far, don’t use water with the paint – you need it dry and only use the end of the brush (do not soak it all in paint, we need to see the brush strokes). Start with darker shades of gray, then lighter as you move to the edges. You can highlight the edges more with white strokes.
You can paint over previous layers, mix it up a bit. But be careful not to stack too much.


Step 4: Done!
Finally, you’ll know when to stop with the brush, it doesn’t require many layers. And now you’re ready to fight against the empire or execute order 66, the choice is yours! 😀
Follow Mary&Feinobi on their journey across the galaxies, and 3Dmon for more 3D models and articles!


Leave a Comment