Asajj Ventress is from a planet Dathomirian. At various points throughout her life she was a slave, a Jedi Padawan, an assassin of the Sith, a Nightsister and a bounty hunter.She appeared in the Clone Wars, was and several Star Wars videogames.
In this tutorial, you will see the process of building her helmet for cosplay or for a display.
- Files for 3D printing
- Filament
- Motip spray putty
- Any sandable thick putty
- Electric hand sander with 280 grit
- Spray paint - gloss black, gun metal, chrome paint, clear lacquer, beige, deepsea blue
- Silver acrylic paint
- Dry paintbrush
- Masking tape, scalpel cutter, pencil, paper
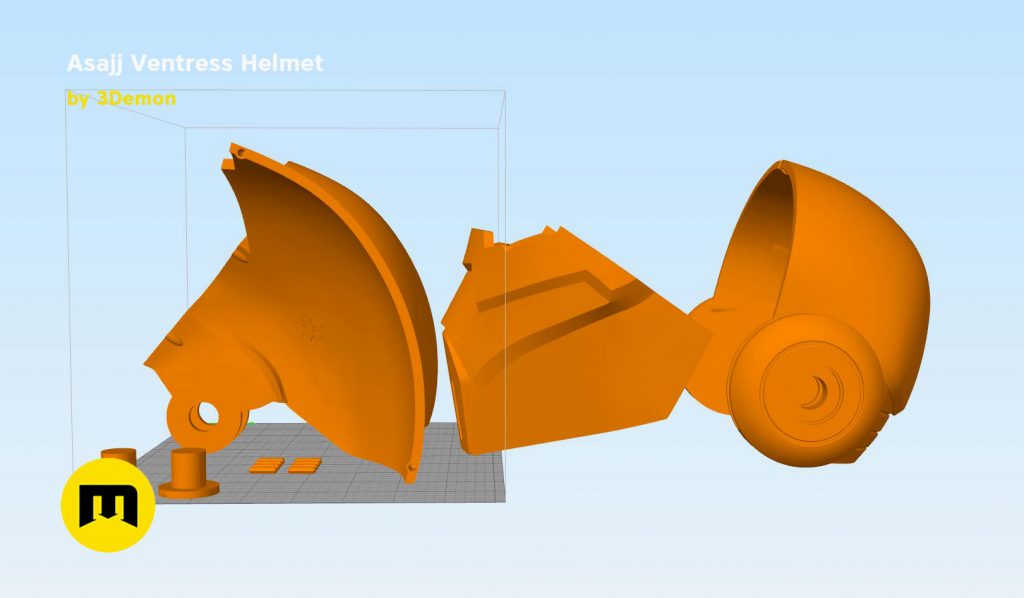
Step 1: Printing the Helmet
Files contain pieces of the helmet (STL) ready to be 3D printed on 200 x 200 x 200 mm 3D printers and also files that are not cut into smaller pieces and will fit only larger printer. (OBJ)
In this case I printed the Asajj Ventress helmet in just two pieces. The print took about 7 days to print both parts, as I printed it on settings. It takes a bit longer but gives a much more detailed and smooth finish. I recommend a layer height of 0.1 to 0.3 mm on FDM printers. This way, the print requires much less post work.

Step 2: Smoothing the Surface
Once printed I use Motip spray putty which is like a paint primer but thickens. Once that is dry it is sandable and I usually do this about 6-7 times with sanding after each putty coat.
If you find some errors in the print, use any sandable thick putty. Apply it with spatula, wait for it to dry and sand down.
For sanding I use an electric hand sander with 280 grit so that it makes the print nice and smooth.
When on the final coat of putty I feel the print to feel how smooth the finish is. If I am happy with it at that point I spray paint it with a gloss paint.

Step 3: Painting
Firstly, I coat the helmet with a layer of gloss spray paint (usually black) to make sure there are no defects on the surface of the helmet.
Secondly, once I am happy with the finish with the gloss paint I start the painting process.
For Asajj Ventress' helmet I looked up different angles to get the correct colours and studied how the pattern looks. I decided that the base colour for this lid would be a gun metal paint (Rust-oleum Gun Metal Metallic)
Additionally I painted the ears - I used a chrome paint (Molotow 600 burner chrome) I then left these parts to fully cure for about 12 hours. Next I clear coated the parts. (Hycote clear lacquer) Then similarly left that for around 12 hours before the next stage.
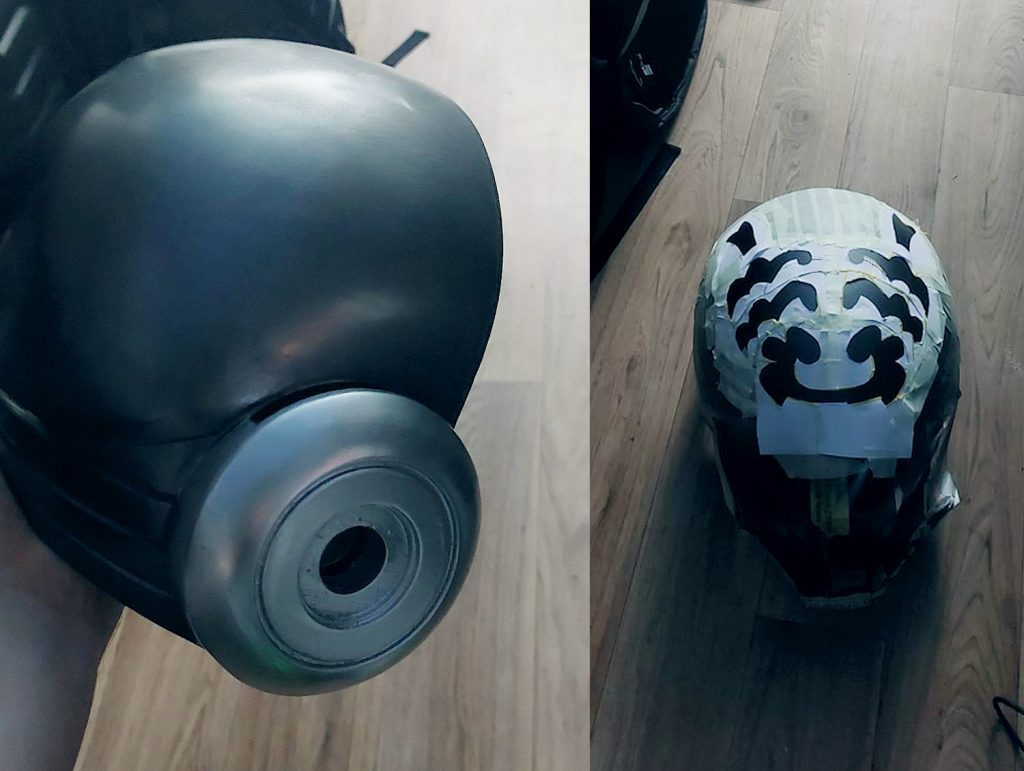
Simultaneously while waiting for it to cure I then sat down and free-handed stencils for the pattern that is on the lid. I cut the stencils out and placed on the lid the next day making sure I could get them in the correct places on the top of the lid. I also taped the pattern on the back of the lid. Once done I sprayed the pattern at a distance to make sure the paint does not over spray. (Montana Gold Sahara Beige and Montana Gold Deepsea blue for the mouth.)


Step 4: Finishing Touches
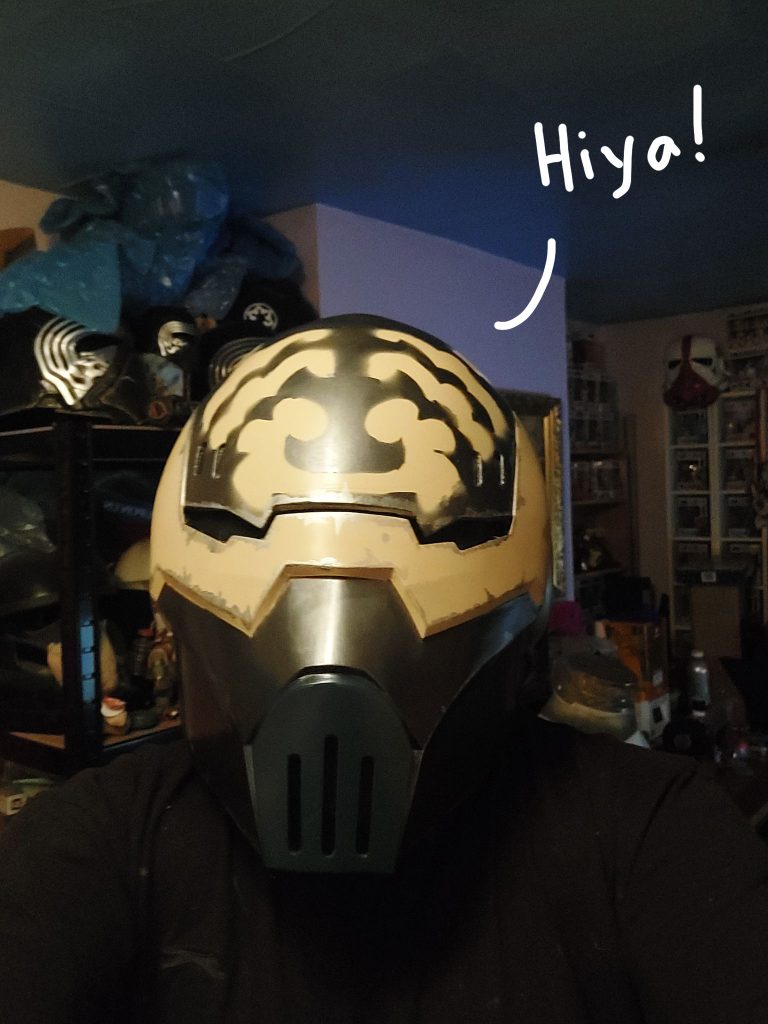
When the pattern was fully dry I dry brushed with a metalic silver for the chipping around the pattern. Also on the edges of the helmet to give it a more worn look. Lastly I used buckram mesh fabric backing the eyes and mouth grill to block the insides from being seen. Finally, you're done! Ready to wear the helmet with the rest of your cosplay or display it on a shelf.
Hope you enjoyed this article about post-processing Asajj Ventress' helmet. Many thanks to Craftyhuskyworkshop.co.uk (instagram) for this awesome project!
If you want to see more 3D models, you can follow us on social media.