

Witch King of Angmar Helmet and Flail: 3D Printing, Painting & Weathering Guide

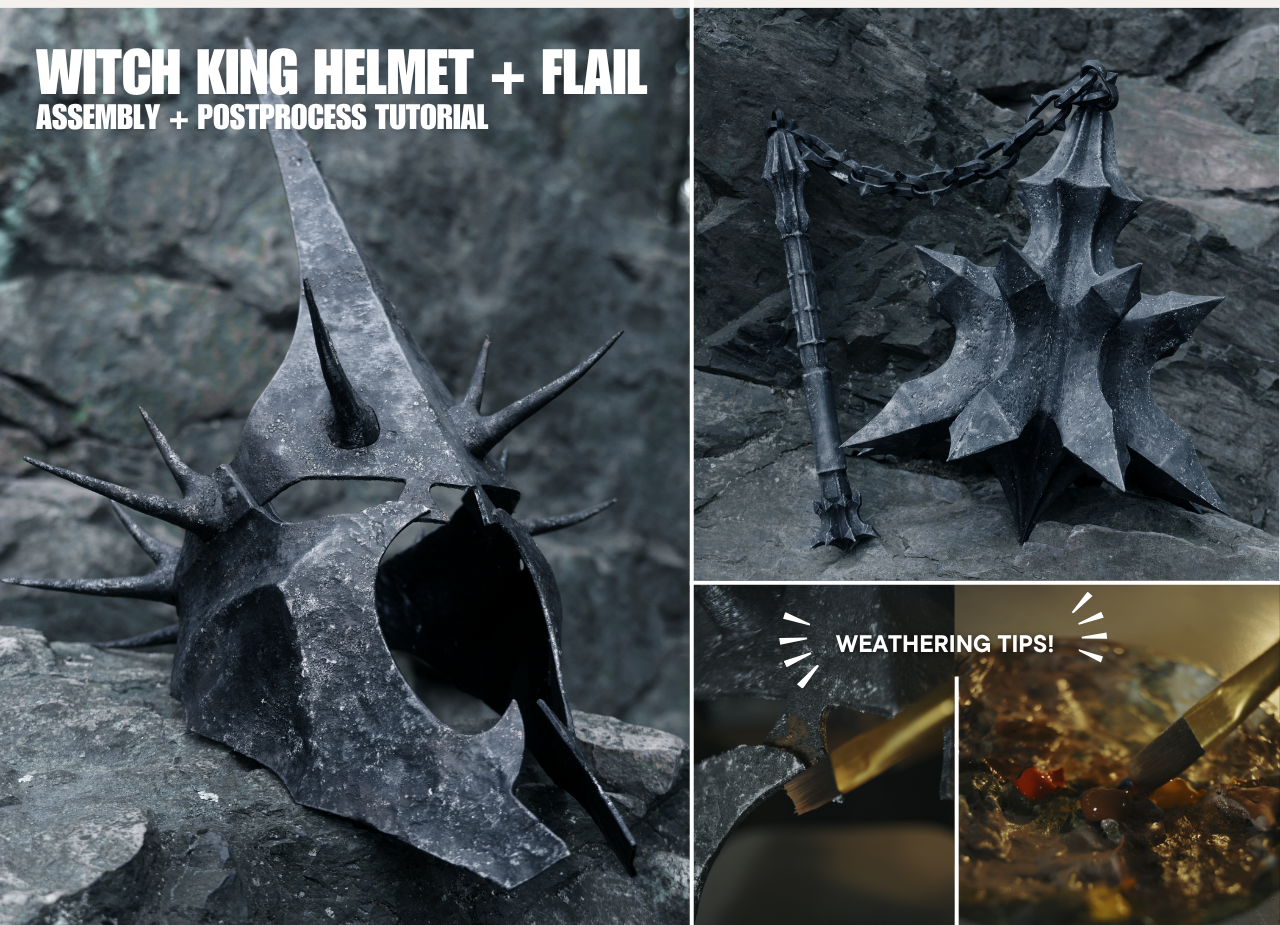
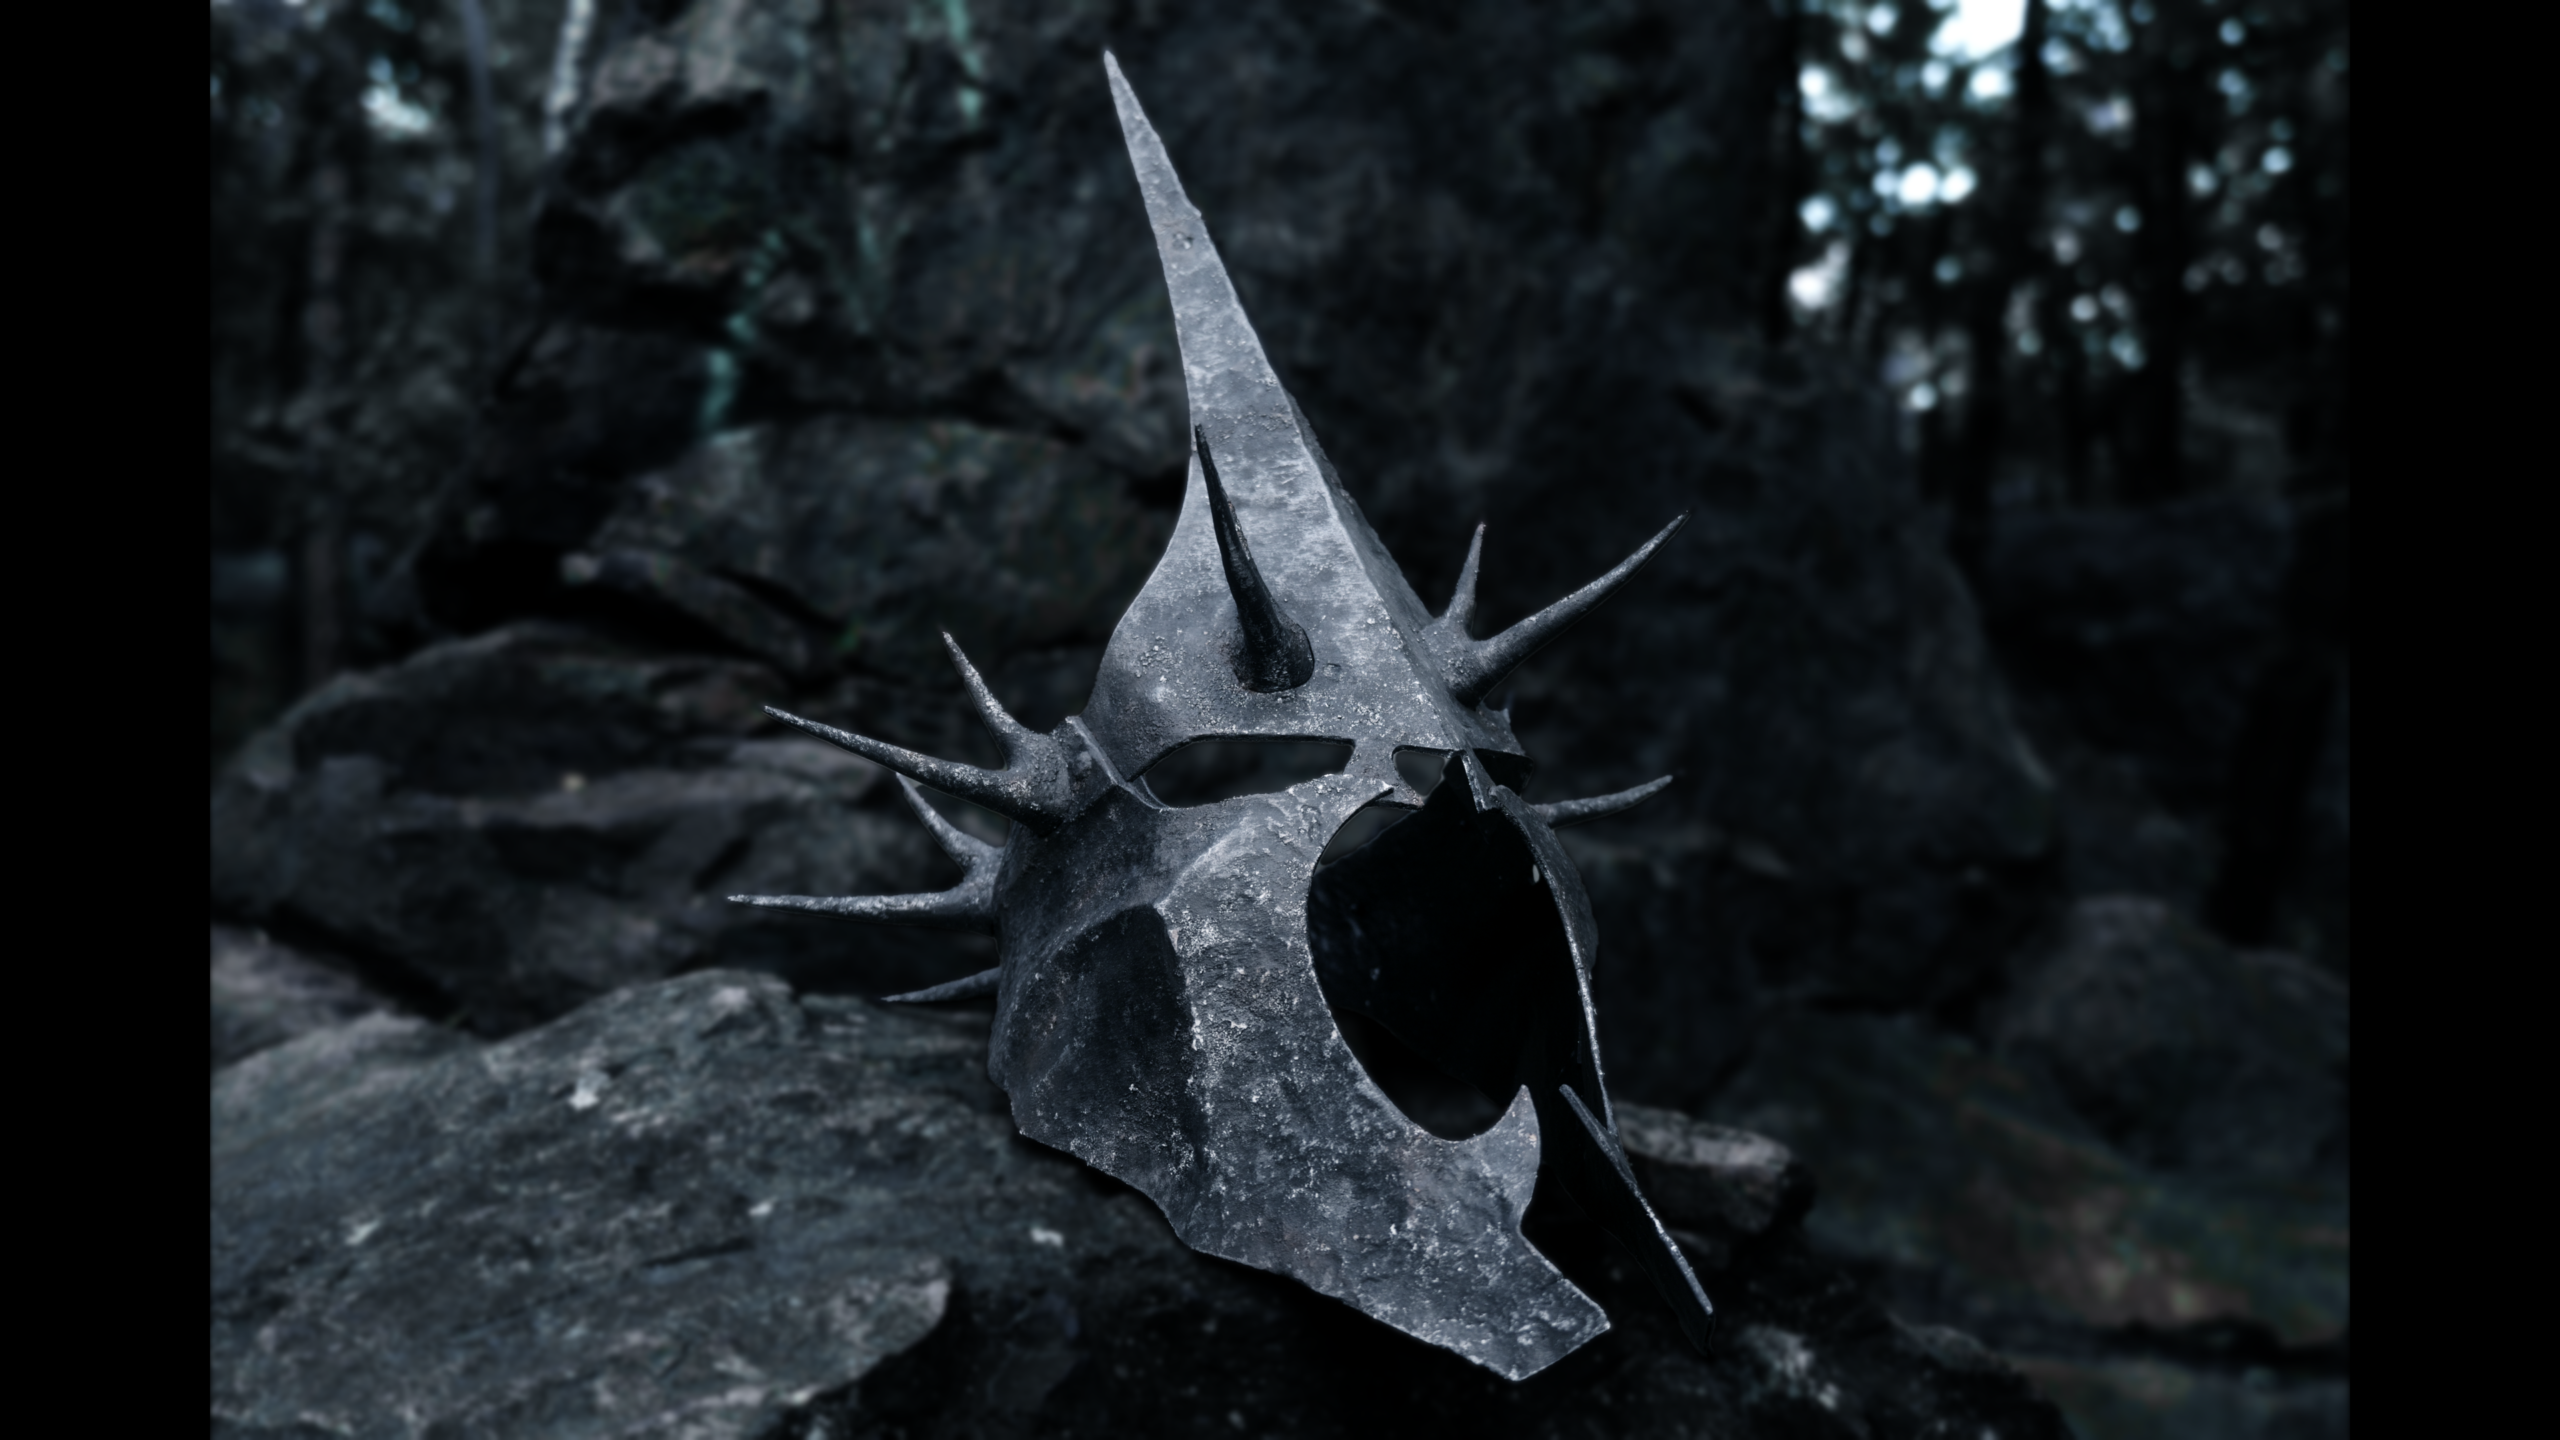
The Witch-king of Angmar has always been one of those instantly recognisable Lord of the Rings villains. Mostly because of his towering spiked helmet, flail too big for life, and presence woven with darkness.
As a huge Lord of the Rings fan, I knew I’d one day make my own replica. And the TIME HAS COME.
In this post, I’ll show you how I 3D printed the Witch-king of Angmar’s mask, flail and, more importantly, how I painted and weathered it to look like it was hammered together by some crude, grime-covered blacksmith in the depths of Mordor.
So avoid attracting the attention of other Nazgûl, and let’s get creative! 🔥
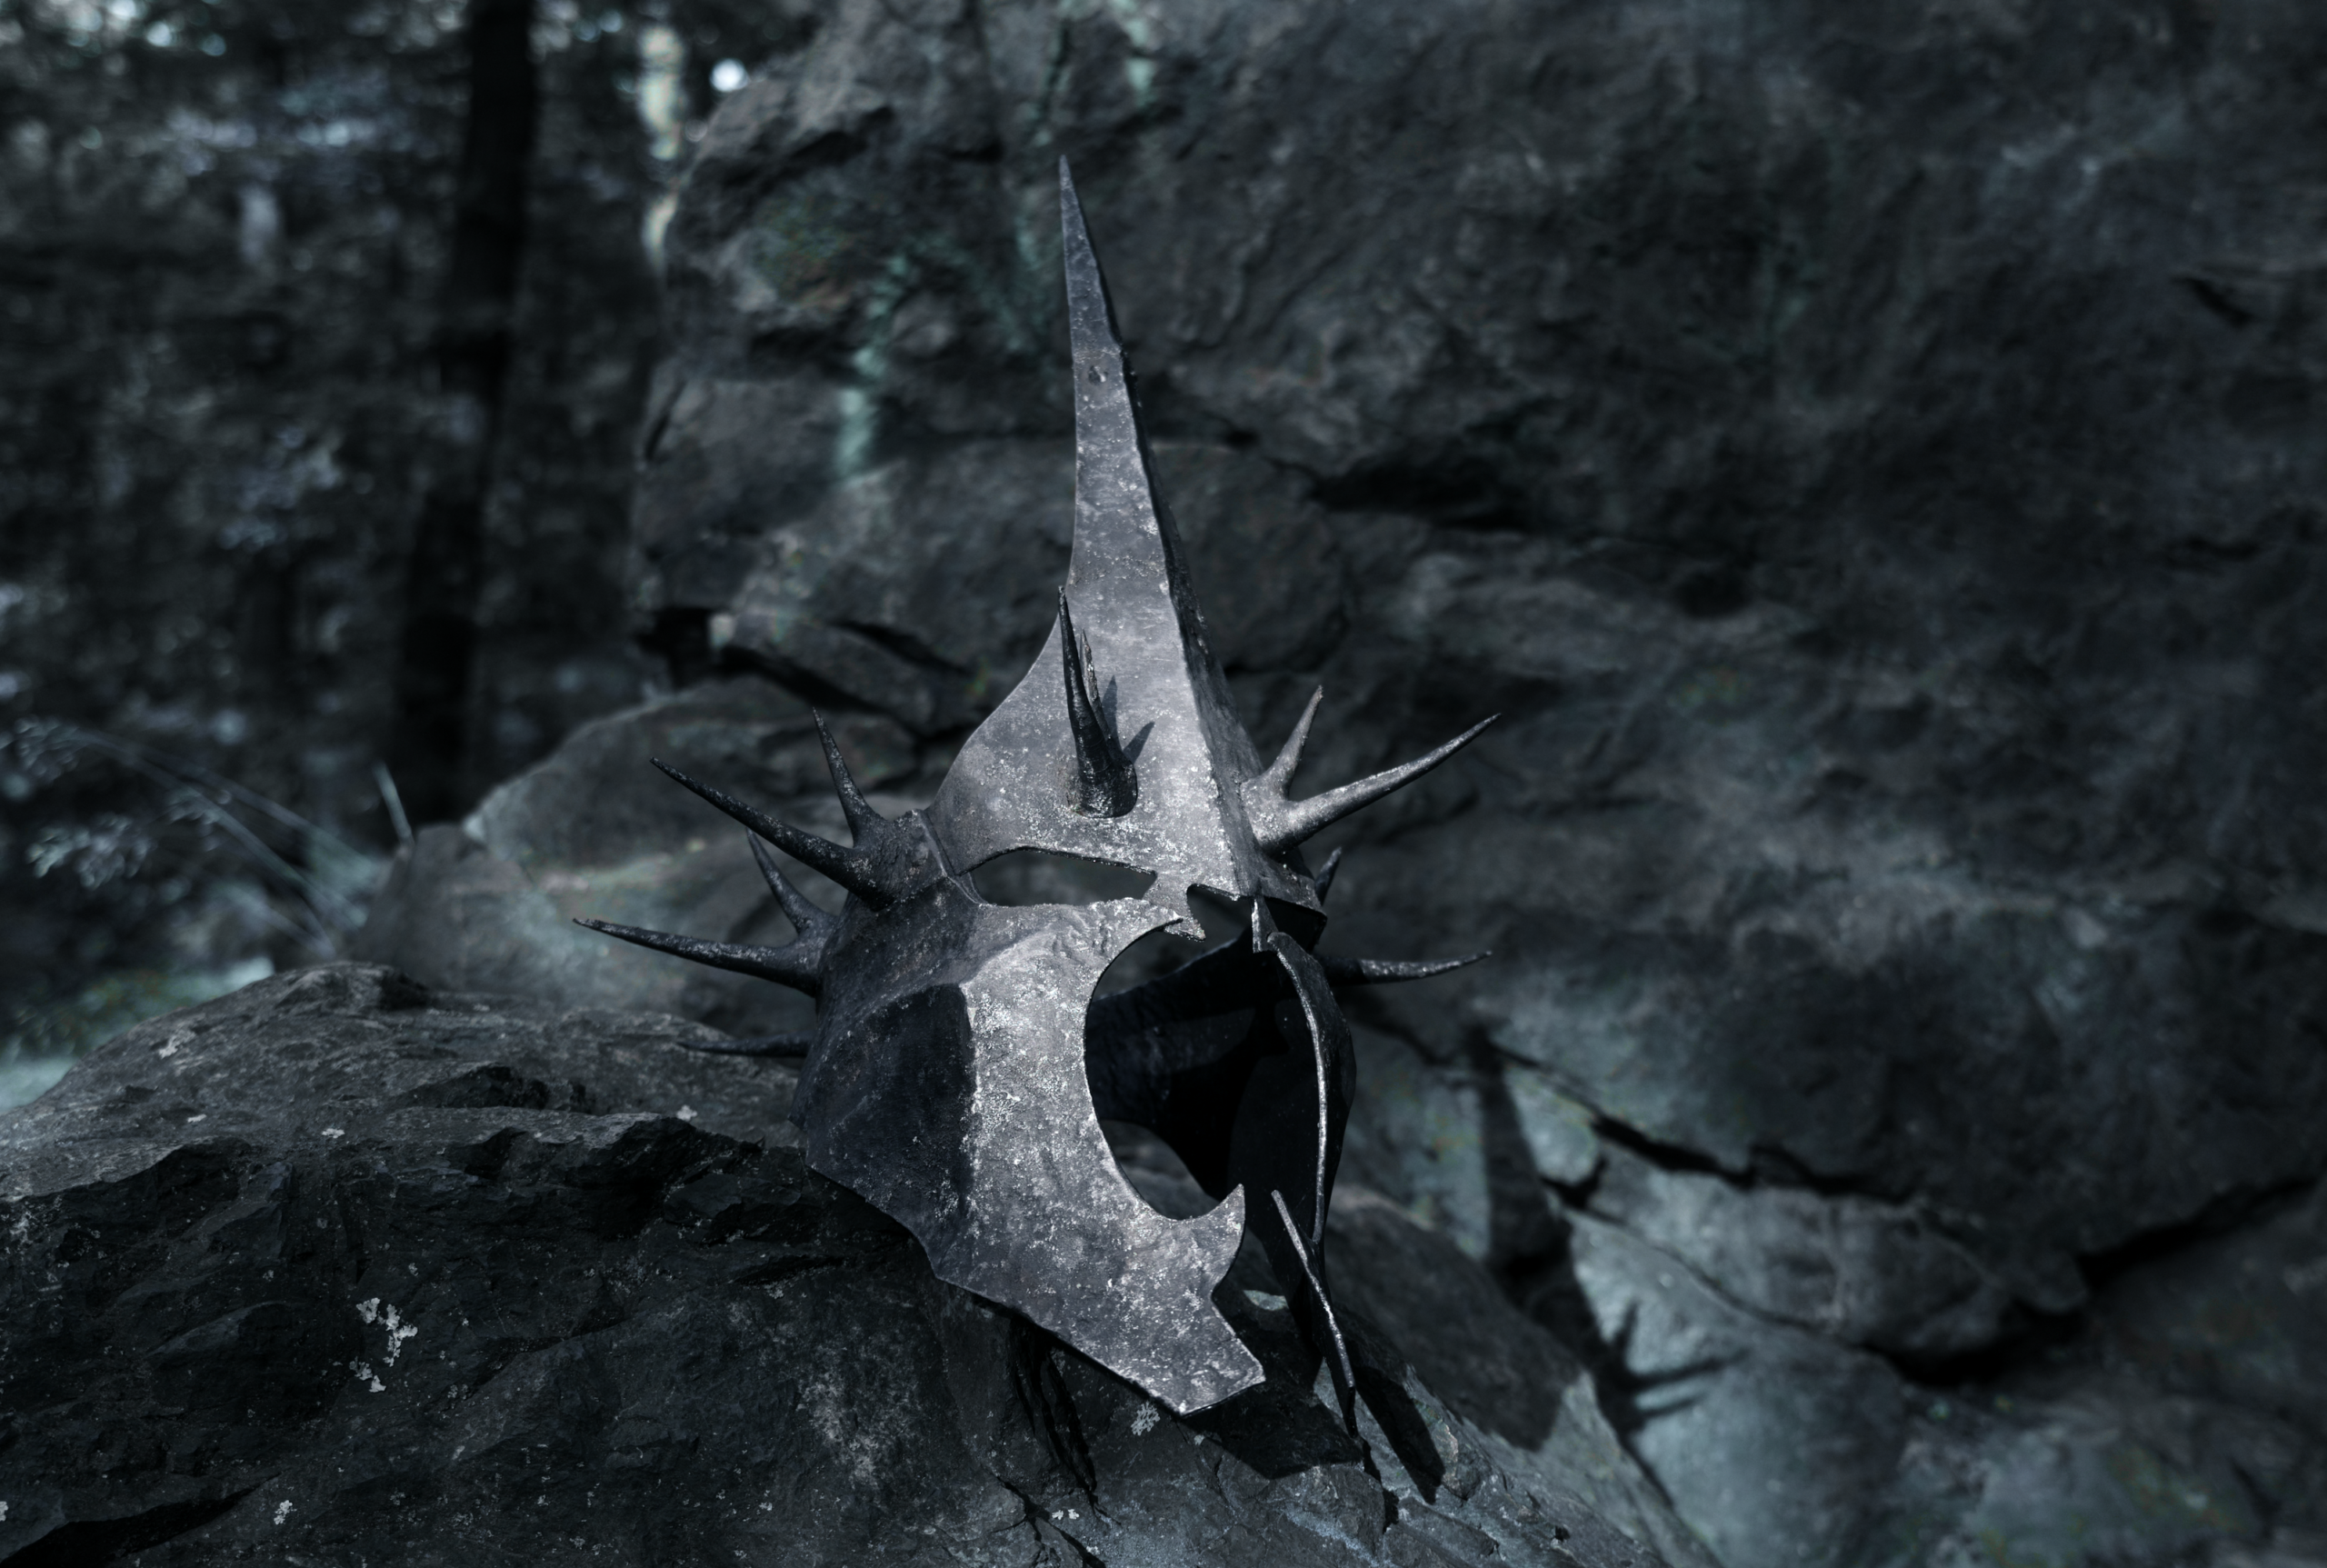
Supplies
- 3D printer
- 3D model of Witch King of Angmar mask
- Filament of choice (I used PLA)
- PrusaSlicer (or any other slicer software)
- Super glue + optional glue activator spray
- Textured painting paste
- graphite powder
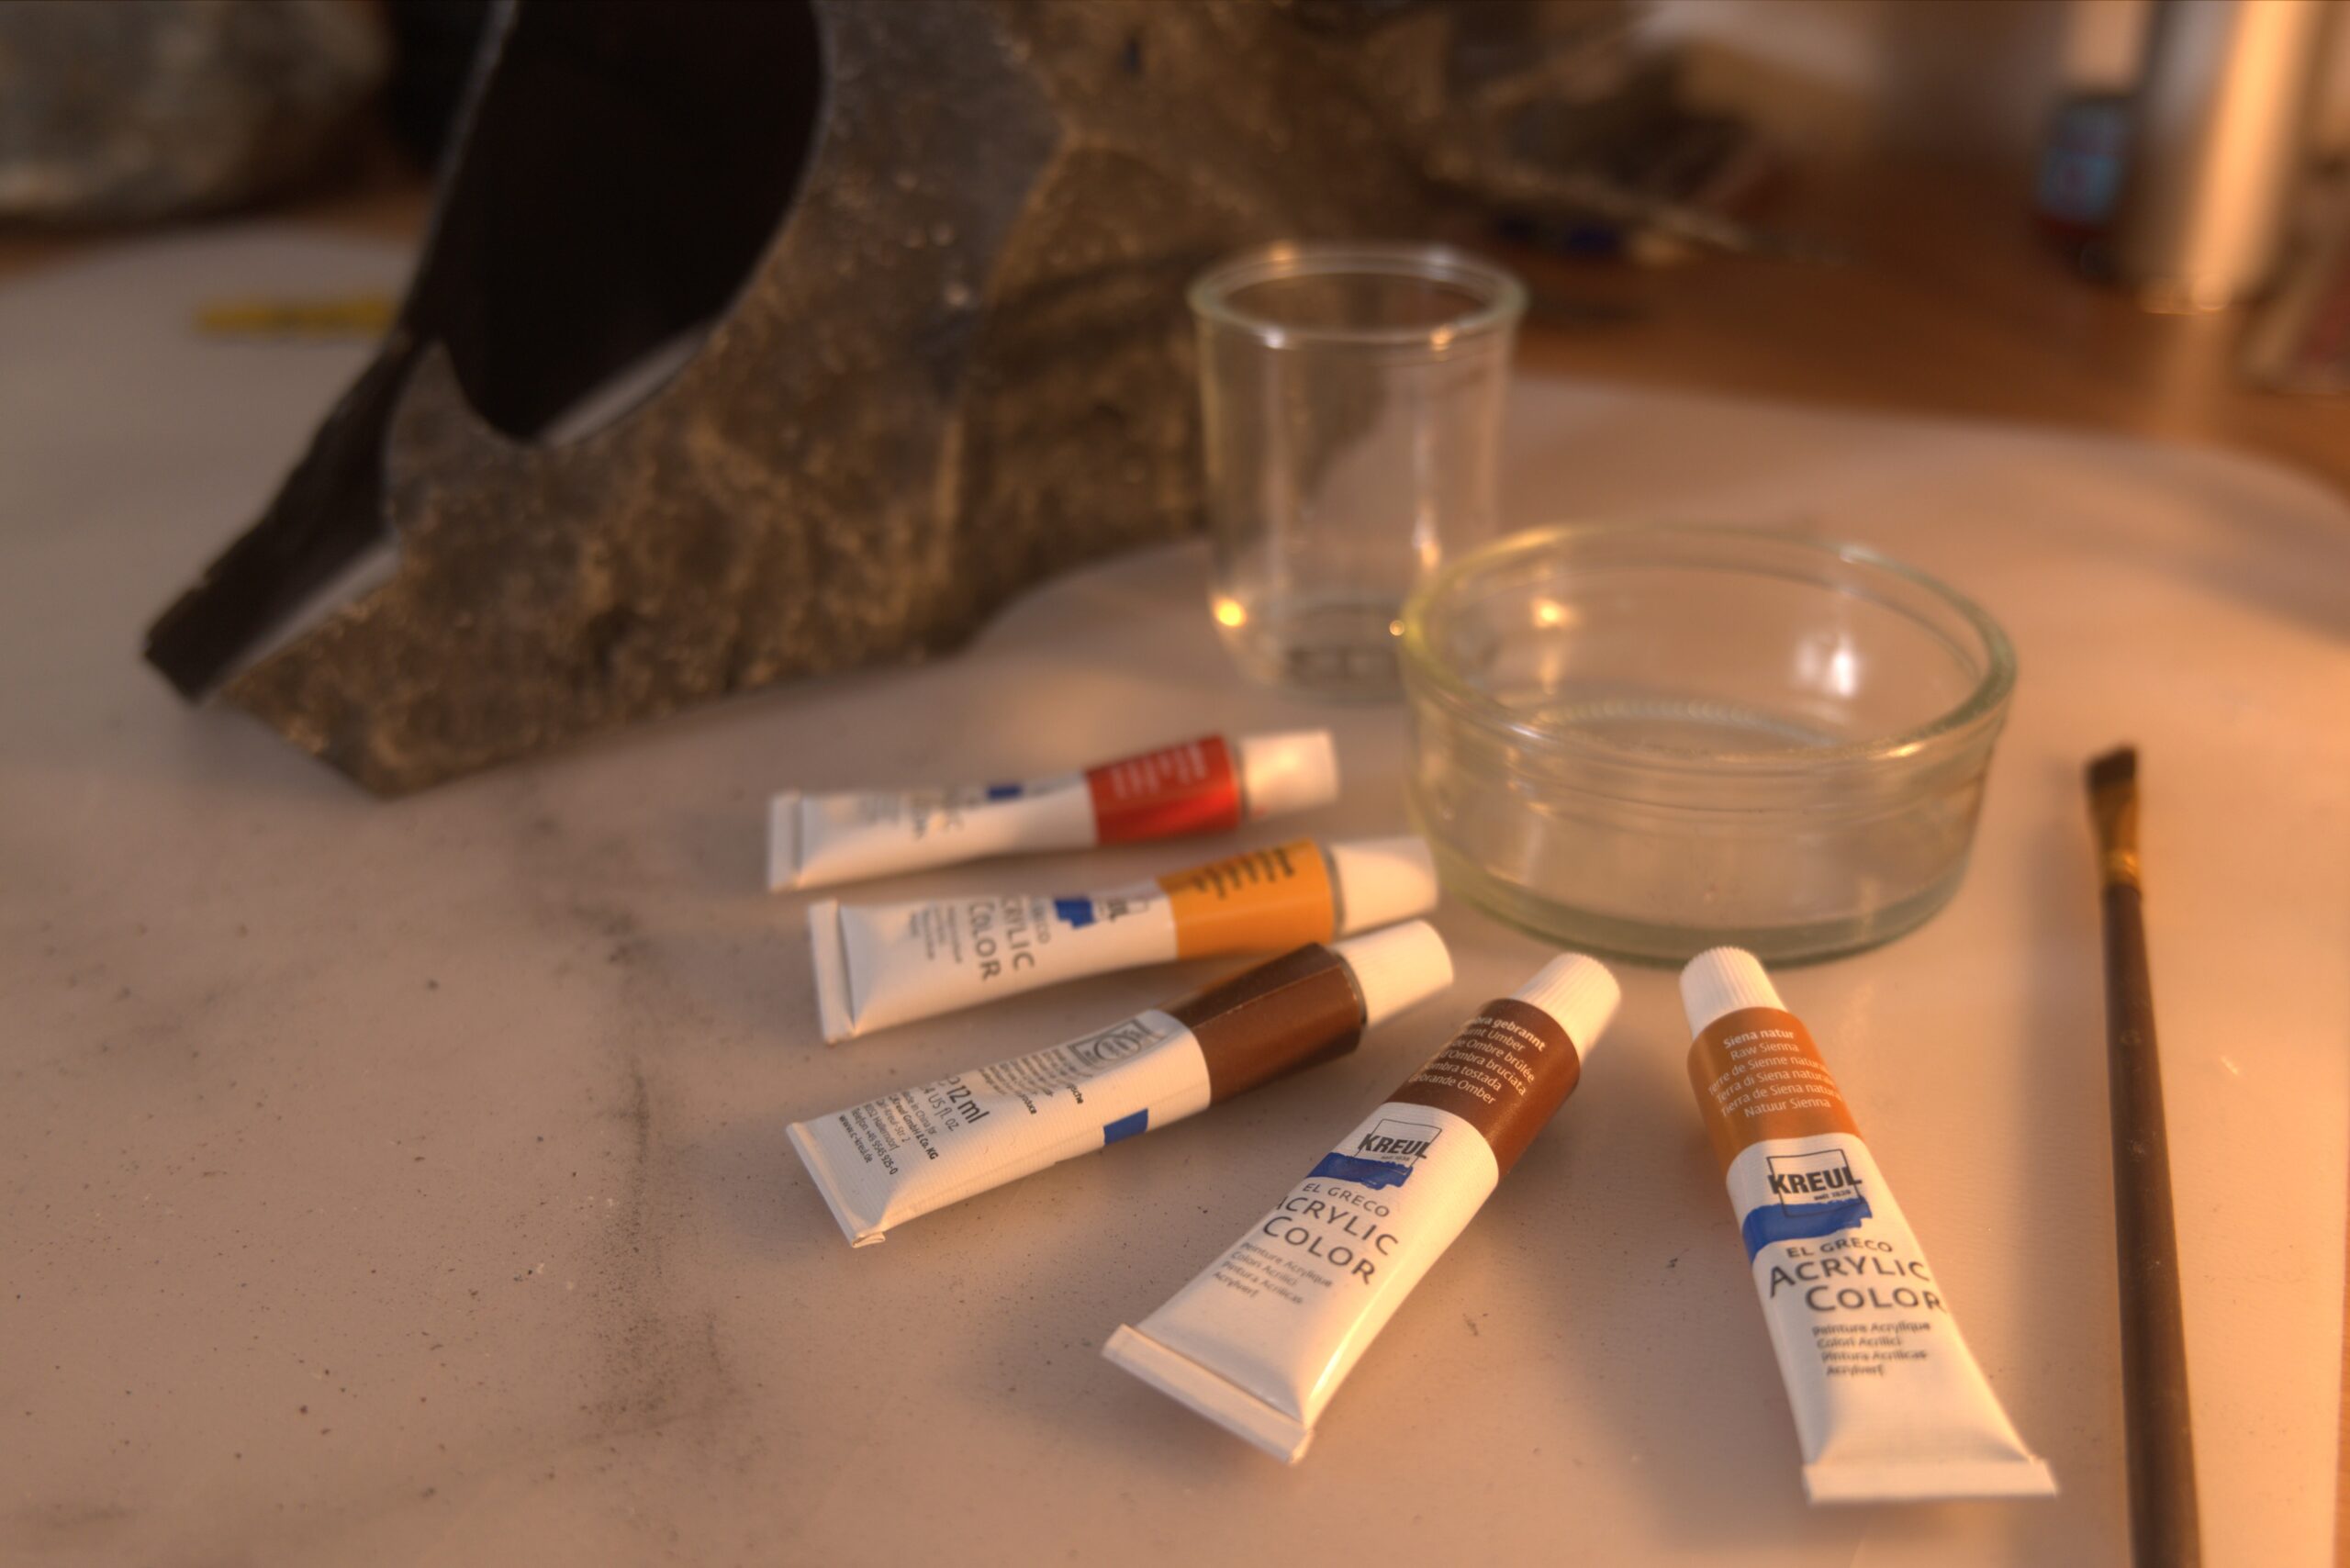
- Acrylic paints (silver, red, brown, black, mustard)
- Brushes
- sanding paper 180 grit
- water cup for painting
Recommended safety tools:
- gloves (if you don’t like paint on your hands)
- eye protection
- respirator
Process steps in order:
- Preparing the Files in PrusaSlicer
- 3D Printing
- Assembly
- Painting: Being a blacksmith of Mordor
- The Witch King has arisen!
Timing + Used material
- Printing: 24hrs 55min
- Assembly: 30 min
- Painting: 4.5 hrs + overnight drying
- Material used: roughly 350g ( ⅓ of 1kg PLA Filament Prusa spool)
- Verdict: Can be done over a weekend 🙂
Step 1: Preparing the Files in PrusaSlicer
I started by printing all the STL files. You can find all of them HERE 🌟
Since I wasn’t about to do any sanding, I used a layer height of 0.2mm.
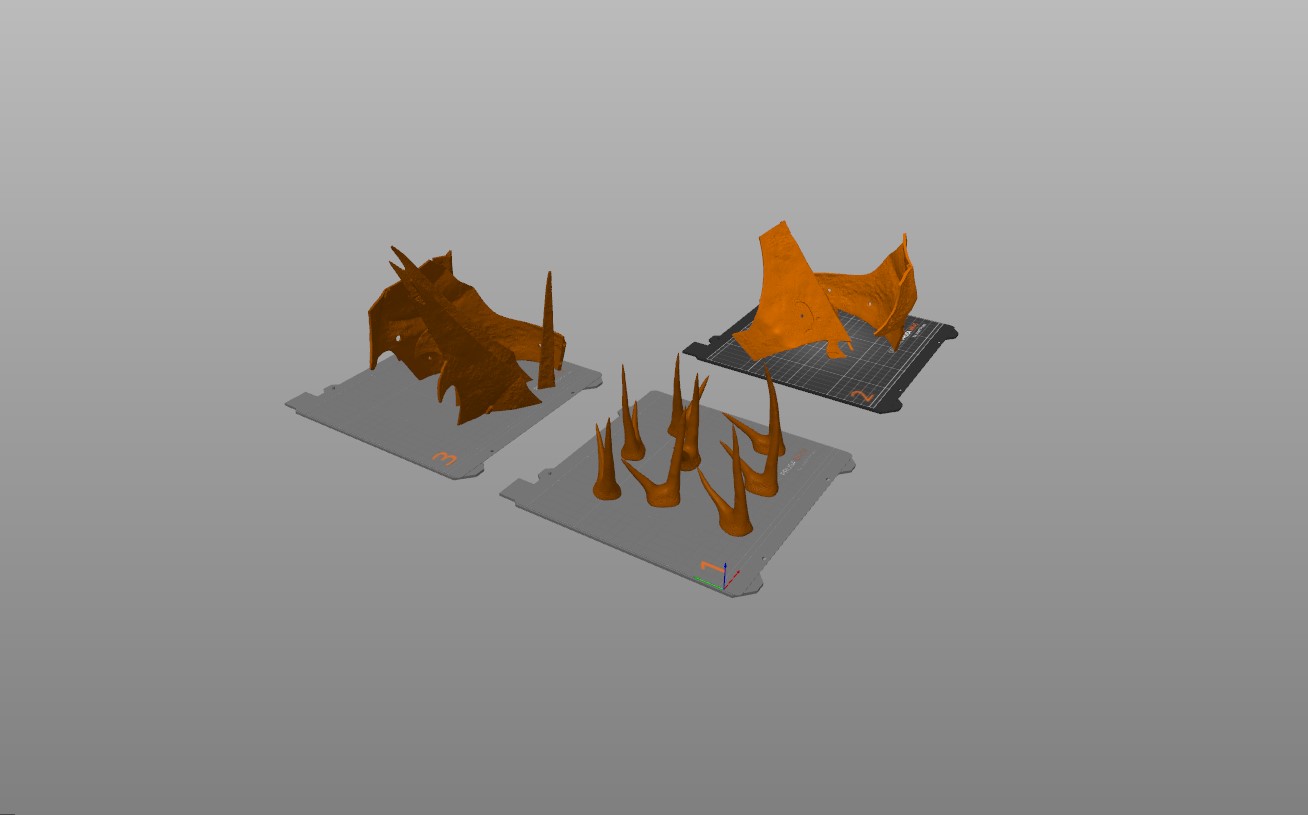
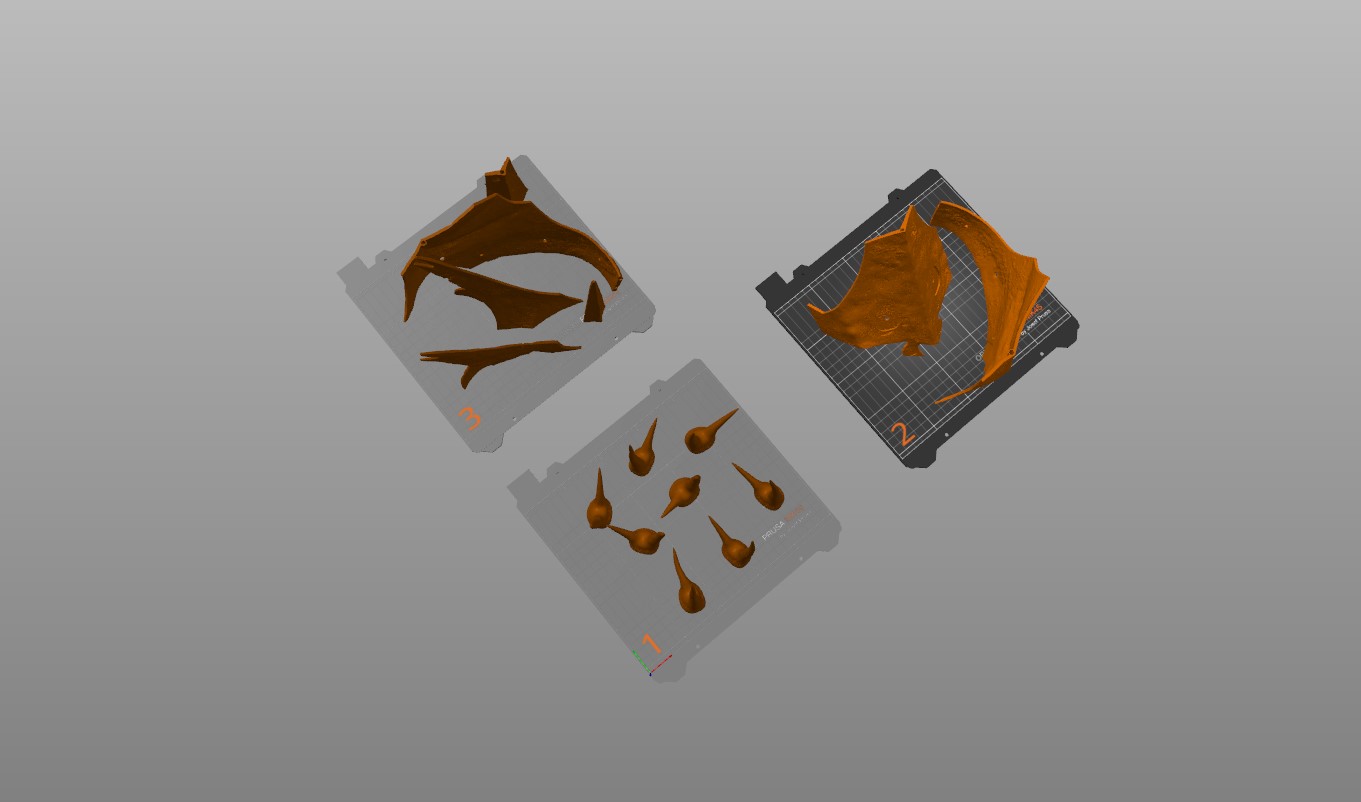
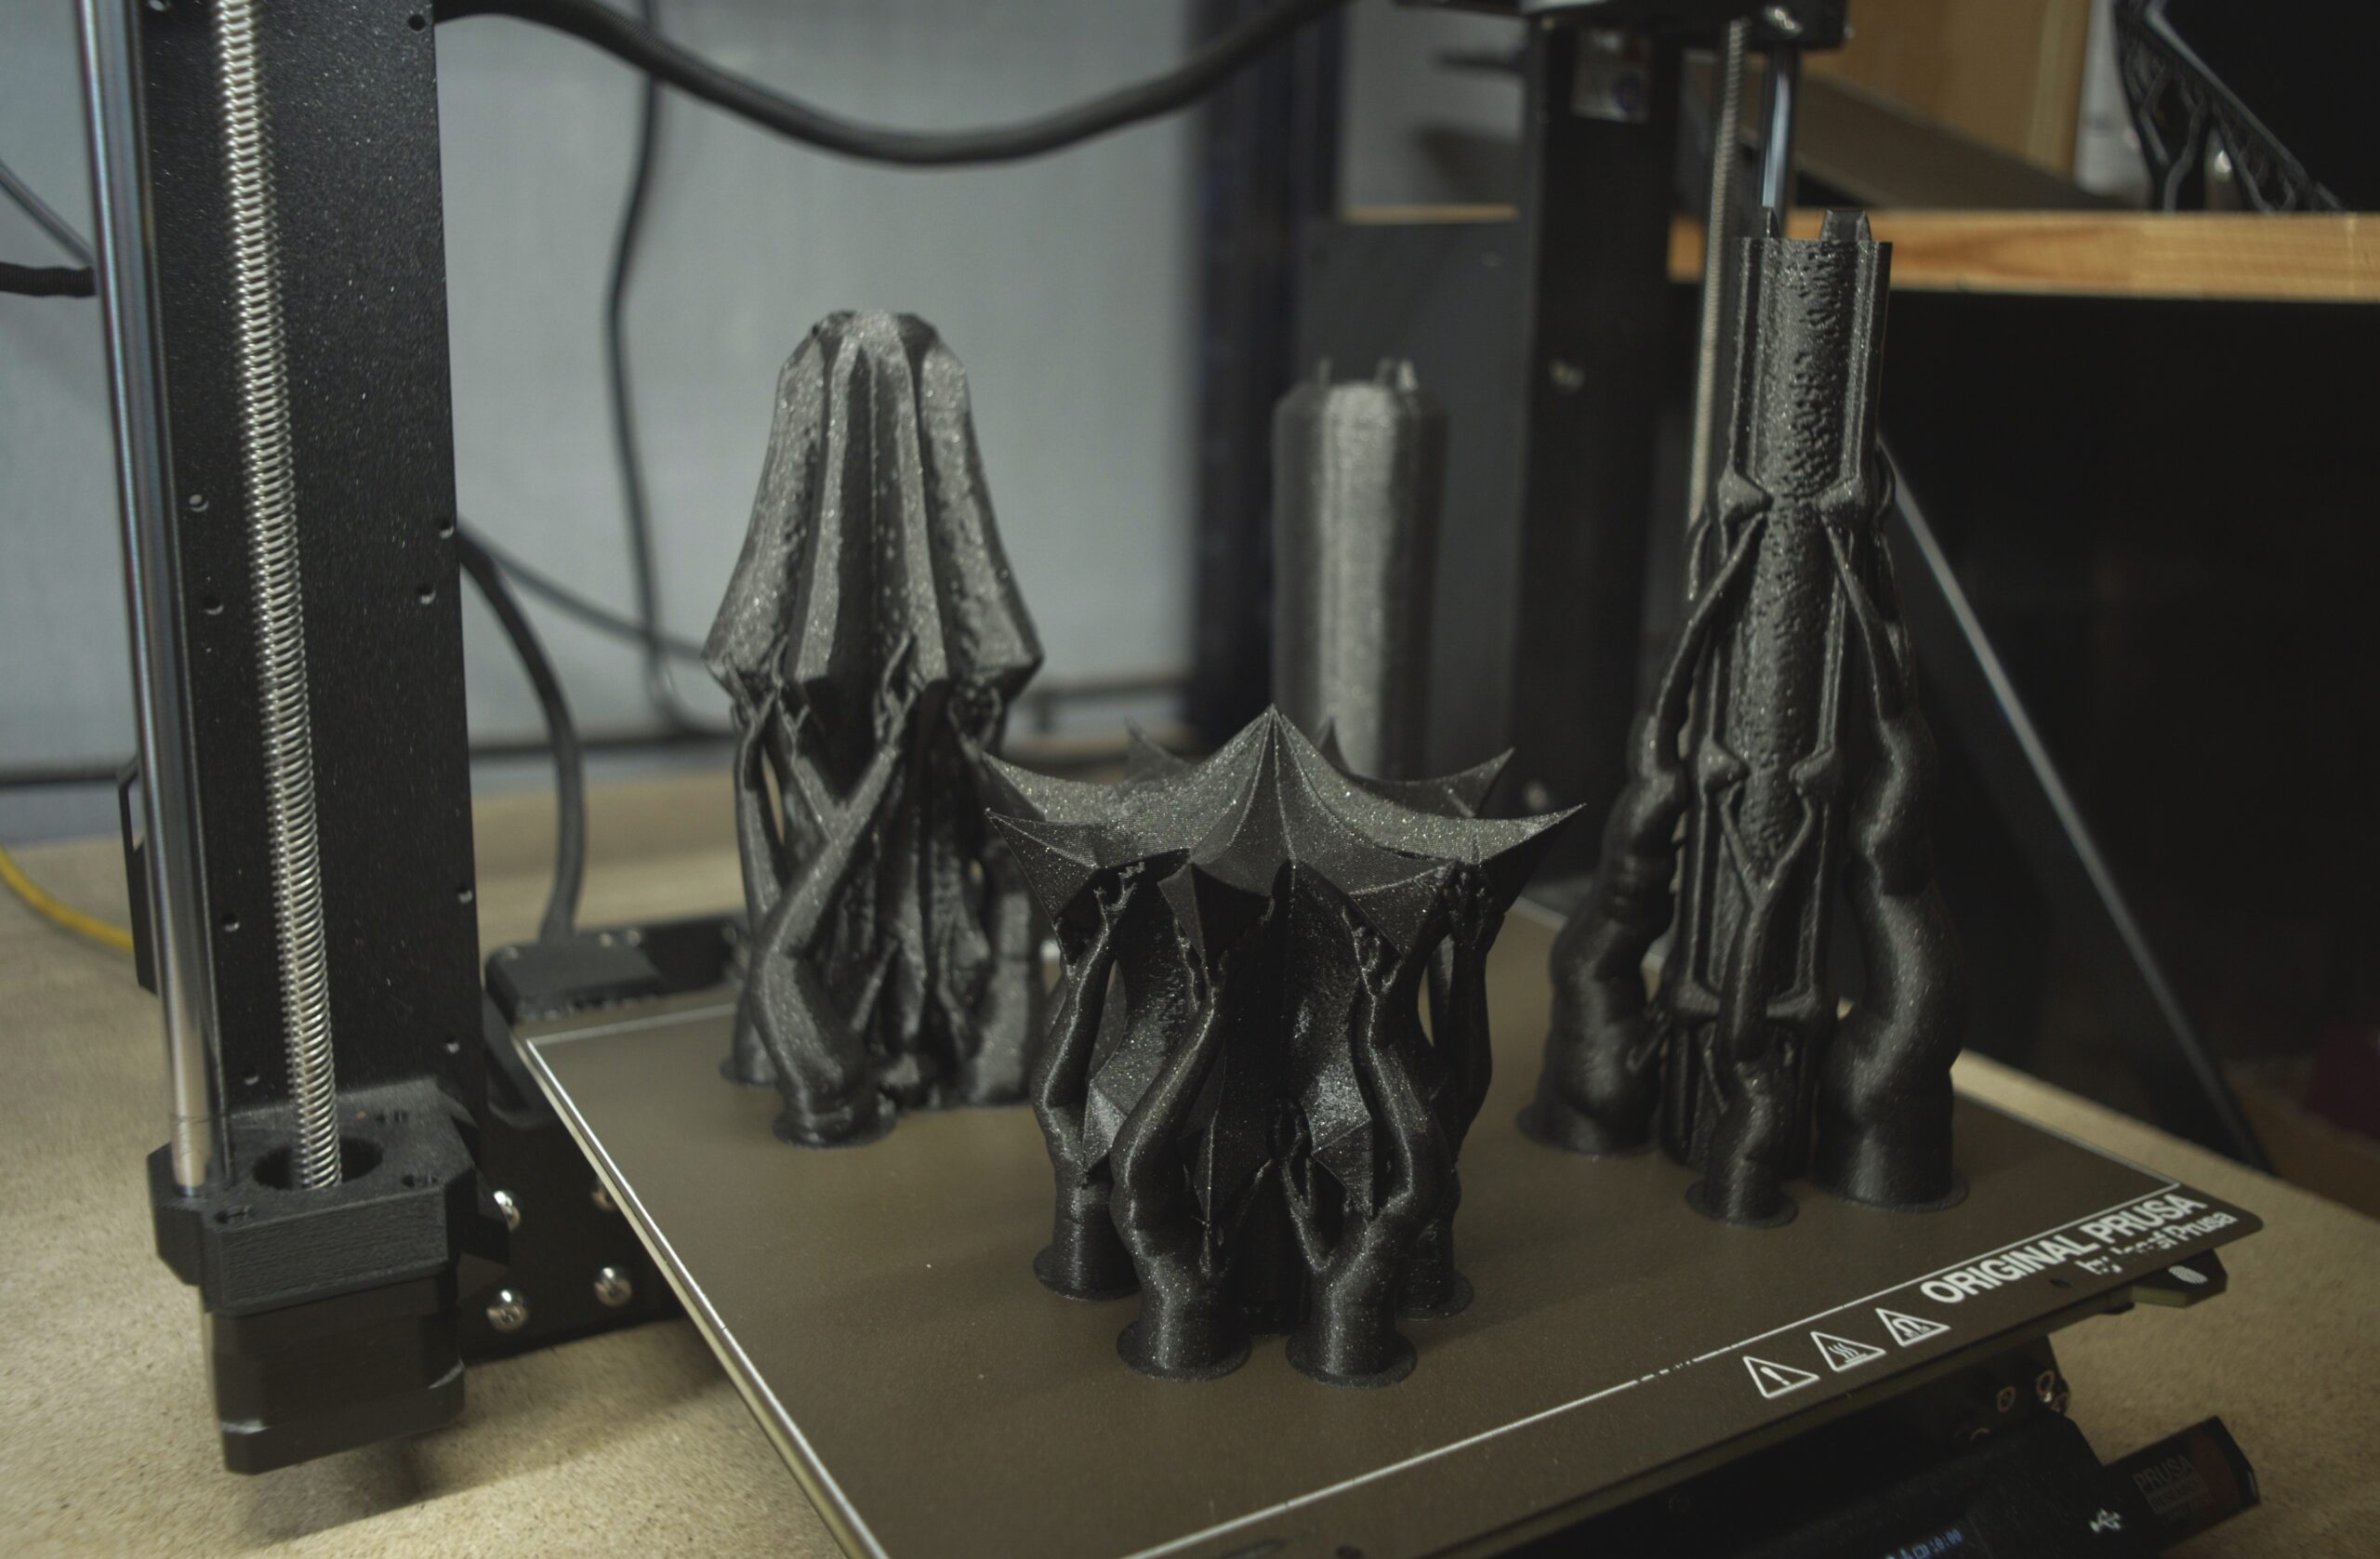
I split the model parts over a few printer beds.
I recommend placing similarly sized parts on the same print bed; that way, you will avoid pieces being knocked out by the extruder.
PLA Filaments I used:
Prusament PLA Prusa Galaxy Black
Step 2: 3D Printing
I printed all the parts in PLA.
Of course, you can use any filament you prefer, though. It just doesn’t necessarily need to be a sandable filament because we will not do any sanding or surface smoothing.
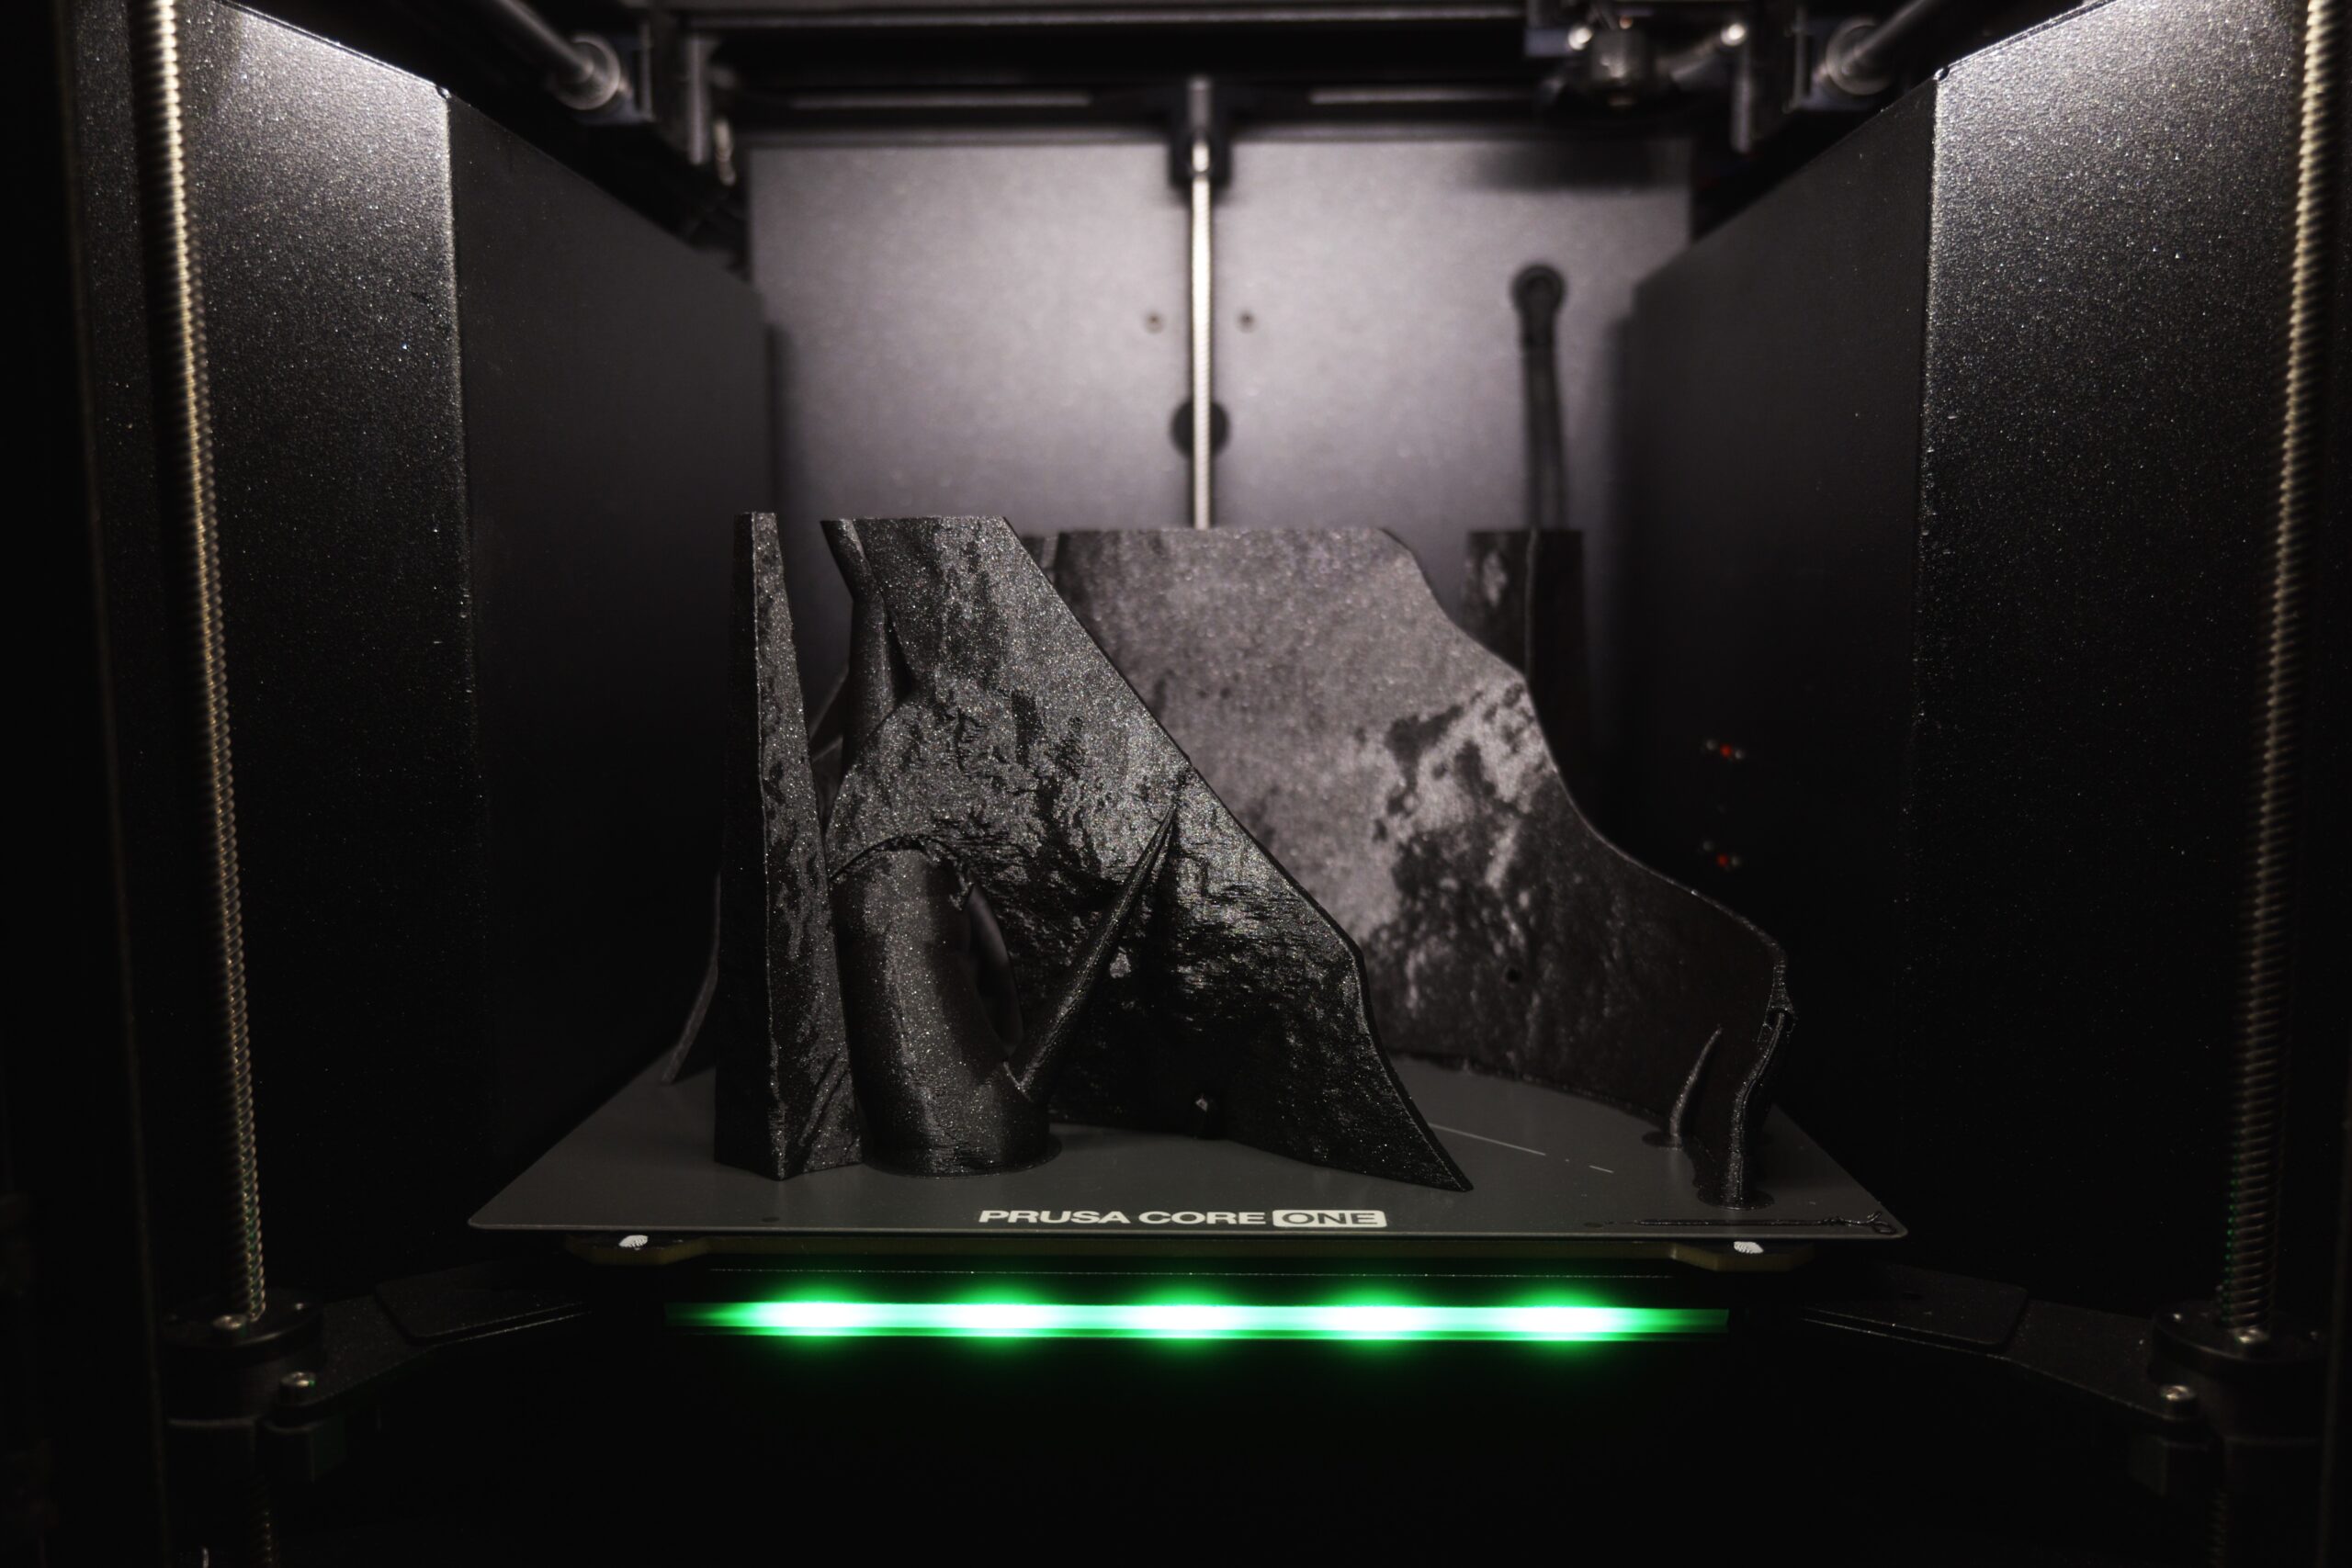
Print time: 24hrs 55 mins (if you can, divide objects between multiple printers to cut off some time)
Filament used: PLA
Nozzle: HF0.4
Printer: Prusa mk4s, Prusa Core One
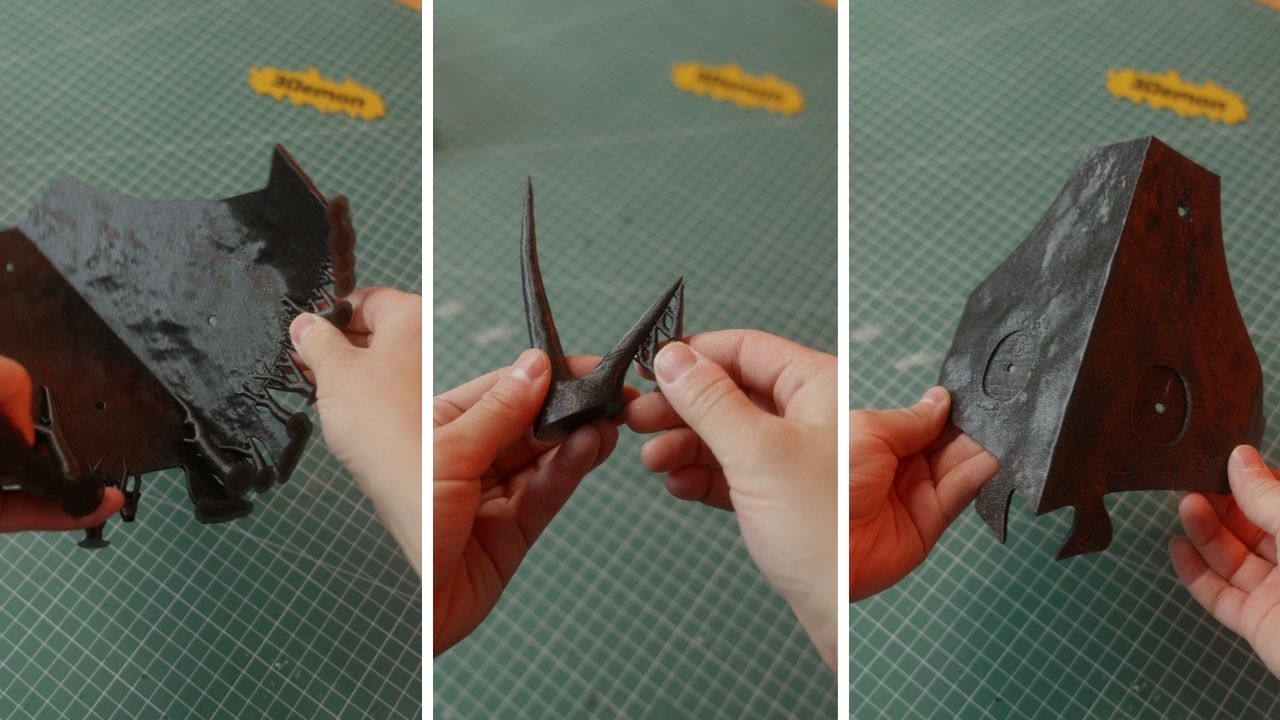
After printing, remove any supports and clean up the parts before assembly.
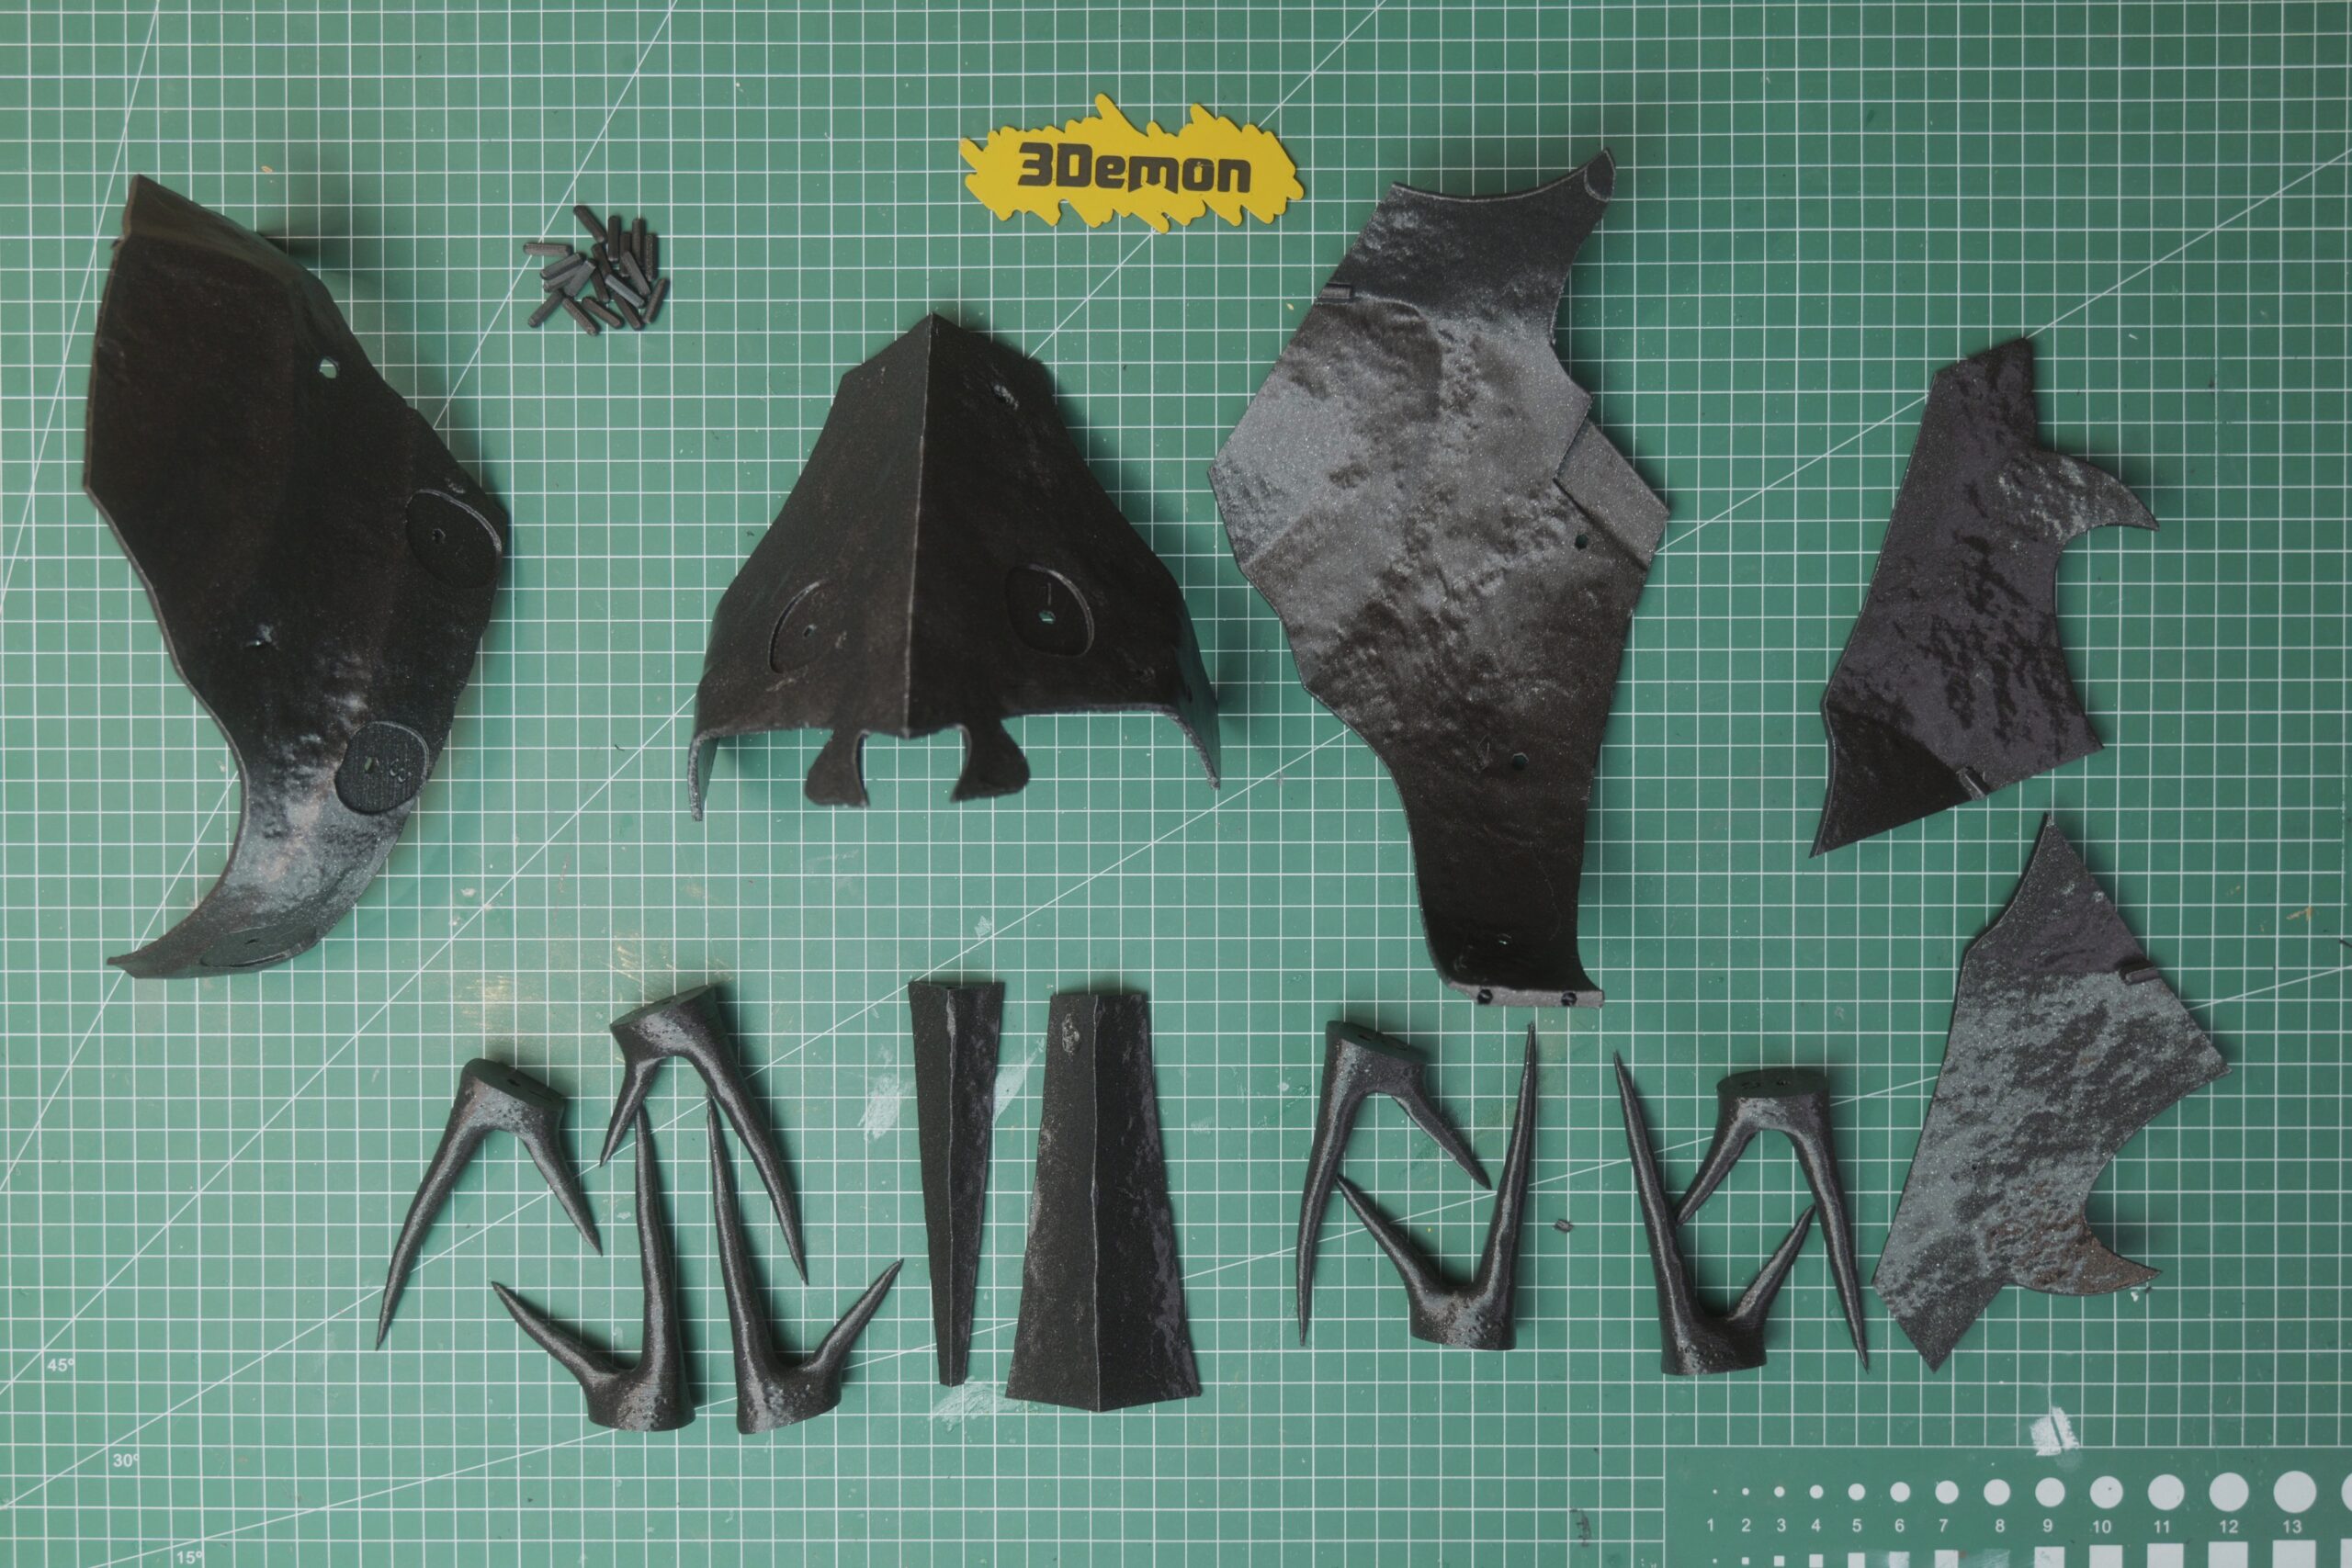
Step 3: Assembly
Now let’s put it all together! Use a glue of your choice. I used simple super glue and a glue activator spray for an instant secure hold.
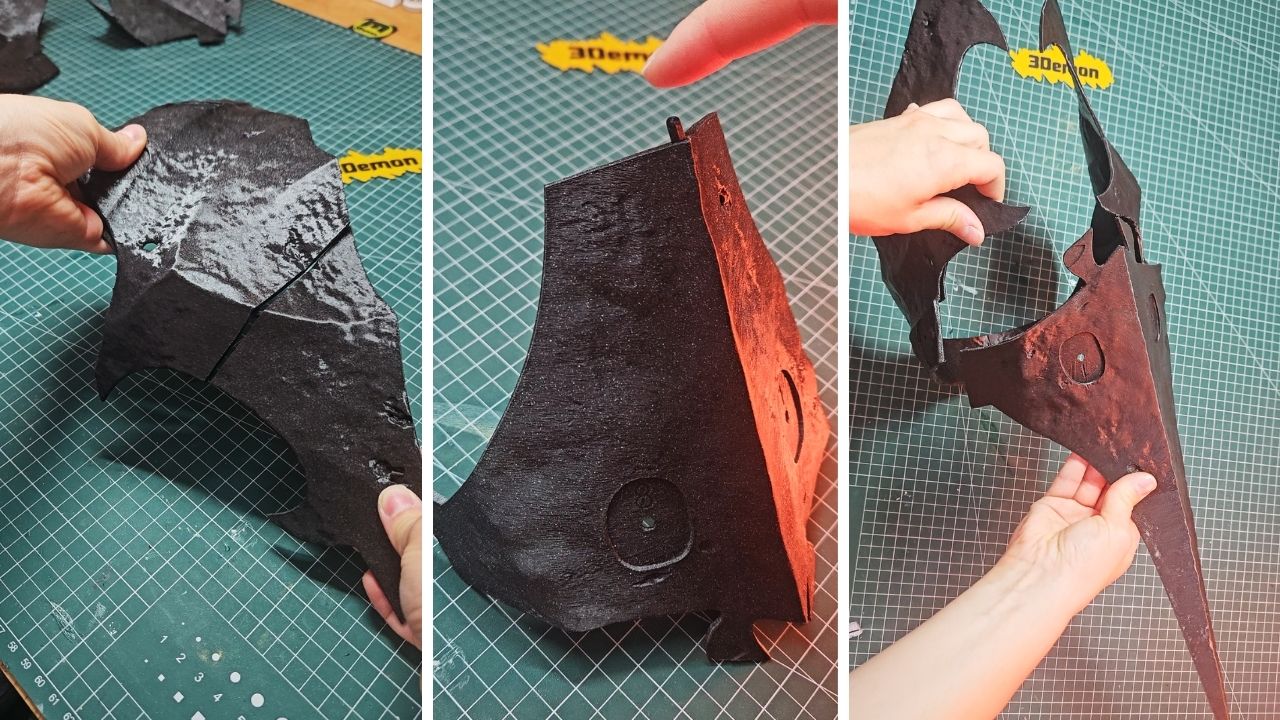
I would say putting the mask together is a breeze. Even more so because our model creator numbered the spikes and their respective places.
Honestly, no part can be misplaced 😀 .
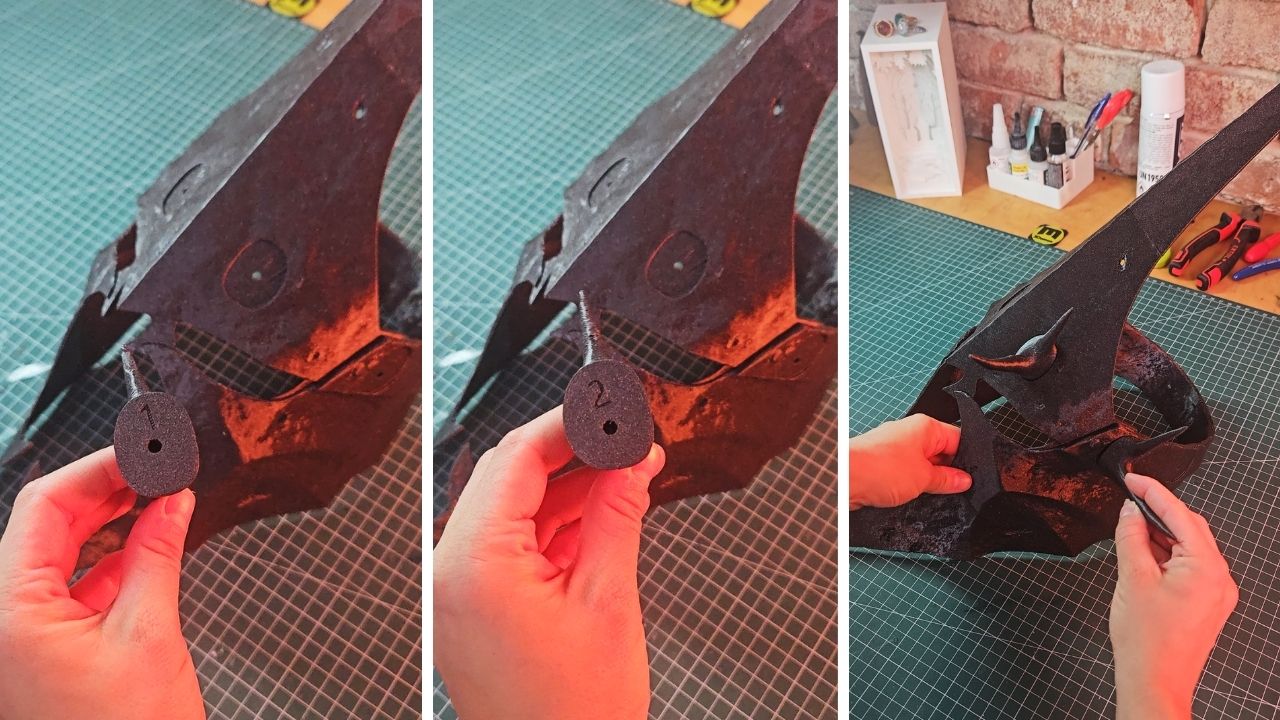
There is only one unpleasant thing that could and possibly will happen to you at this step – you will get scratched or stung because of the sharp tips.
Step 4: Painting: Being a blacksmith of Mordor
Now comes the interesting part!
Get your table ready for painting.
Before painting, take your time to prepare your table. This project will get a bit messy, and the only place where you want your paint to accidentally land is your hands, not your furniture.
You don’t have to use anything fancy. I am using an IKEA mat or baking paper/old newspaper most of the time because of its practicality. Once I am done with painting, I simply crumble it and throw it away.
Aside from surface preparation, get a cup of water for cleaning your brushes, take your colours and brushes, and place them on the table.
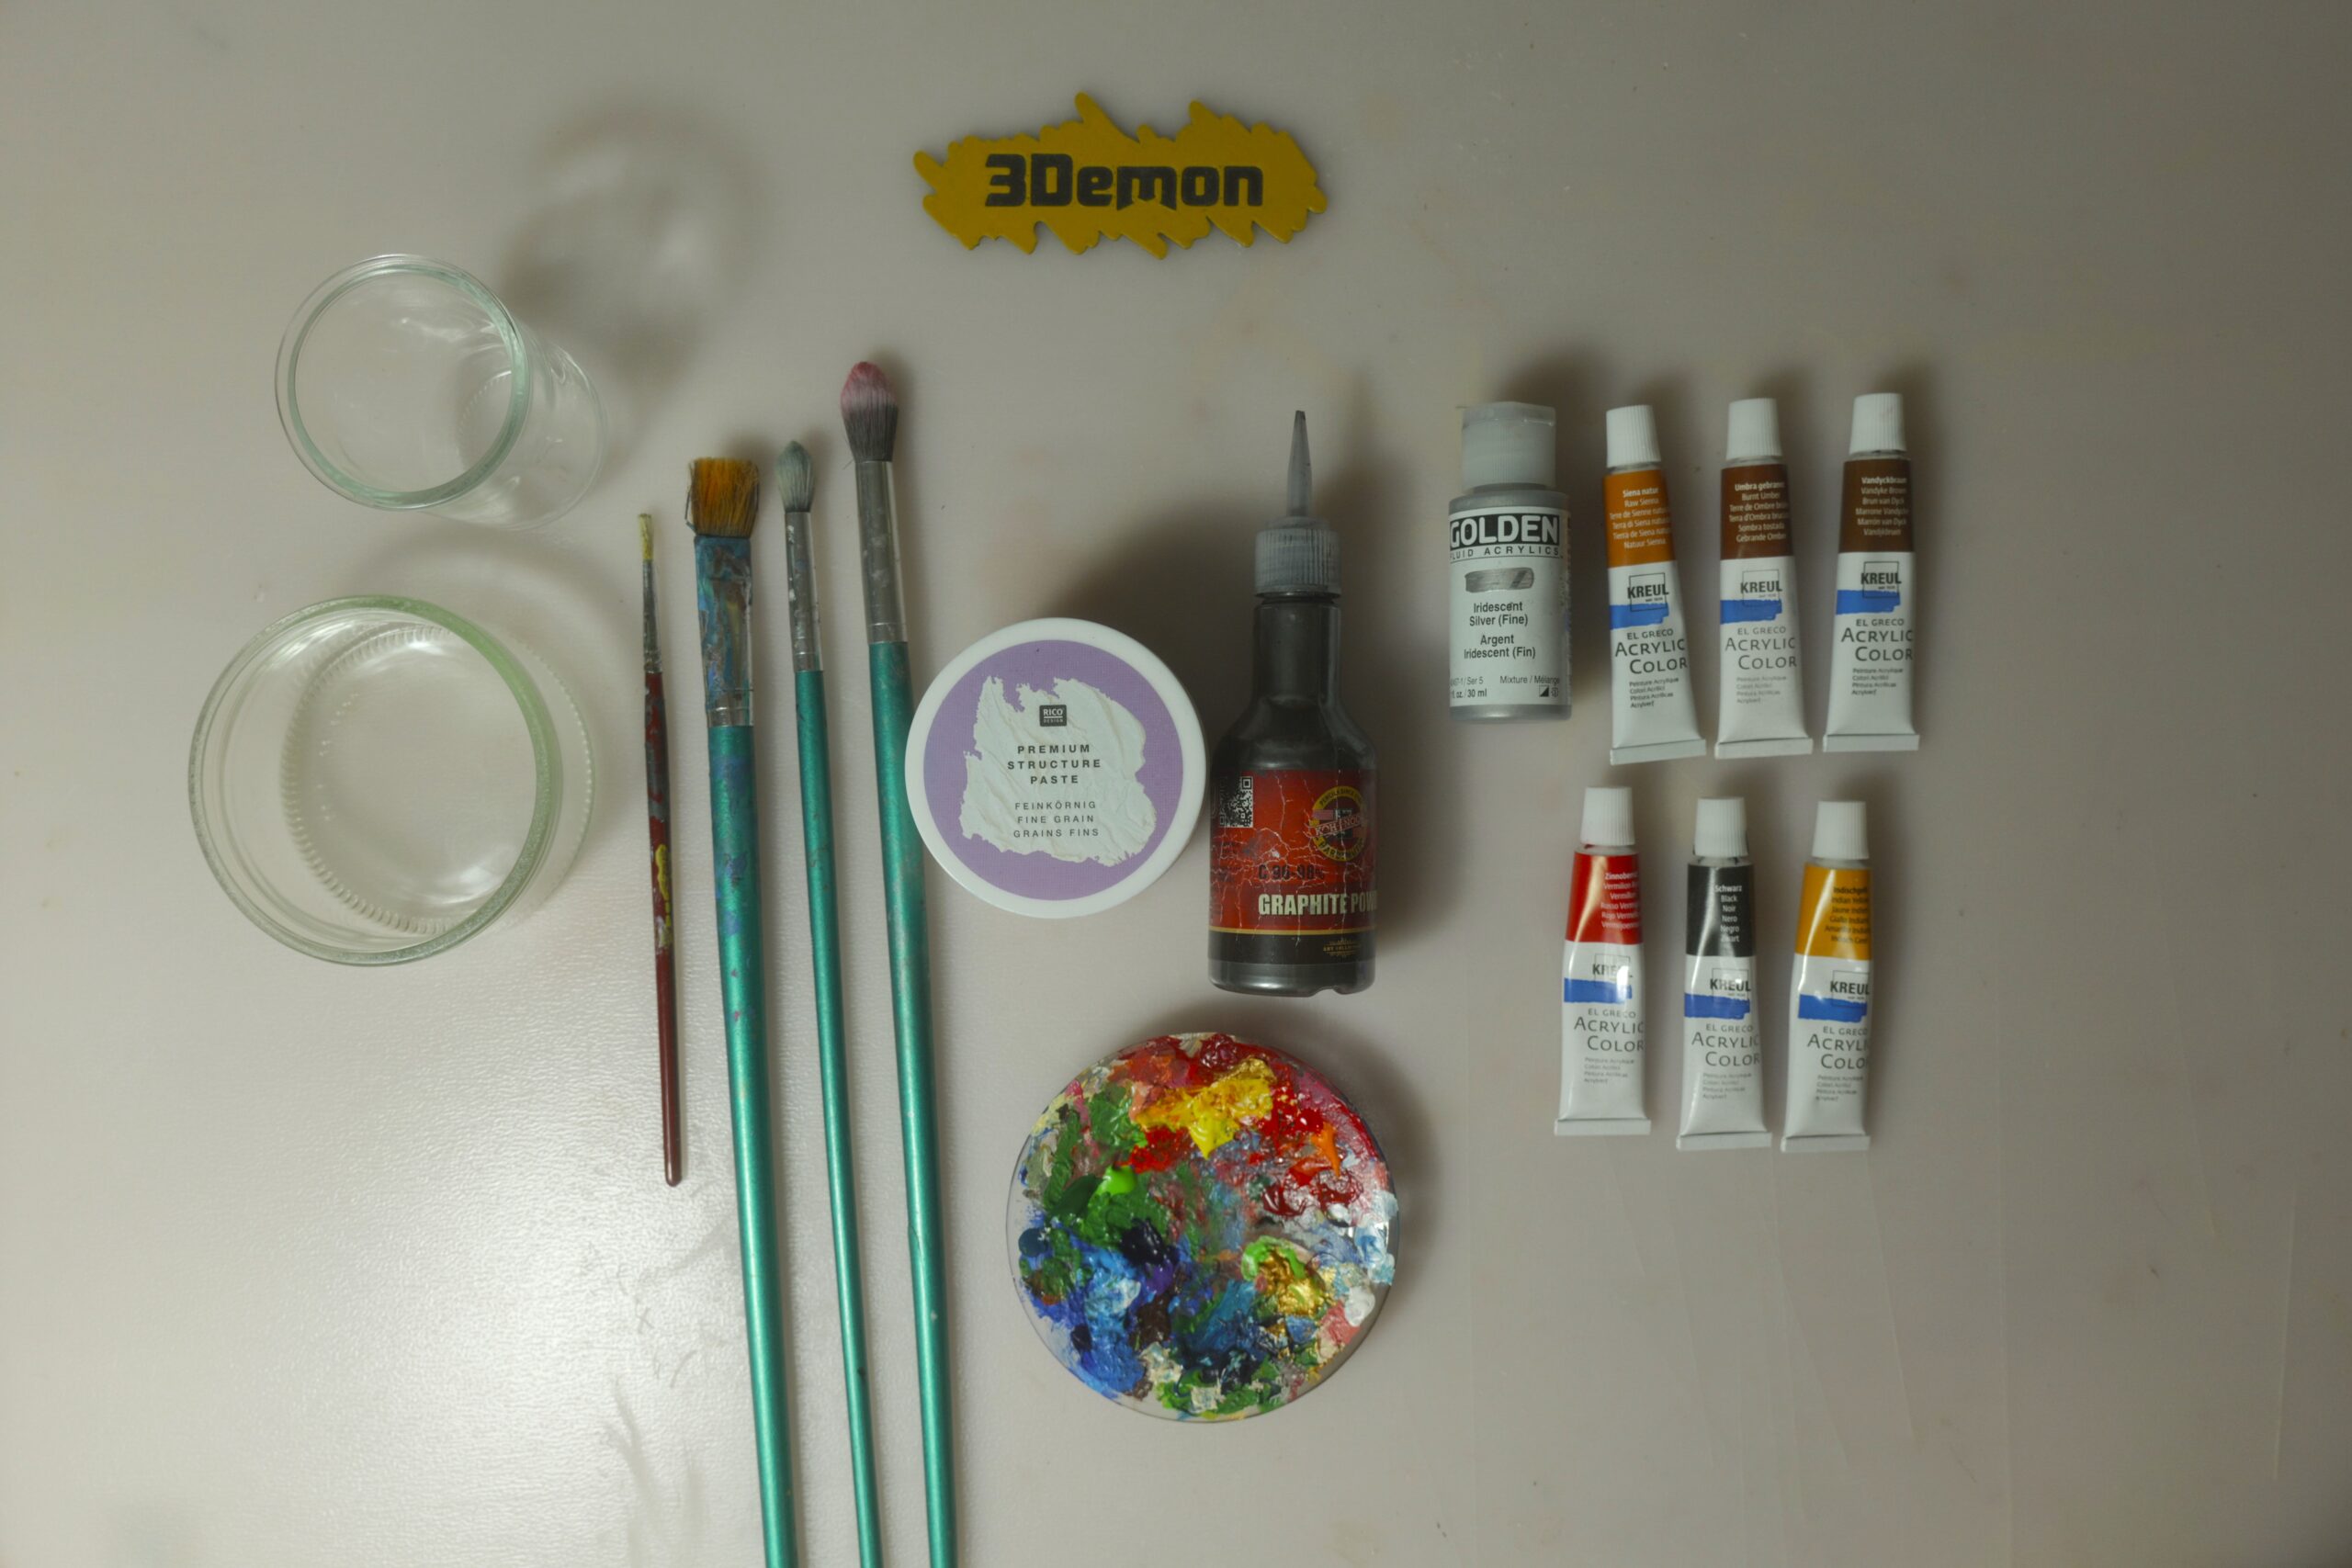
You will need:
- texture paste
- graphite powder
- silver acrylic paint
- mix of brown acrylic paints
- mustard acrylic paint shades
- black acrylic paint
- red acrylic paint
- brushes
- water containers
- colour palette of choice
Painting the base
Our first step of the painting process is enhancing the rough texture. This step could be skipped if you are already happy with the surface details on the model (And let me tell you, they are great!). Yet, the original prop looked a bit corroded in places; moreover, I can only guess that Mordor’s blacksmiths don’t really like everything shiny and smooth like elves.
Therefore, to be a true Mordor blacksmith, get a texture paste from a hobby/craft store.
Alternatively, you can also add baking soda/baby powder/fine sand/dirt to acrylic paint to create a paste of your own.
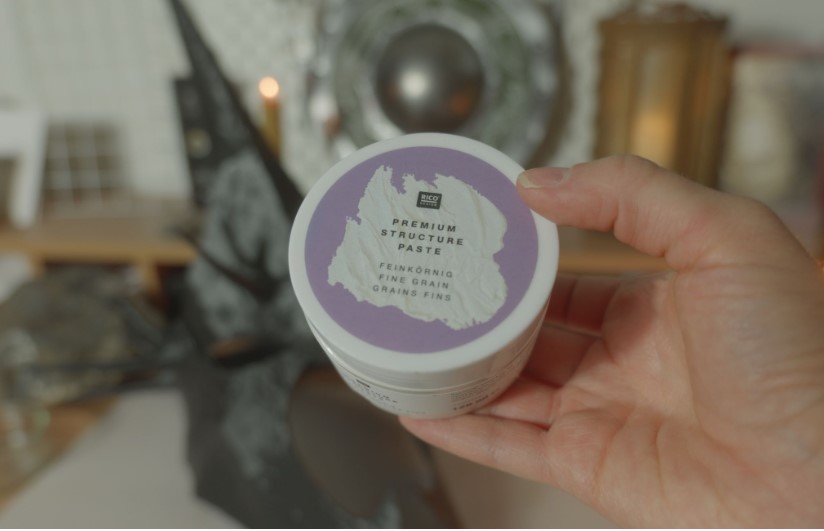
Fill in the seams and use the paste all over the mask unevenly for more organic resolution.
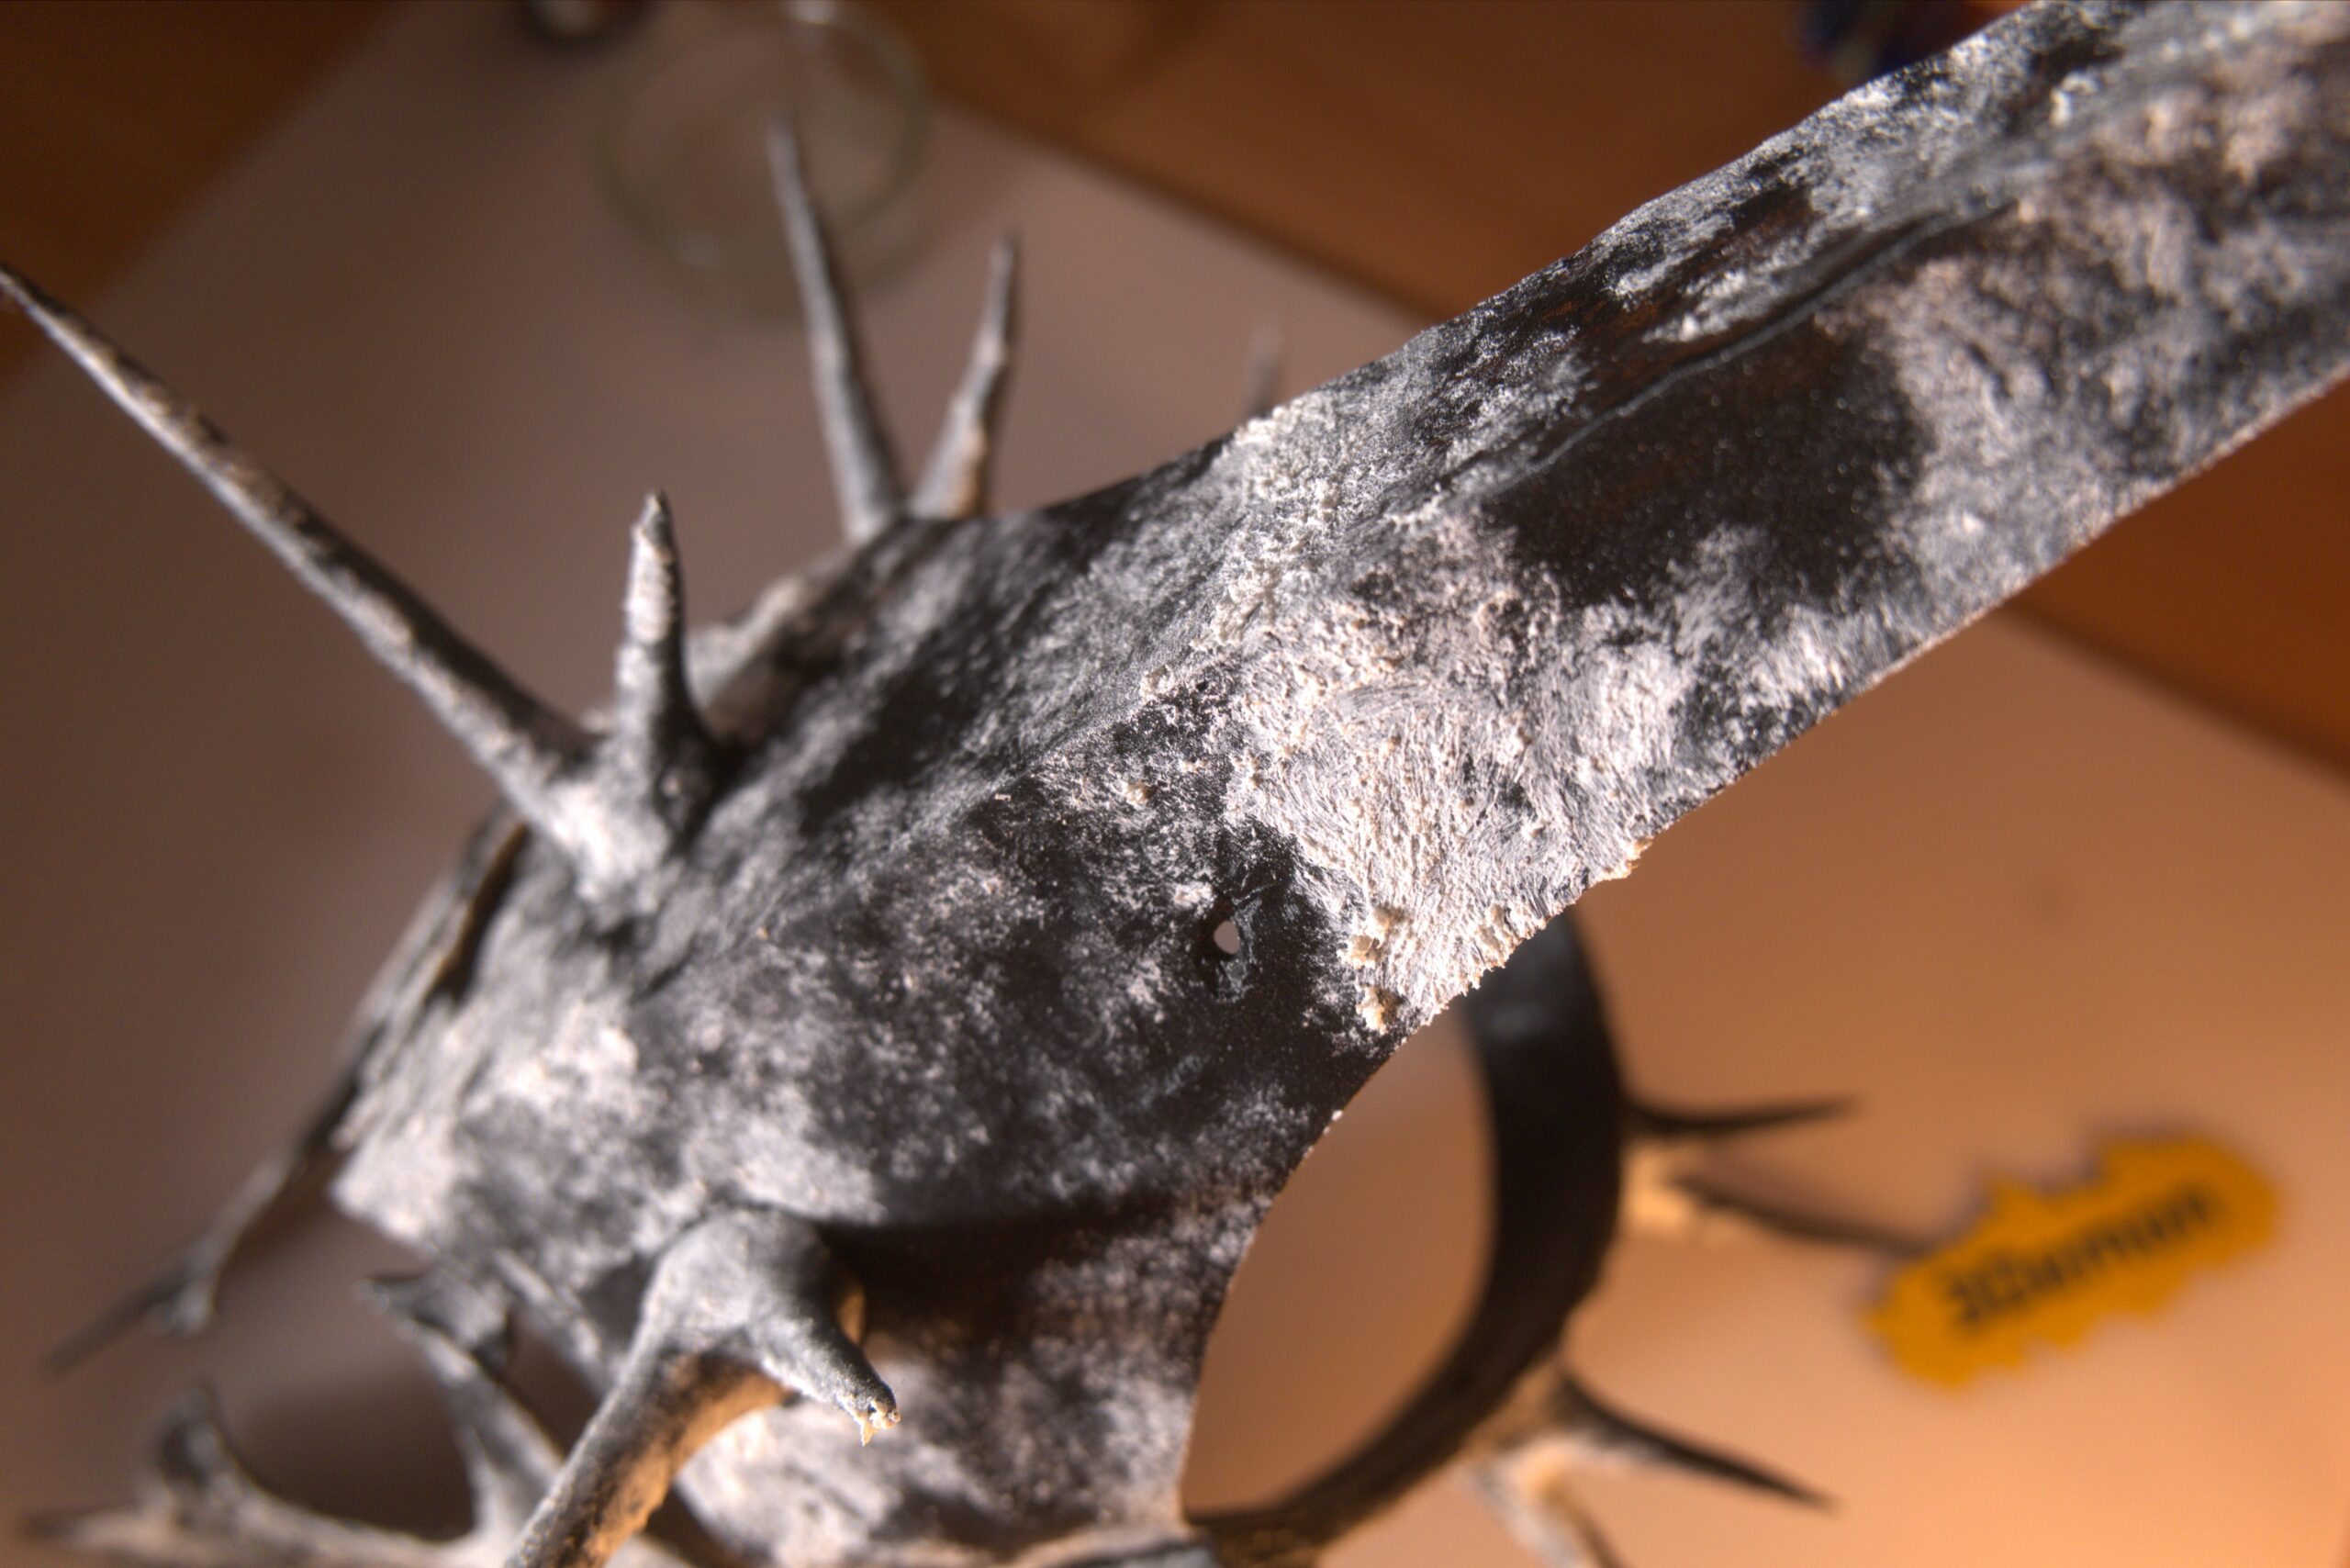
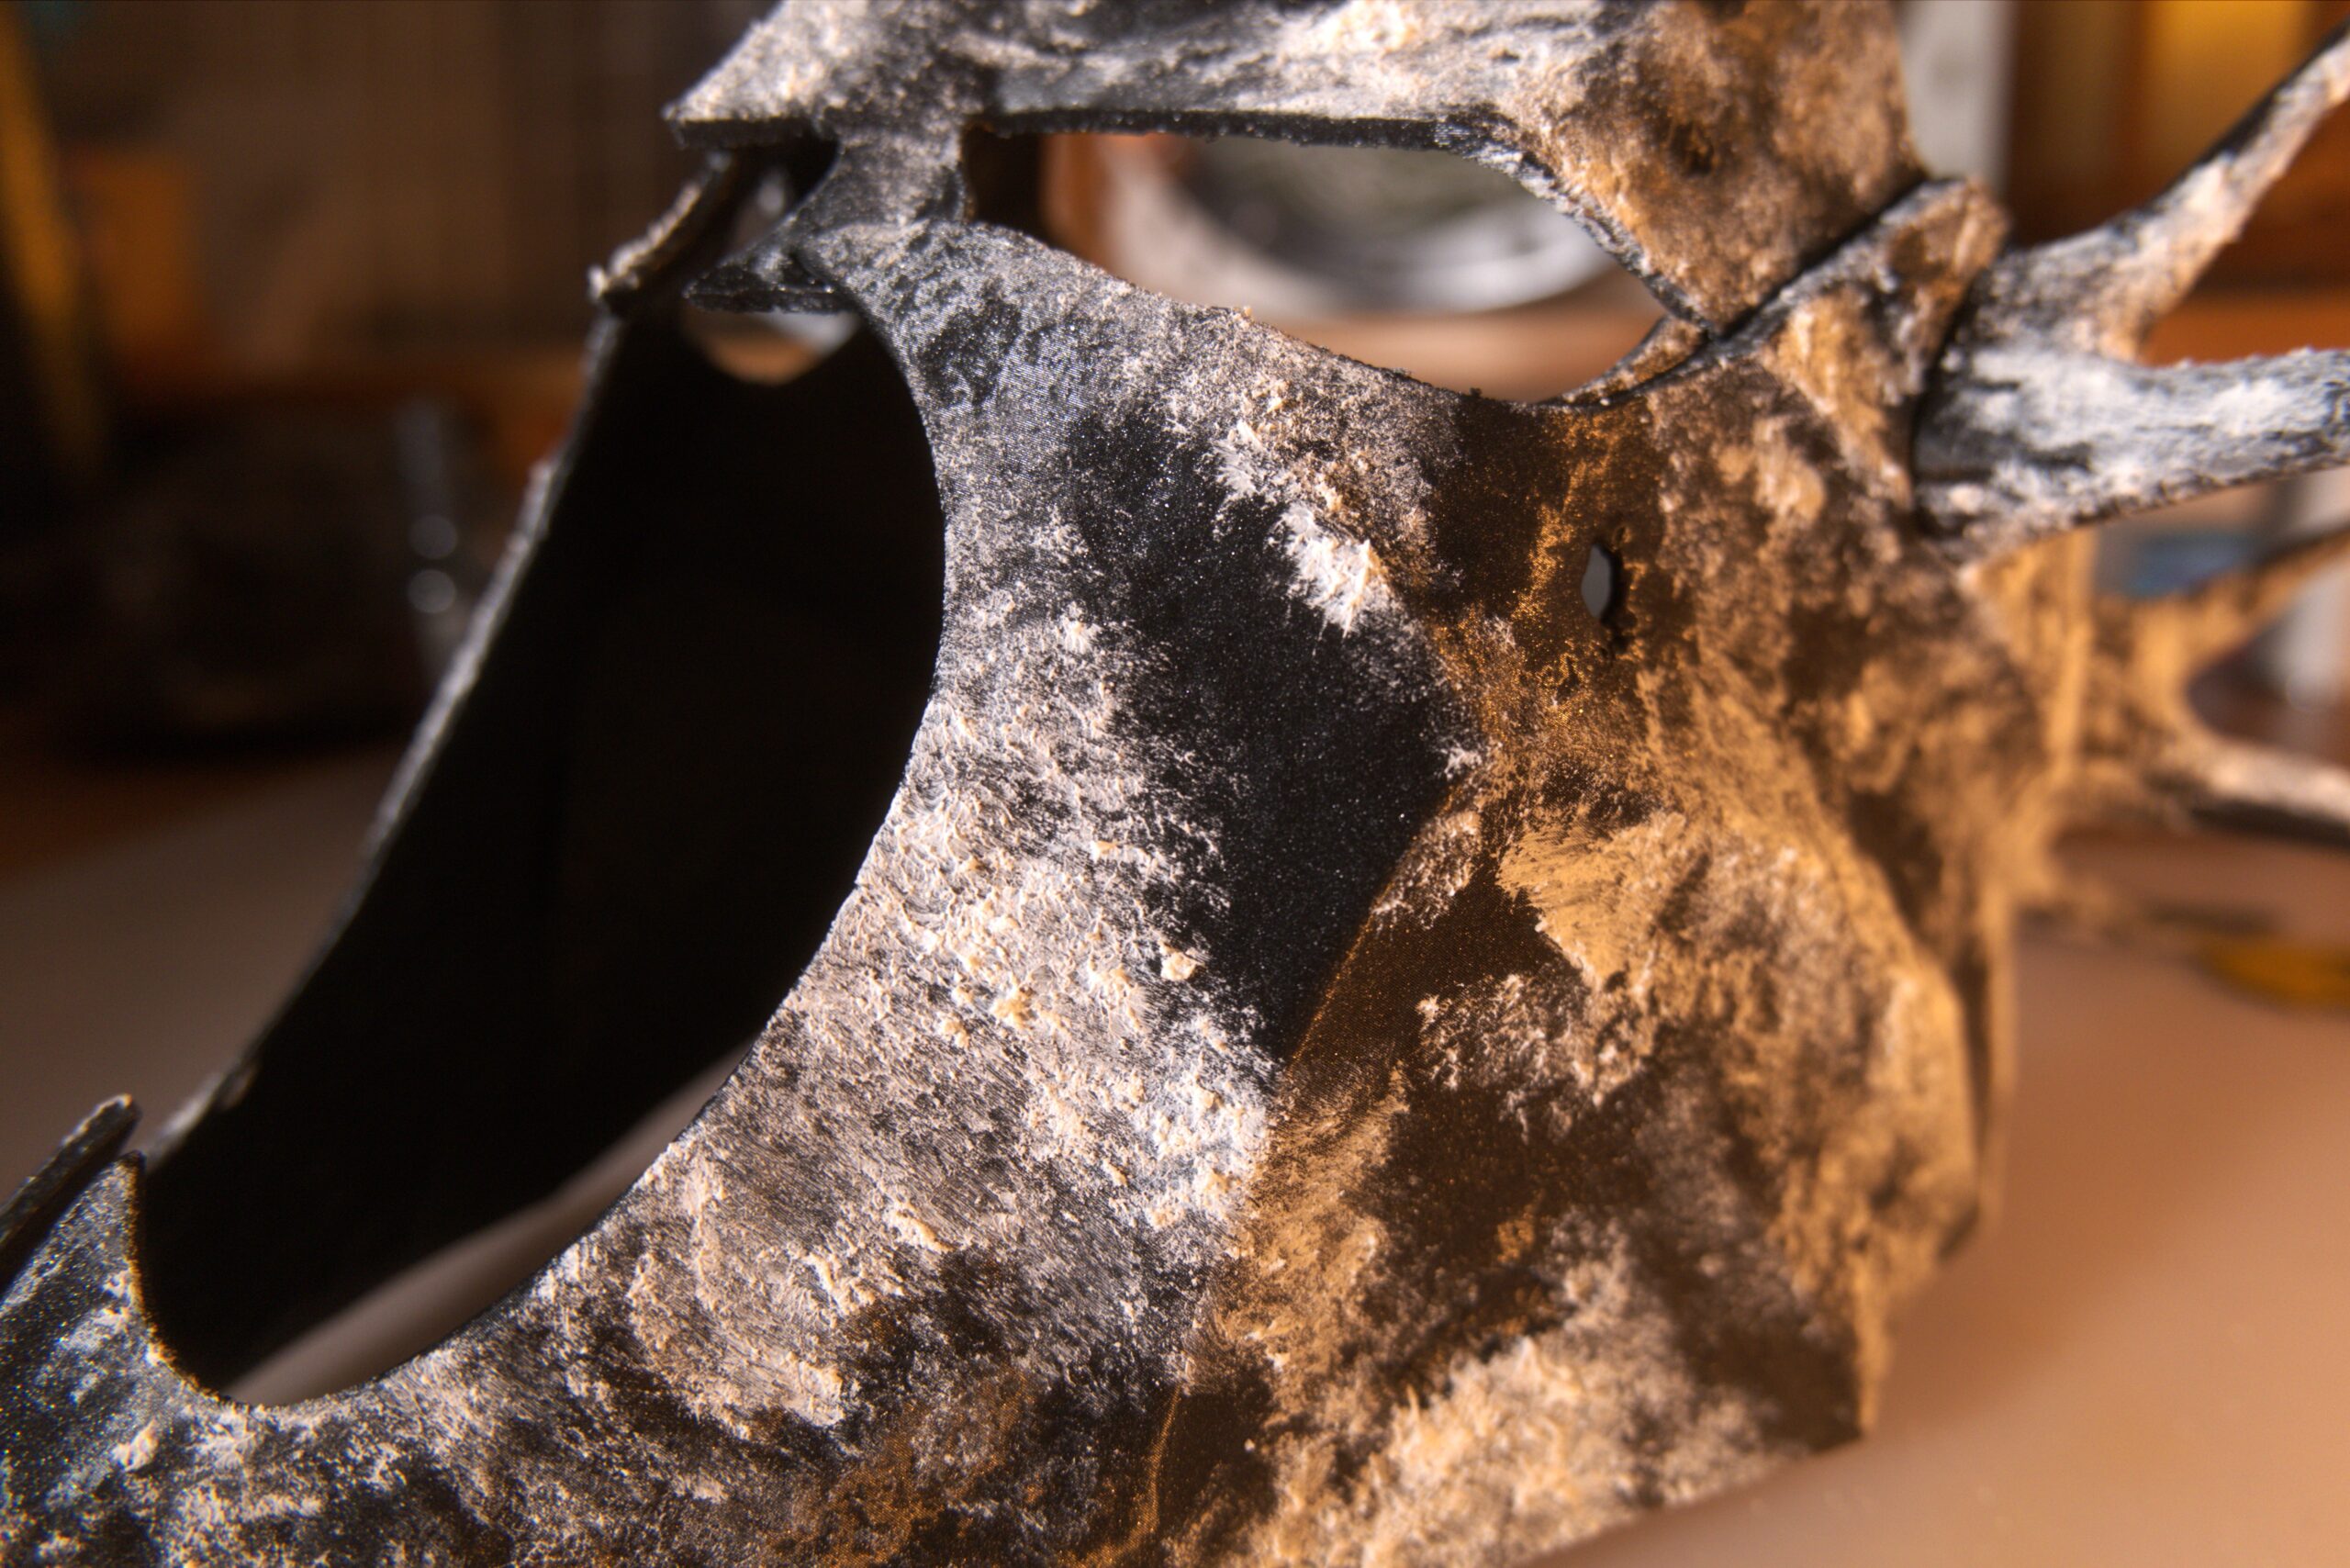
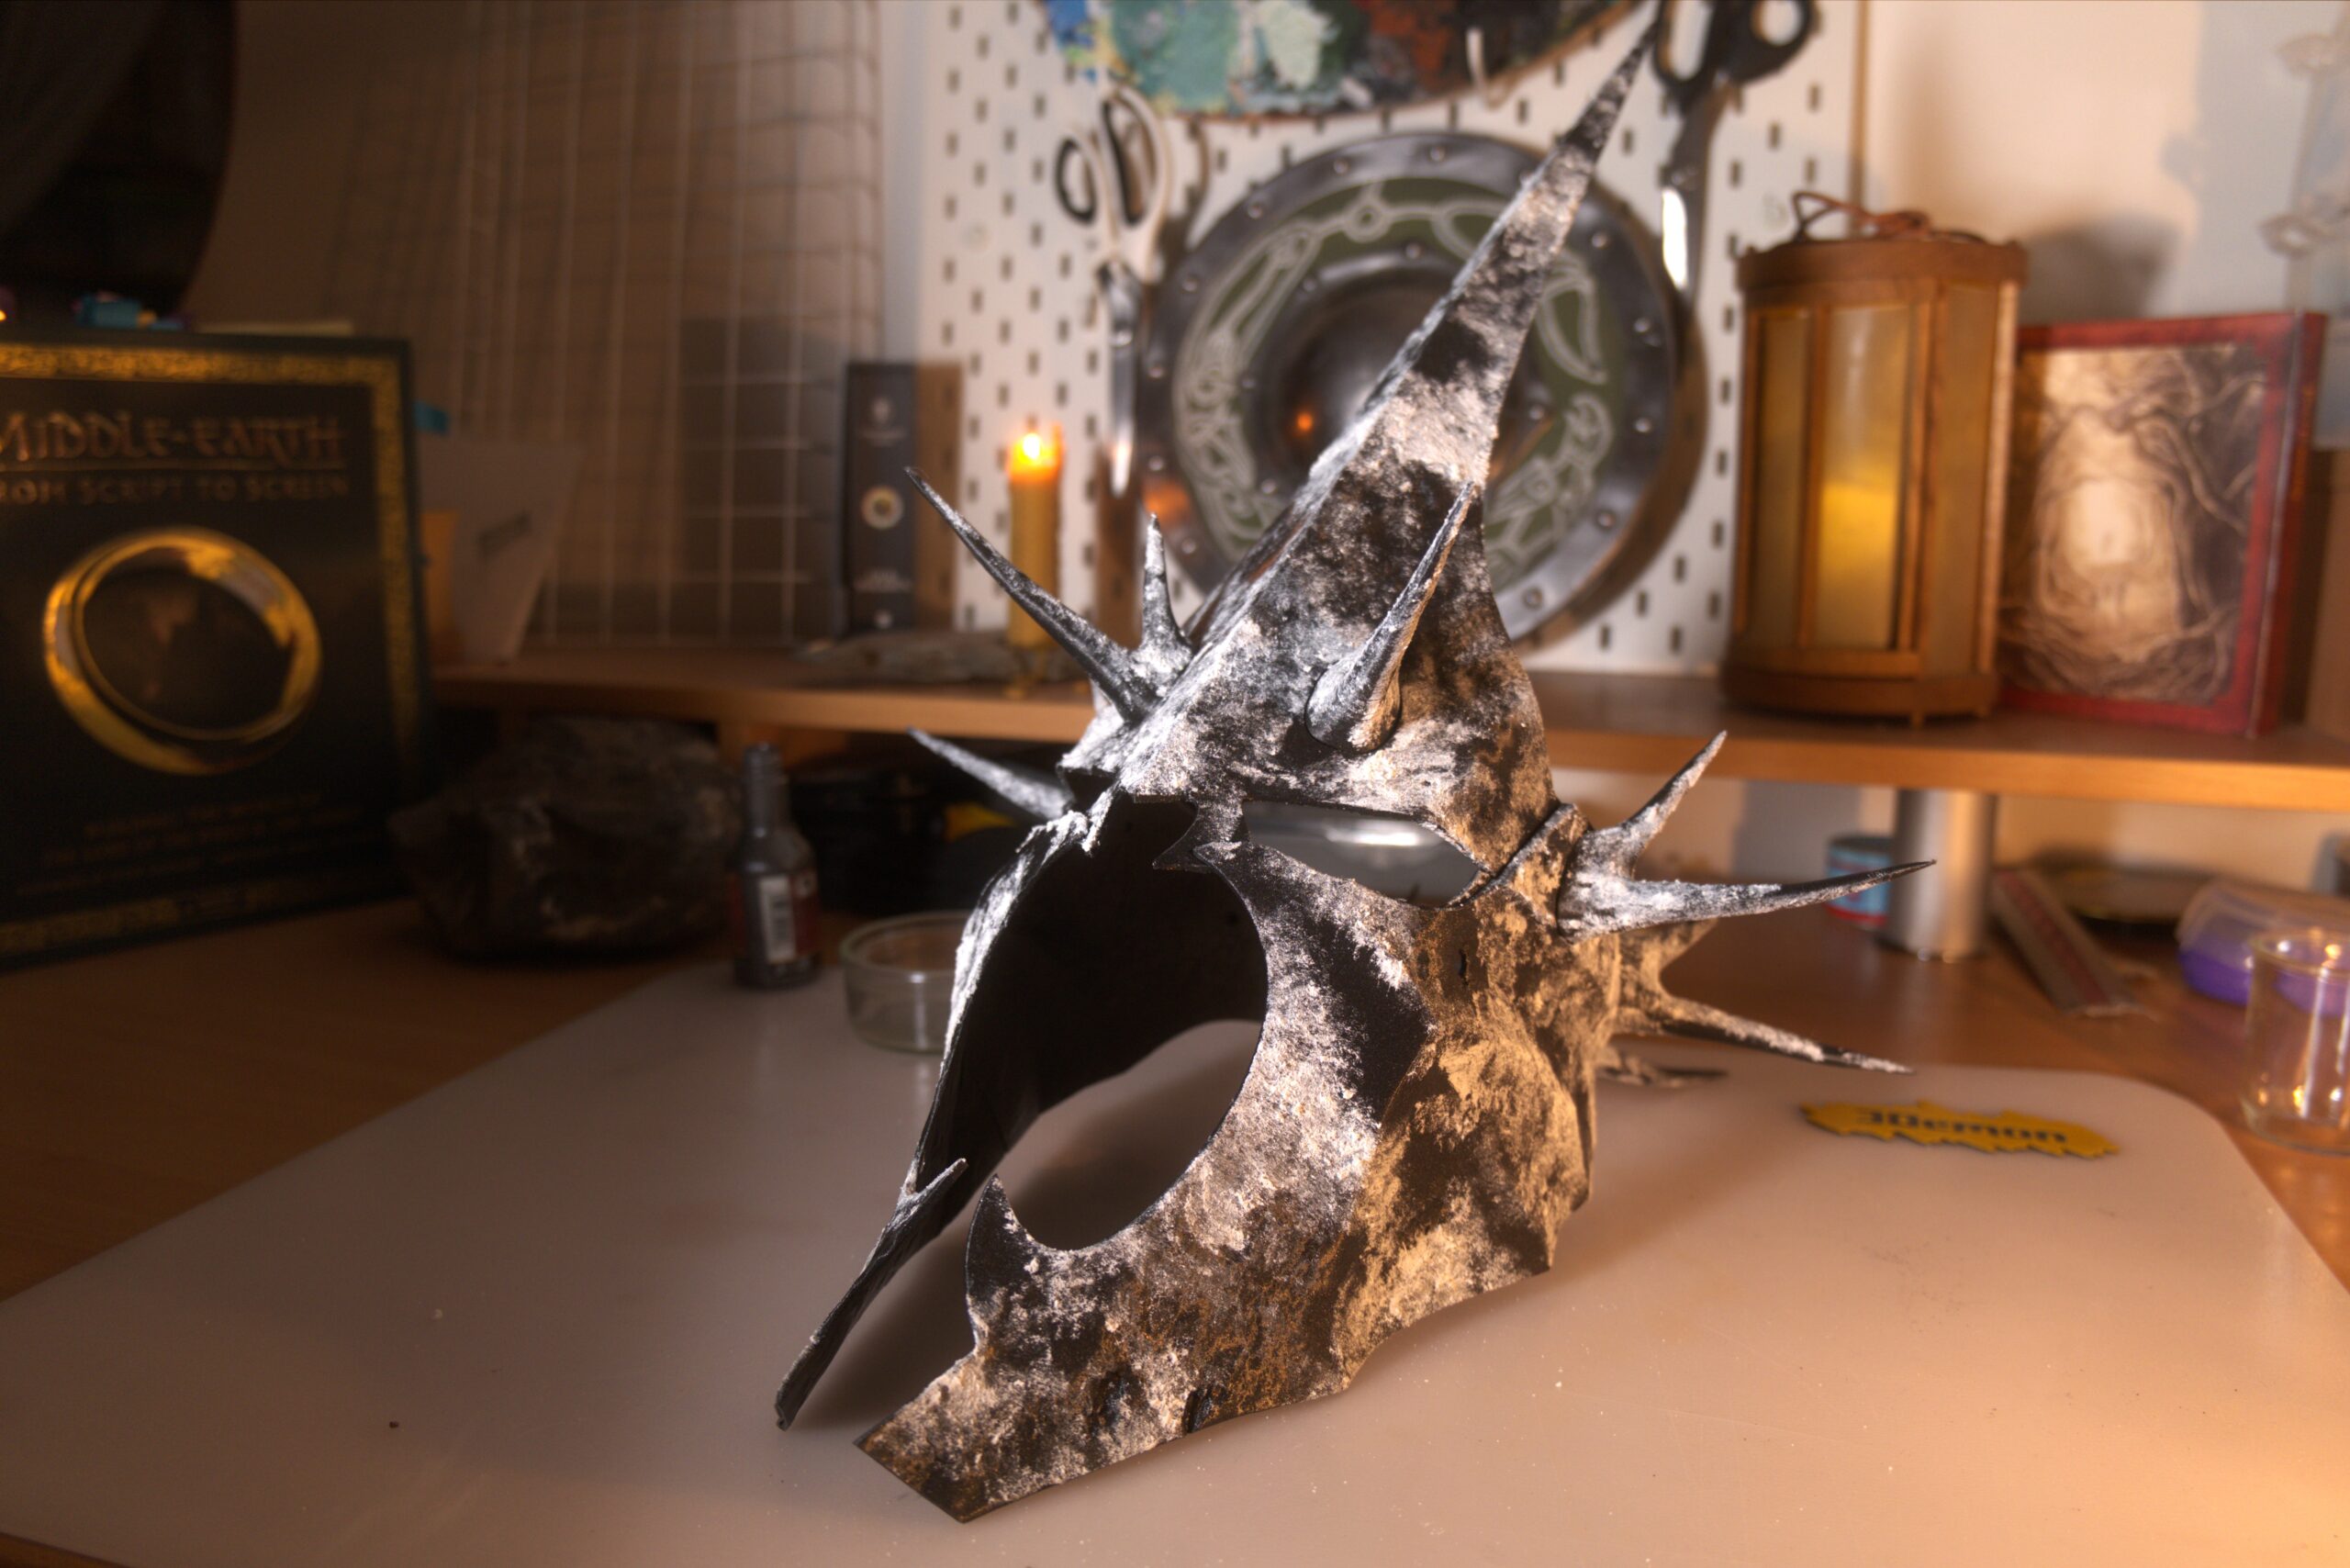
Once you are finished, let the mask dry. Ideally overnight, but if you are in a rush, use a hairdryer or a heat gun to dry it faster.
Silver paint layer
Test if your mask has fully dried. If so, take your silver acrylic paint and cover the entire mask evenly.
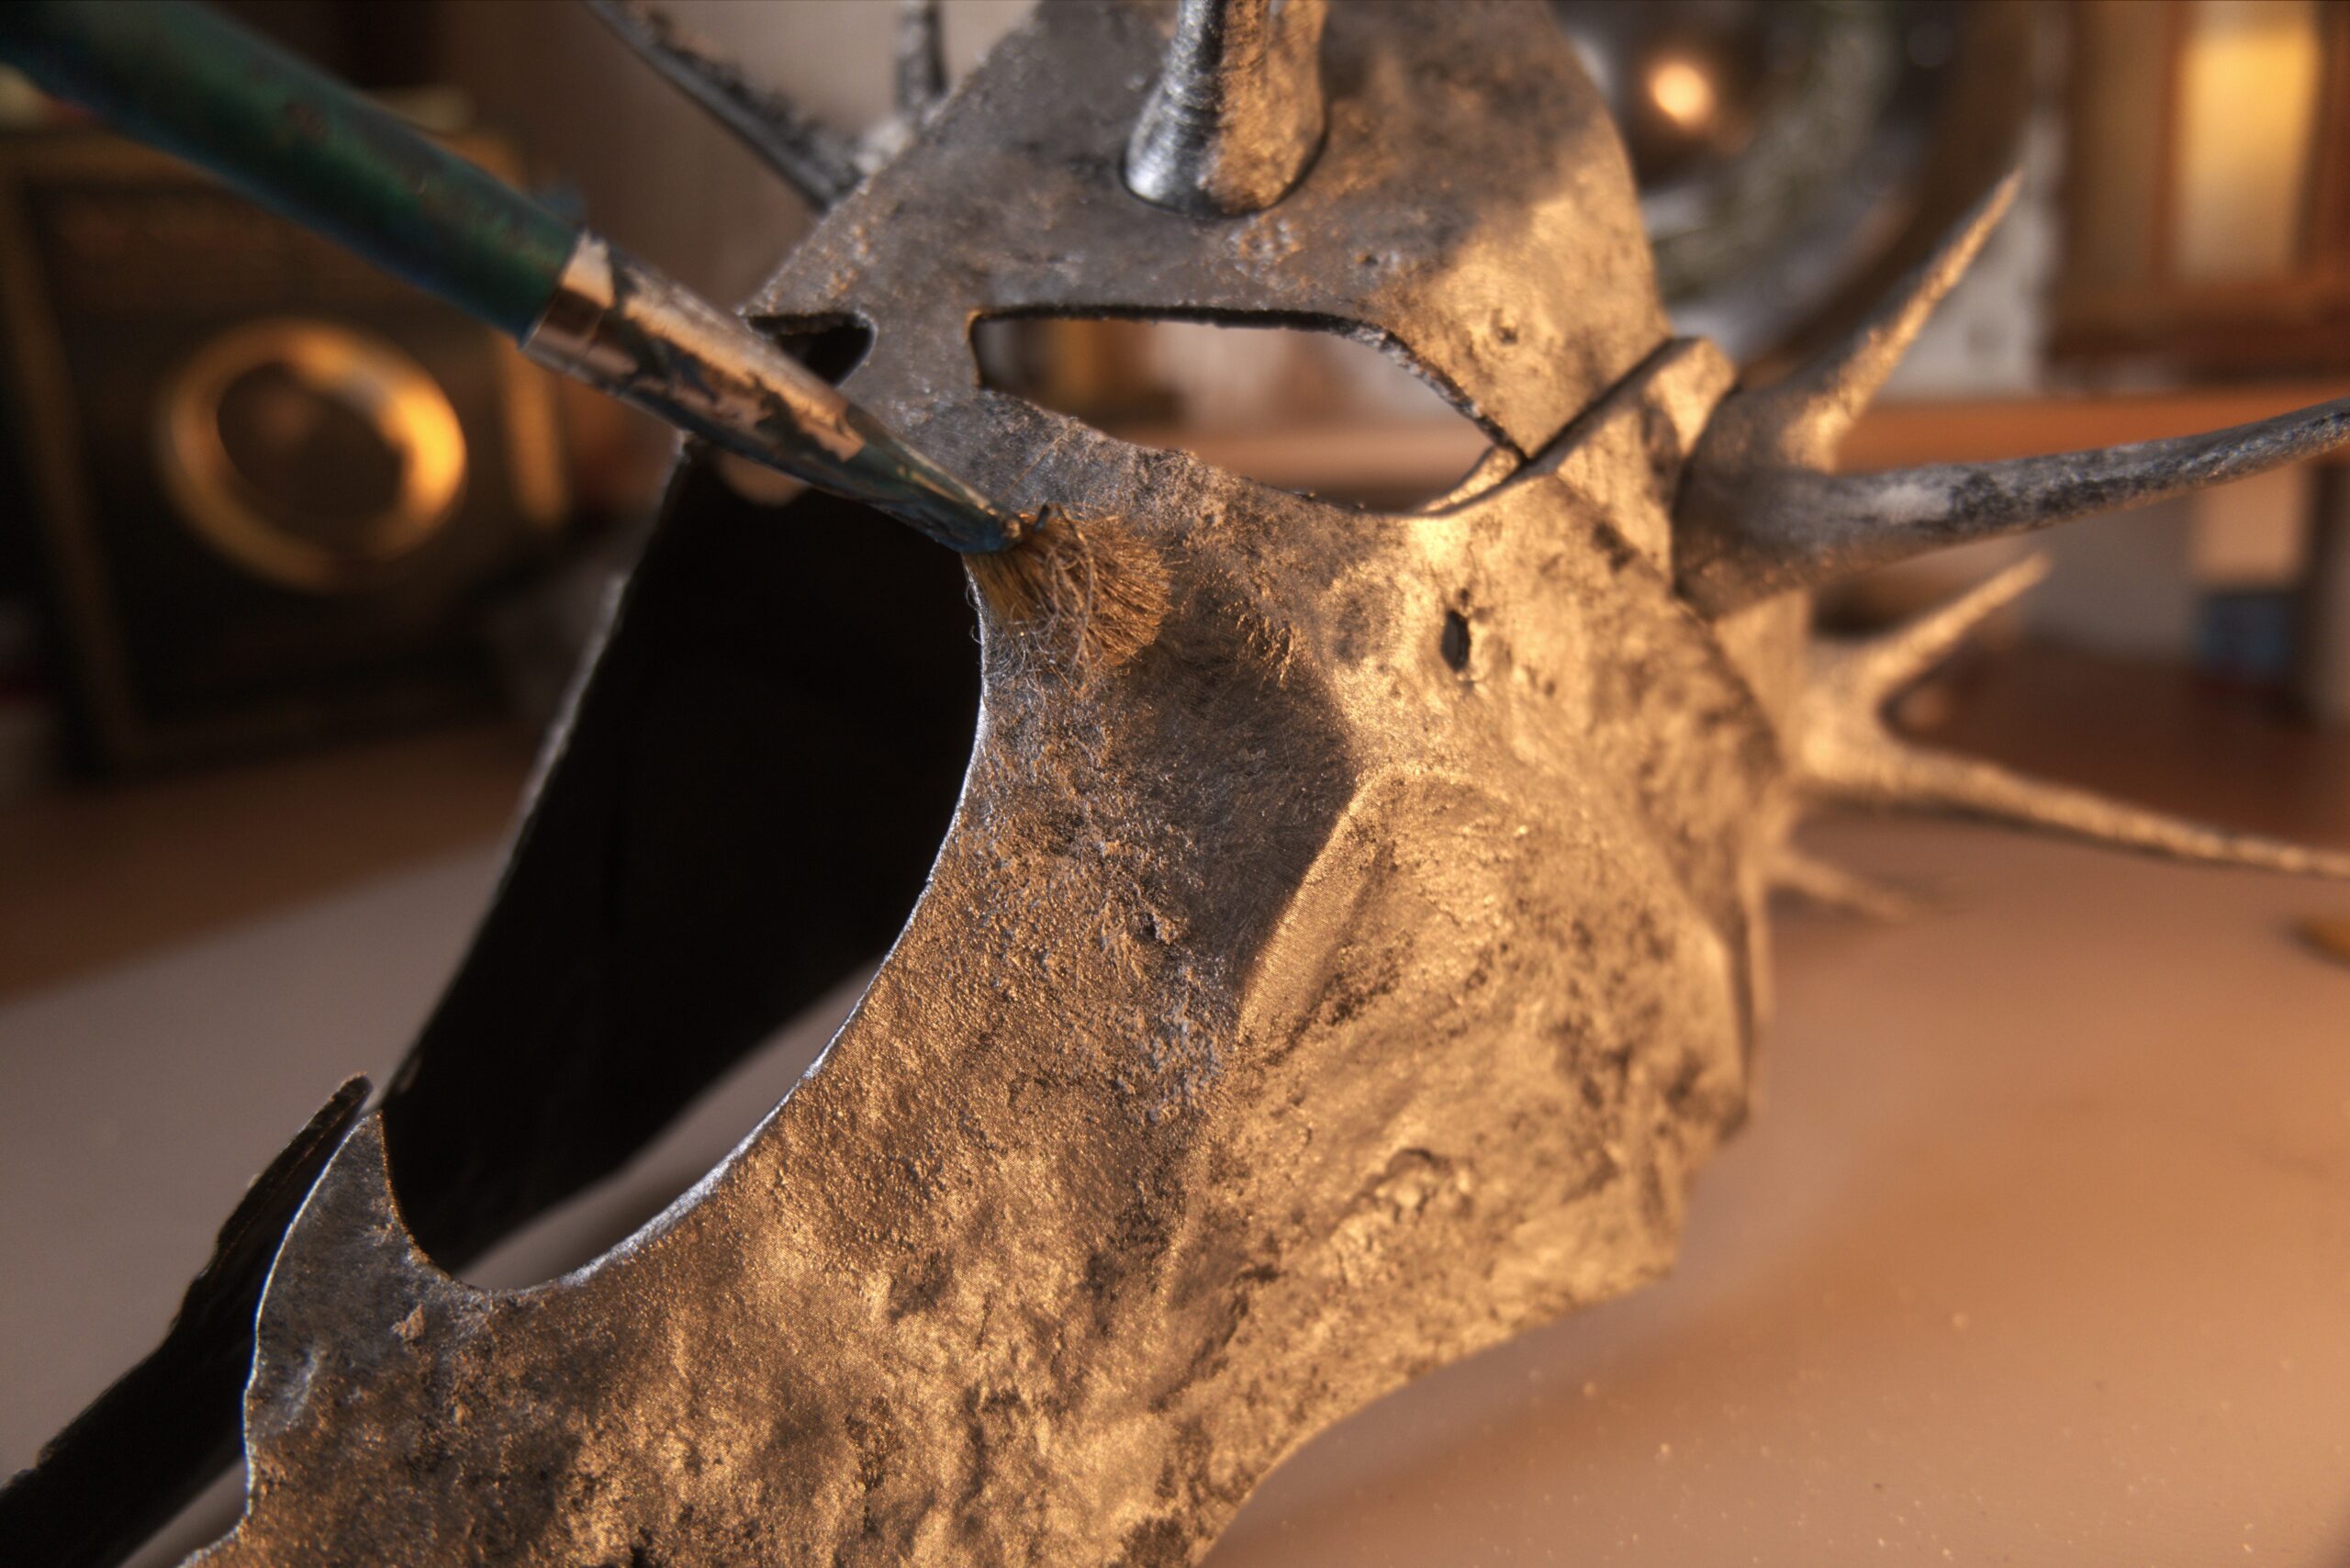
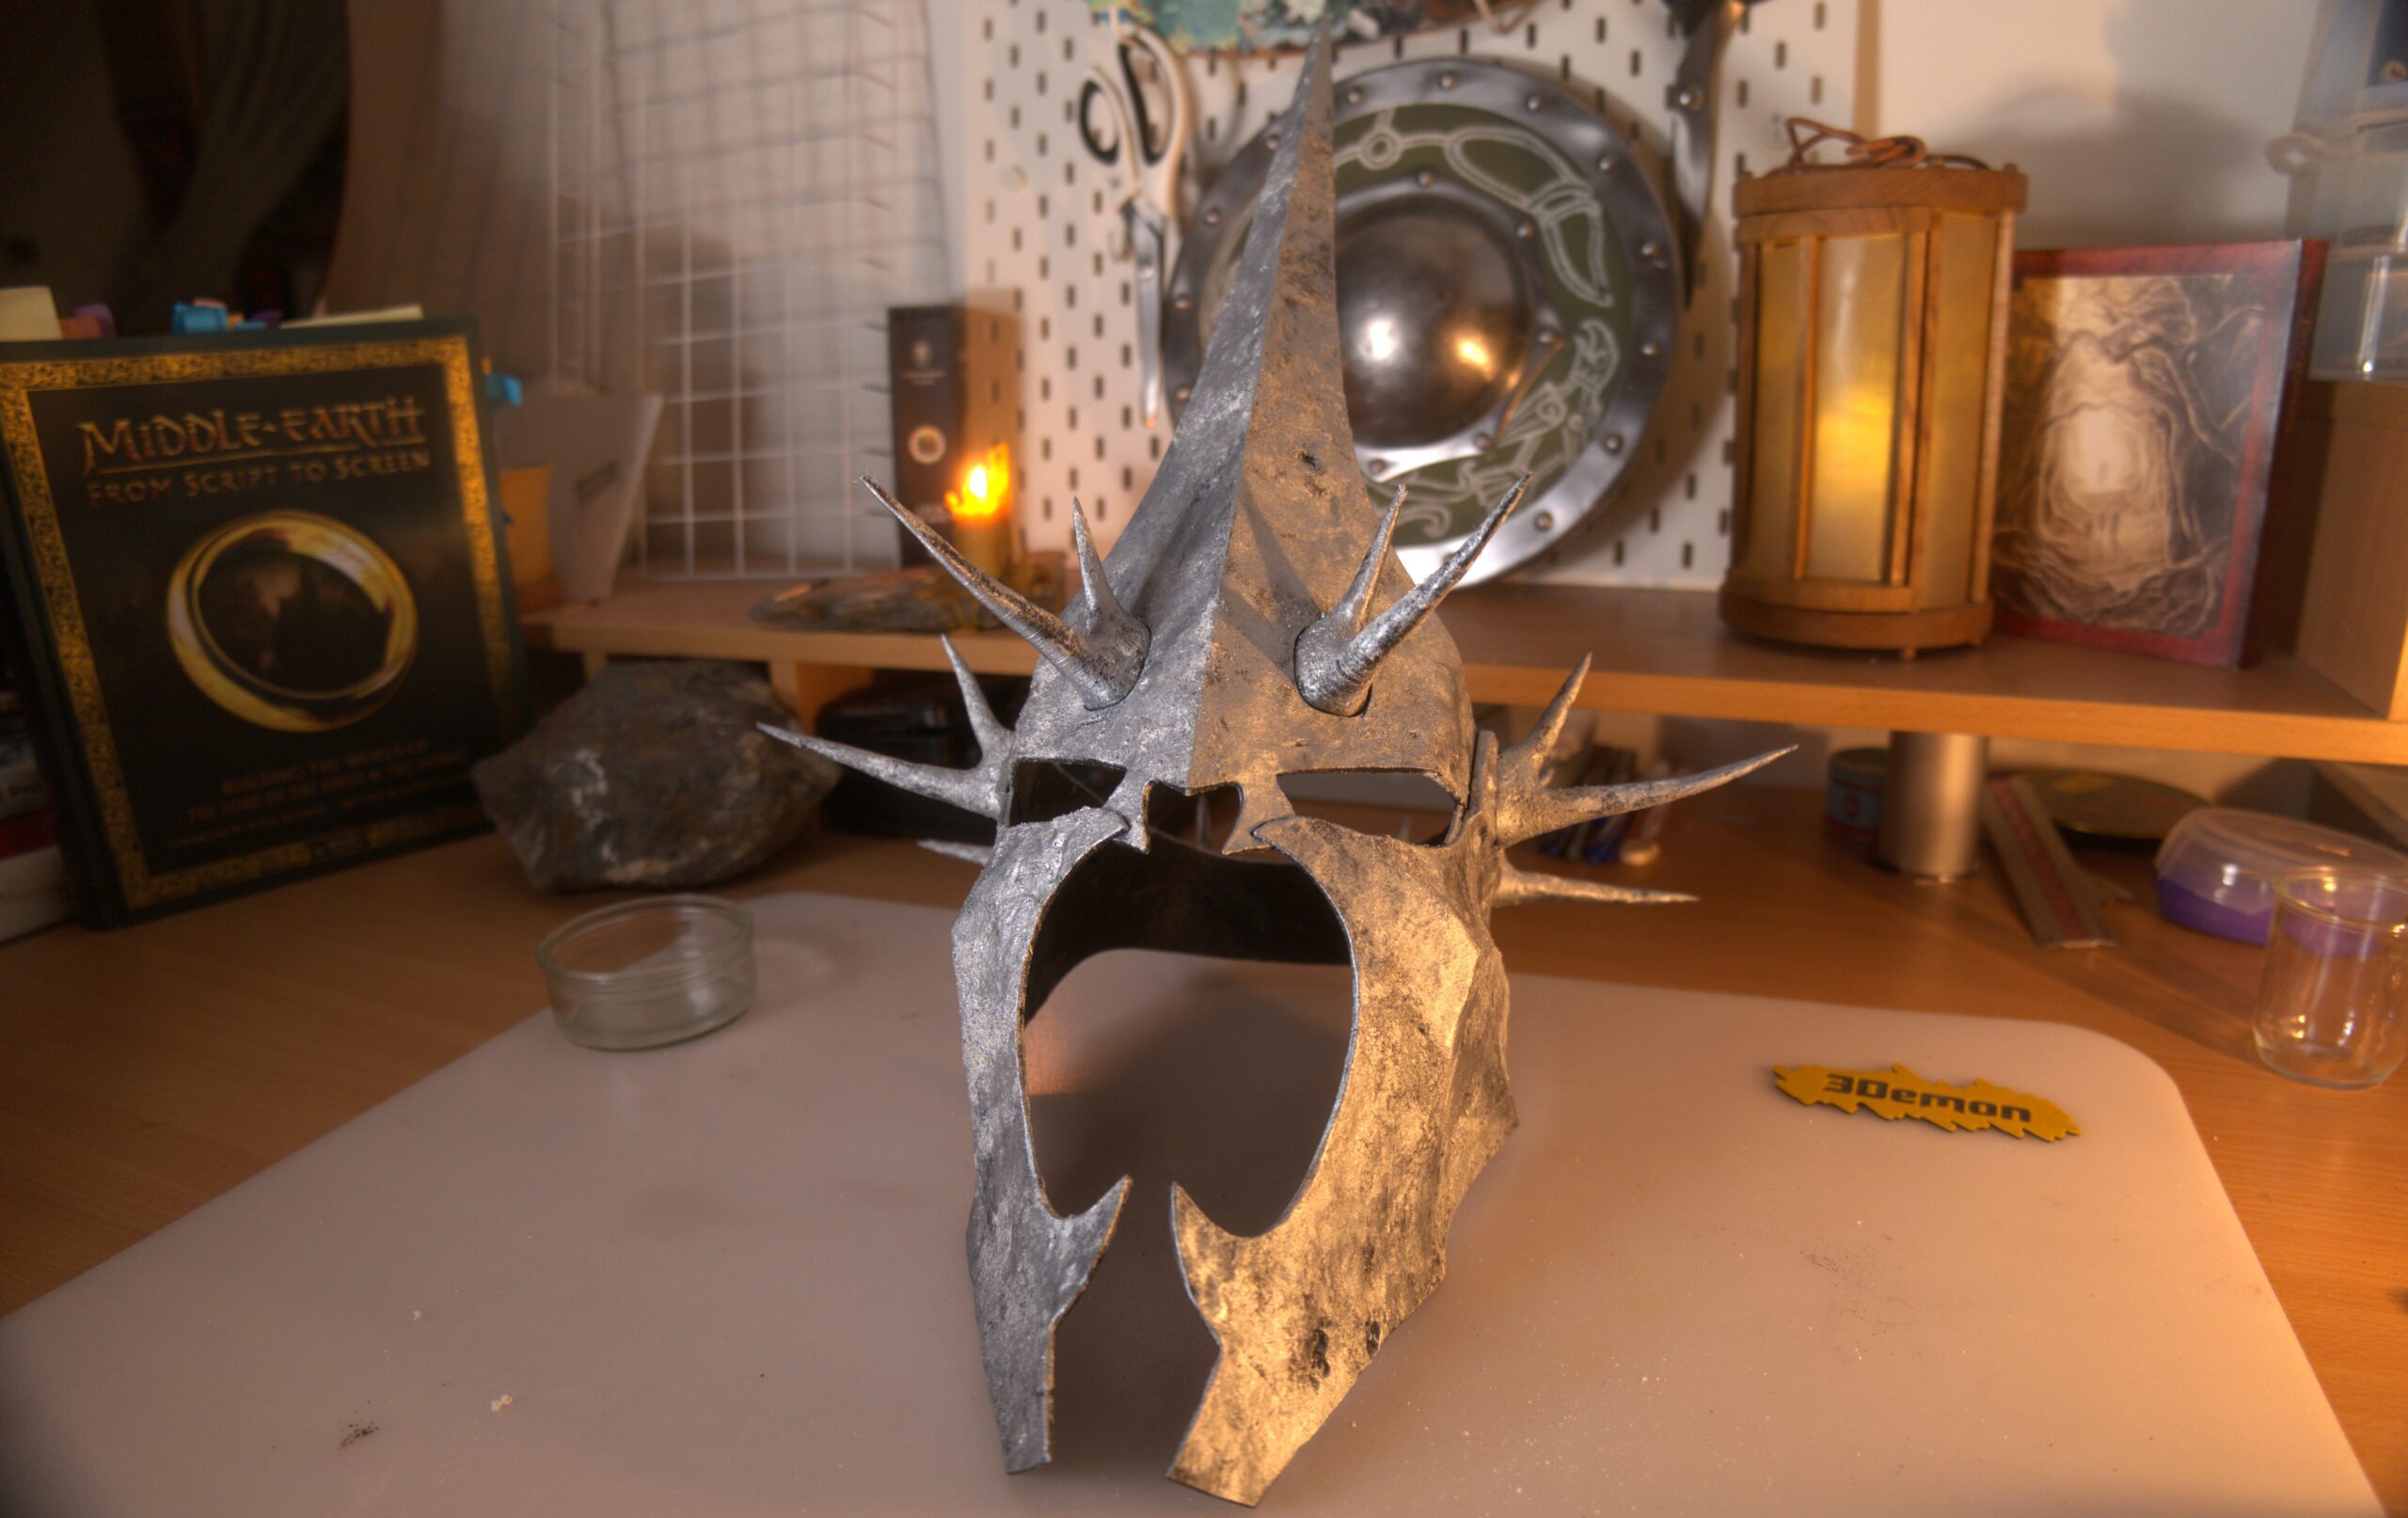
The mask now looks weirdly shiny and new? Hmm, let’s make it old again!
Black acrylic + graphite powder layer
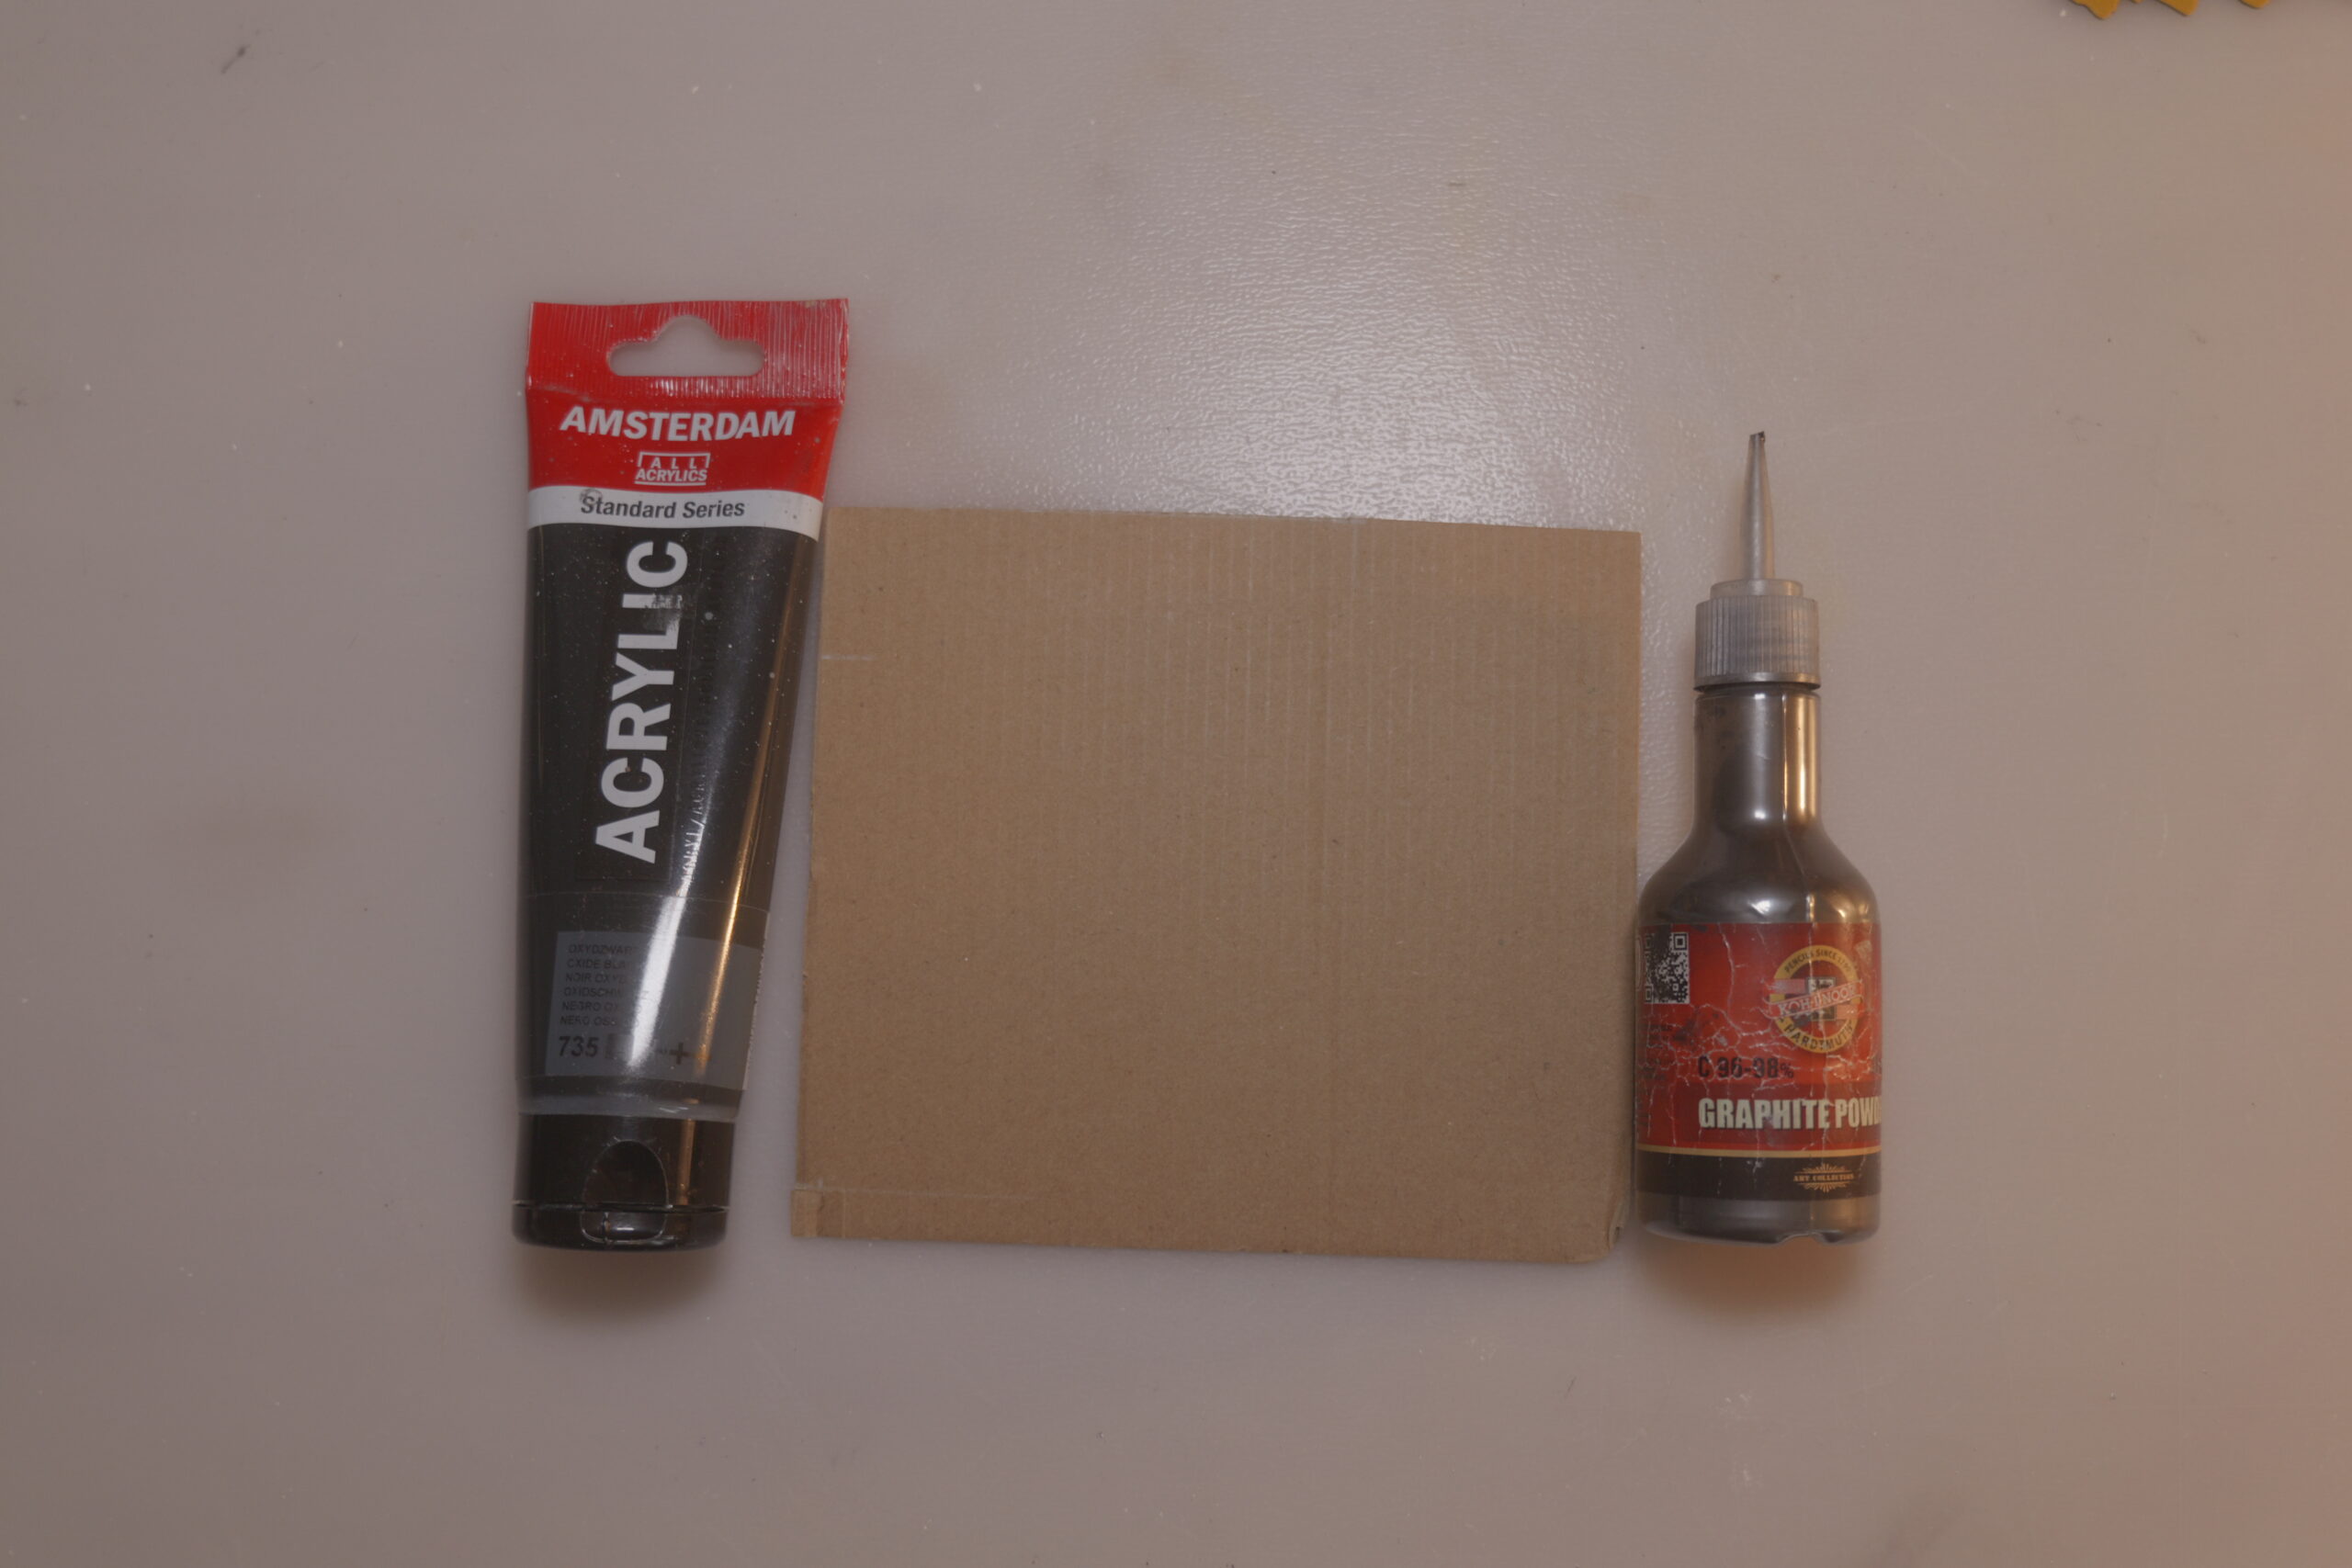
Prepare black acrylic, a palette (or cut-out cardboard like me) and graphite powder. Mix the two together roughly. The key is not to have a fine mix. Dab the paint over the whole mask. The best part about weathering props like these is that you really do not need to be too precise. In fact, a little chaos usually makes the result better.
Additionally, you can also dip the brush into some more graphite powder and dab it onto wet paint here and there so that the powder dries on the surface.
This will make more sense later.
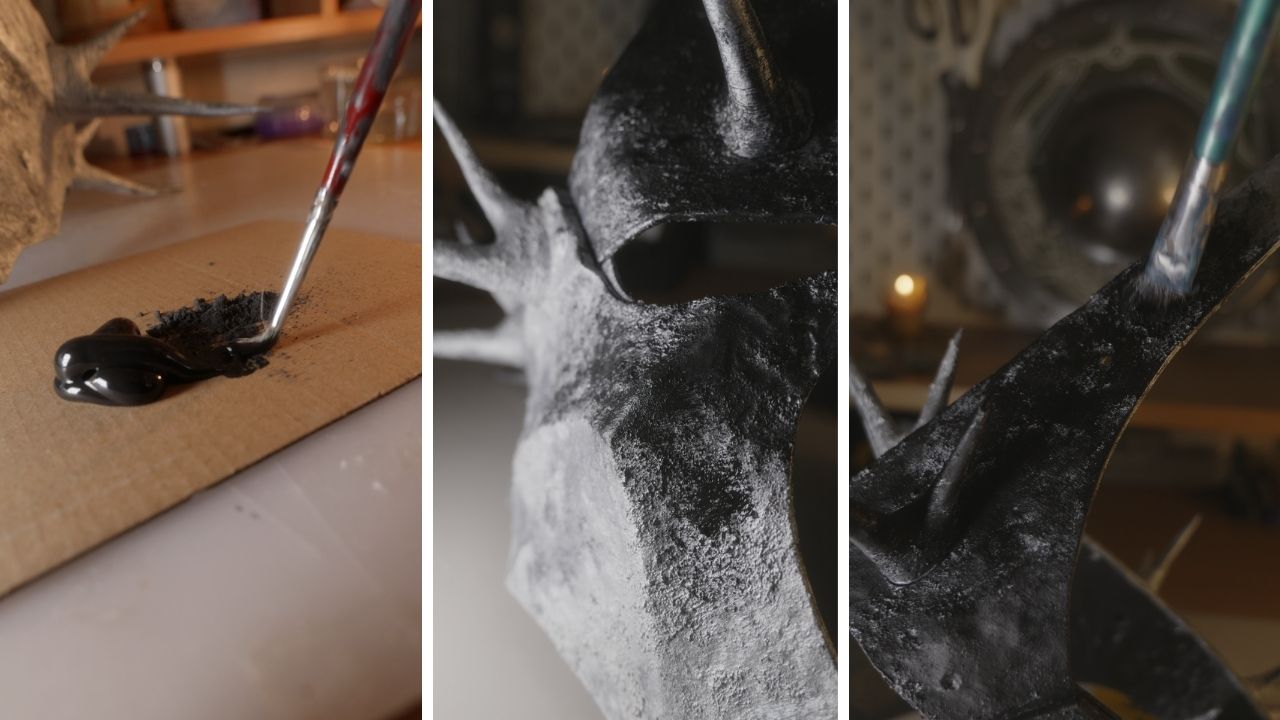
The following step is where the magic happens!
Worn metal effect
Having our two layers (silver-black) now dry, it is time to take a sandpaper and give the prop a rough pass with it.
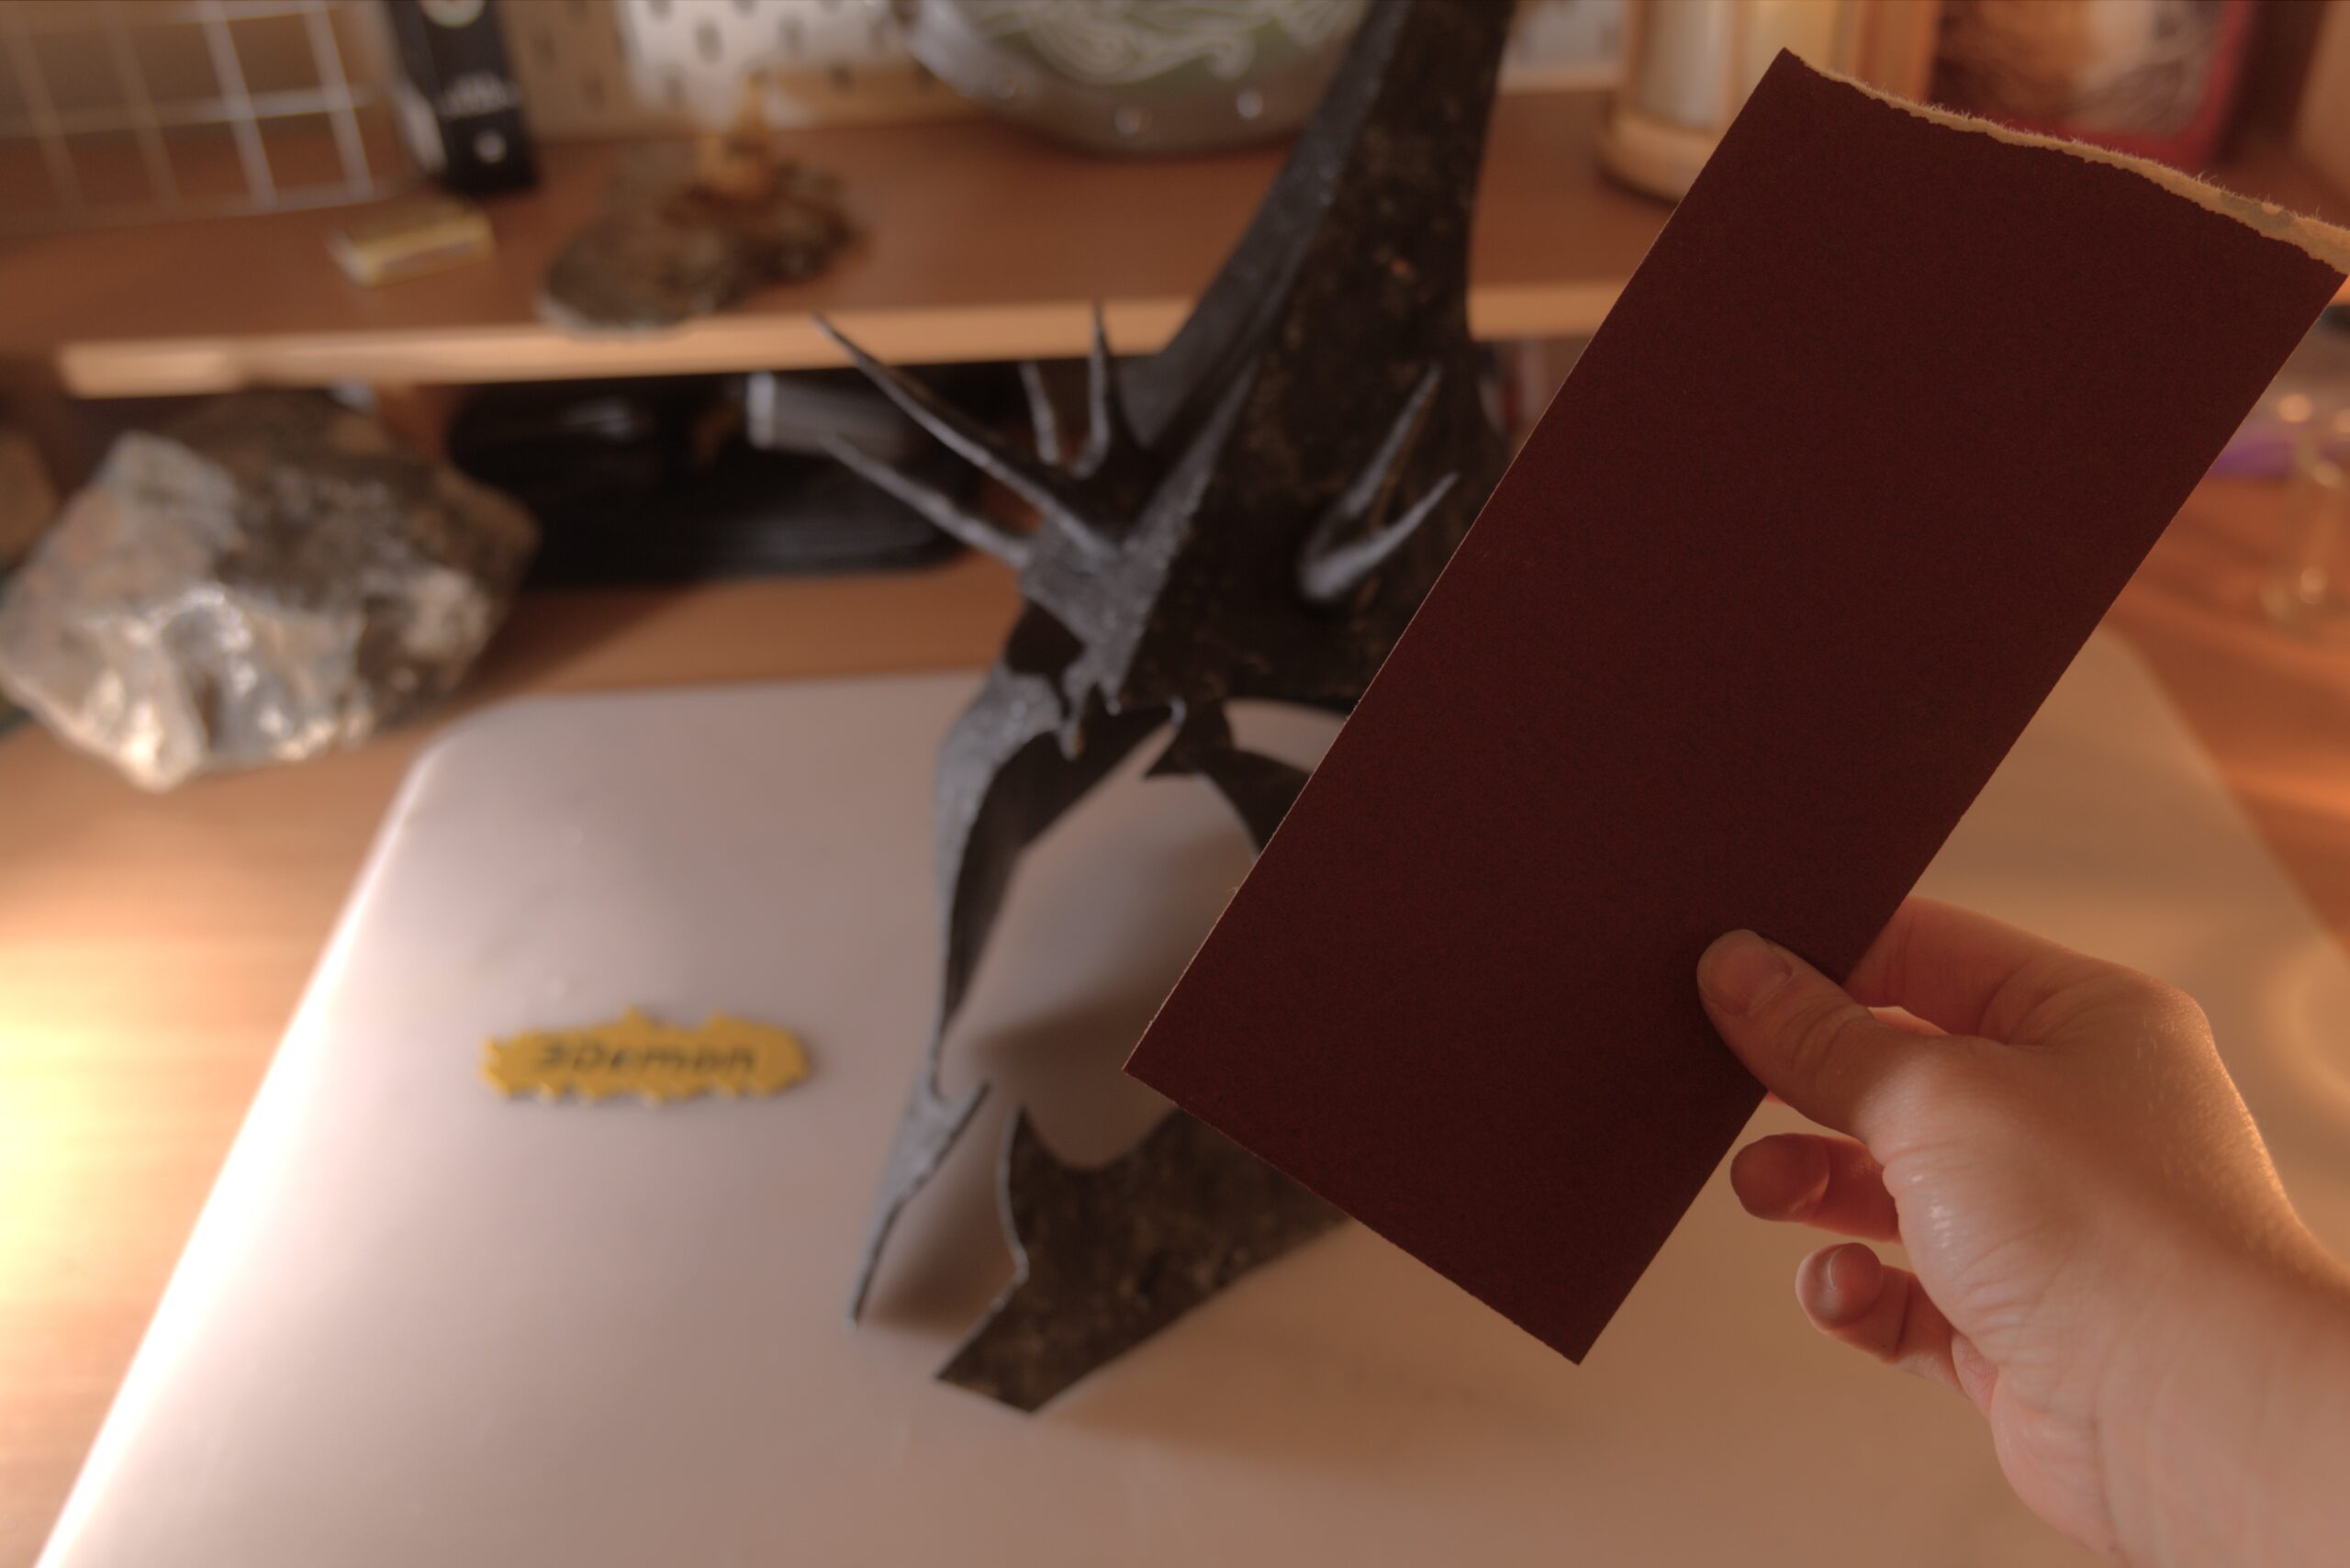
This will reveal some of the silver layer underneath while also burnishing the graphite powder in the black top coat, giving the surface a subtle, dirty metallic sheen.
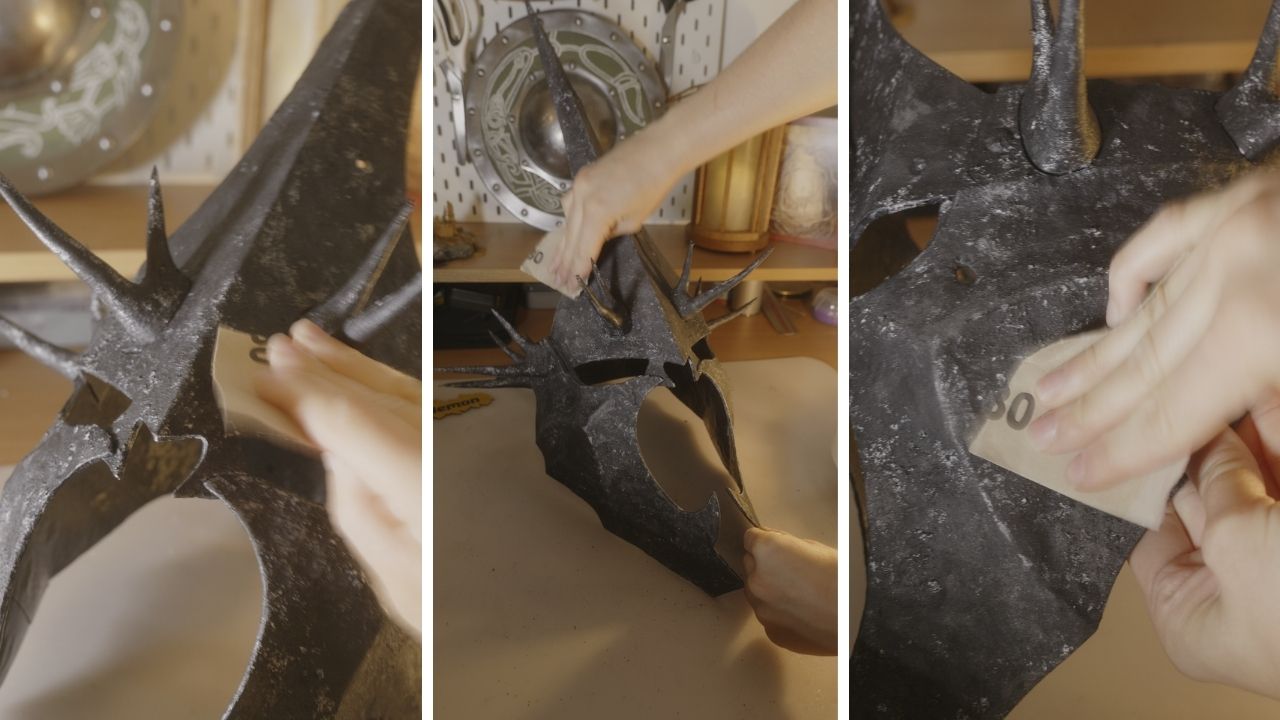
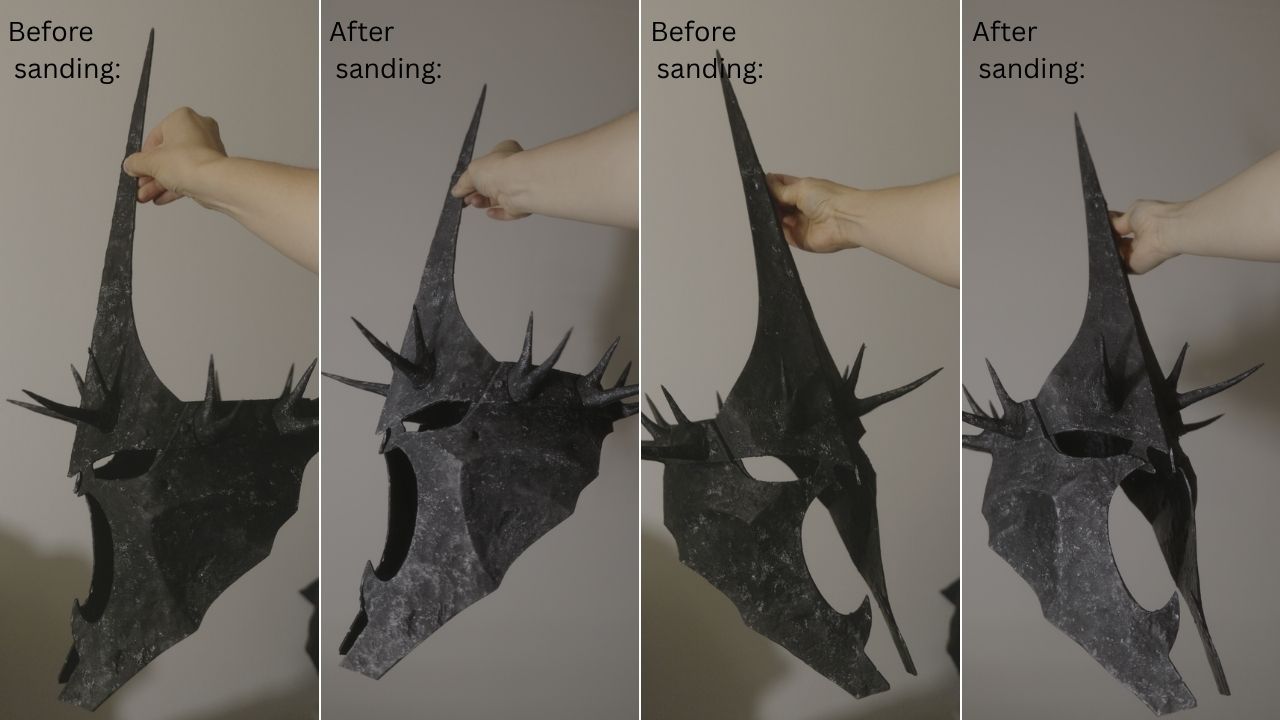
The mask is almost finished!
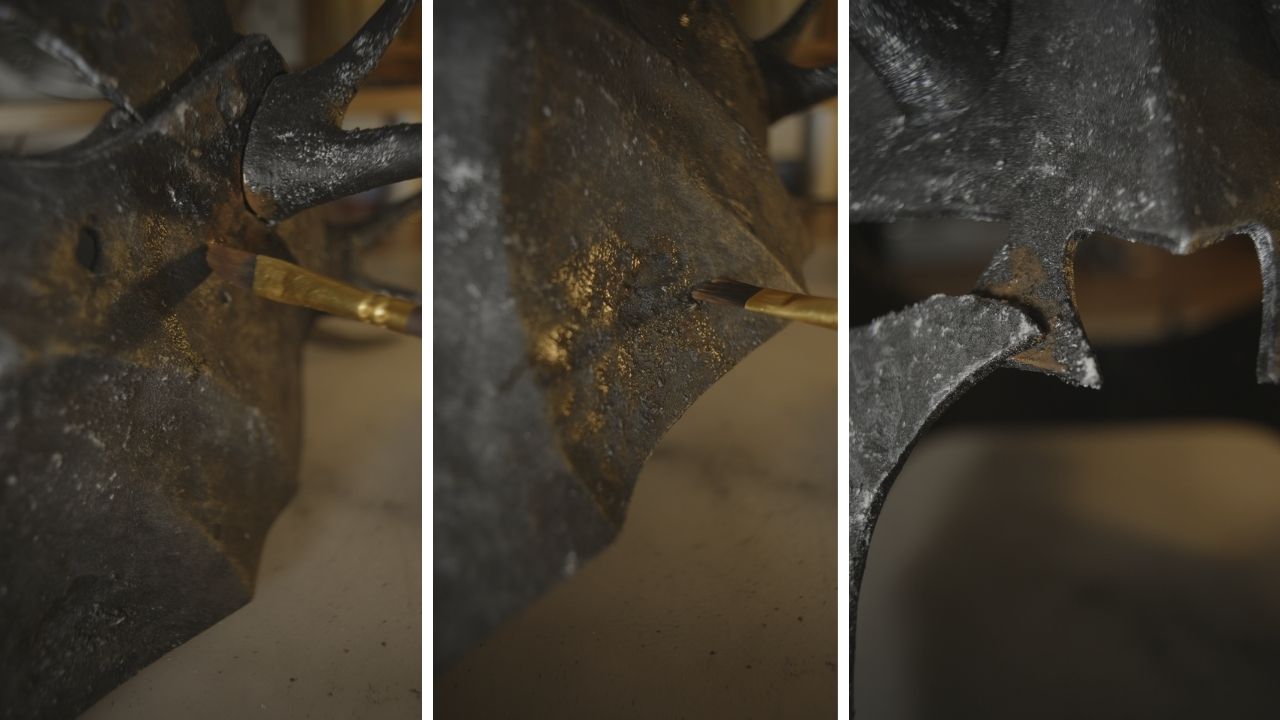
The very last step is to paint a few corroded spots here and there.
Painting corrosion
To paint corrosion, mix your preferred shade. Then dilute the paint in water and brush it over the spots of choice.
I place most of the corrosion around dents, damaged areas, holes, and seams, where dirt and moisture would naturally gather over time.
Step 5: The Witch King has arisen!
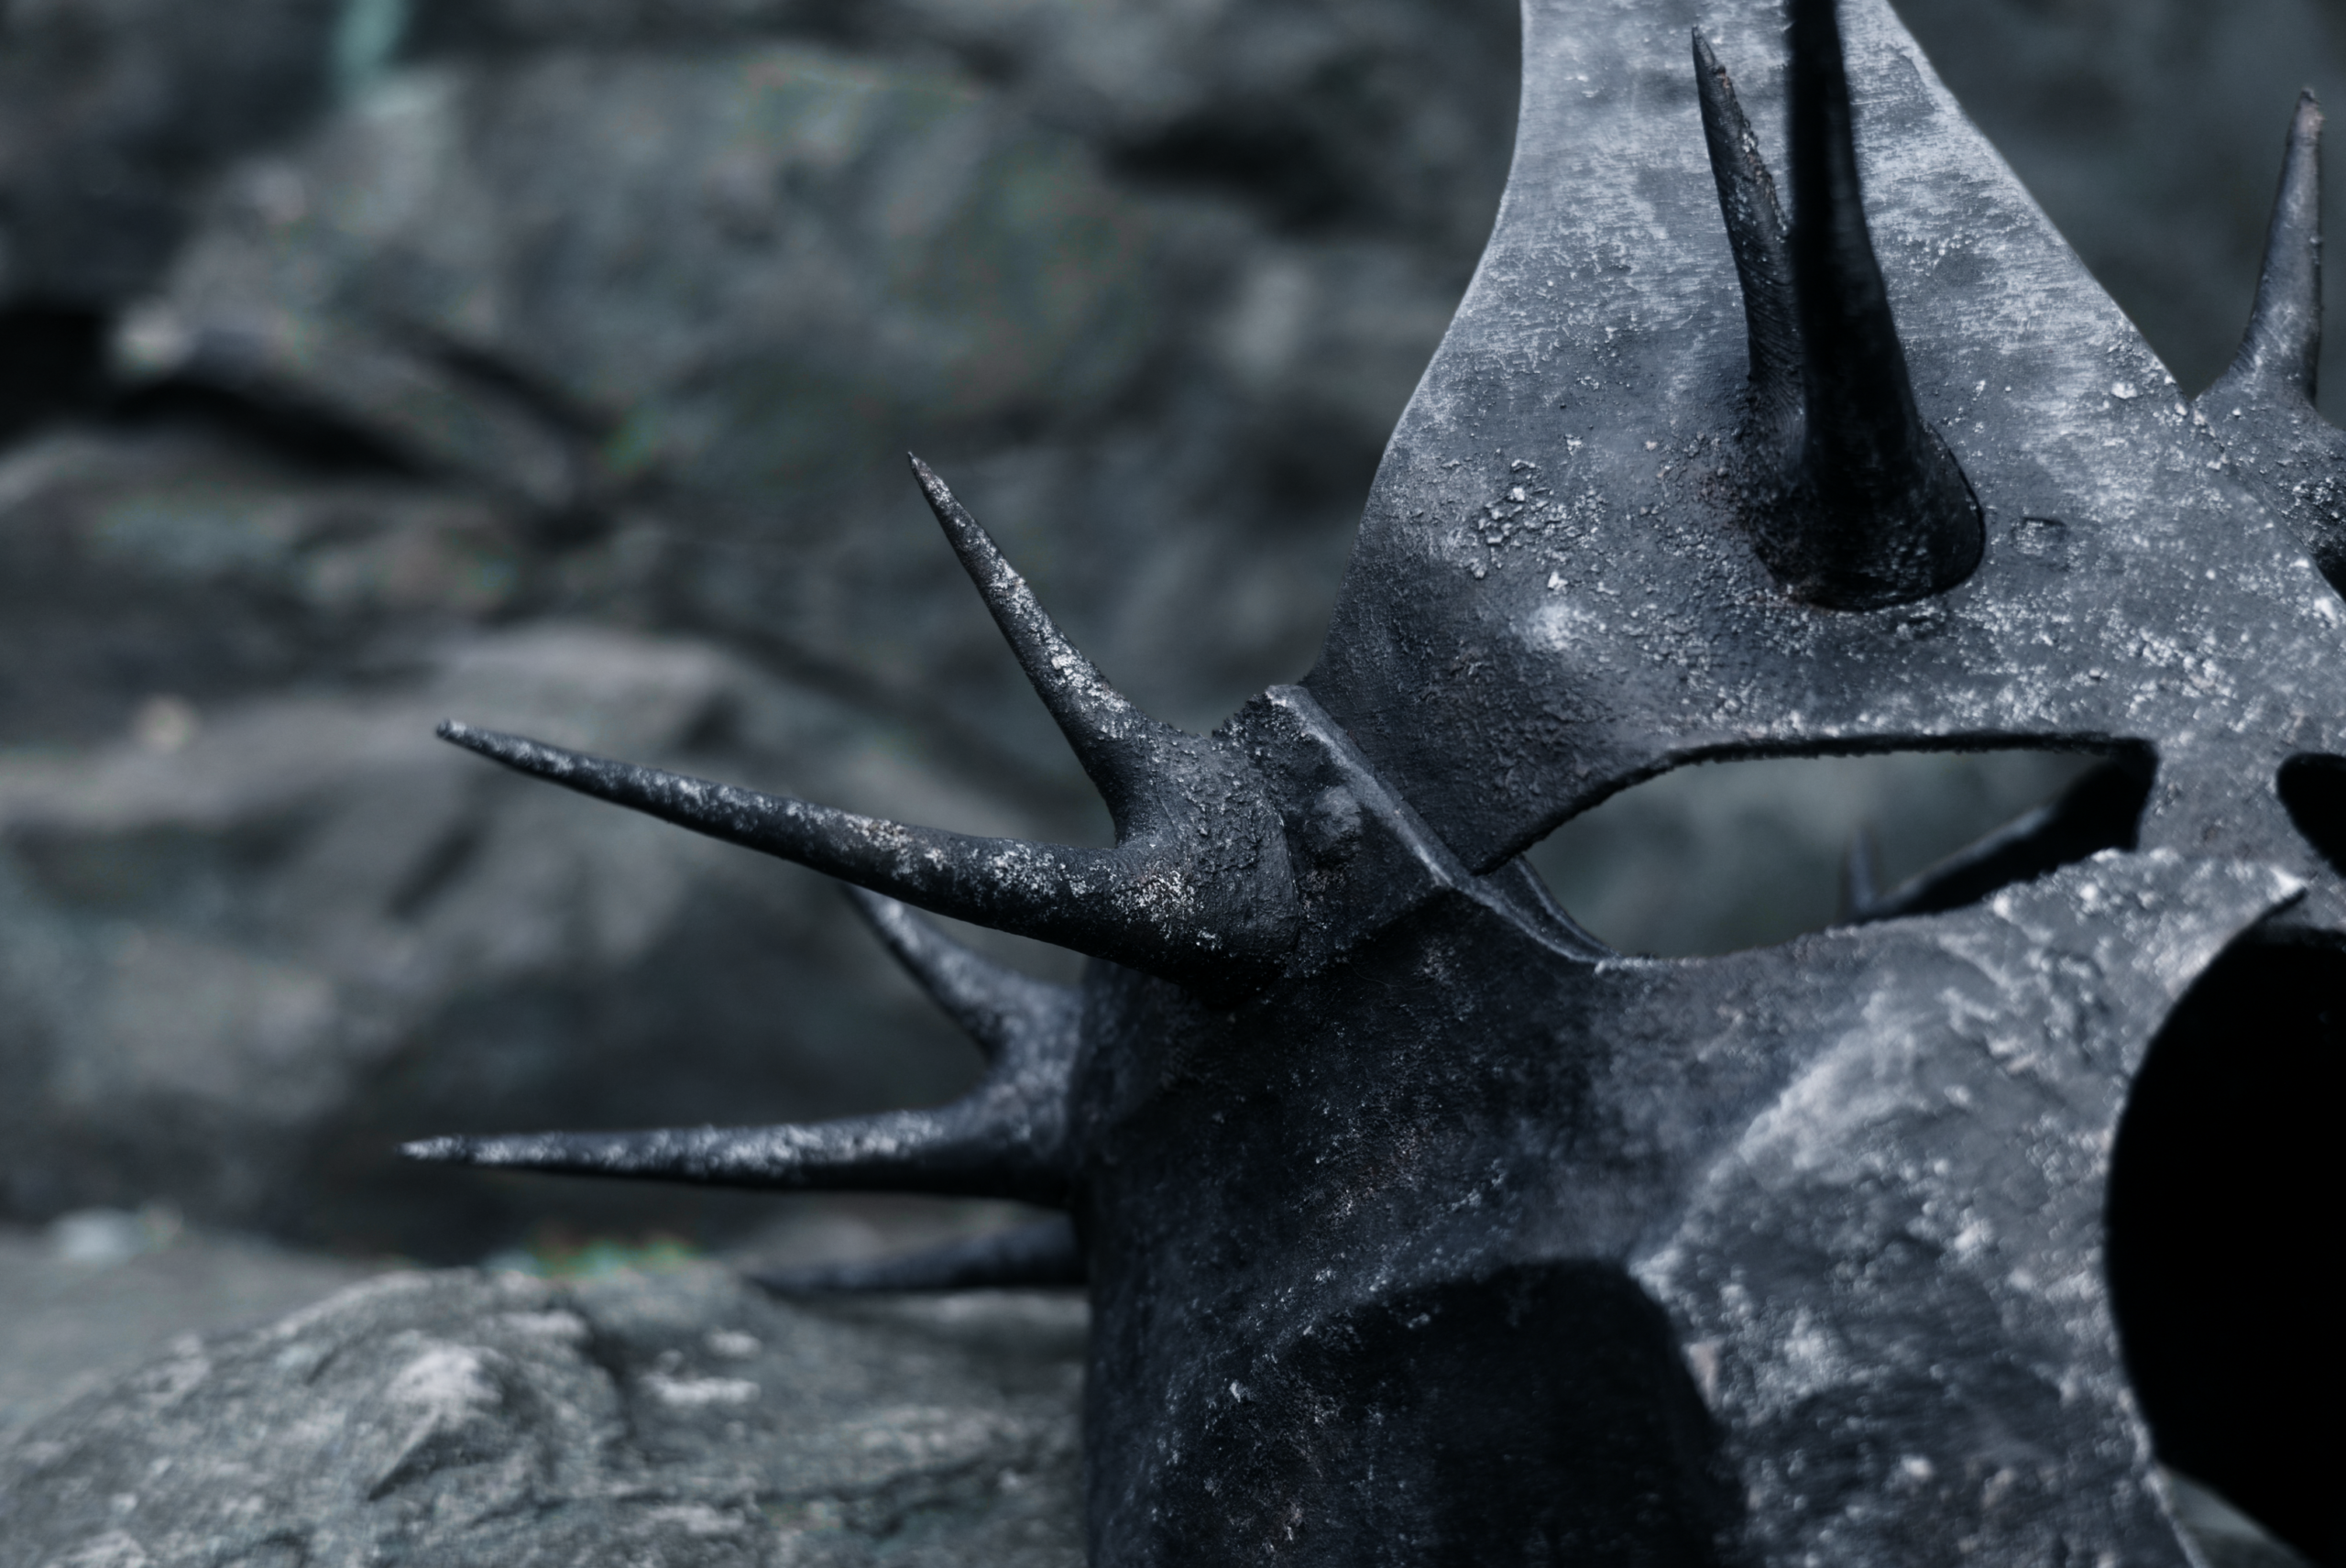
The Witch-king’s helmet is ready to return to Mordor.
Now all that is left is to put on the black robes and start asking everyone if they know where the One Ring is!
Or alternatively, you can continue on making the ultra-cool flail that he uses during the Battle of the Pelennor Fields in LotR 3.

WITCH KING’S FLAIL
Supplies:
Use the same supplies as we did for the mask.
Process steps in order:
- Preparing the Files in PrusaSlicer
- 3D Printing
- Assembly
- Painting
- Finally ready for a fight!
Timing + Used material
General settings: 5% infill, layer height 0.2 mm; for the chain and hooks, use 40% infill
- Printing: 111h 57m
- Assembly: 1hr
- Painting: 8hrs + overnight drying
- Material used: 2 069,8 g (2,07 kg). little over 2x 1kg PLA Filament Prusa Spool, optional PETG
- Verdict: This will take some time – make sure you plan this build ahead.
Step 1: Preparing the Files in PrusaSlicer
I started by printing all the STL files. You can find all of them HERE 🌟
Since I wasn’t about to do any sanding, I used a layer height of 0.2mm.
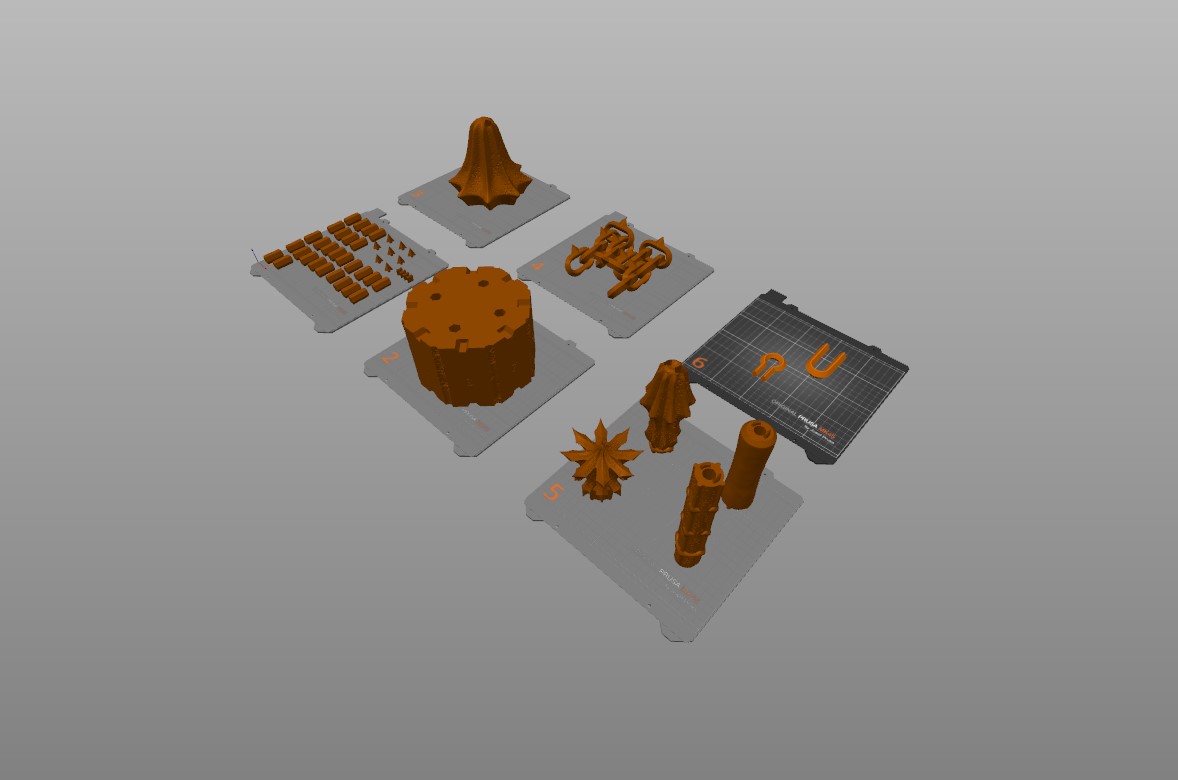
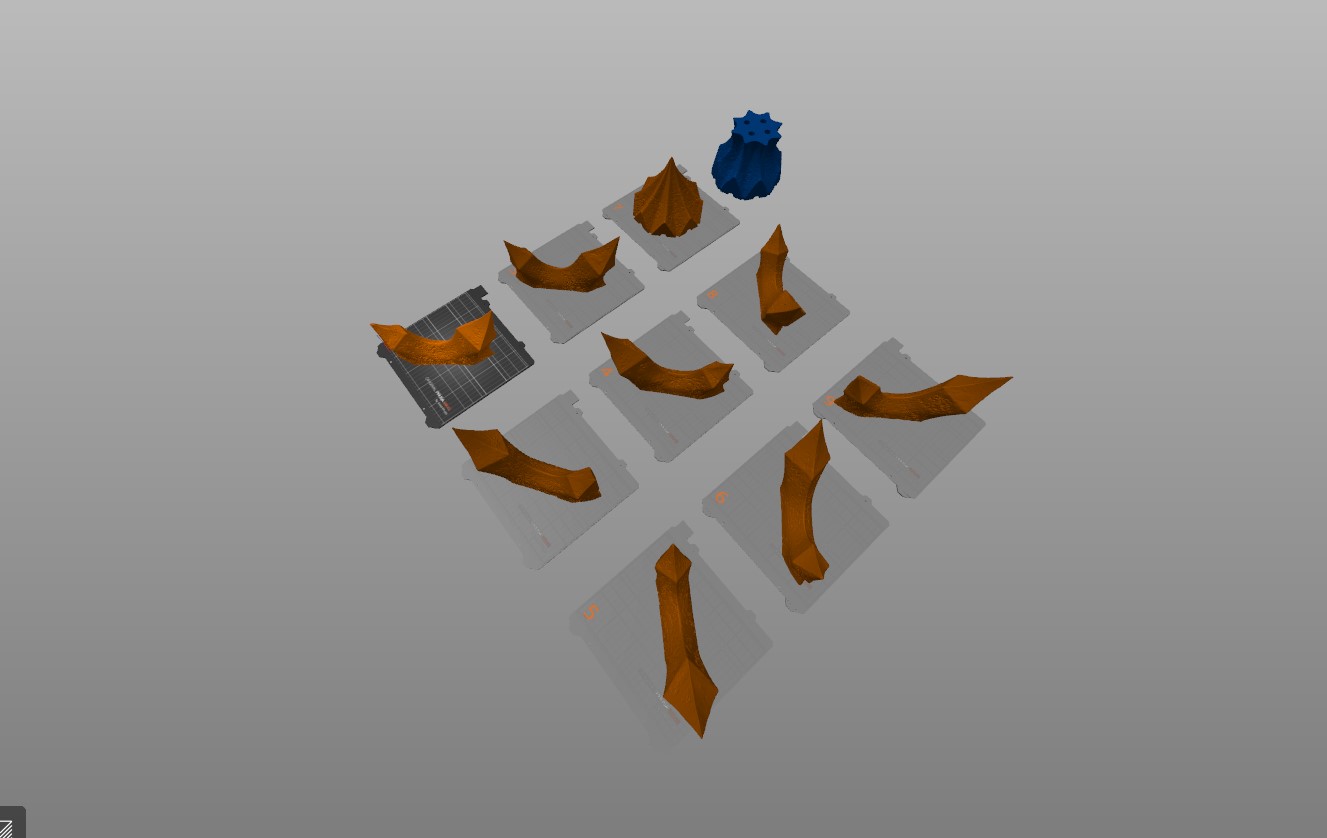
I split the model parts over a few printer beds.
I recommend placing similarly sized parts on the same print bed; that way, you will avoid pieces being knocked out by the extruder.
Set the infill to 5% for all of the parts except for the chain and hooks.
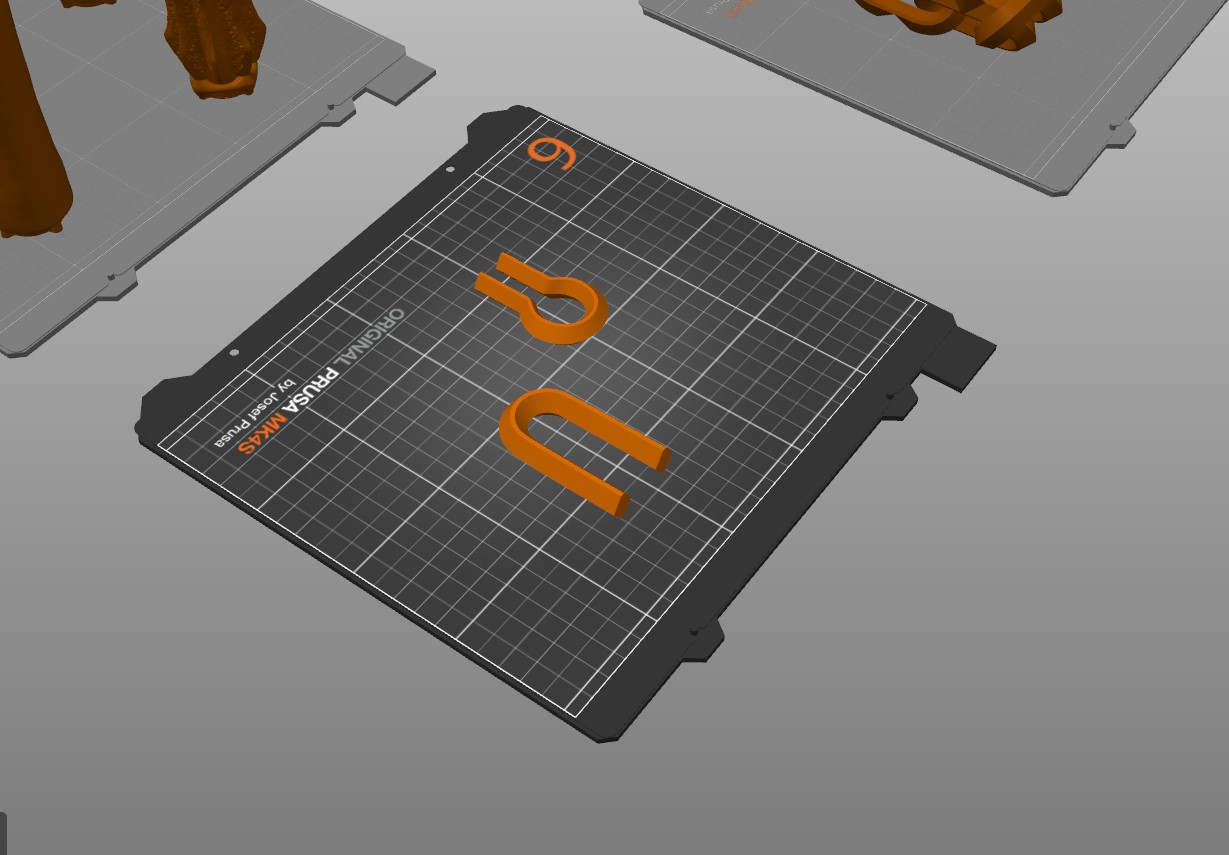
Hook and chain
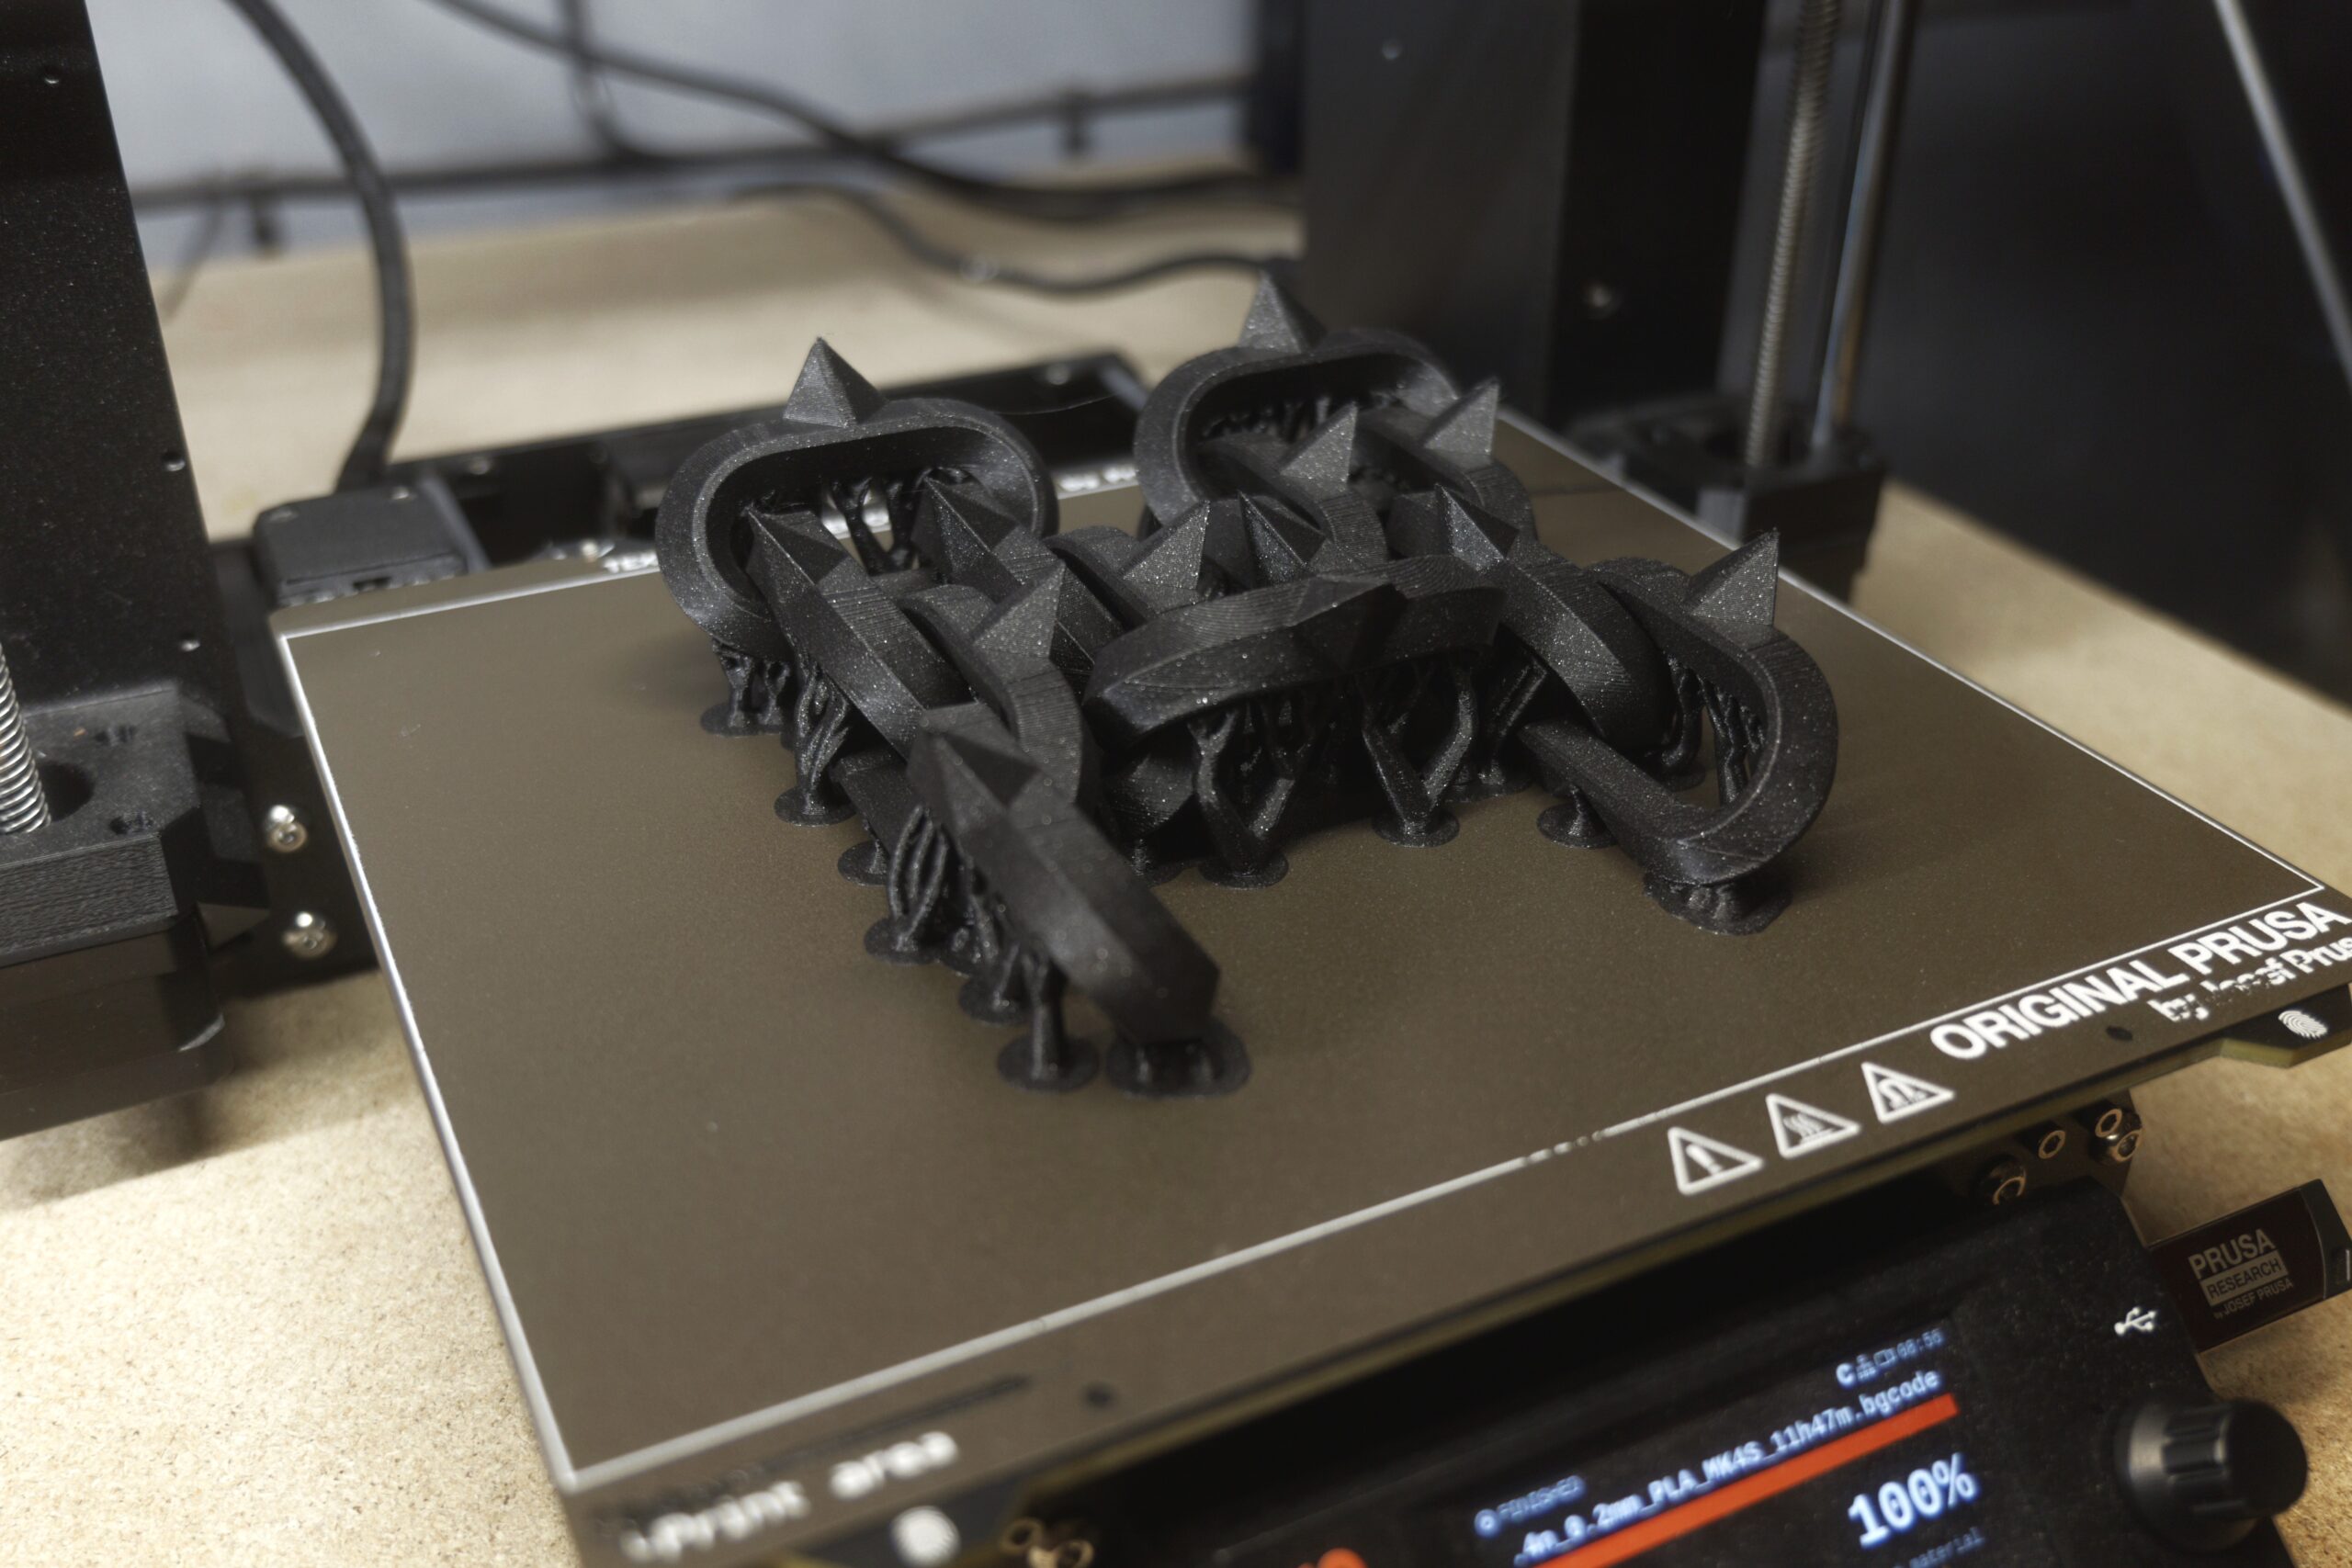
Set the infill during slicing to 30-40% gyroid and place them flat on the bed so that they are horizontally placed. This way, you will avoid breaking the hooks under the weight of the prop.
Step 2: 3D Printing
I printed all the parts in PLA again with one exception. I printed the chain-holding hooks from PETG because I was afraid that PLA wouldn’t withstand the weight of the prop. However, during my test printing, I printed them with PLA, and it held it all together without cracking, so if you don’t own a PETG spool, use PLA.
After printing, remove any supports and clean up the parts before assembly.
Print time: 111 h 57 min (if you can, divide objects between multiple printers to cut off some time)
Filament used: PLA, PETG *
Nozzle: HF0.4
Printer: Prusa mk4s, Prusa Core One
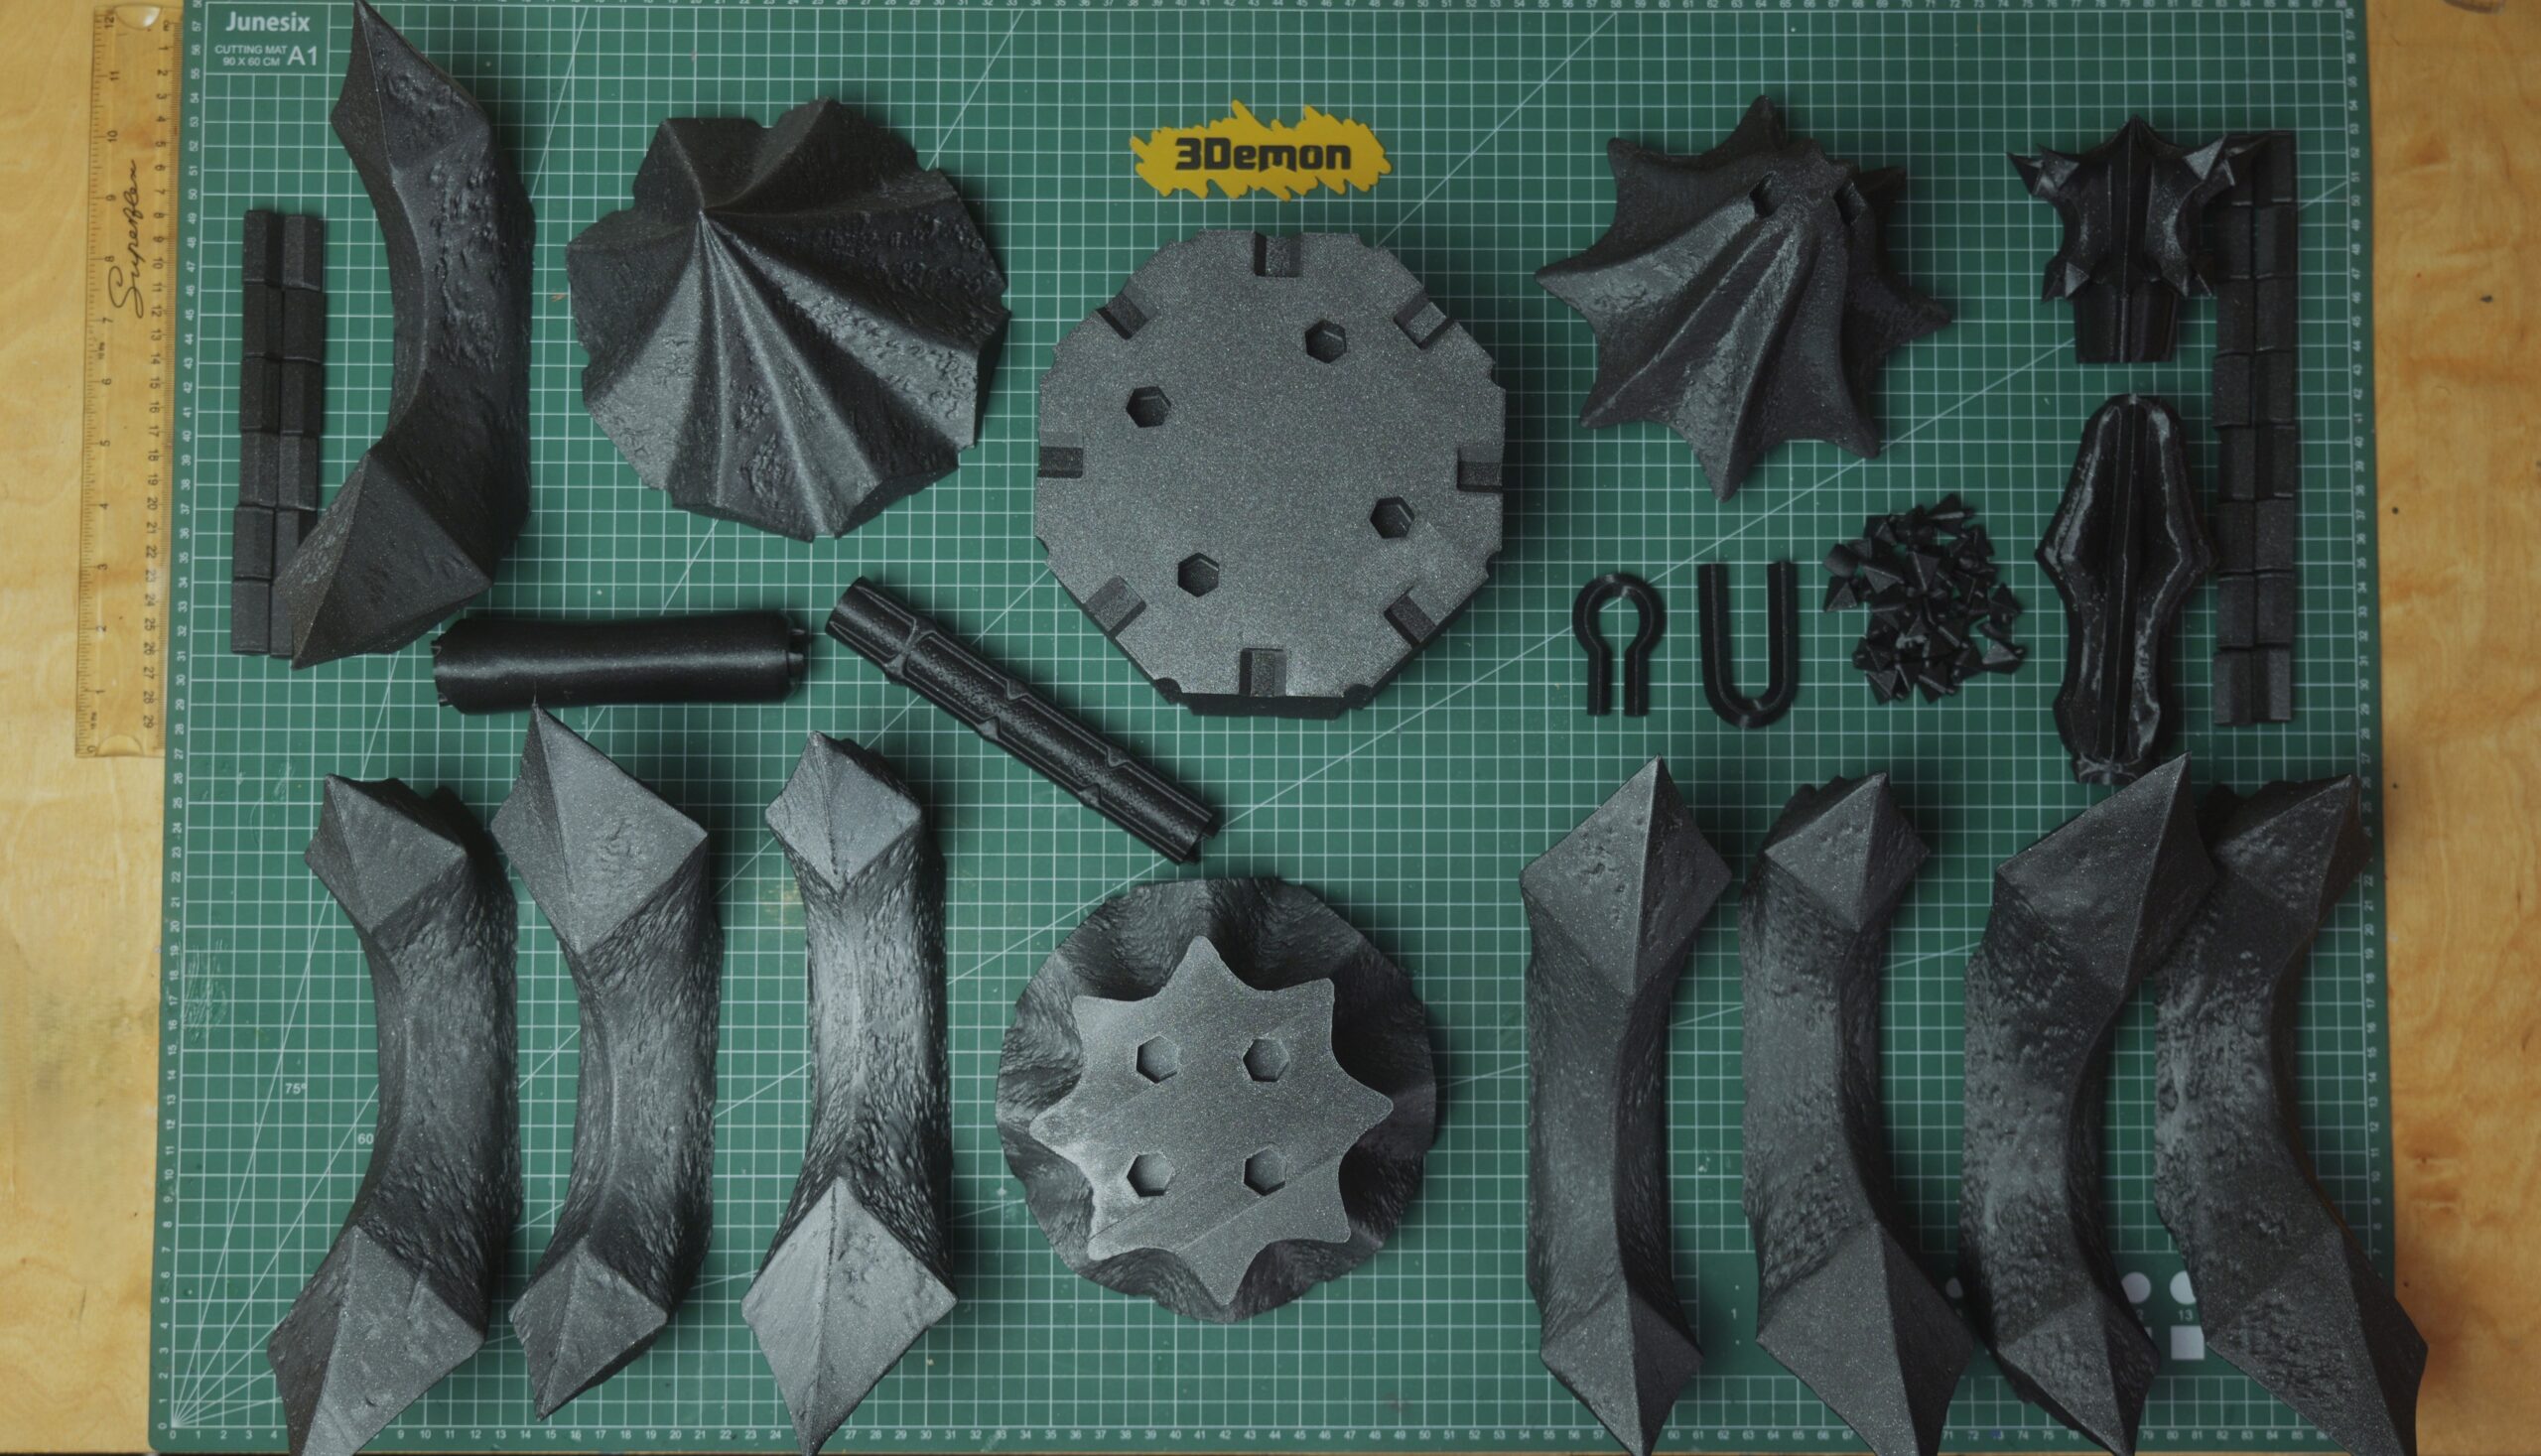
Step 3: Assembly
Now let’s put it all together! Take a glue of your choice. I used simple super glue and a glue activator spray for instant secure hold. And speaking from the future to prove its strength – the flail holds together nicely!
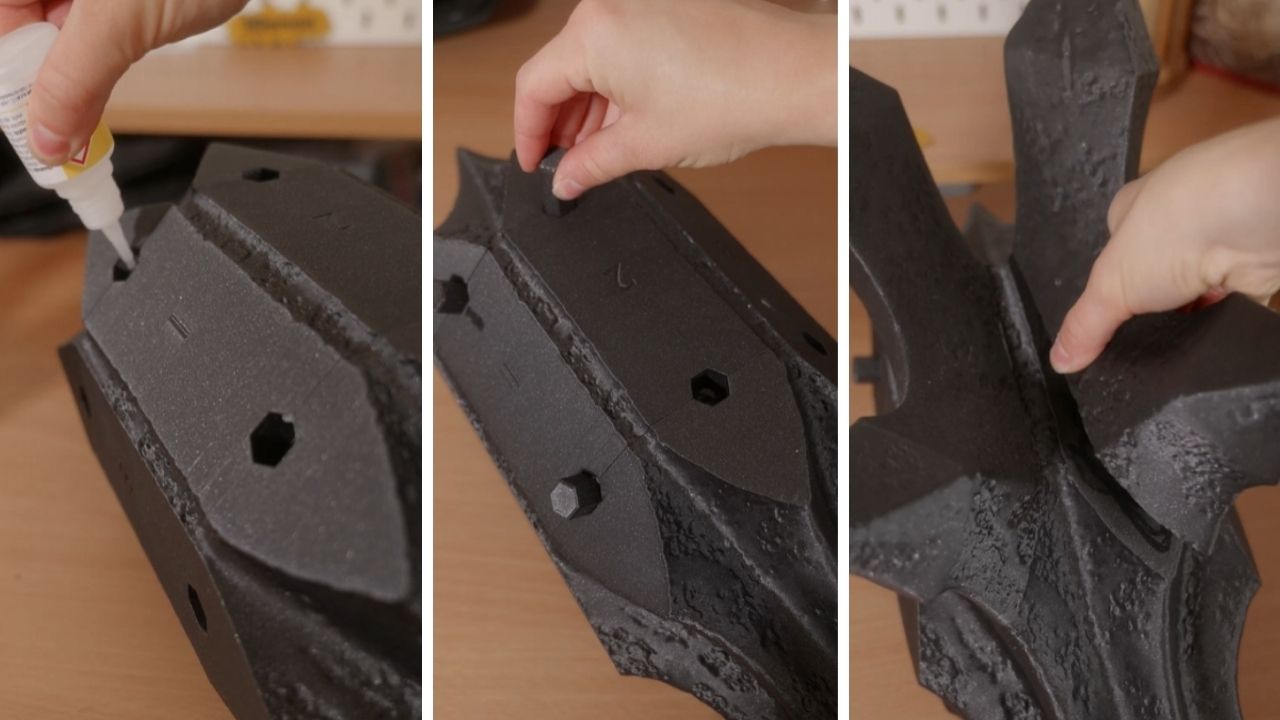
Putting the flail together is fairly easy with a reference picture. I believe that you can’t make any mistakes there. One place where it potentially could be confusing is the side thorns – but our model creator made it easy for you because he numbered all of them and their respective places.
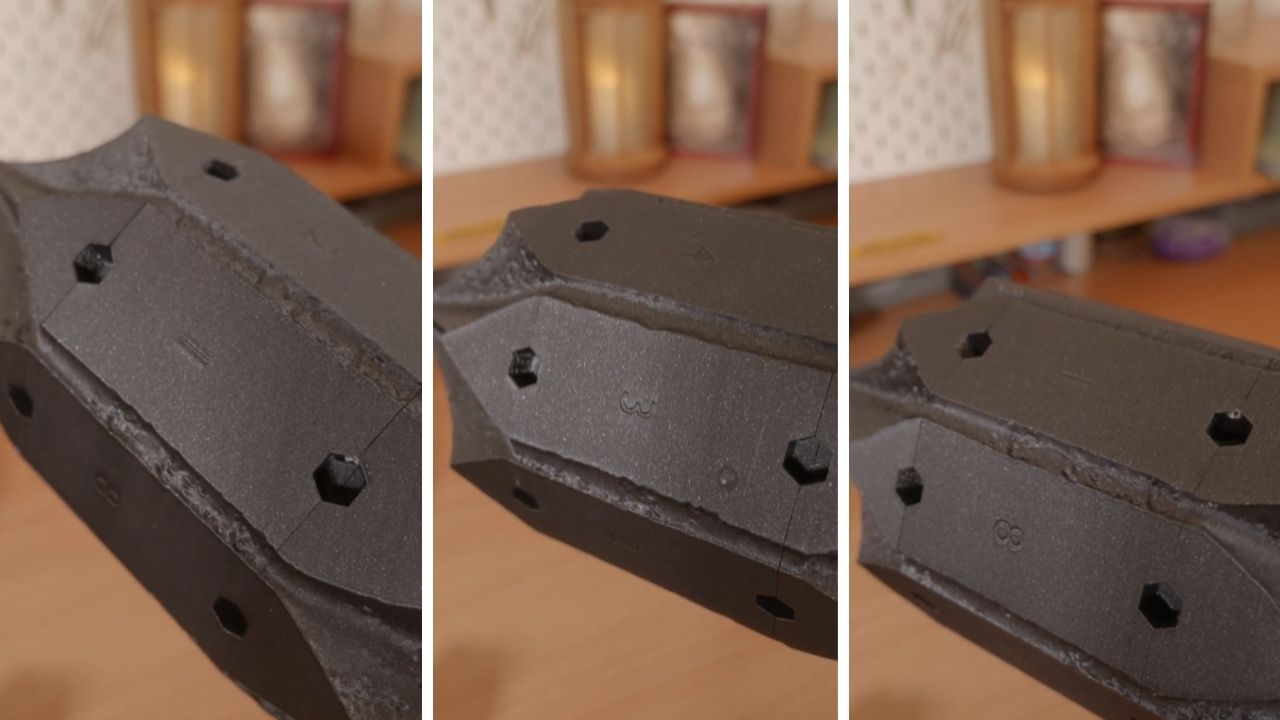
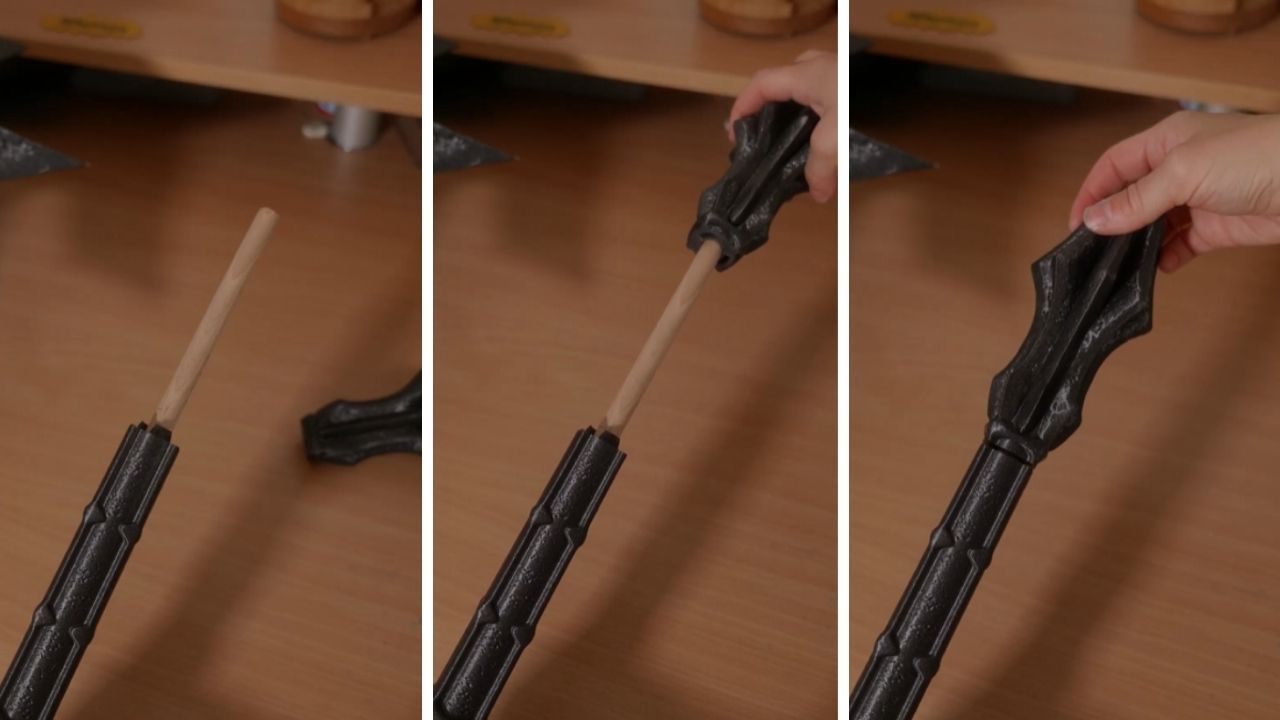
The handle of the flail has a hollow tube inside for a dowel rod to be inserted in, so make sure you don’t forget about that since the flail will be heavy and you want to strengthen the handle as much as possible!
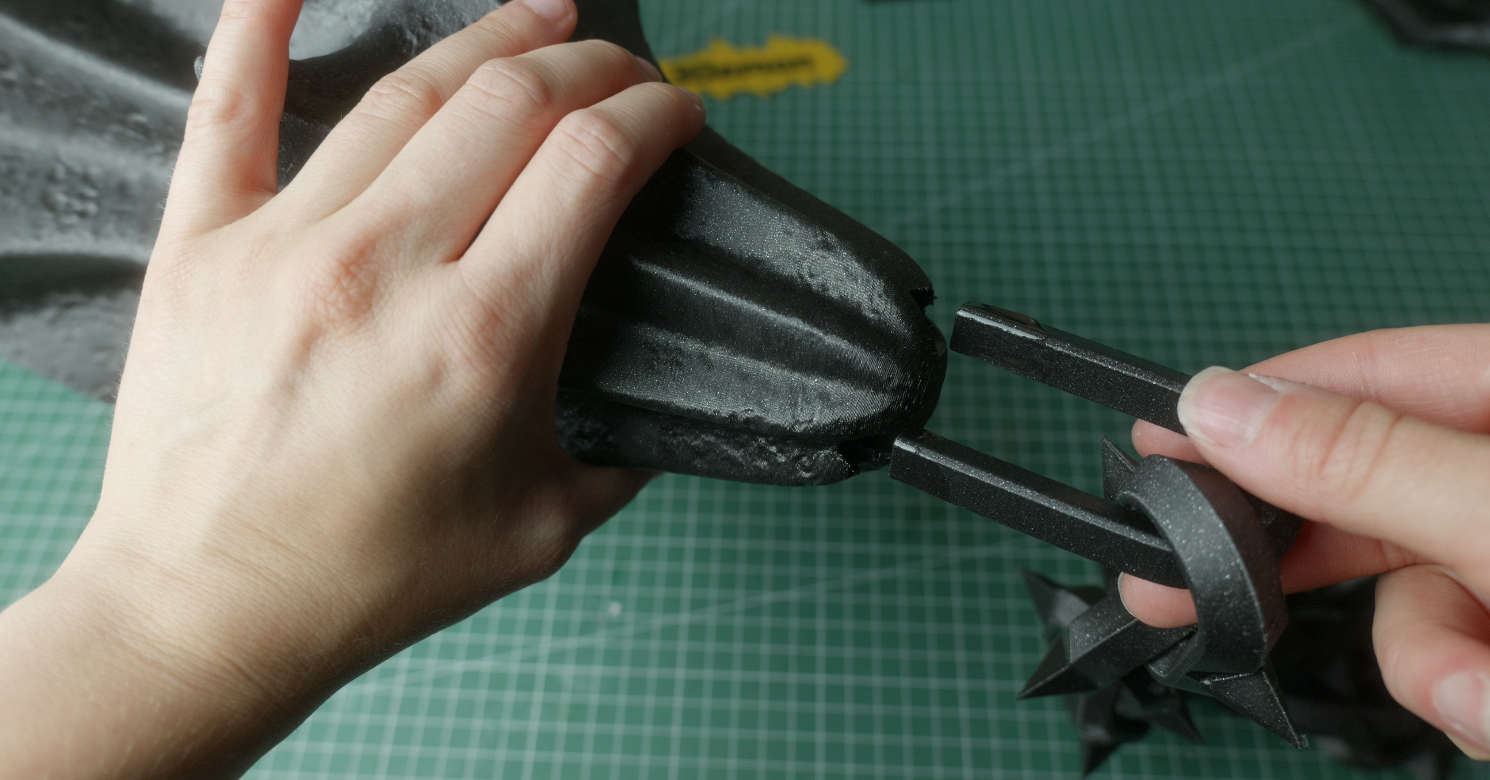
The chain
The chain model is printed in one piece; nonetheless, you have to glue in some of the spikes that you printed earlier. Glue all additional spikes to the places where there is a hole on the chain, except for the ending loops.
Take the hooks and pull them through the loops. Then glue the missing spikes.
STEP 4: Painting
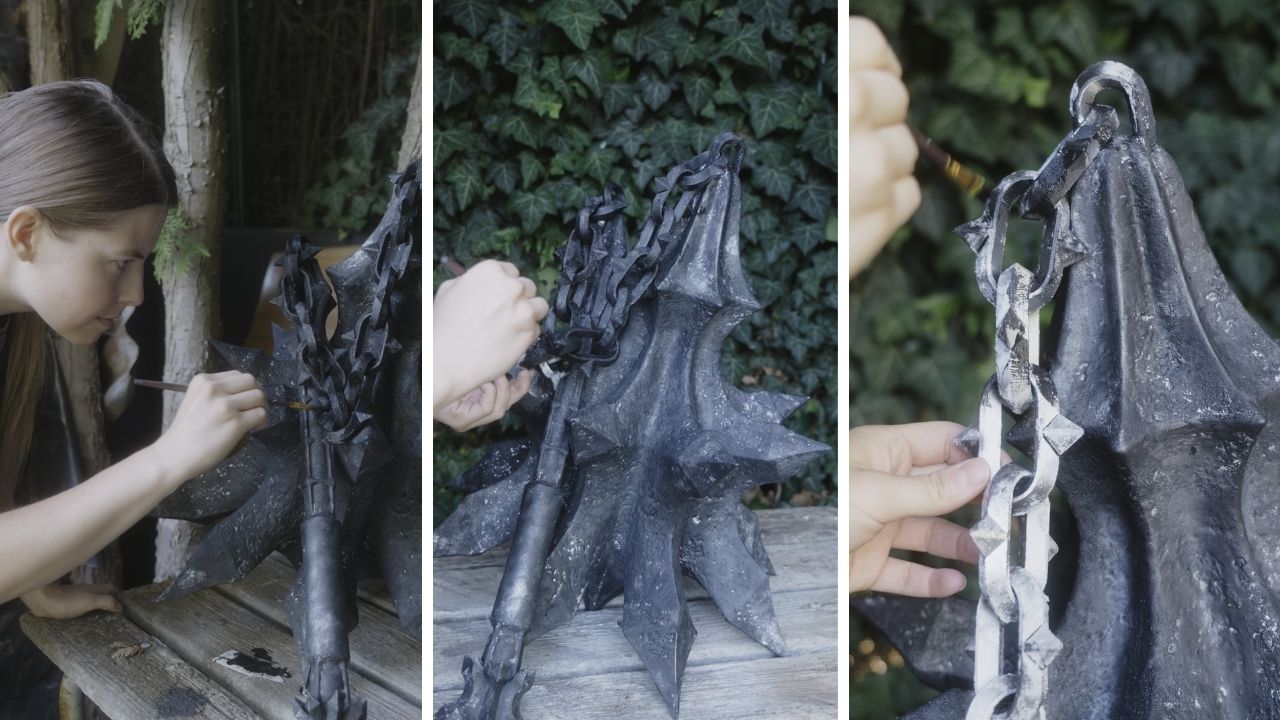
Here we will apply the same technique as I described above in the helmet tutorial. 🙂
I have two tips for you here.
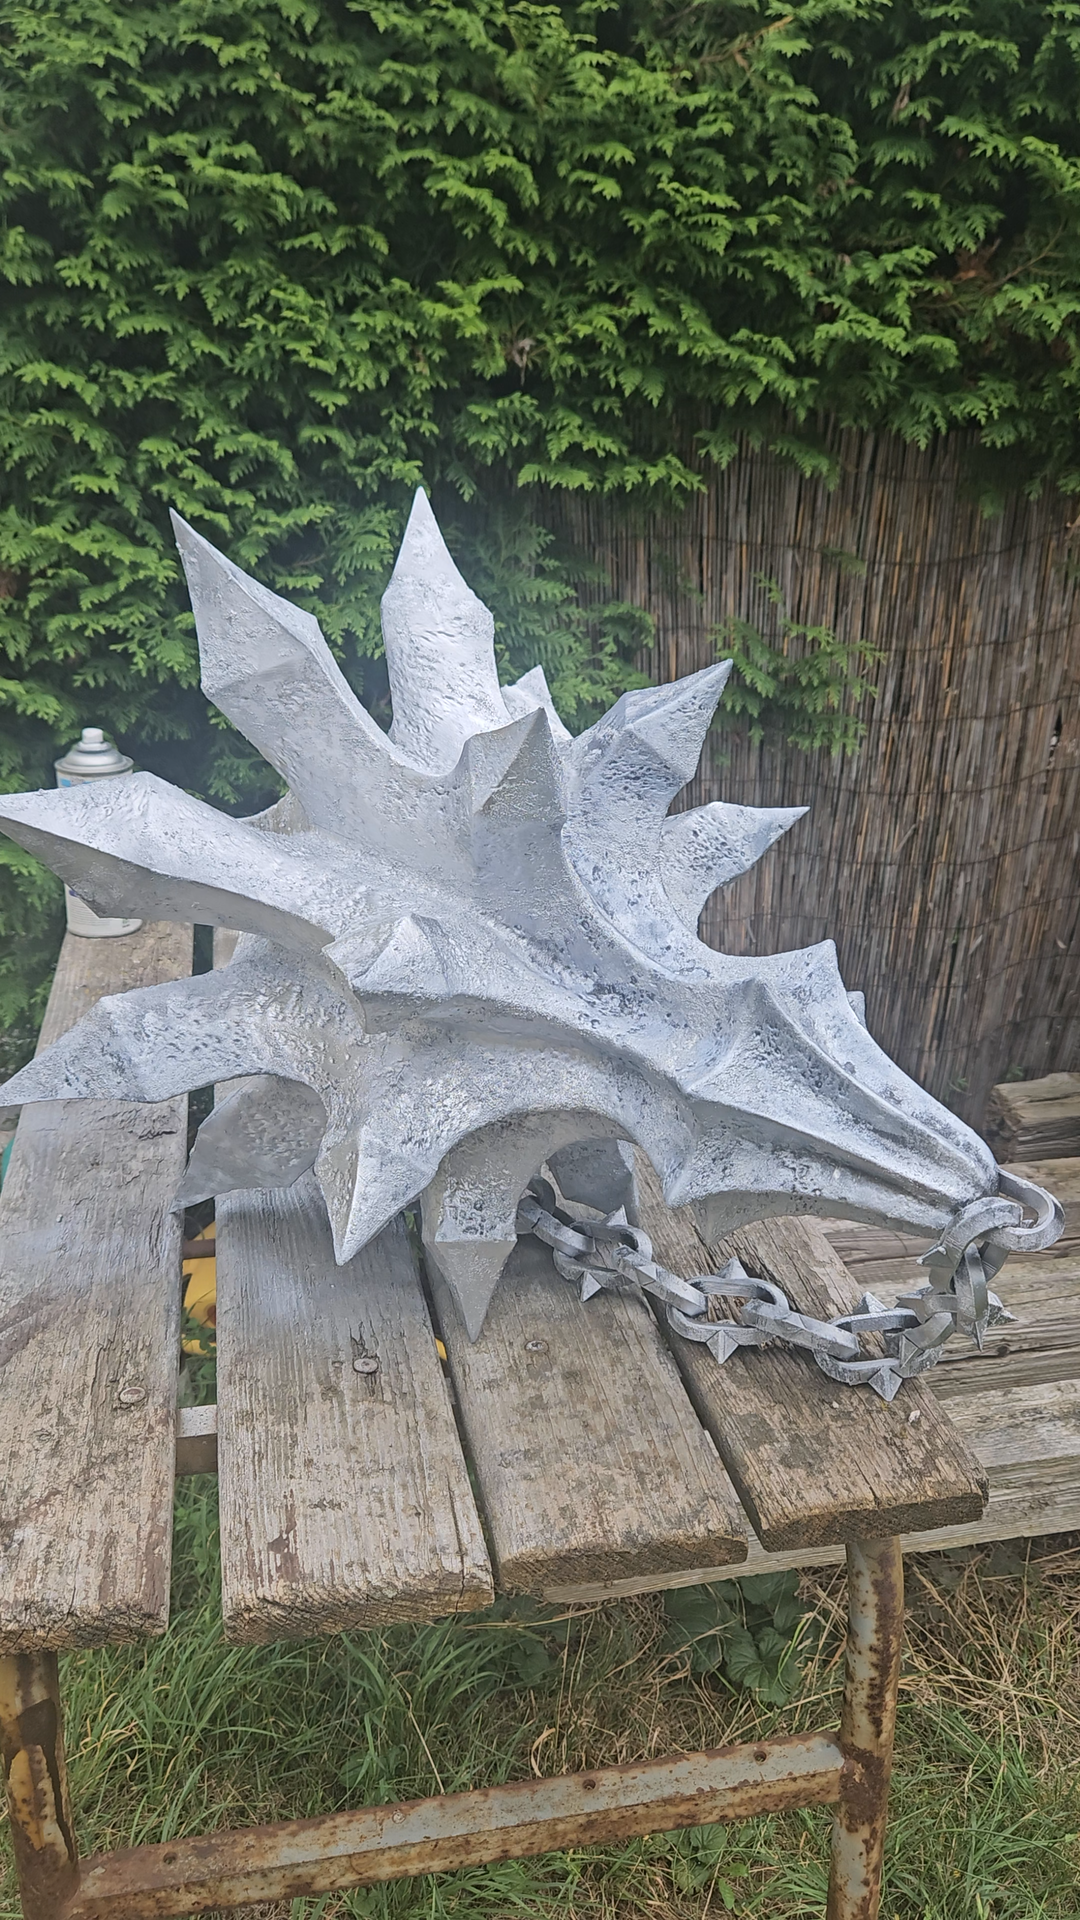
Tip n1 would be using silver acrylic spray instead of hand-painting the whole flail silver to make the process faster.
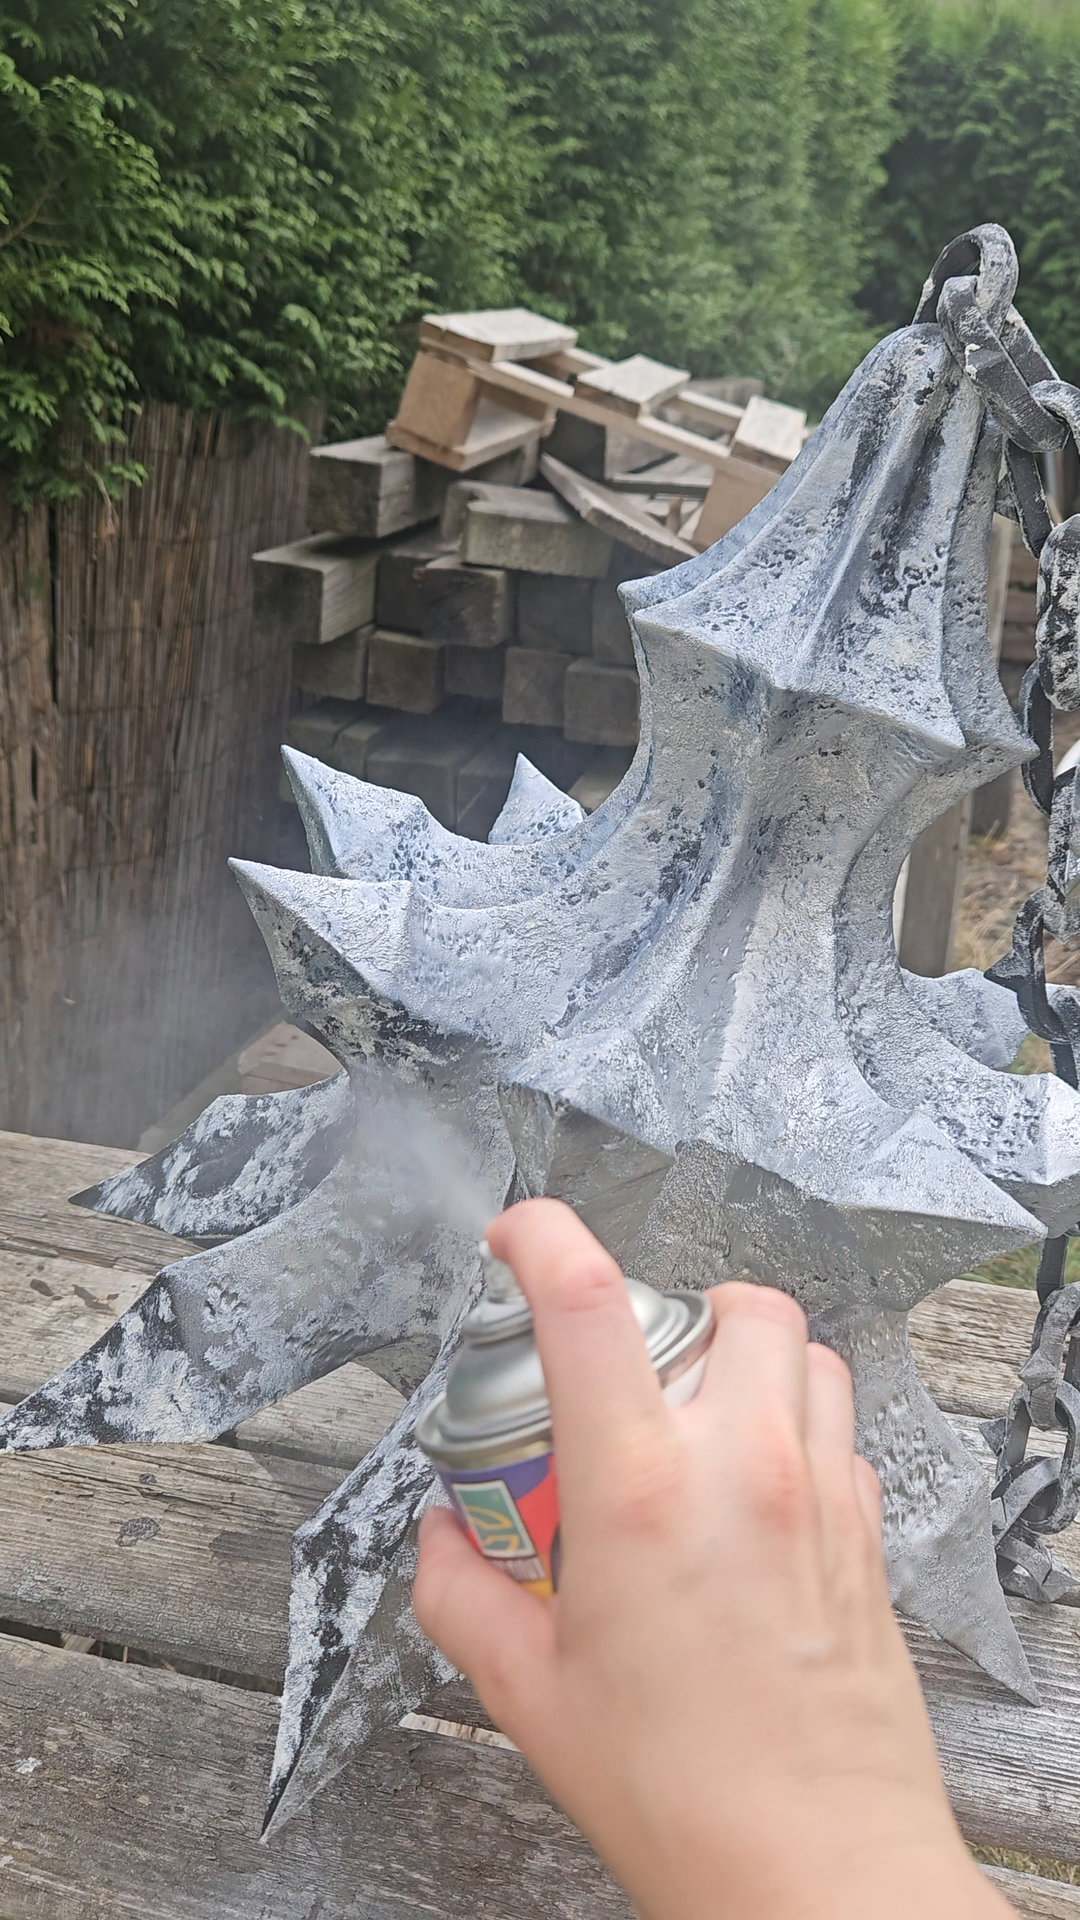
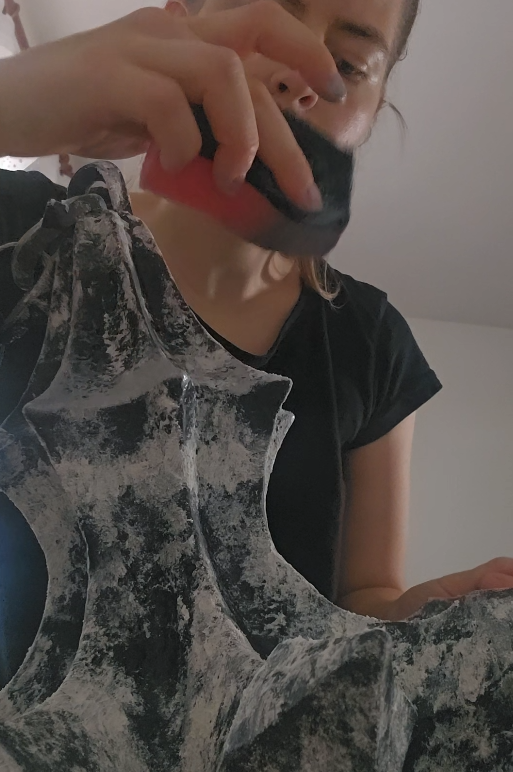
Tip n2 is to use a sponge for the black + graphite powder layer; it saves time too!
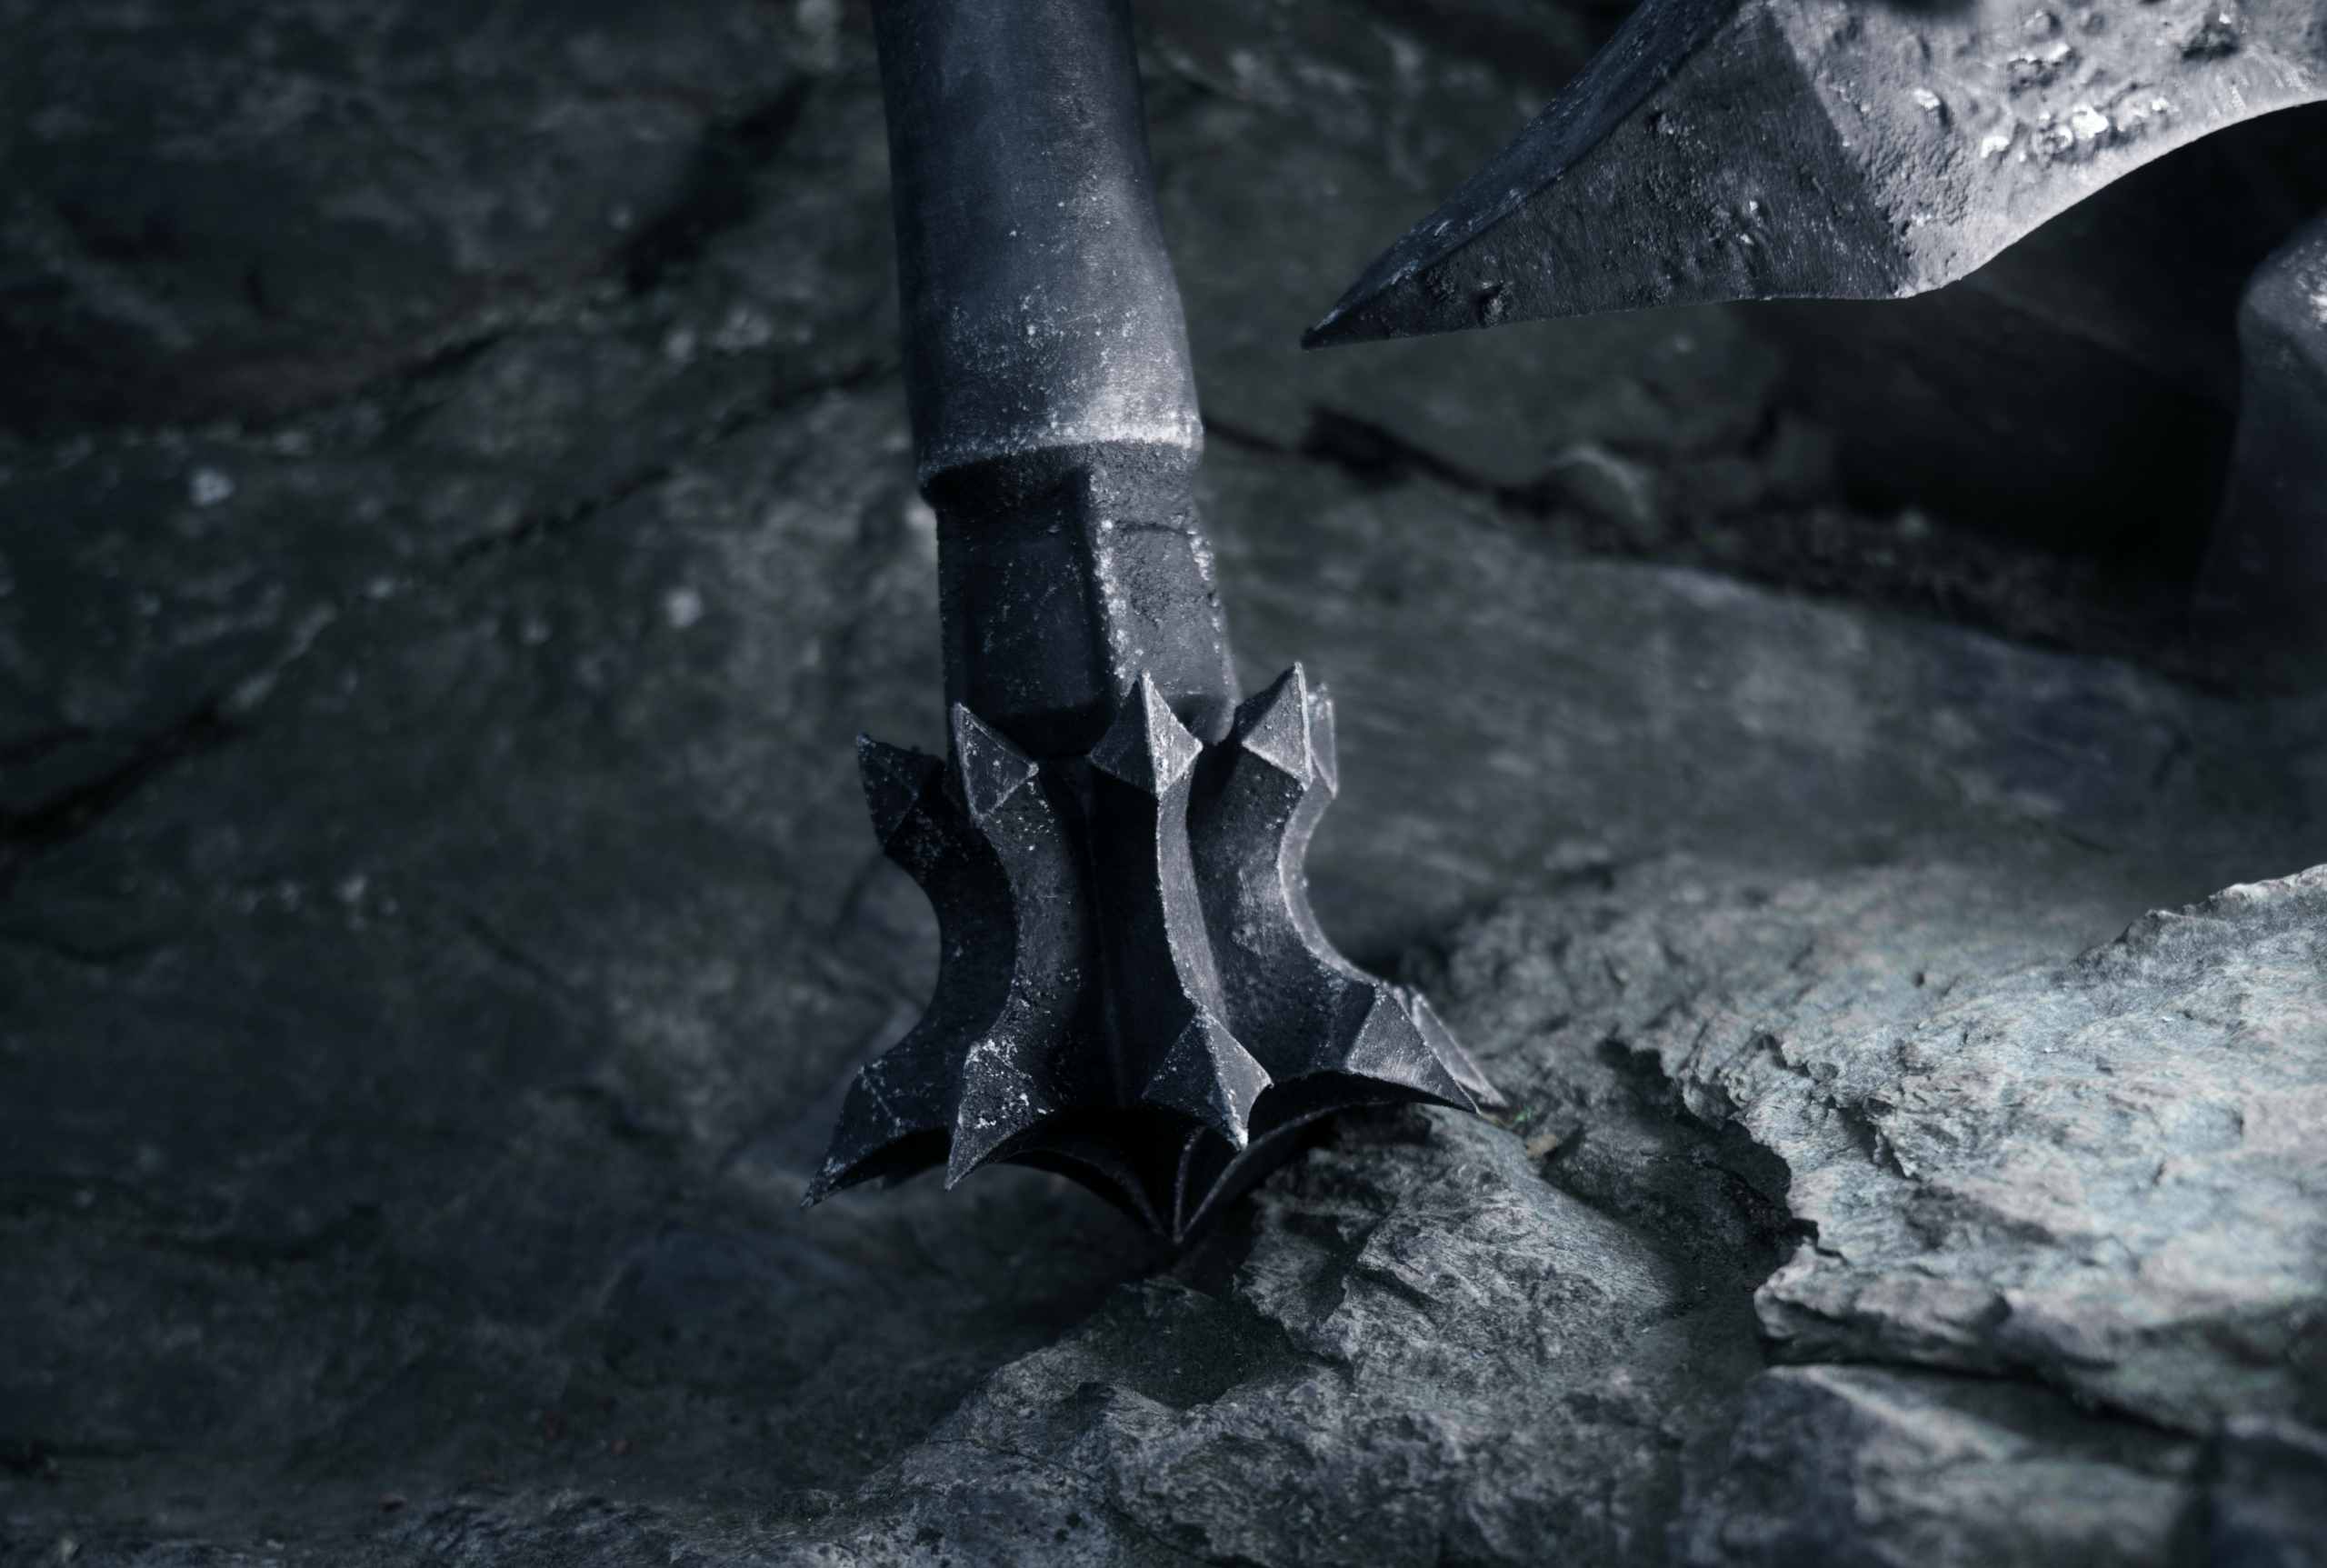
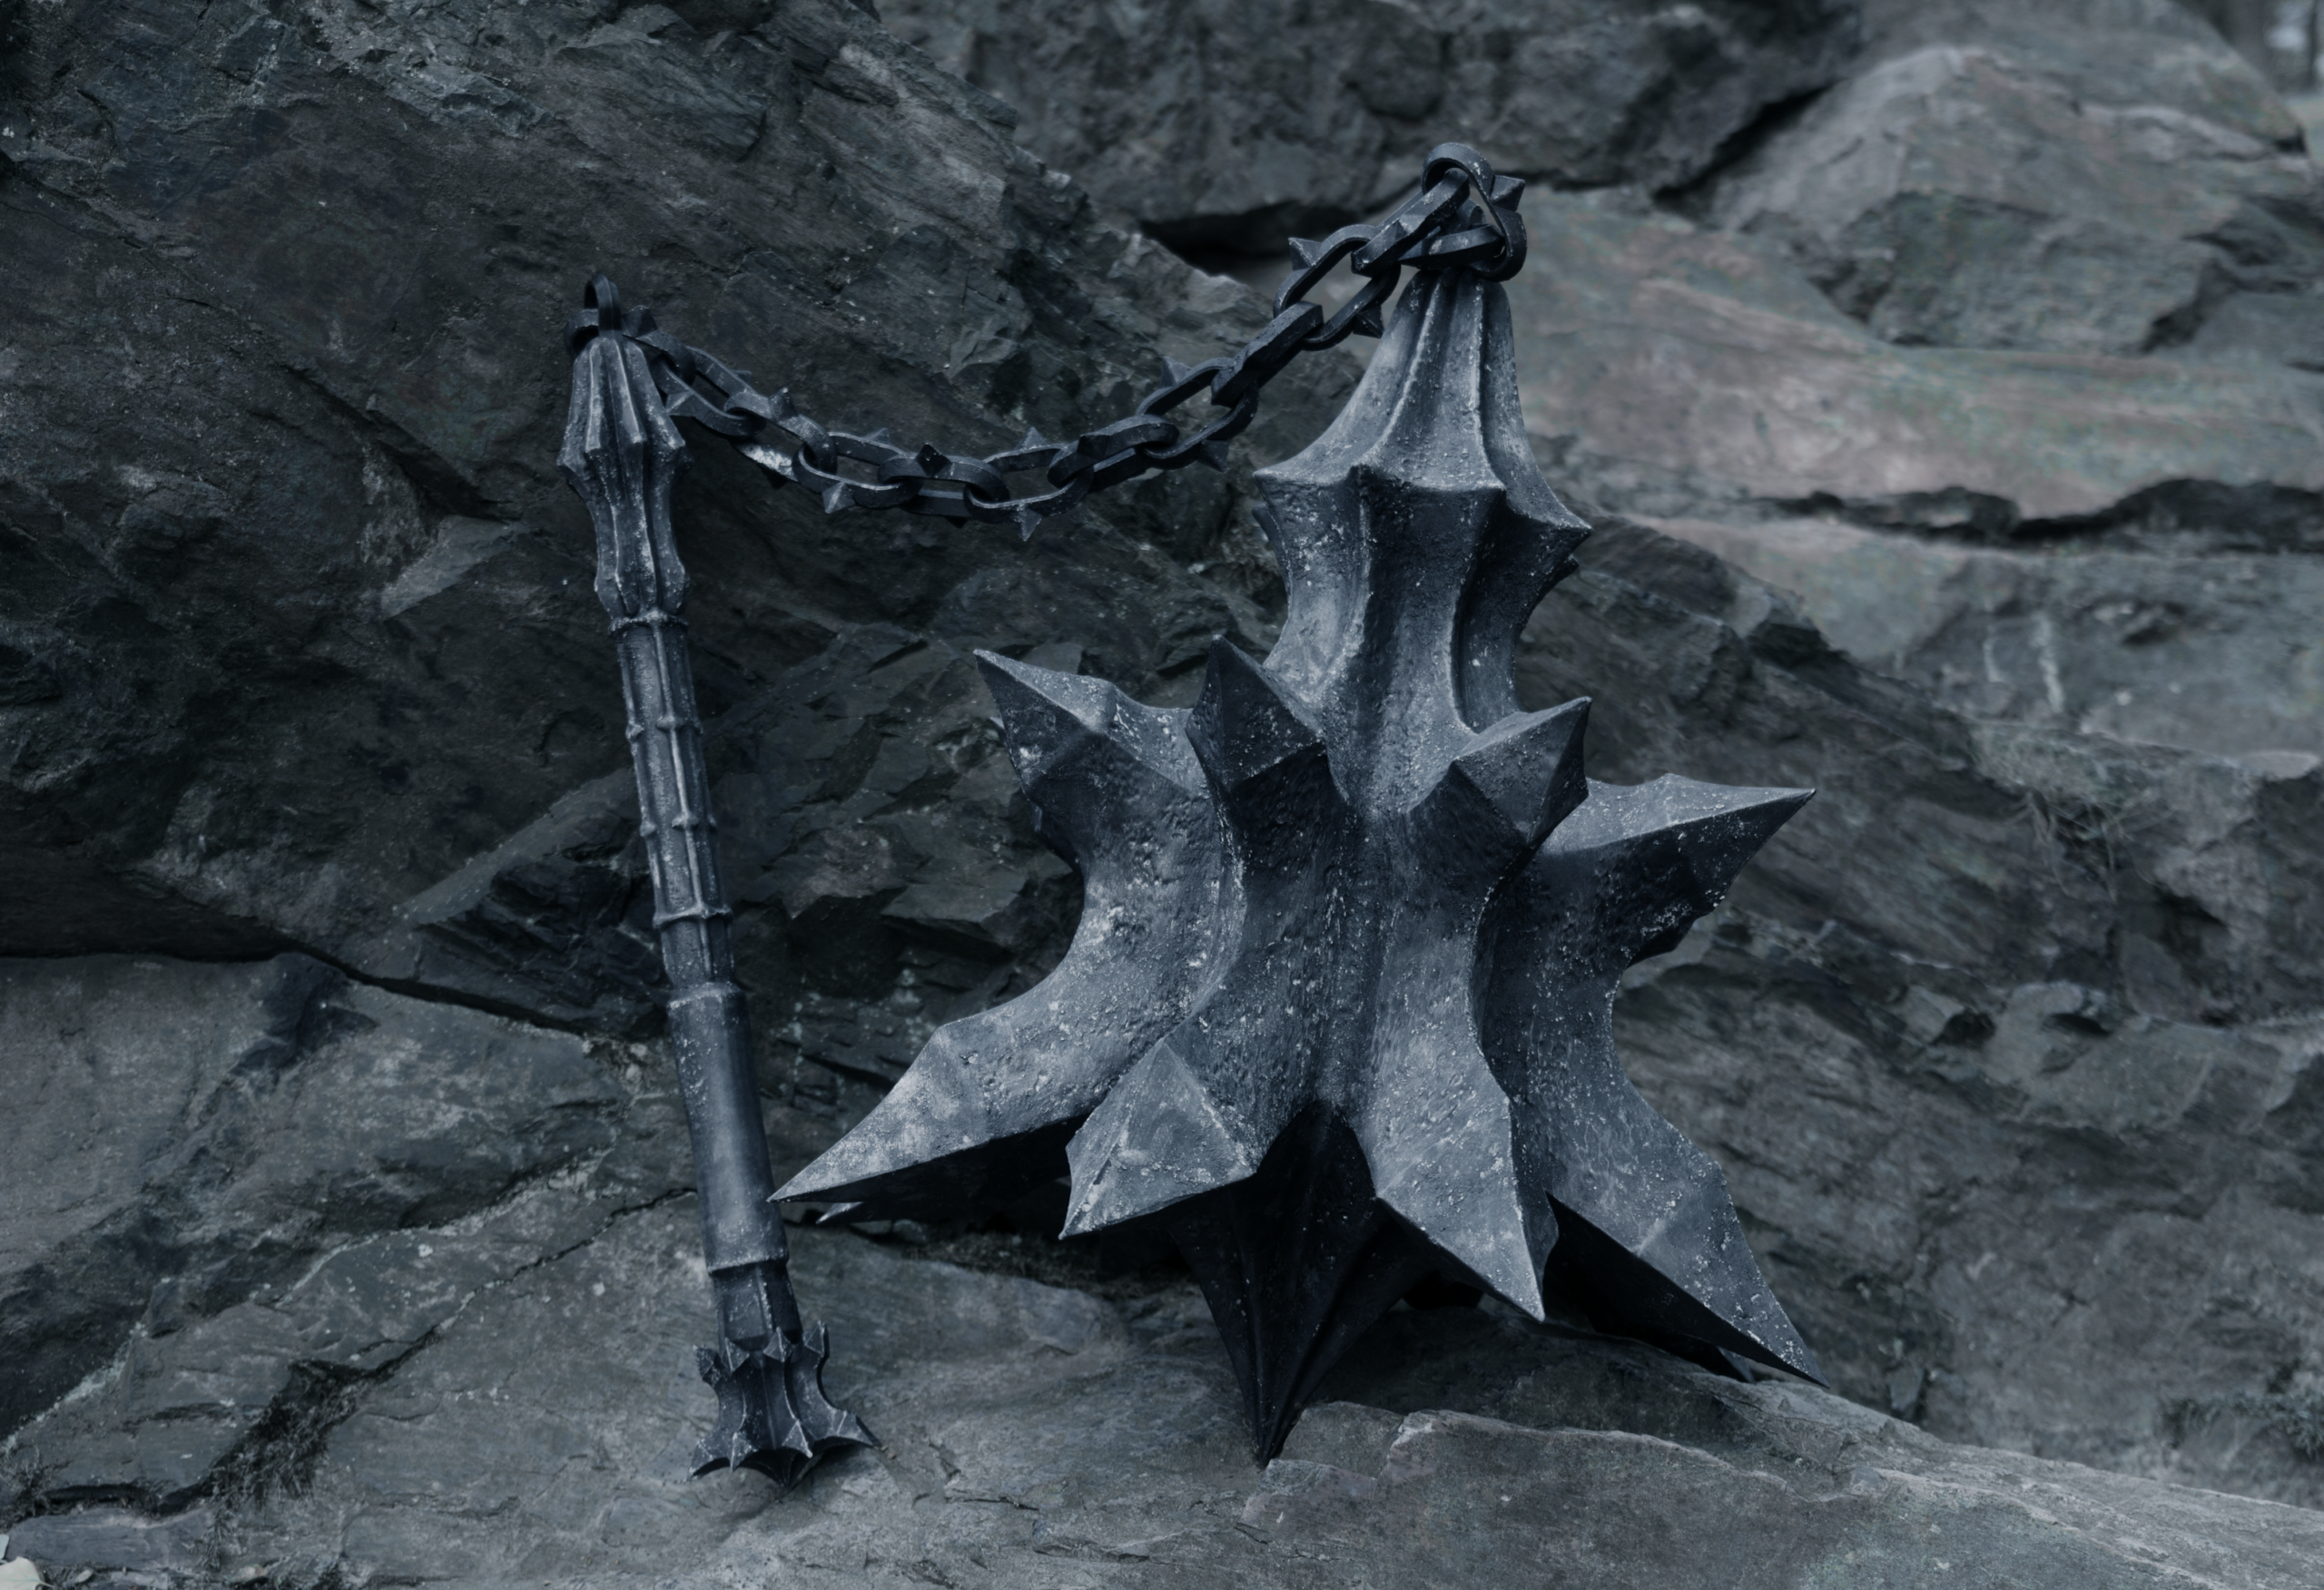
STEP 5: Finally ready for the fight!
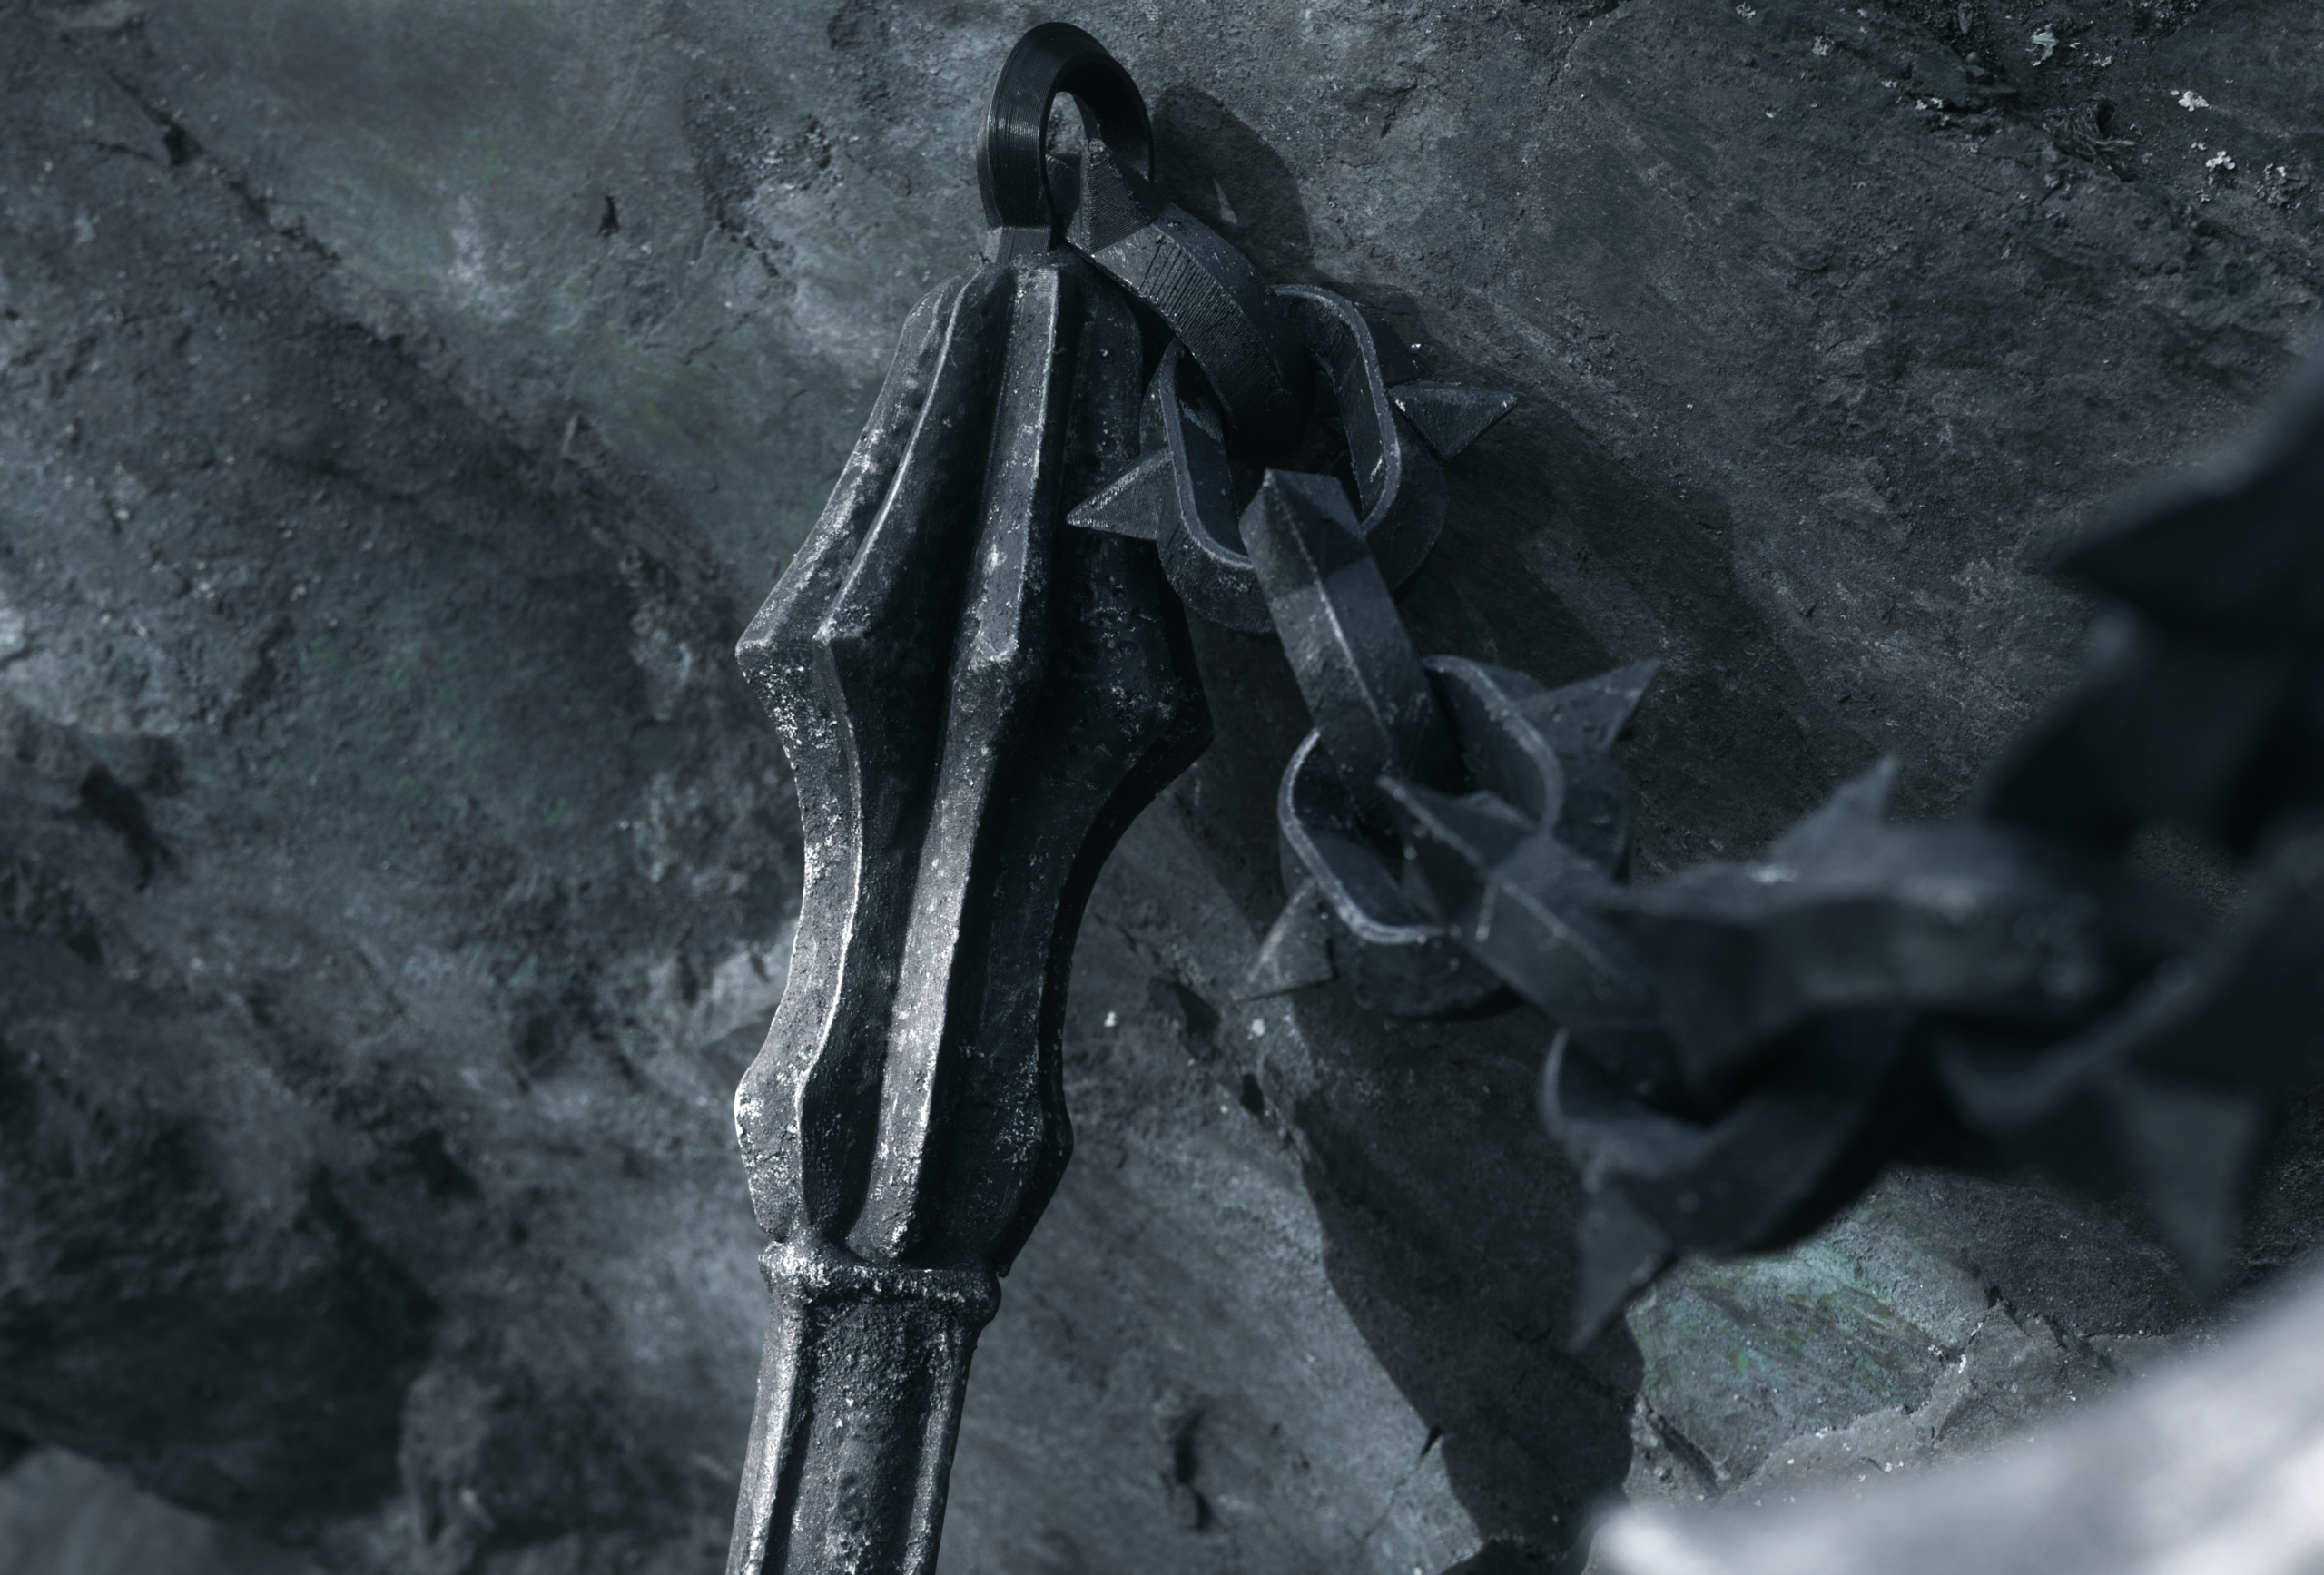
As the last bits of paint dry, your gigantic tool of doom is finished!
Final words
I really enjoyed making both of these props and sharing the process with you.
The biggest part of this project was not just getting the shape right but making the surface feel old, damaged, dirty, and believable, like it has survived centuries of battles across Middle-earth.
Hopefully this guide gave you a few ideas for painting your own Witch-king helmet or any prop that needs that ancient, forged-in-Mordor finish.
Check out all our Lord of the Rings 3D print files, and drop a subscribe on our YouTube channel for prop-building tutorials. ✨
Leave a Comment