

Umbral Lamp: 3D Printing + Painting Guide


In Lords of the Fallen, death isn’t necessarily the end. Sometimes it’s just the beginning of a much worse adventure.
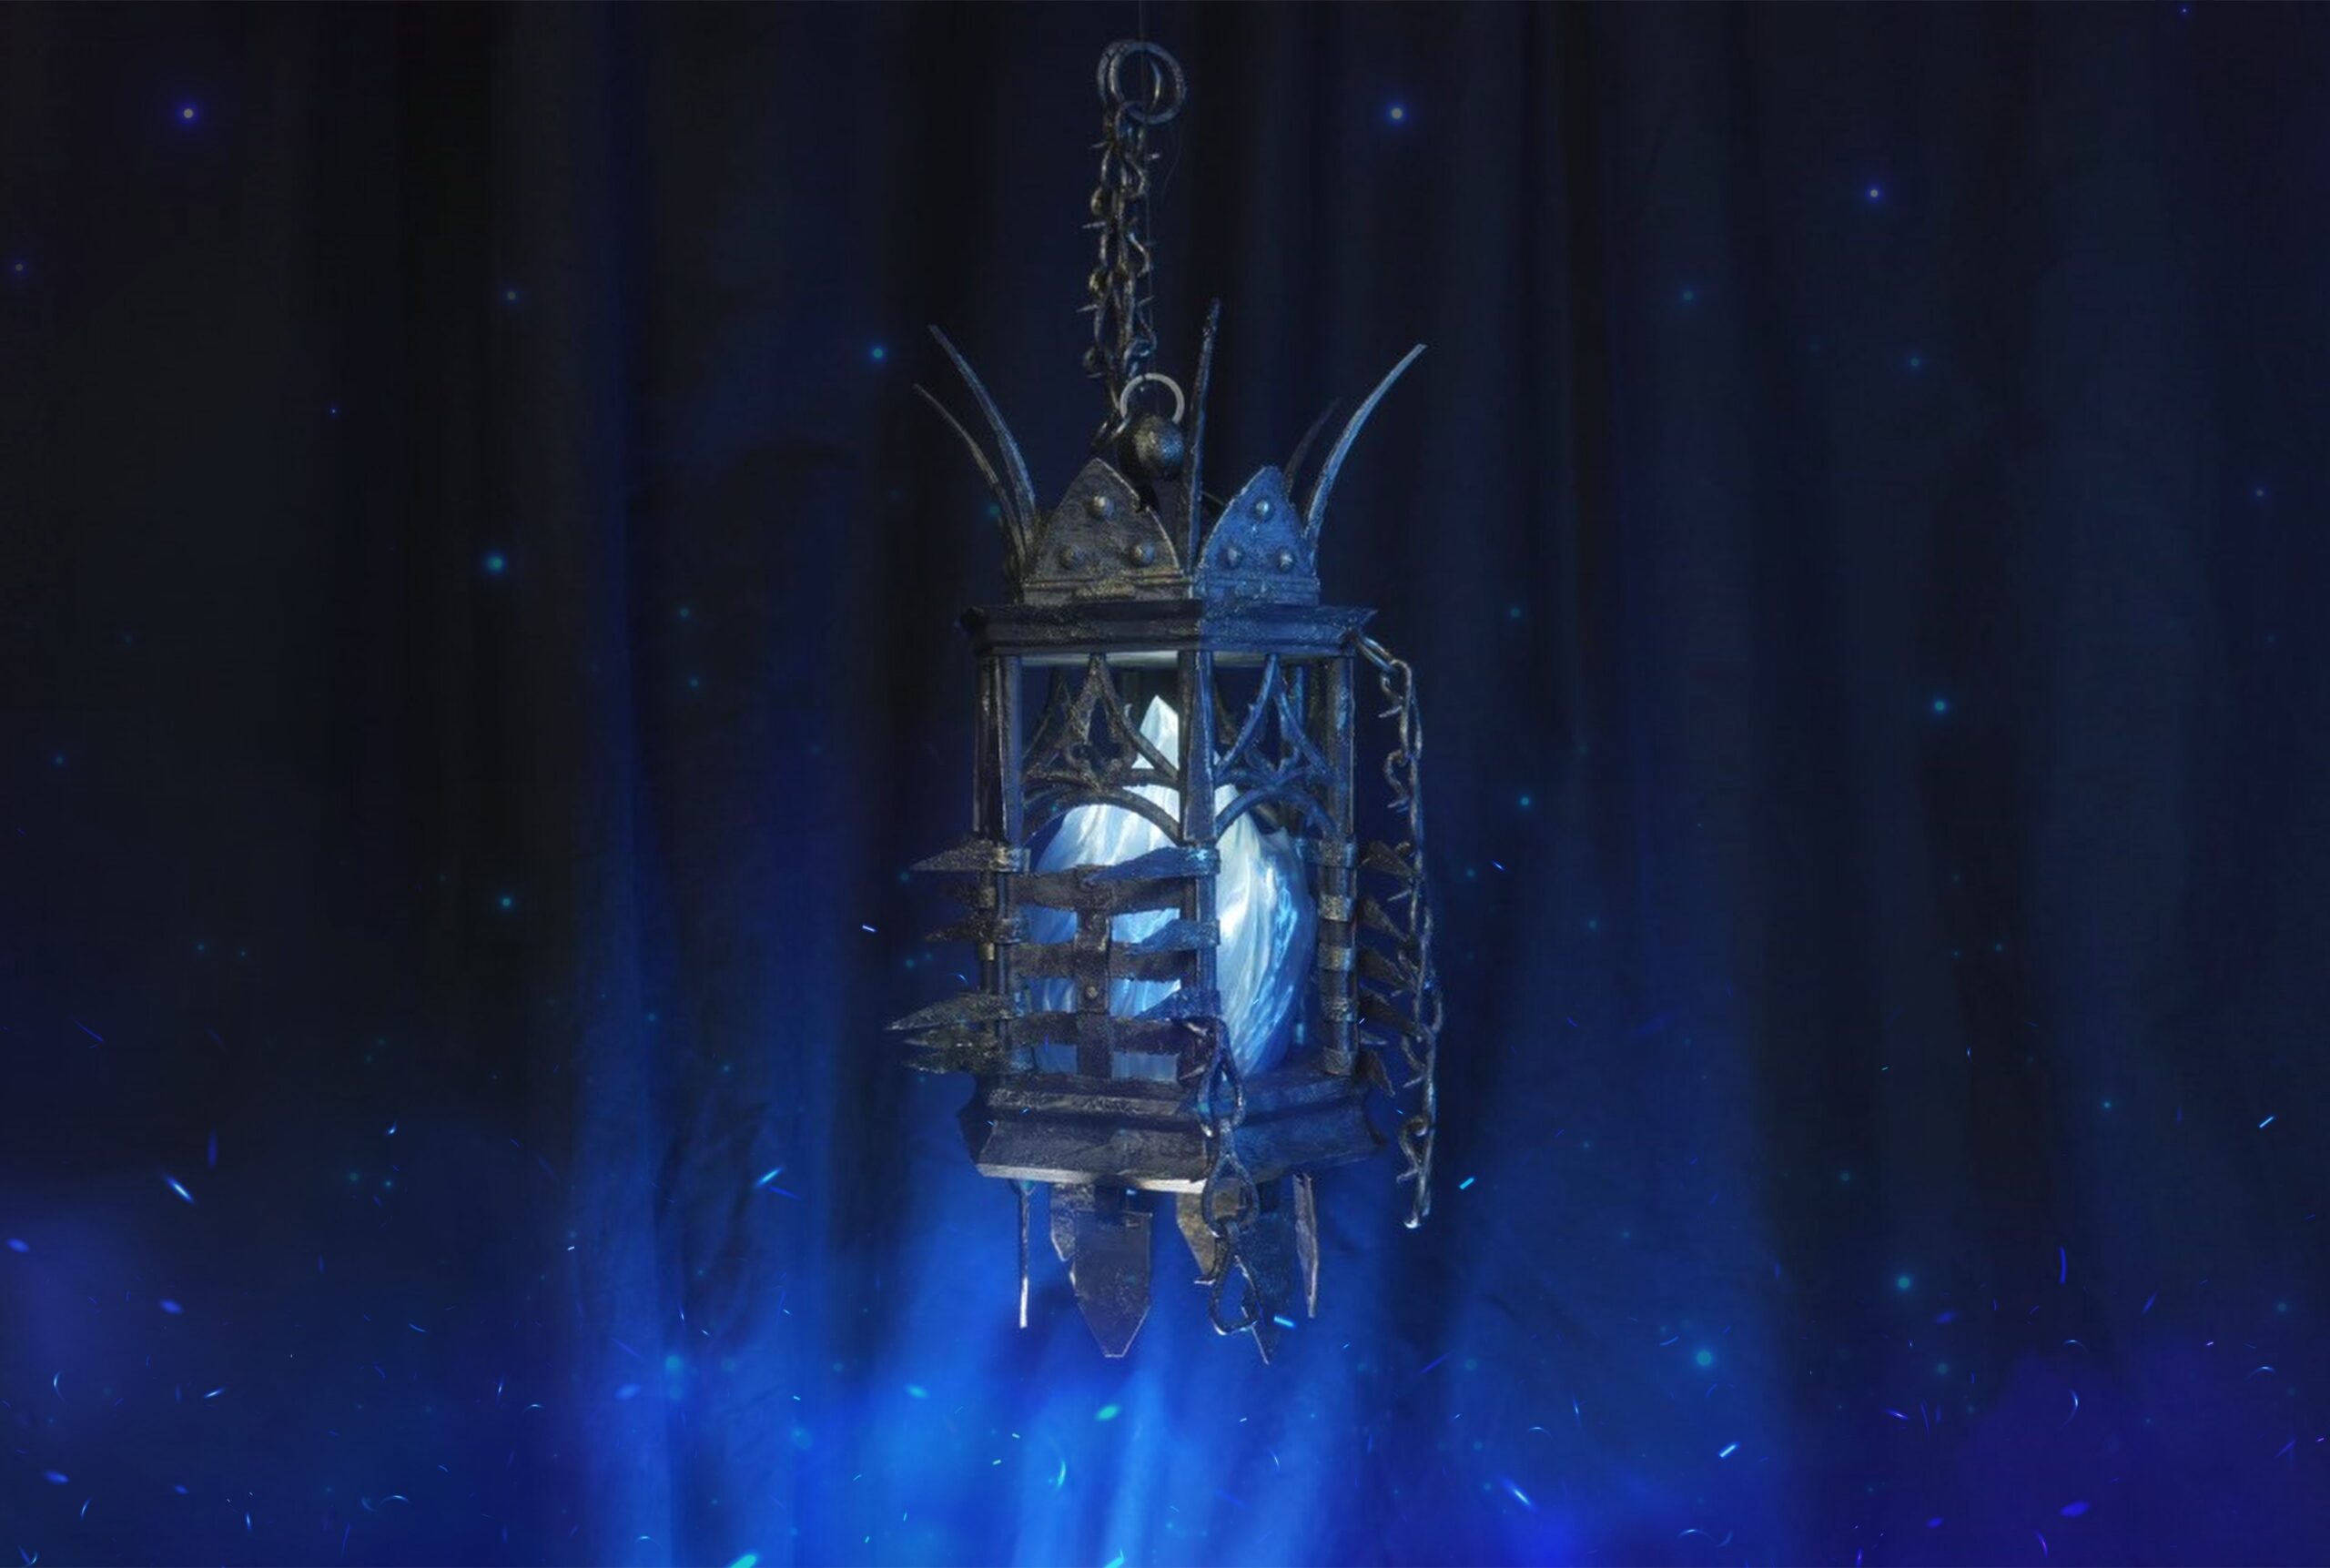
Luckily, there’s one thing that makes exploring the terrifying Umbral realm a little easier: the Umbral Lamp. An otherworldly lantern that lets you peek beyond the veil of the living. And honestly, who wouldn’t want one? So naturally, we decided to bring it into the real world!
But we didn’t want to make just another pretty prop that would be pretty to look at. We wanted our lamp to actually light the way, so we added a little trick that turns it into a functional flashlight. Because you never know when you might need to explore a dark cave. Or find something under the couch.
In this post, I’ll take you through the 3D printing, assembly, painting, and weathering of our Umbral Lamp, including a few lessons we learned along the way. Now, stay close to the light, and let’s see what lurks on the other side!

Supplies
- 3D printer
- 3D model of the Umbral Lamp
- Filament of choice (I used PLA: Prusa Galaxy Black, Filamentum: Crystal Clear Icelandic Blue, and Baby Blue)
- PrusaSlicer (or any other slicer software)
- Super glue + optional glue activator spray
- Textured painting paste or wood filler
- Acrylic spray gold
- Acrylic matte black spray
- Acrylic paints (brown, black, mustard)
- Pigment fixer
- Antique Gold pigment
- Brushes
- Water cup for painting
Recommended safety tools:
- Gloves (if you don’t like paint on your hands)
- Eye protection
- Respirator
Process steps in order:
- Preparing the Files in PrusaSlicer
- 3D Printing
- Texture painting
- Painting
- Assembly
- Lighting
- Ready to peek into the world of the dead
Timing + Used material
- Printing: 20h 25min
- Assembly: 30 min
- Painting: 6-8 hrs (including drying)
- Material used:
- Prusa Galaxy Black: 272.5 g
- Filamentum Baby Blue: 14.5 g
- Filamentum Crystal Clear Icelandic Blue: 28g
- Verdict: Ready in 3 days 🙂
Step 1: Preparing the Files in PrusaSlicer
I started by printing all the STL files. You can find all of them HERE. 🌟
Since I am not planning to do any sanding, I used a layer height of 0.2 mm.
I split the model parts over a few printer beds, keeping parts that will be printed with a different filament separate.
I also recommend placing similarly sized parts on the same print bed; that way, you will avoid pieces being knocked out by the extruder.

Step 2: 3D Printing
I printed all the parts in PLA.
It is completely up to you what filament you choose to print with.
For the purpose of this whole tutorial, PLA spools will do because we won’t do any post-processing techniques that would require a smooth surface.

Print time: 20h 25min (if you can, divide objects between multiple printers to cut off some time)
PLA Filaments I used:
- Prusament PLA Prusa Galaxy Black
- Filamentum Crystal Clear Icelandic Blue
- Filamentum Baby Blue
Nozzle: HF0.4
Printer: Prusa mk4s, Prusa Core One L
After printing, remove any supports and clean up the parts before assembly.

Step 3: Texture painting
Skip this step if you won’t do any post-processing.
Before we glue all of it together, it is important that we give the prop its rough, ancient texture. It’s a relic that has probably spent more time in the realm of the dead than any of us would like. So naturally, a little extra corrosion, grime, and decay won’t hurt!
The reason why we are doing this now is simply due to easier access into all the crevices and corners that would be annoying to access or inaccessible after the assembly process. To create a rough texture, use a wood filler or a texturing paint paste.
If you don’t own any of this, you can also mix acrylic paint with some low-grit material like finer sand or baking soda. After all, I doubt the creatures of Umbral are particularly picky about their art supplies.
Paint the paste all over the pieces in a rough brush-dabbing manner. Cover all unevenly for a more organic resolution. Once you are done with the textural work, paint over it all with black paint or spray it with black.

Parts you want to texture paint:
- The lantern body*
- Top Lid*
- Chains
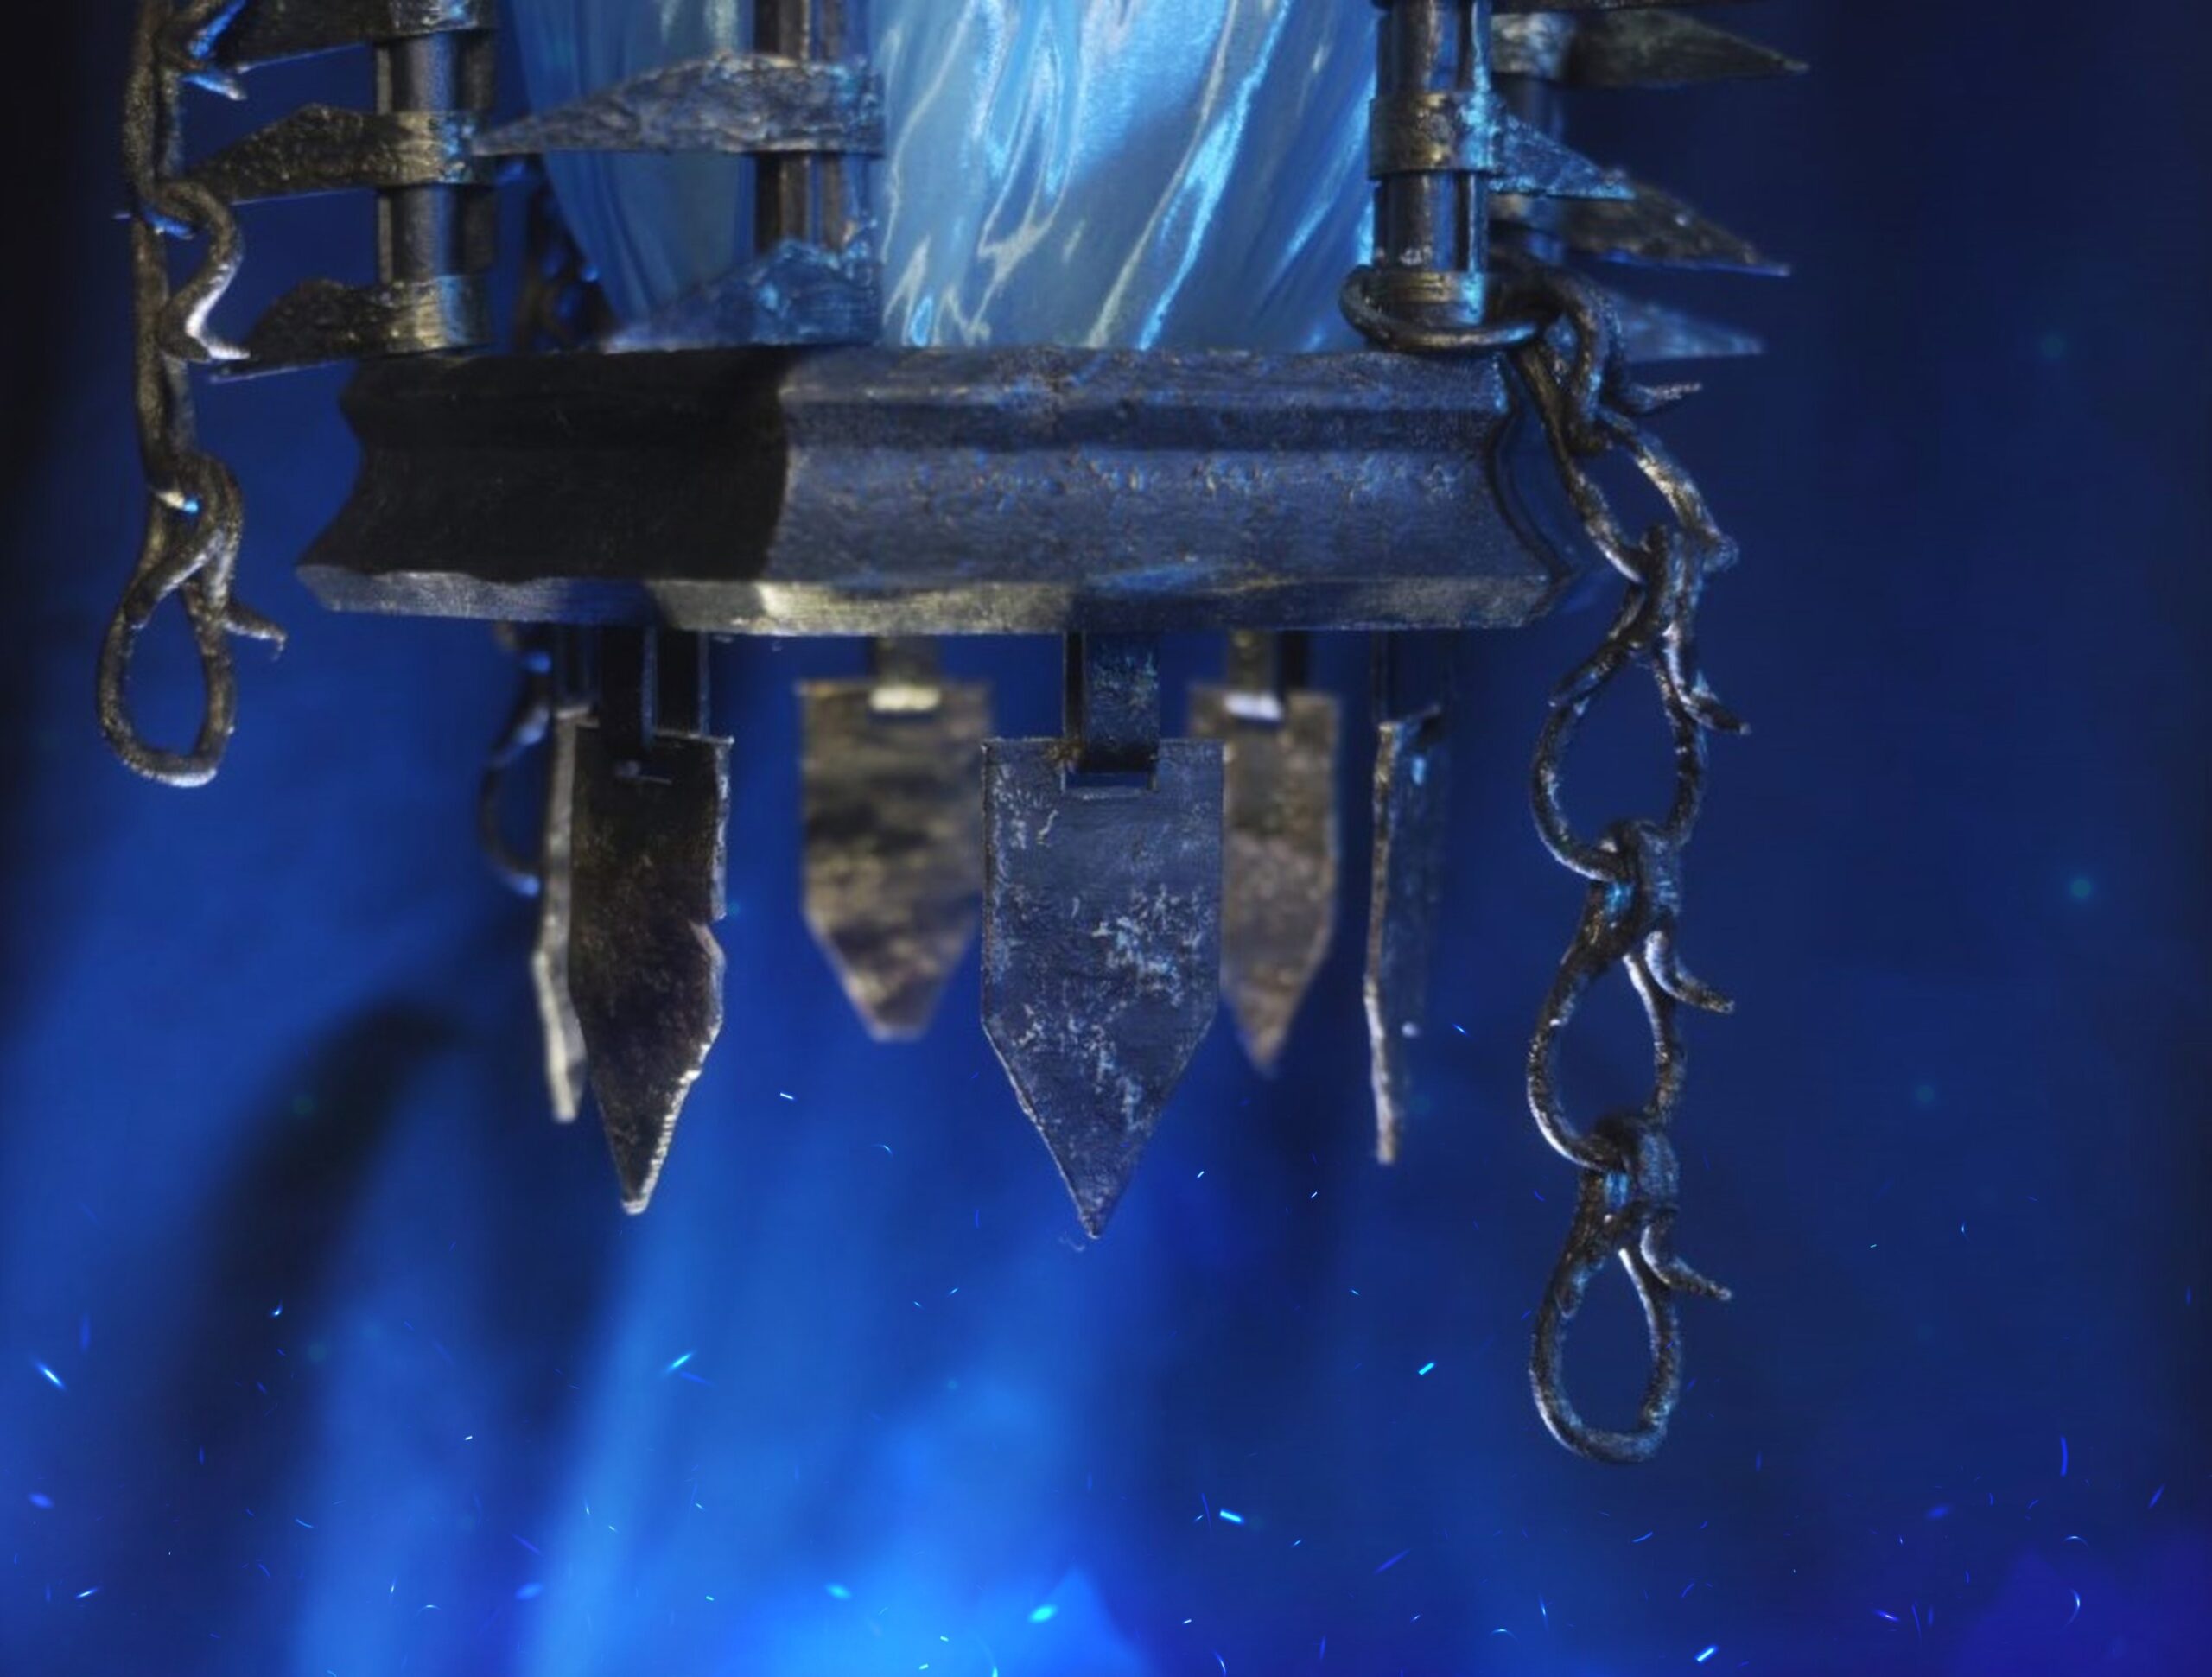
- Dangling triangles
*With these two, be extra careful not to paint over both the carved lines and holes that are designed for inserting or connecting other pieces to it.
Step 4: Painting base + weather
Skip this step if you are not doing post-processing.
This part will get messy, so get your table ready for painting. You can’t say I didn’t warn you! 😀
You don’t have to use anything fancy. It can be a humble sheet of baking paper/old newspaper. The practical side of it is that once you are done with painting, simply crumble it and throw it away. Aside from surface preparation, get a cup of water for cleaning your brushes, take your colours and brushes, and place them on the table.
You will need:
- texture paste
- mix of brown acrylic paints
- gold, black acrylic spray
- black acrylic paint
- gold pigment
- pigment fixer
- brushes
- water containers
- colour palette of choice


Gold spray / gold pigment
Test if all textured pieces are dry; if so, spray them with gold spray colour. You can also hand-paint them by using a mixture of a gold pigment with a pigment fixer solution. Only now, it all looks weirdly shiny and new? Hmm, let’s turn it into something more obscure!

Black acrylic / Black acrylic spray
Prepare black acrylic, a palette/container/cardboard. Dab the paint over all surfaces.
The best part about weathering props like these is that you really do not need to be too precise. In fact, a little chaos usually makes the result better. You can let the golden layer peek out here and there.
Gold details
Use the same pigment solution to paint over the newly created raised texture as well as over cracks or line edges. It will pop and fairly effortlessly transform your prop!

*Painting corrosion – optional*
To add an extra layer to our iron illusion, you can paint a few corroded spots here and there. To paint corrosion, mix your preferred shade. Then dilute the paint in water and brush it over the spots of choice. I place most of the corrosion around dents, damaged areas, holes, and seams, where dirt and moisture would naturally gather over time.
Step 5: Assembly!
Having all of our pieces ready in front of us, let’s put them together! Use a glue of your choice that bonds plastic together. I used simple super glue (+ UHU plastic glue when I ran out of the super glue). If you are impatient, you can also help yourself by using a glue activator. Spray the activator onto one joining surface and brush the glue onto the other before pressing the pieces together. Connection of these parts is then instant! No need to wait for glue to dry.
Order of assembly:
1/ Attach spikes to the lamp body.
There are carved-out slots guiding you as to where to snap them. You might notice that these pieces aren’t the same size. Don’t worry about it – there’s no correct way to place them – just a stylistic choice.

2/ Glue in the inner lamp flame. There is a little carved line for it; you will be able to tell which one it is by the shape of it by dry-fitting the flame first. This flame will work as a light diffuser.

3/ Take the circular piece with the straight carved line and glue it to the other little flame part. This one is angular and will host a head torch. At this point, you can add the torch in (or reserve it for later). Take this piece and screw it inside the lamp body. Once it clicks into the connection, it won’t fall apart.

4/ Now it is time to glue in the translucent flame. Lightly spread glue around the lower edge, and by applying gentle pressure, secure it in the central lamp area. Insert the head torch into the part we prepared in the previous step and slide it in through the bottom; secure it by moving it until you hear it lock.

5/ Glue the spiky lamp top to the lamp body.
6) Take the octopus-like bit. Put glue into all the tiny holes in the lamp lid. Please handle it with care. You will need to bend it so all the “legs” fit snugly into the holes. While inserting, you should first put it into the hole and then push it outward slightly so the part locks in. It is designed that way.

7) Attaching chains – aside from the main hanging chain, you can attach the rest as you like. With all the chains, though, pay attention to the circle that sometimes goes inside of the structure. It should always be oriented in a way that the split of the circle is hidden inside so that it wouldn’t slide off the prop. Our model creator also recommends glueing those in the latter described manner. (There are two – the main hanging chain and the chain that runs from just below the lid.)
8) The very last step is attaching triangular pieces into the bottom. This is also a rather easy step. Just pull the “U”-shaped bits through the loops and then slide the pieces in as you see in the picture.

Step 6: Lighting
As I already mentioned, we added a very cool feature to the lamp. All you need is a head torch. We used a model from Petzl, but we believe most of the standard-sized ones will fit.
The torch assembly piece can be rotated inside, which gives you 2 modes! The first one is illuminating the blue flame itself – you should have your torch moved in a way so that the light from it hits the flame. As a result, it will create diffused lighting inside the whole flame. The 2nd mode happens when you rotate the torch away from the diffusing flame. Now your lamp will effectively work as a torch too because the light goes straight through with more intensity and minimal diffusion.
Step 7: Lamp ready to guide you!
And just like that, the Umbral Lamp is ready to guide us into the realm of the dead!
Now all that’s left is to grab the lamp, find a suspiciously dark corner, and see what horrors are hiding on the other side. Although, personally, I’d rather use it to find my way to the bathroom at night.
I really enjoyed bringing this creepy piece of Lords of the Fallen into the real world. Hopefully, this guide gave you some inspiration for painting, weathering, and assembling your own Umbral Lamp, or any fantasy prop that could use a little extra darkness and decay. Now, if you’ll excuse me, I have some souls to collect. See you in Umbral!

Leave a Comment