

Bringing Gimli’s Axes to Life: A 3D Printed Cosplay Prop Guide

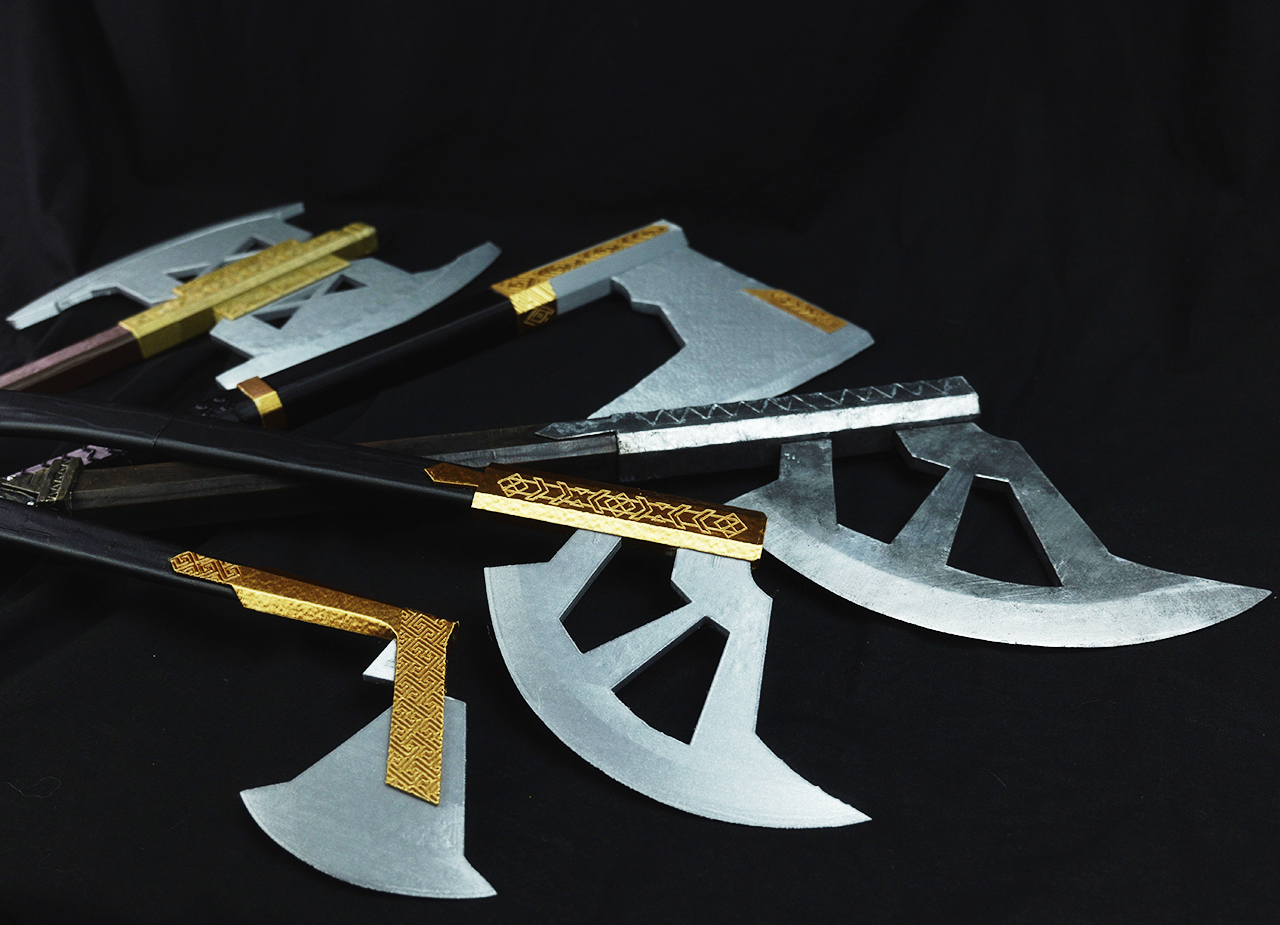
You can’t think of Gimli without picturing his axes. From the classic Bearded Axe on his back and the massive double-bladed War Axe, to his trusty throwing axes and iconic Walking Axe, these props are an absolute dream build for any Lord of the Rings cosplayer or prop collector. In this guide, we’ll show you how to print and finish each of Gimli’s STL files – plus two different ways to build them depending on your time and patience level. 😁
Two Ways to Build These Cosplay Axes
There are two directions you can take when 3D printing these axes, depending on your goals:
- Print and Glue: This is a good path for beginners, as this is a faster, straightforward approach for cosplayers who need props on a deadline. Print the pieces already in the correct colors, assemble, done. The first four axes below were constructed this way.
- Print, post-process, and detail: For those who really want to level up their build, expect a bit more time spent sanding, filling, painting, and weathering to make raw plastic look like a real prop. We used this full post-processing approach for the fifth axe below.
3D Model and Print Settings
All five-axe 3D models share the same baseline print settings:
- Infill: 10-20% gyroid pattern
- Supports: Organic, 30-degree overhang angle
For single-colour pieces, we printed on a Prusa MK4S or MK3S. For parts of the 3D model that needed multiple colors in one piece, we switched to a Prusa XL or Bambu Lab P1S, making sure colors were assigned correctly in PrusaSlicer or Bambu Studio before slicing. However, if you do not own a Prusa XL or Bambu Lab P1S, you can still print these pieces; we will explain this later in the article.
Below, we’ll go axe by axe.
Axe One: The Bearded (Strider) Axe
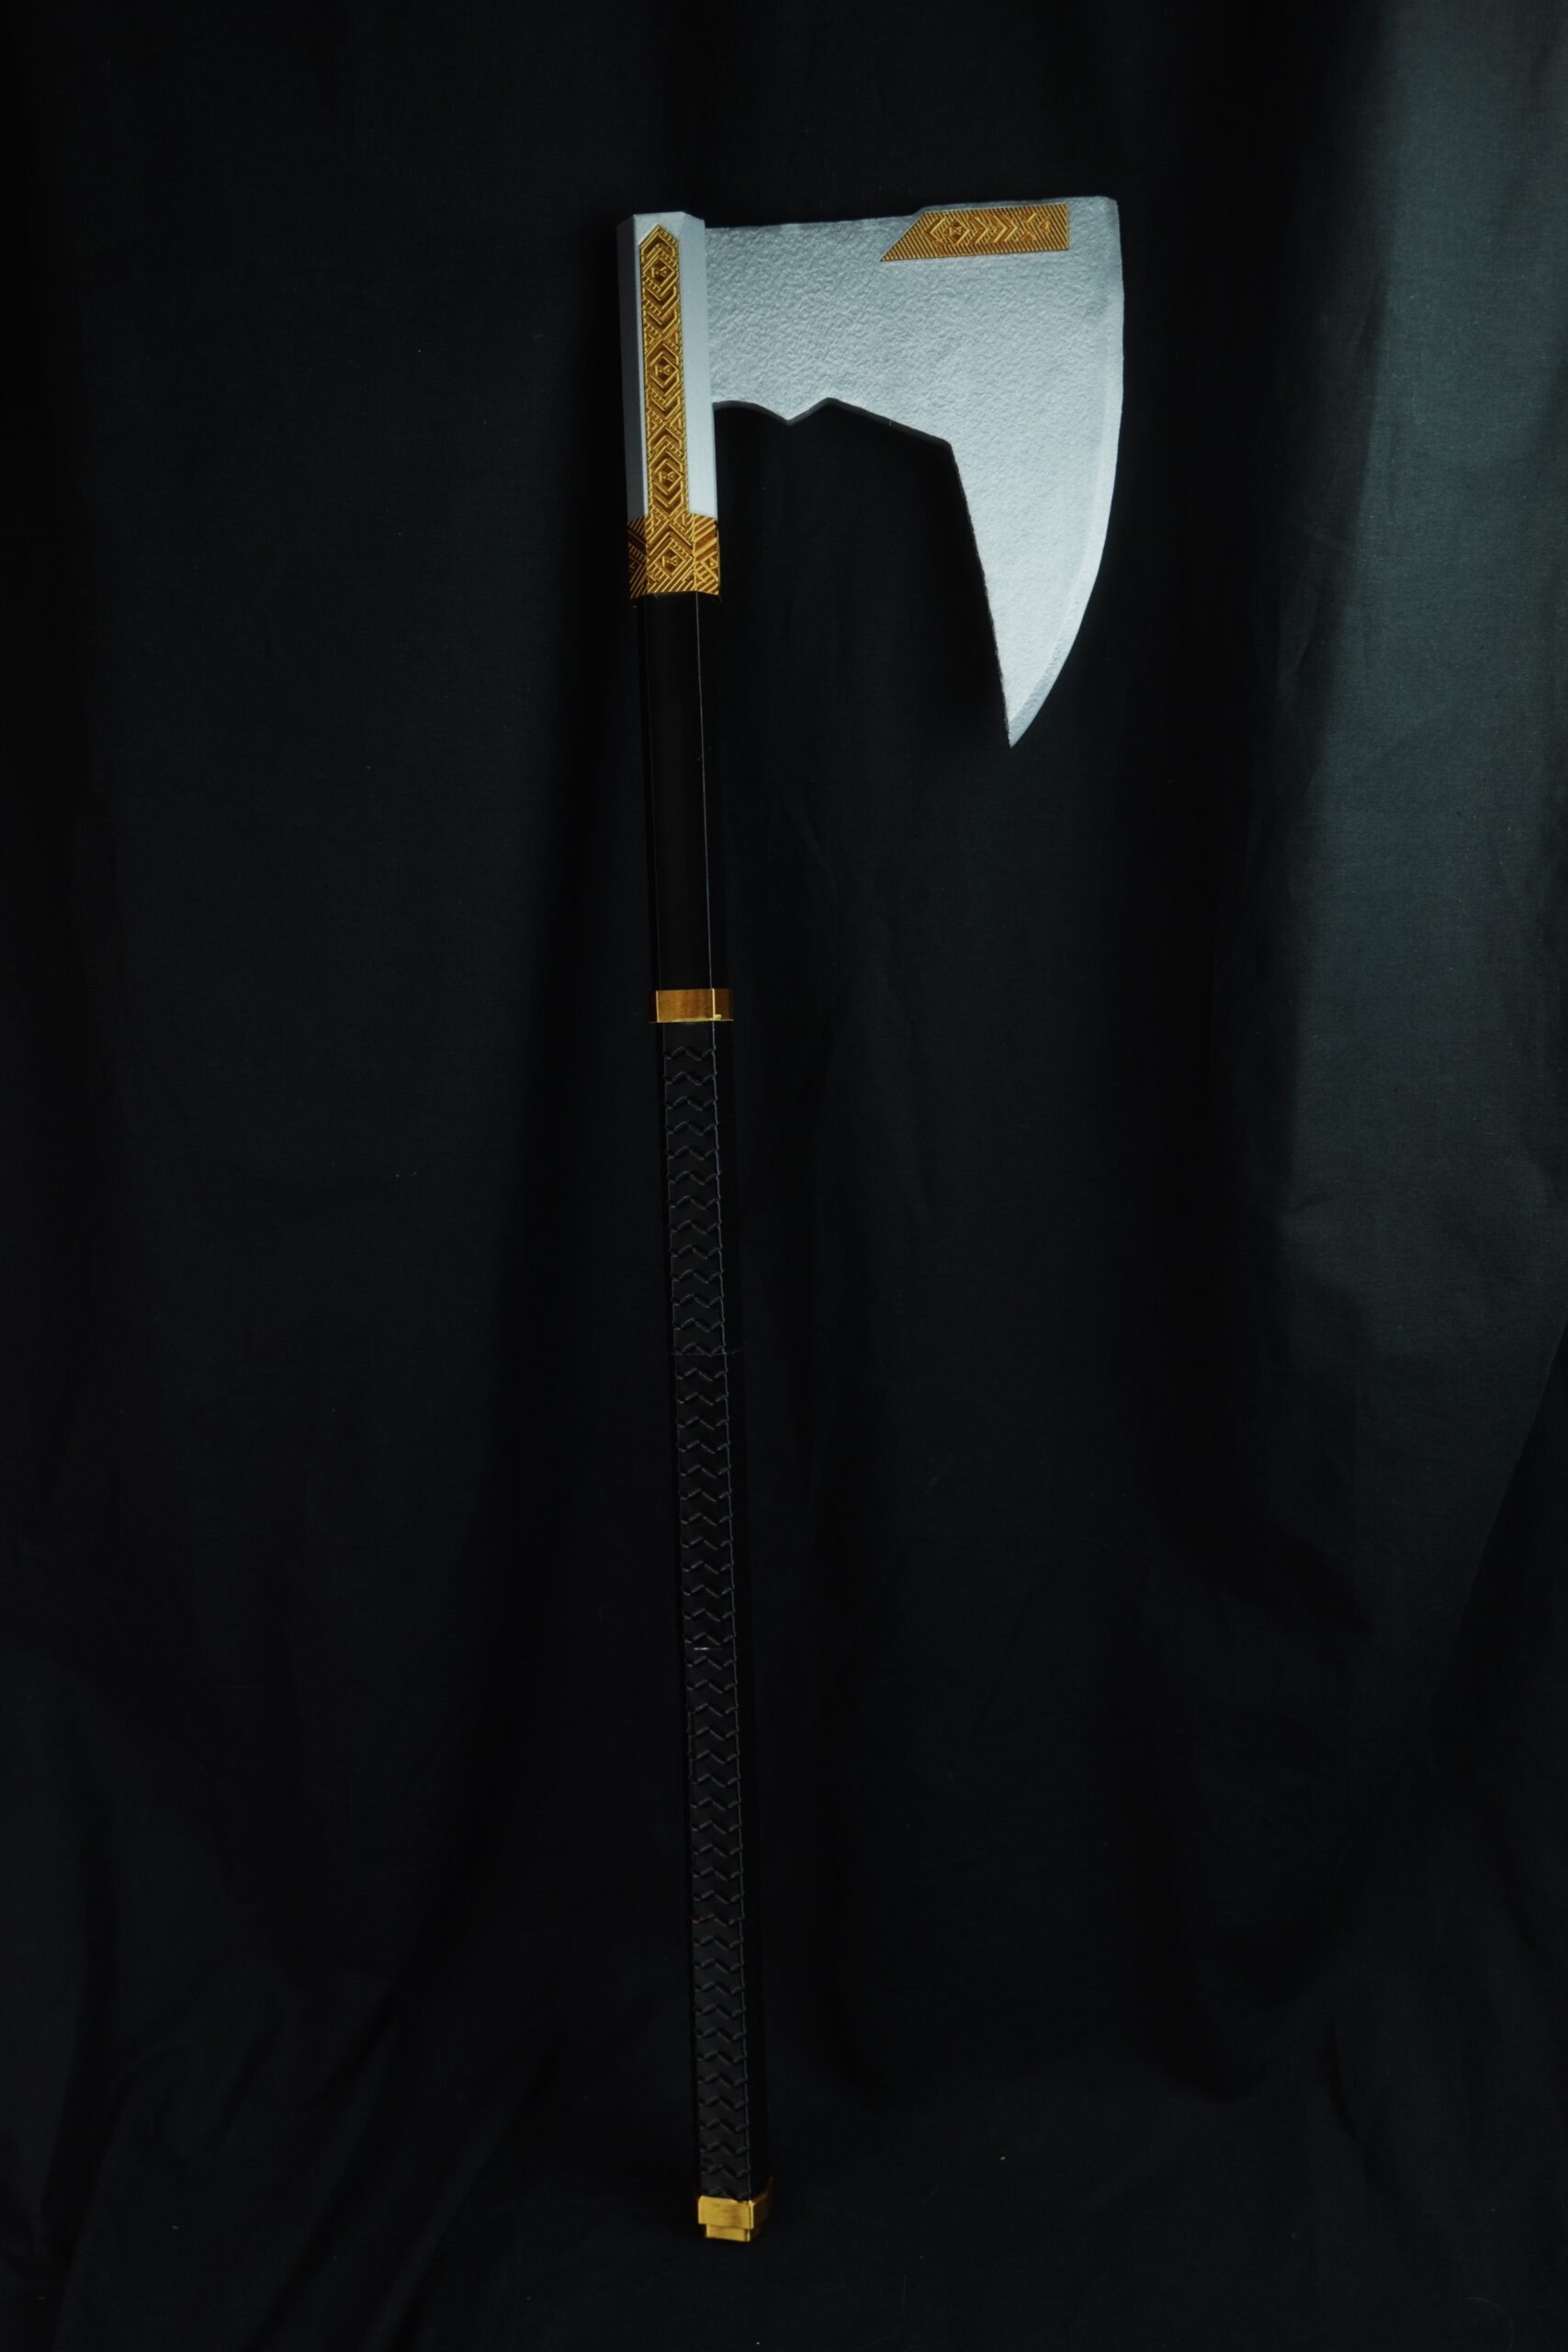
This build followed the Print and Glue path. All Pieces were 3D printed in their final colours.
The assembly process was then very simple.
Before you start, organize all your pieces in the order you’ll assemble them.
The handle sections feature a hollow channel designed to fit a wooden dowel for extra support. For the bearded axe, you’ll need a dowel that is 0.33 inches (8 mm) in diameter and roughly 32 inches (813 mm) long.
Double-check your measurements and trim the dowel as needed so it fits snugly, then slide it into the handle. Adding this core dowel gives the prop crucial rigidity and strength – a handy reinforcement trick we’ve used across several of our builds.
Finally, join the handle pieces together using superglue for a quick hold, or hard plastic glue for a more secure hold.
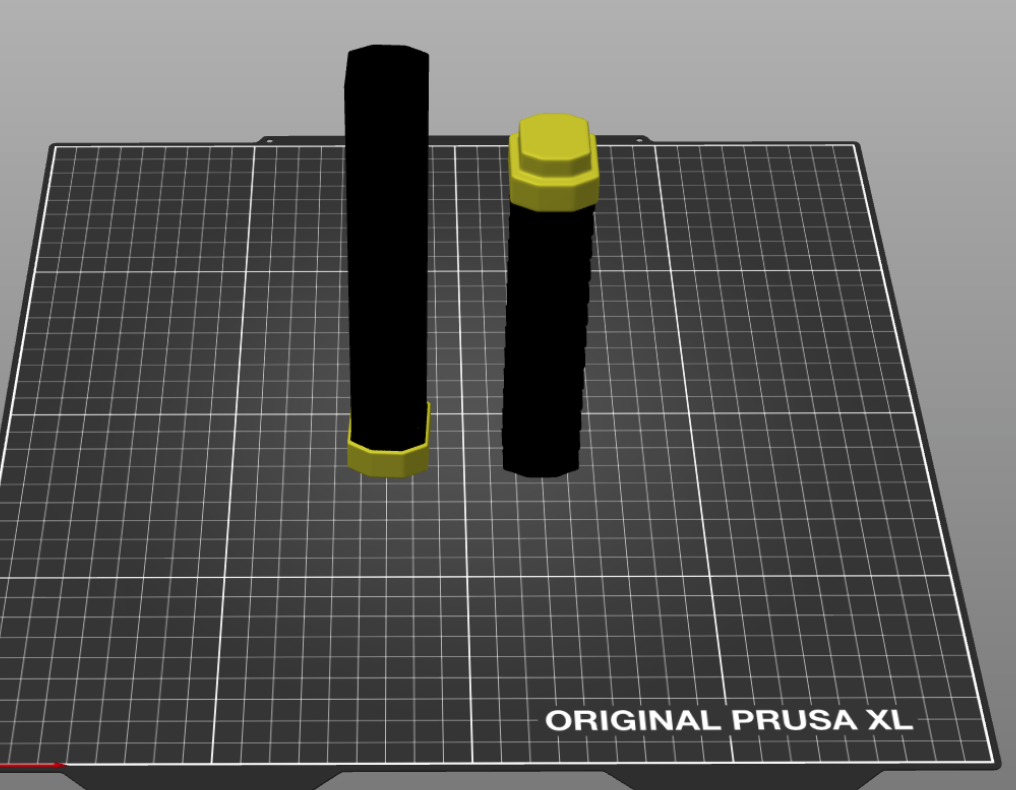
Printer used: Prusa XL or Bambu Lab P1S for the bottom handle and top handle (these parts have black and gold colour in the same print). If you do not own a multicolor printer, you can print it on a regular printer, but you will need to add a colour change when you are slicing the piece.
What is a colour change? A colour change is a programmed pause during a print that lets you swap filament so the printer can continue printing in a different colour. You will need to take out the current filament and then insert the new filament.
Example multi-colored pieces on the Prusa XL printer. This can be achieved on any printer thanks to a simple layer color change.
Axe Two: The War Axe (Double Blade)
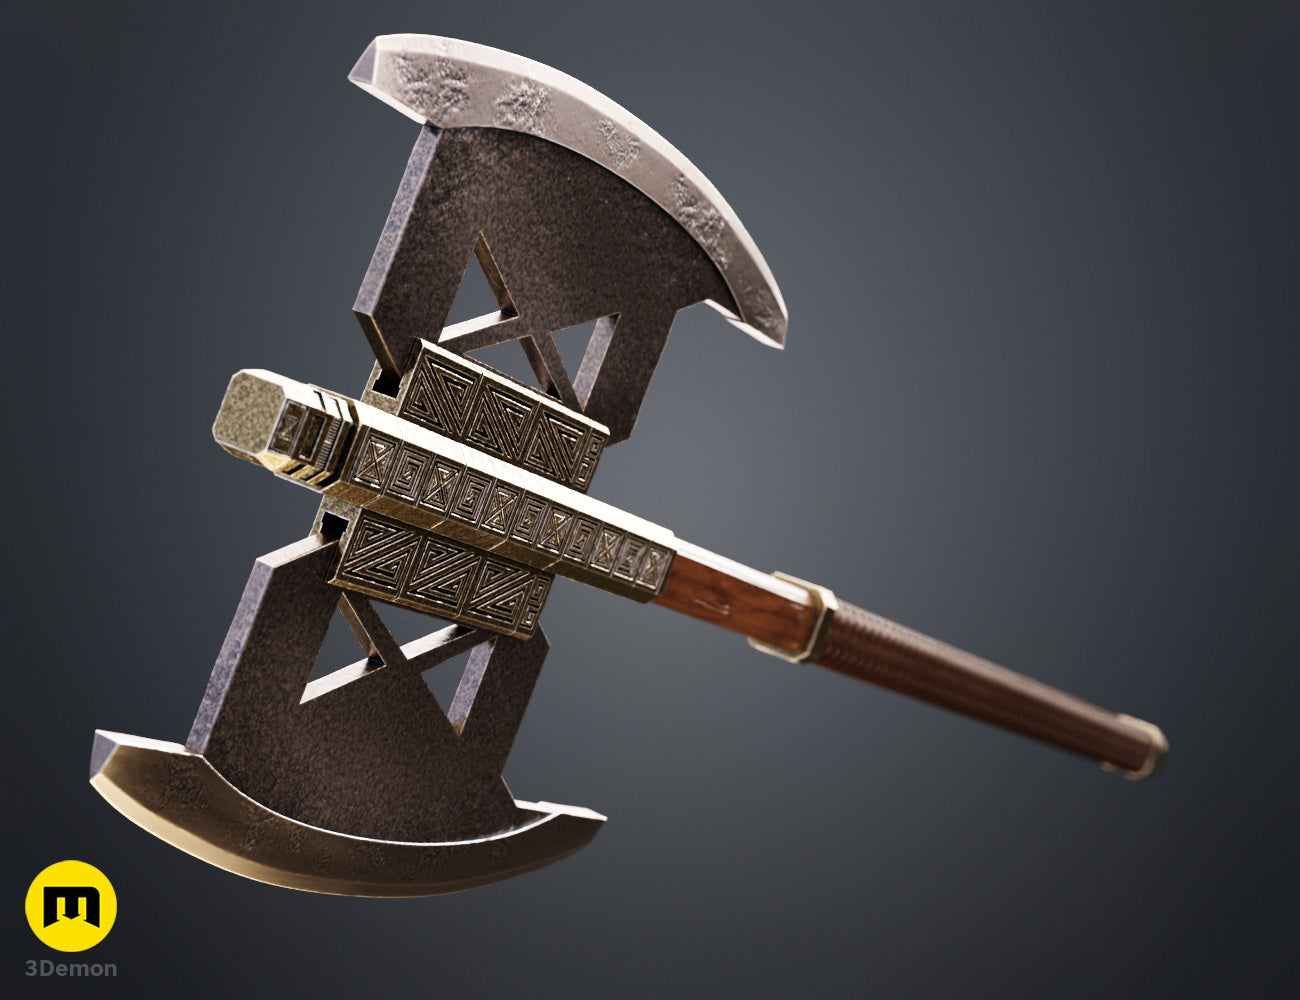
Also built using the Print and Glue path, with one extra step: printed connection pegs inserted into the bottom of the handle to line up the assembly and keep everything seated correctly before gluing.
Just like the Bearded Axe, a wood dowel rod runs through the handle for internal support, and the final assembly was done with super glue.
Printer used: Prusa XL or Bambu Lab P1S, as parts of this 3D model needed multiple colours printed in a single piece.
When slicing, pay attention to the small gold dots on the top and bottom of the handle. Again, if you do not own any of these printers, you are able to print these pieces with colour changes on the Prusa MK4S or MK3S printers. It is very important to note that you will not be able to have the small gold dots on the handle ends if you choose to do the colour change. The pieces with a single colour can be printed on either Prusa MK4S or MK3S, or could use Prusa XL or Bambu Lab P1S as well.
Rod and peg reinforcement: A wood dowel rod runs through the handle for internal support, and printed connection pegs insert into the bottom of the handle to help with the assembly process. Below are pictures of both the rod and connection pegs to give you a better idea of what you are dealing with.
Example of a wooden rod and where connection pegs can be inserted
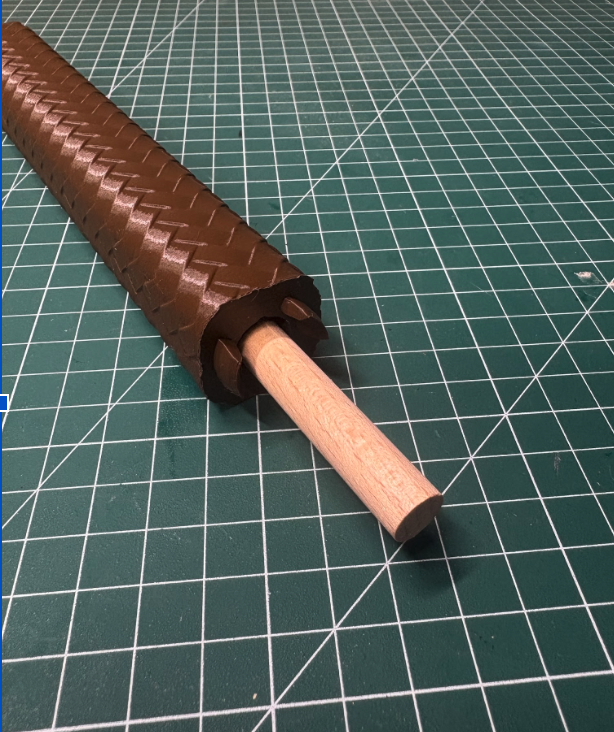
Assembly process: Very similar to the first axe, first organise the pieces in the correct order for assembly. Then the connection pegs were inserted with superglue on the bottom handle (the only handle without connection pegs printed onto the handle). Measure the rod for the correct length. After this, the wooden rod can be inserted just like the first axe. Finally, everything was joined together with superglue to secure the axe.
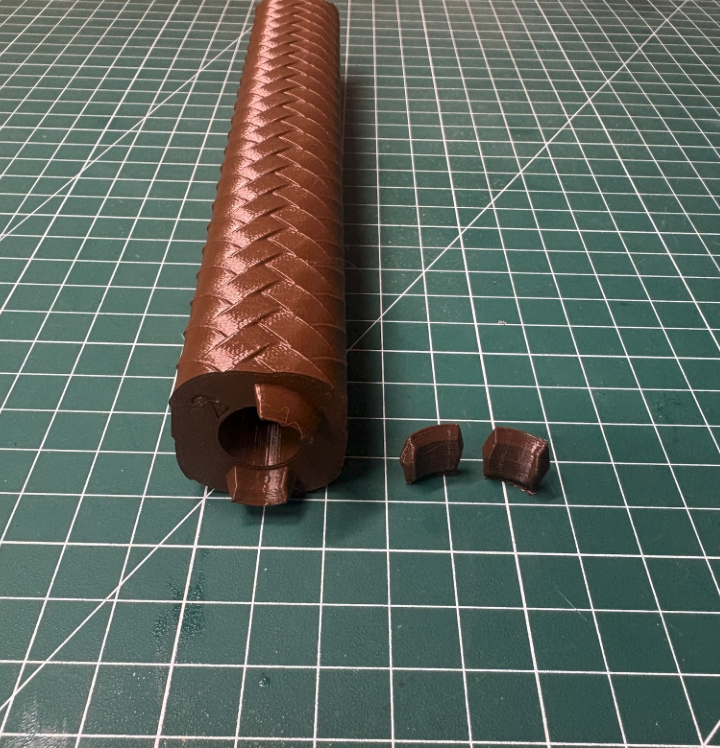
In the photo above, you can see the handle with connection pegs printed on it.
Sometimes you need to print the pegs separately and insert them into the handle slots. The reason is simple: printing a the handle requires at least one flat side. If the handle has texture on upper side, printing the pegs as separate pieces keeps the bottom surface flat for a smooth print.
Axe Three and Four: The Throwing Axes
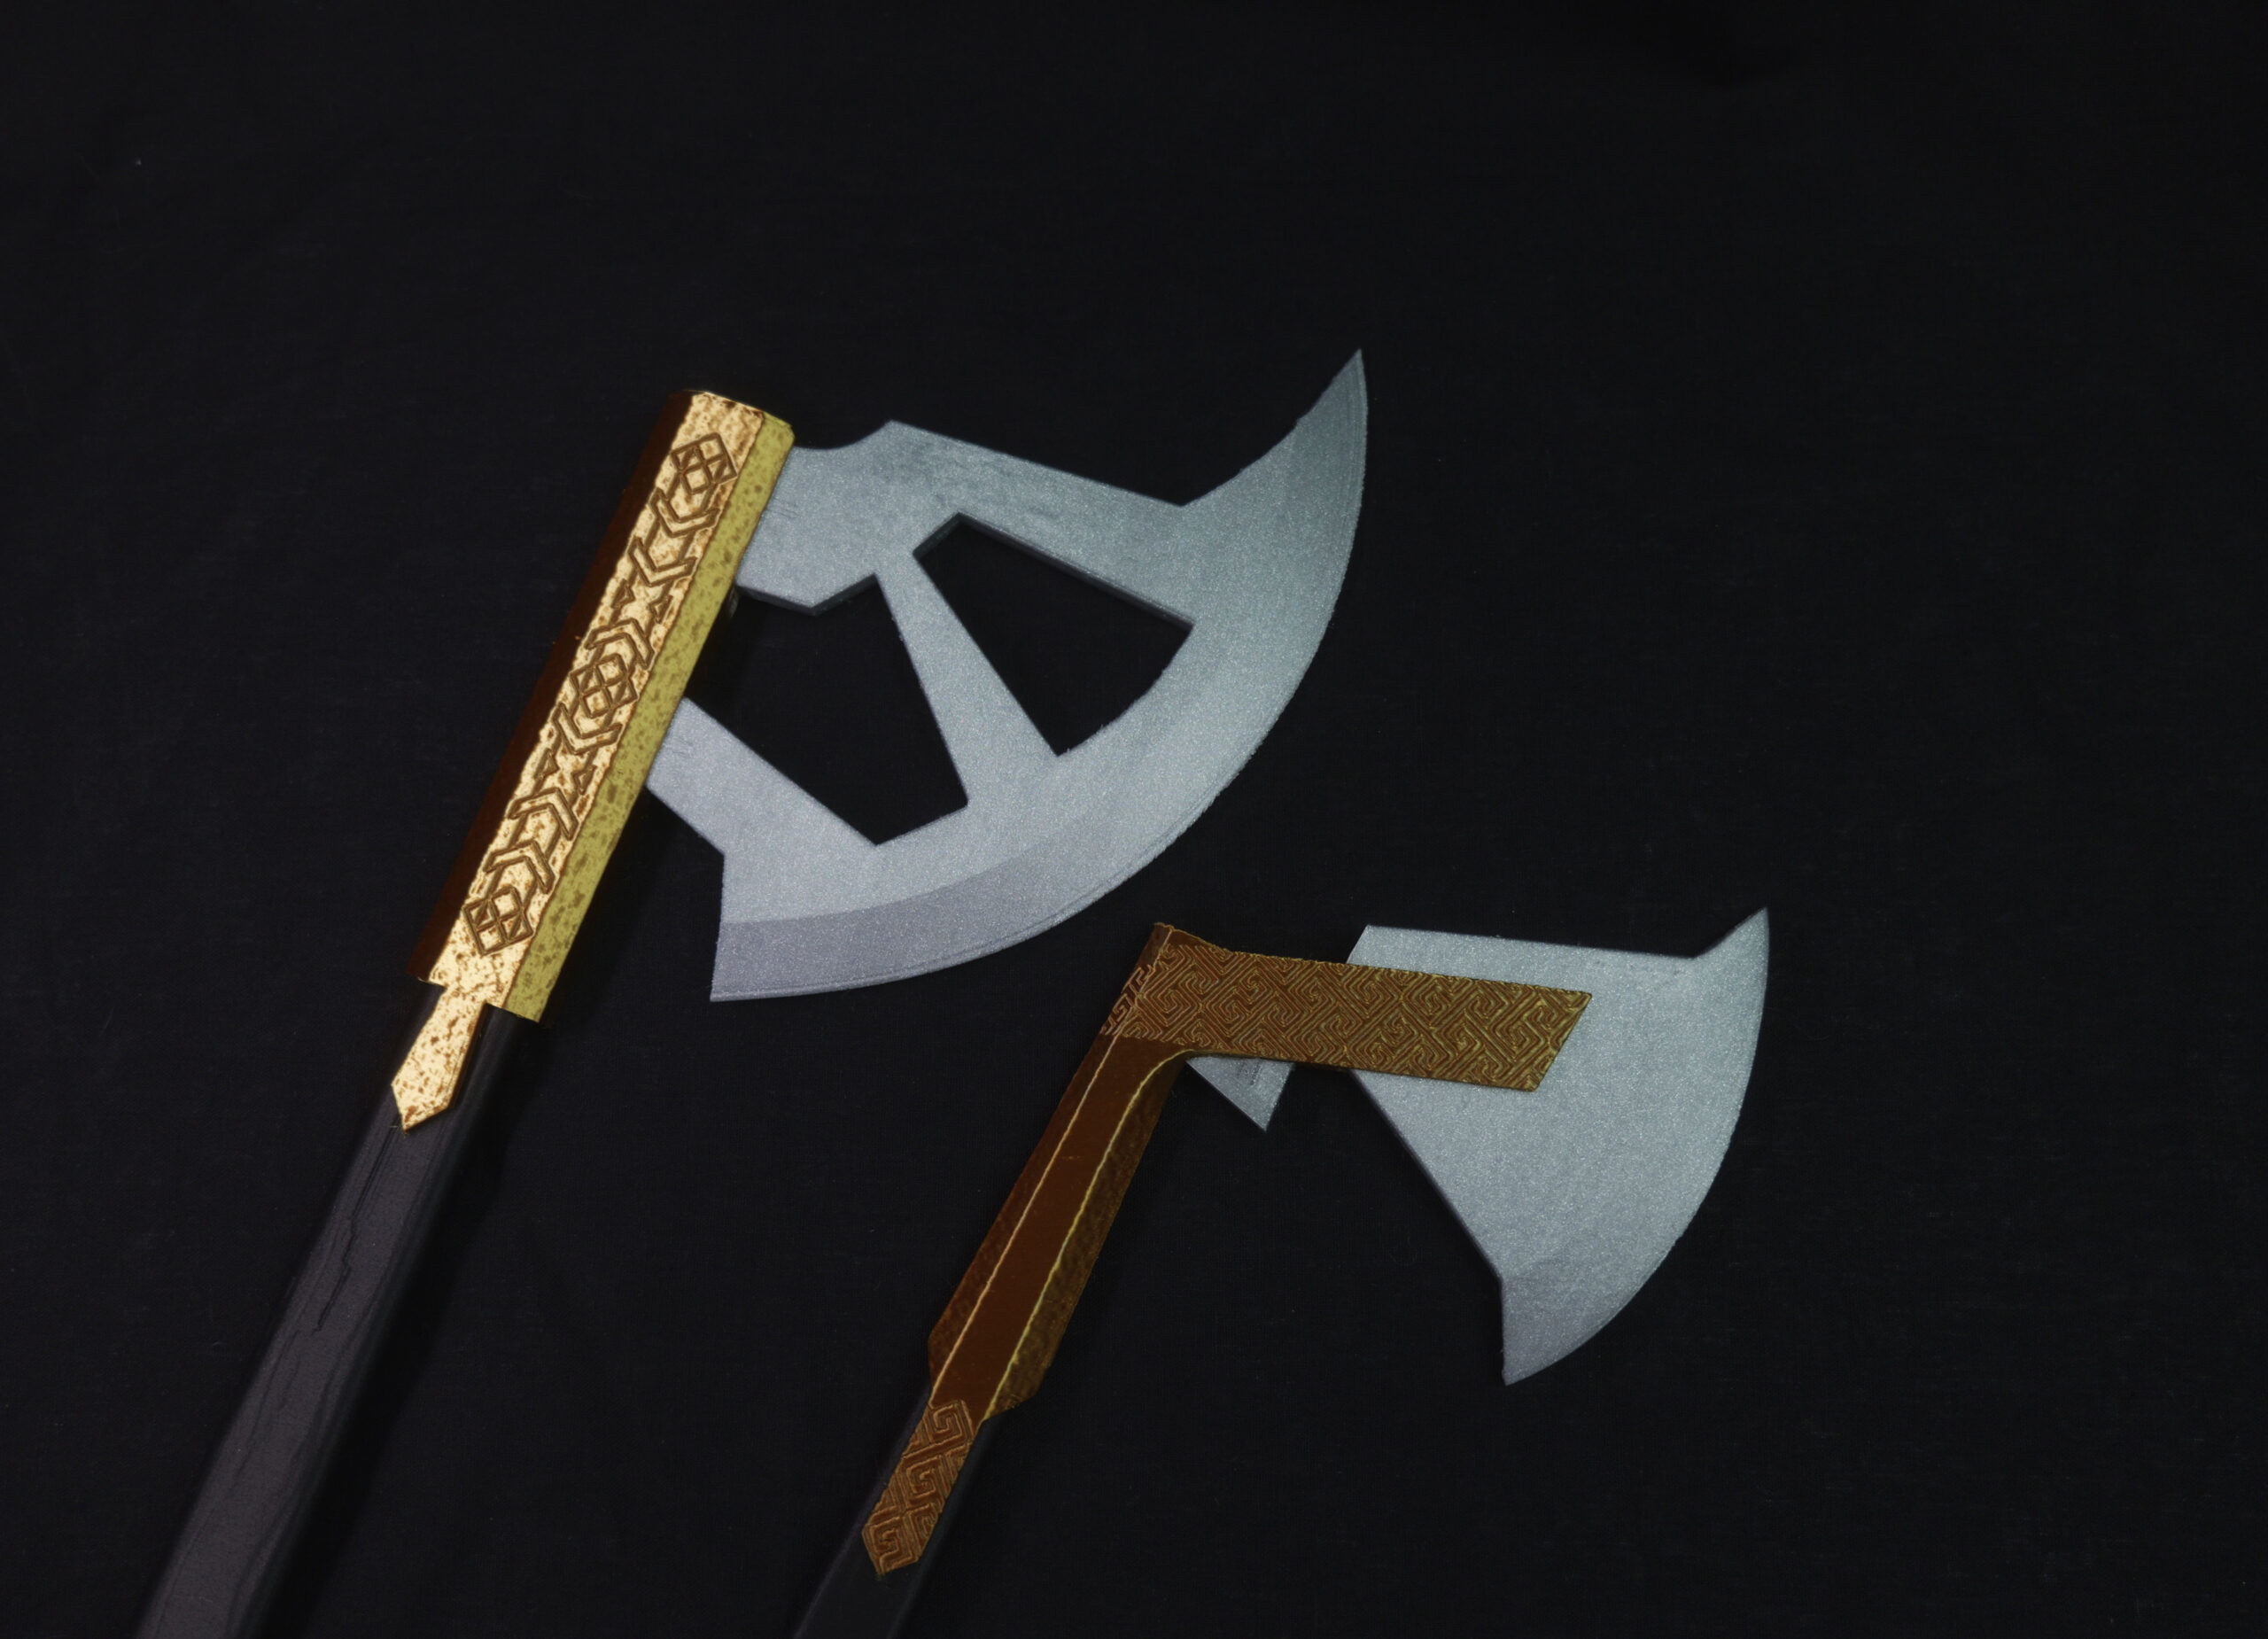
The simplest build of the set. These were 3D printed in the correct colours and assembled with super glue; no rod reinforcement or painting needed, making them a quick and easy build for the Gimli cosplay set.
Assembly process: Pieces were 3D printed and assembled directly with super glue, with the help of small connection pegs. The image below shows the different pieces and how simple this build really is.

Axe Five: The Walking Axe: Full Detail Build
The Walking Axe is where we slowed down and treated the 3D print like a display-quality replica prop, using the Print, post-process, and detail path. I listed easy-to-follow steps if you choose to make this or any of the previous axes in great detail.
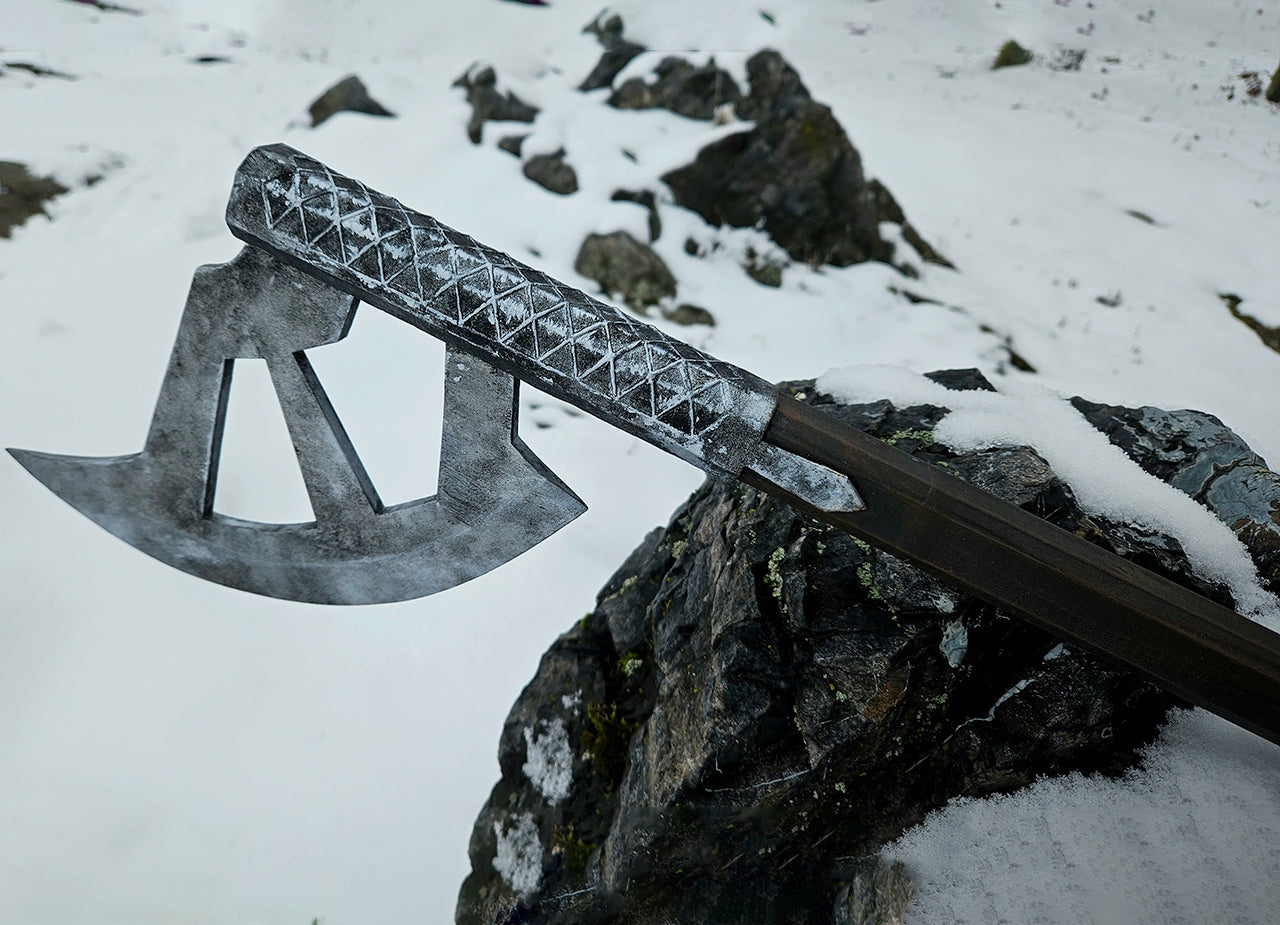
Process steps in order:
- Files preparation + Slicer
- Printing (ABS+PLA)
- Sanding
- Gluing
- Filling
- Spraying
- Hand-painting details
- Tada!
Step 1: Preparing the Files in PrusaSlicer
I started by downloading all the STL files. You can find them here 🌟
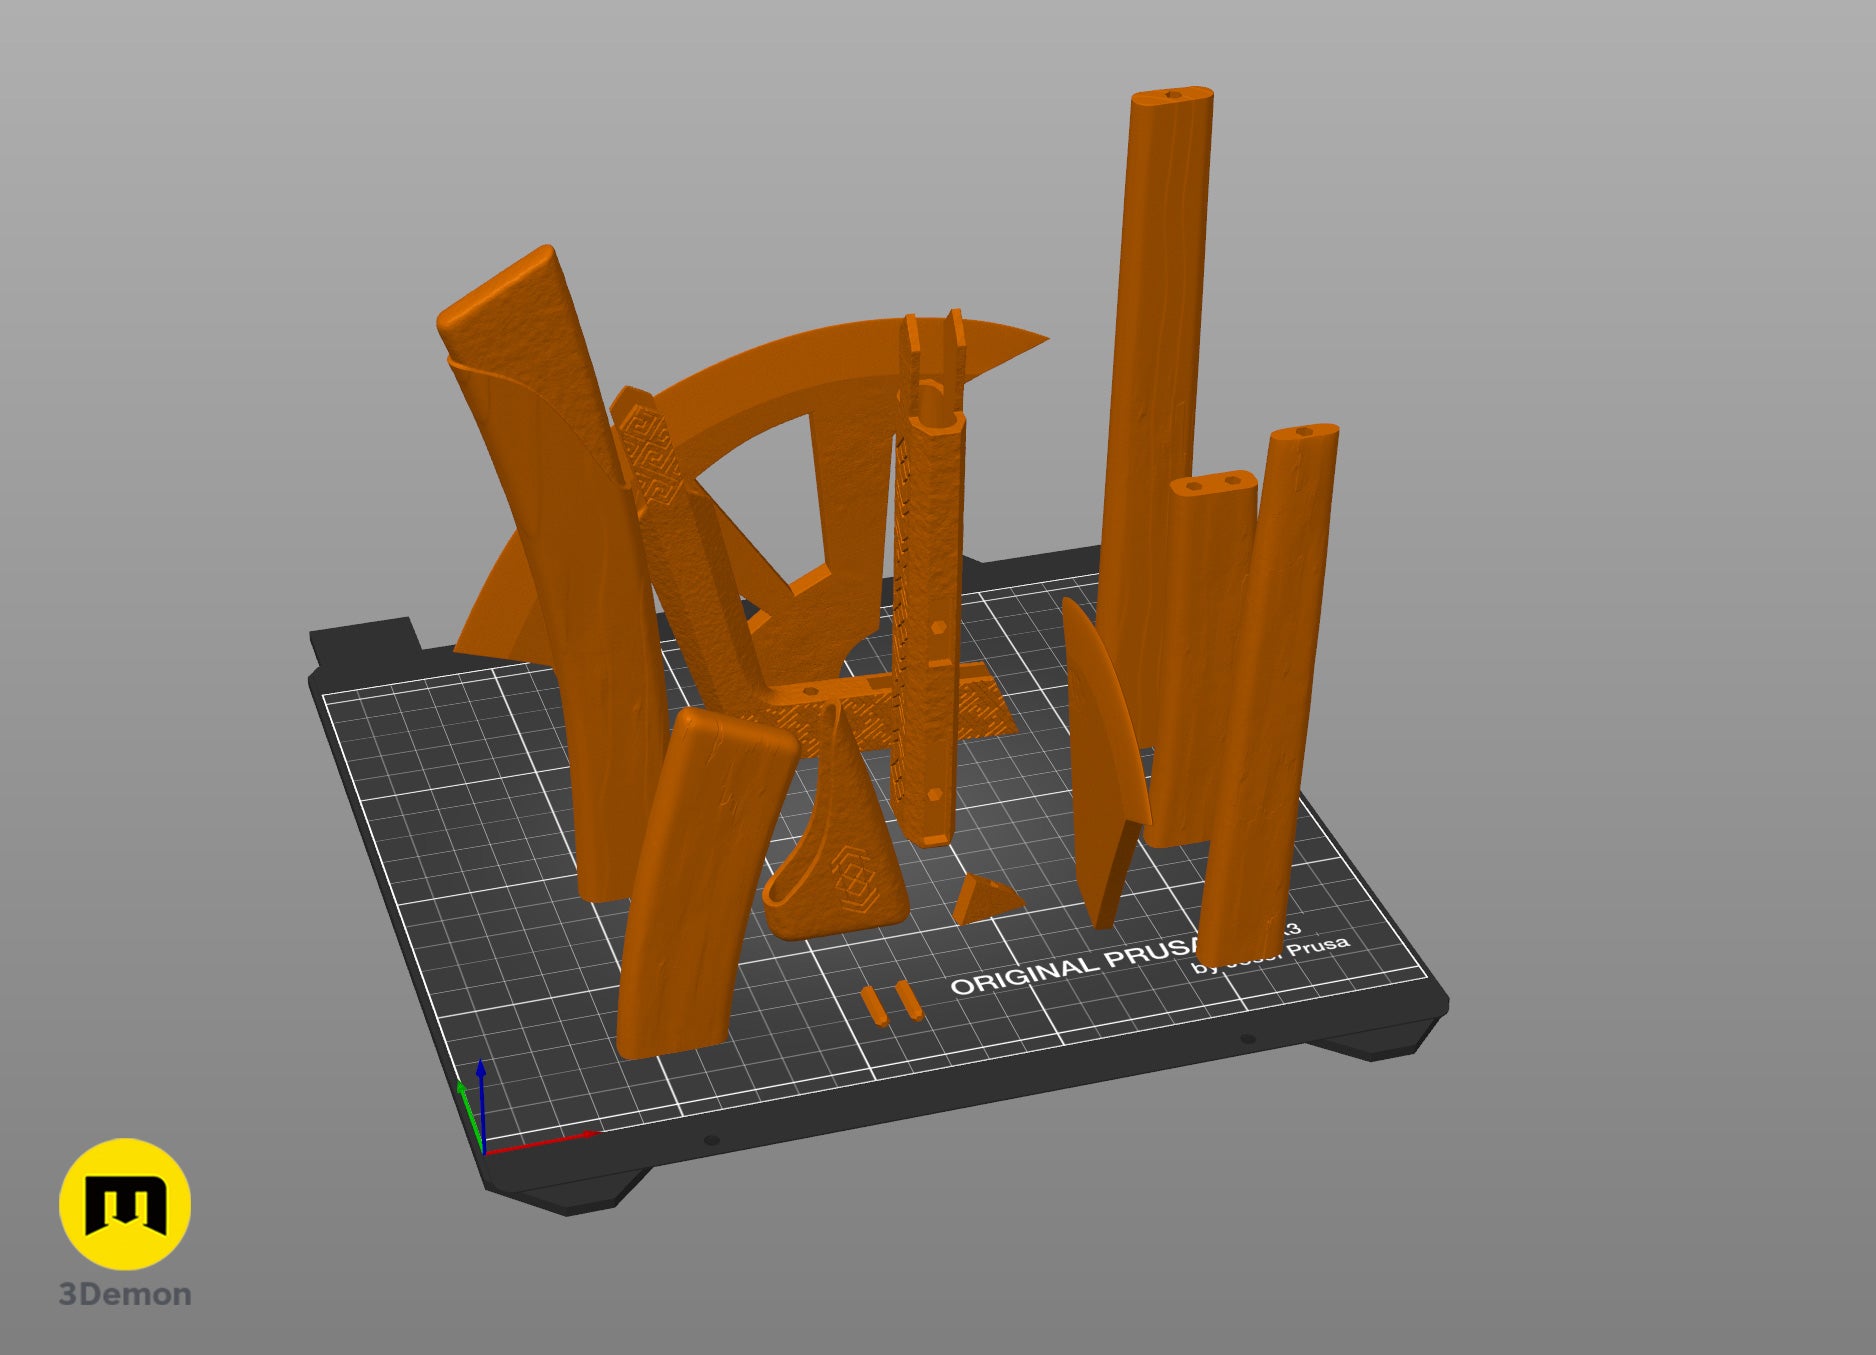
Then I imported them all into PrusaSlicer. You can also open the 3MF project file, where all parts are already arranged for the best possible printing results 🙌.
I placed the handle parts and the blade itself on separate beds, because I used ABS for the blade and PLA for the handle parts.
ABS filament, which holds up better under heavy sanding, which will be needed to make the blade smooth.
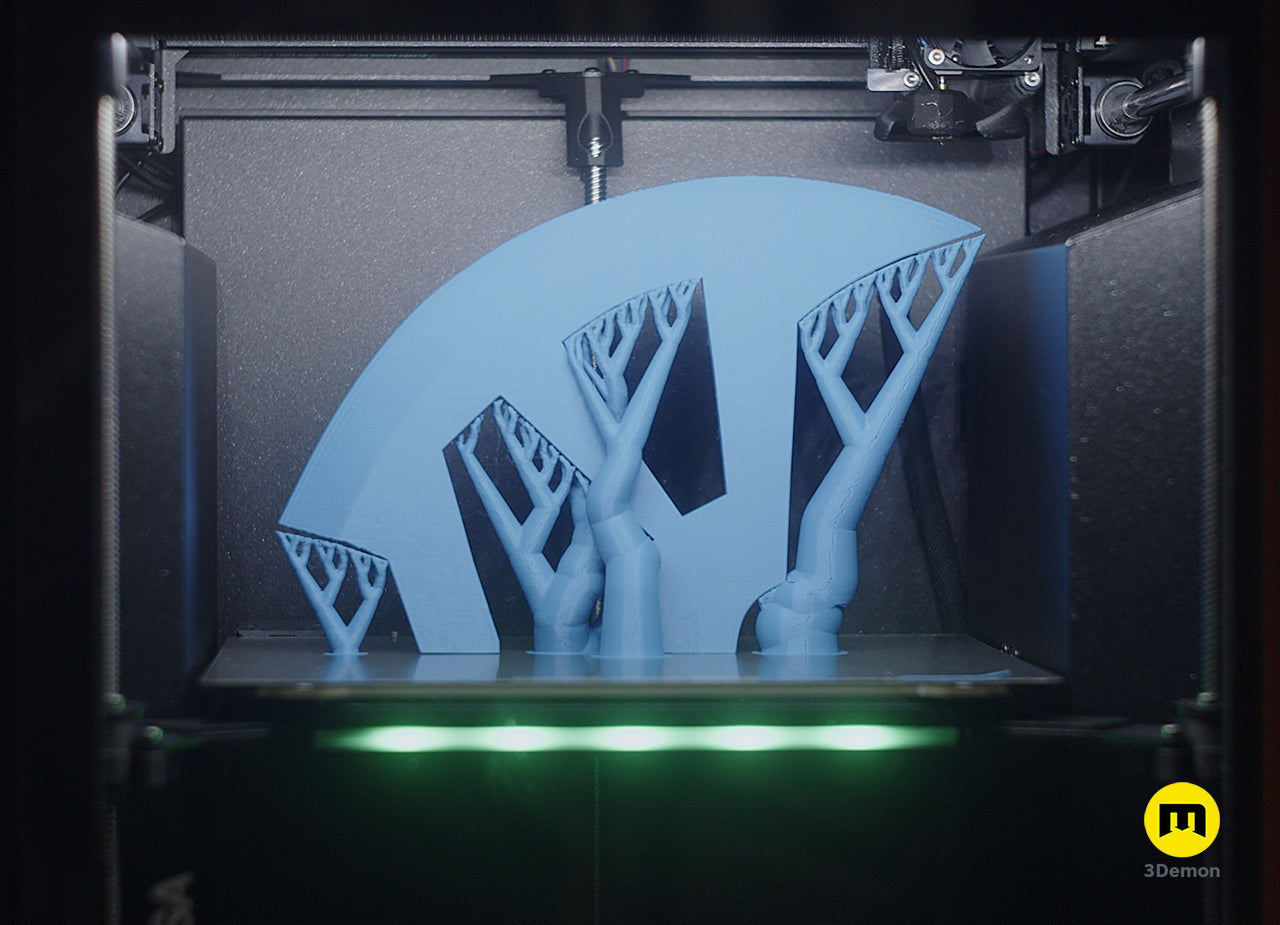
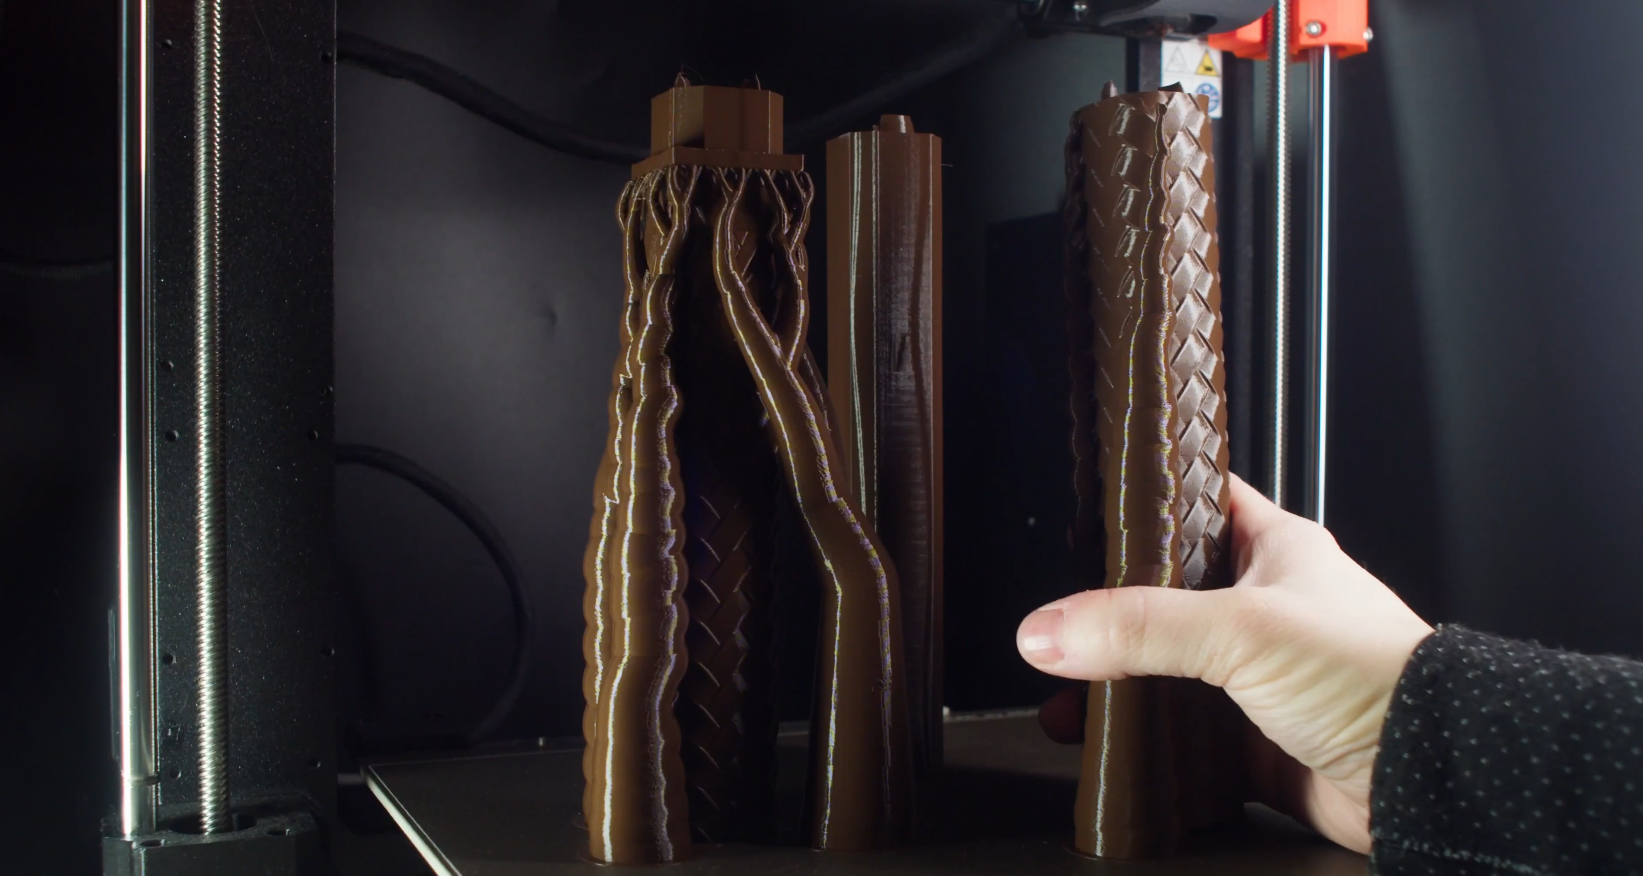
Handle sections are fine to be printed in PLA since they need less surface work. I also hand-painted forced supports to make the taller bits more stable.
I used a layer height of 0.15 mm to make the sanding process easier.
For your inspiration, I placed all the pieces as shown in the photo. It all printed well.
Step 2: 3D Printing
I printed the blade with an ABS filament.
Using PLA is fine, but the post-processing phase – especially sanding – will be a little less pleasant than if you used ABS from the beginning.
As mentioned in the previous step, all handle sections were printed in PLA.
After printing, remove any supports and clean up the parts before assembly.
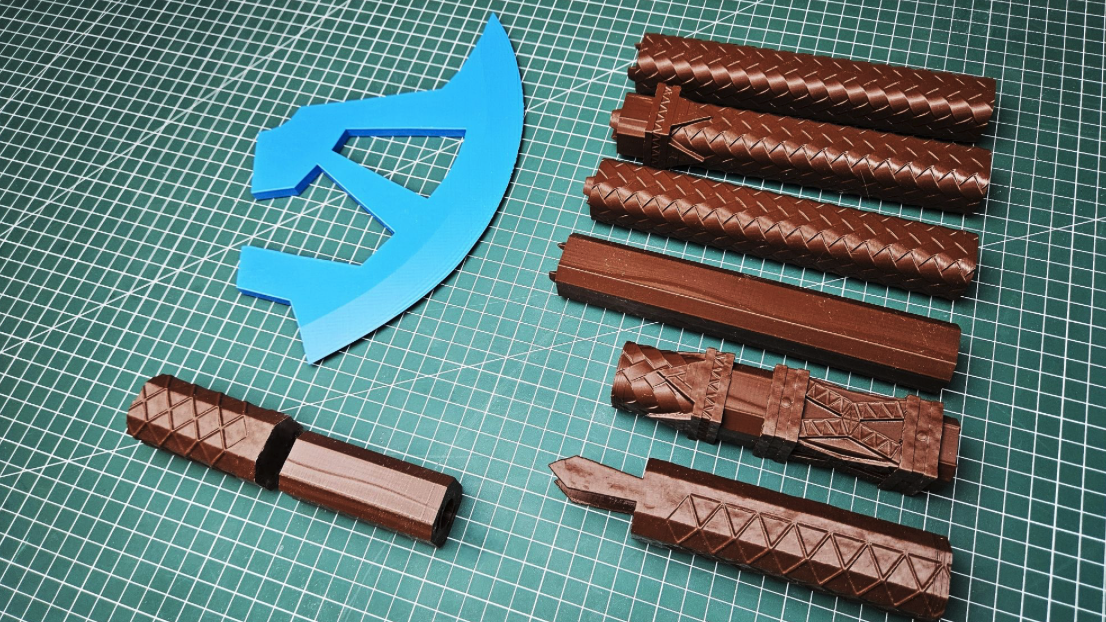
What I suggest you do before assembly as well is to do a dry fitting. That means connecting all the pieces without glue to see if it all fits well. (I recommend doing this because ABS tends to warp a bit. It happened to me on this project, and I had to re-print the blade.
Additionally, you find out that each handle piece includes a hollow channel to accept a wood dowel rod for internal reinforcement as well as a unique number. Numbers on each part guide you in the assembly process, making it feel like a breeze.
Check tolerances and discover the right length of dowel needed.
Step 3: Sanding
Before gluing the parts together, I gave the printed pieces a first round of sanding.
This step helps remove the most visible layer lines and rough spots. It also prepares the surface for filler, which works better when the part is already cleaned up a little.
I used an electric sander, but it is possible to do it all by hand. It will just take longer 🙂
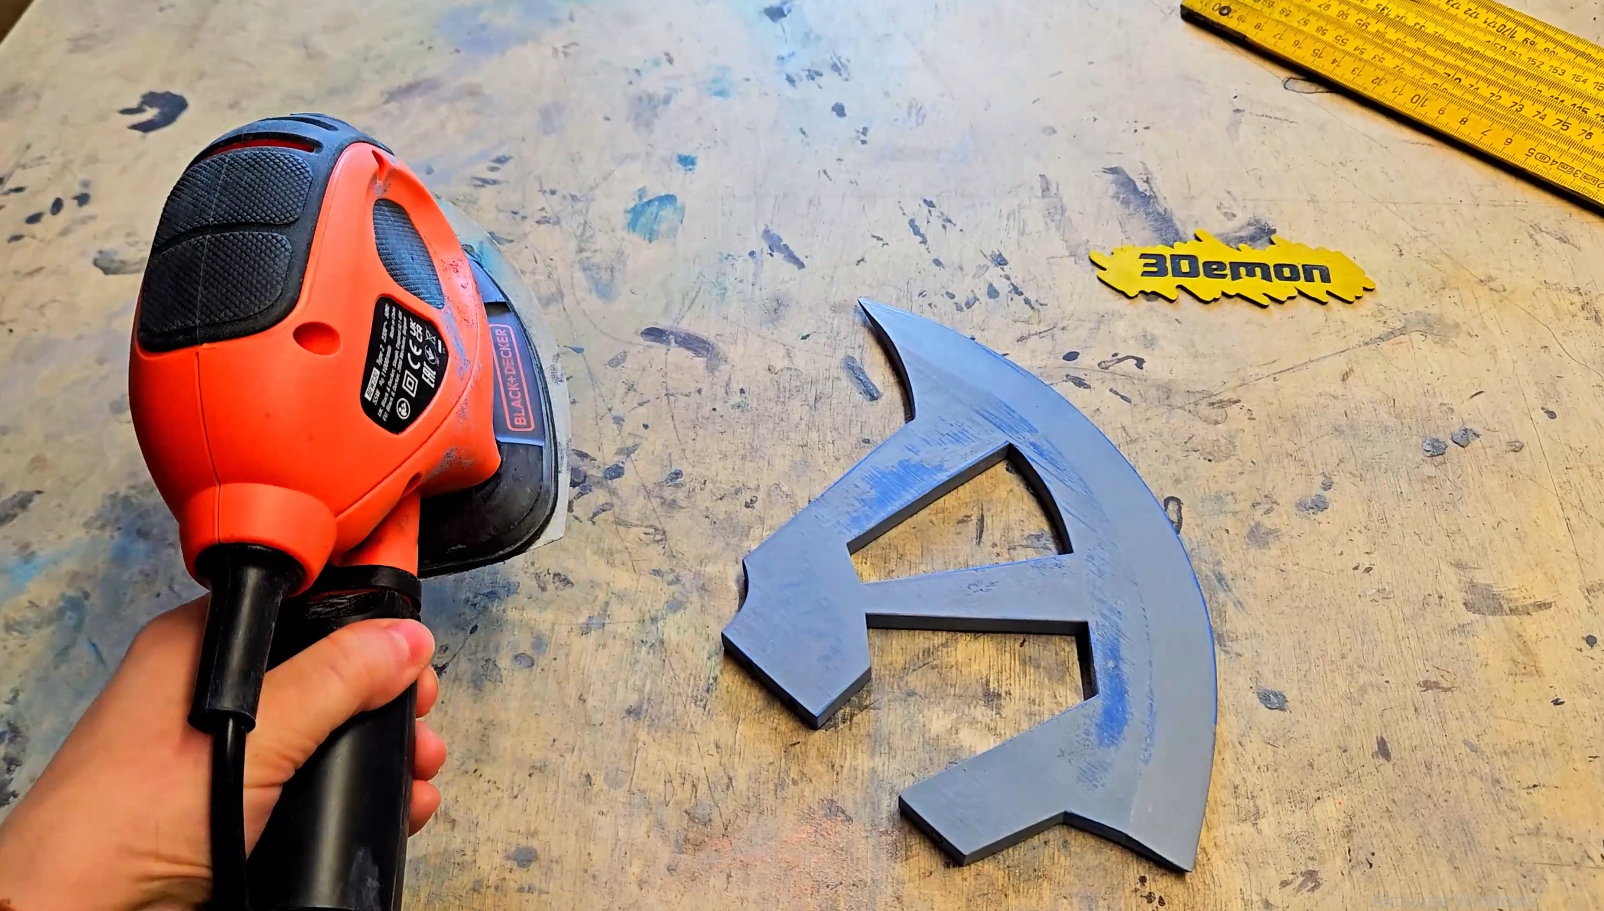
You do not need to make everything perfect yet. This is just the first pass. 🙂
When you finish the first pass, take your time and sand all pieces again with gradually finer sandpaper. Remember that you always go from lower numbers of grit to higher. Let’s say you use 180-grit paper and build your way with each pass to 800 or even 1000. For instance, I used a 1000 – 2000 grit to do the last sanding pass of the blade.
You can even try wet sanding for an extra smooth effect.
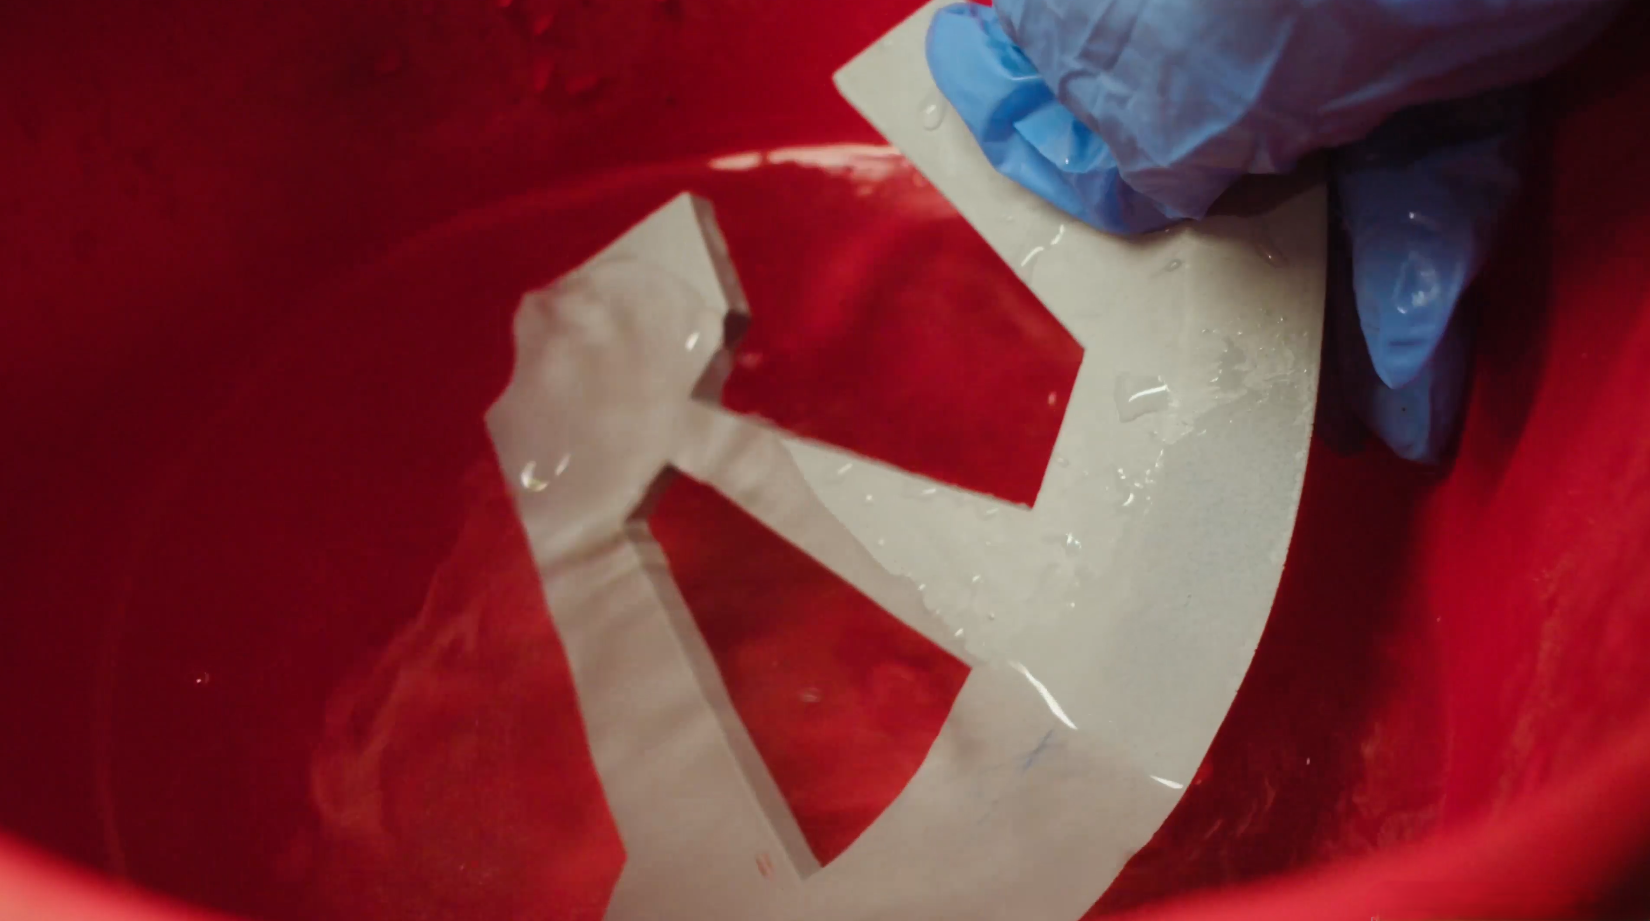
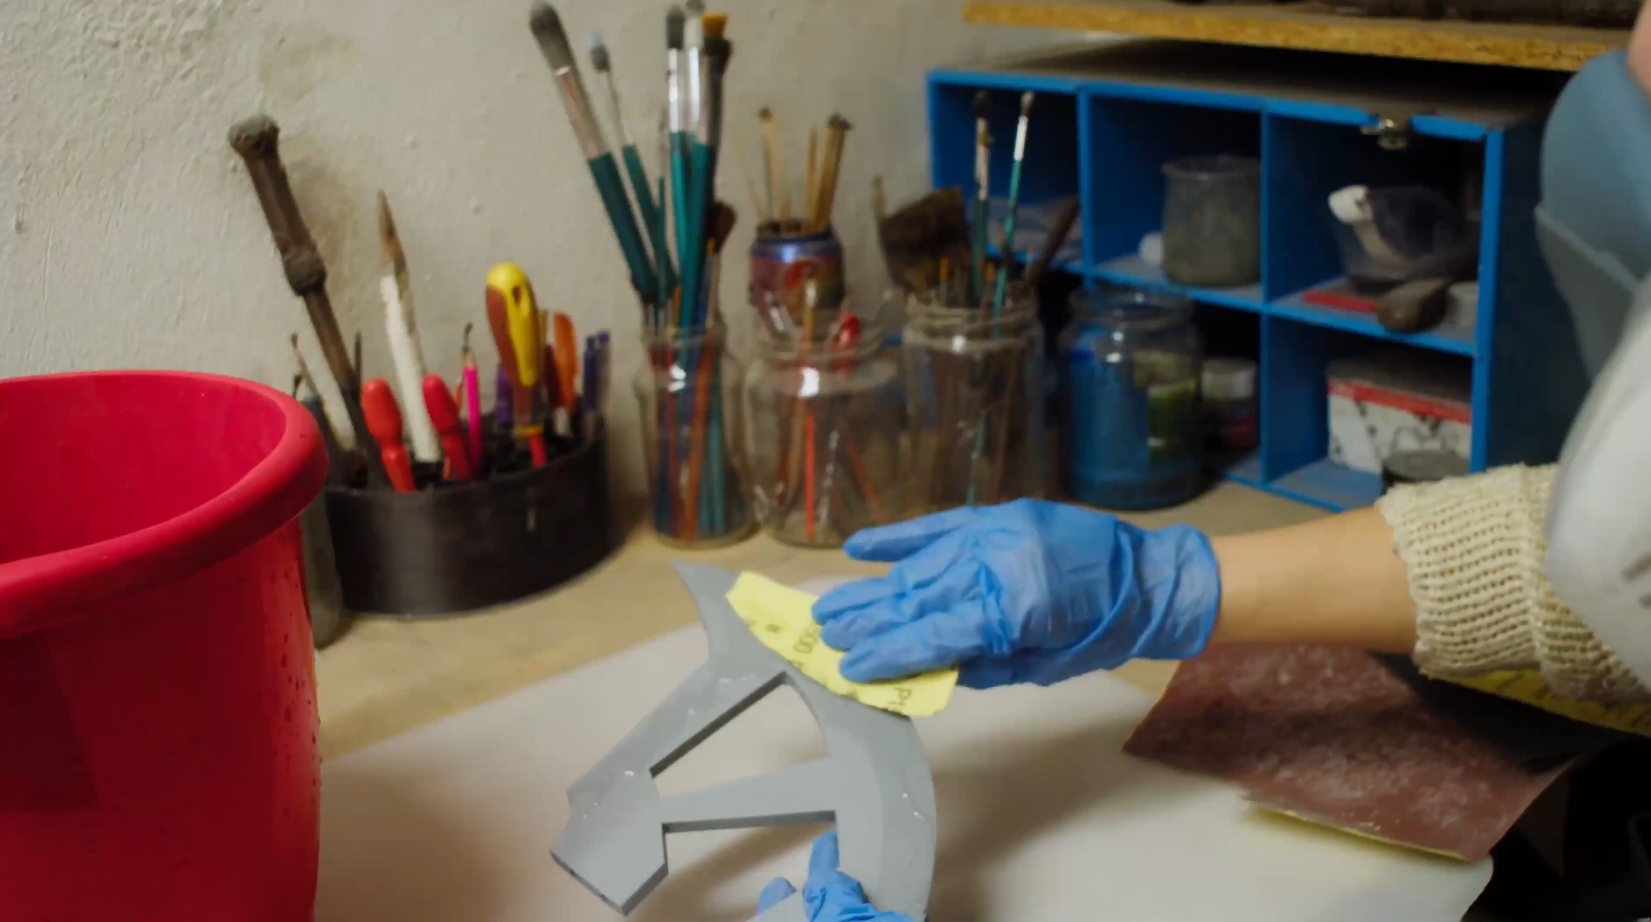
The handle sections don’t need to be sanded as much as the blade, if at all.
I myself gave them only a swift round of sanding and then thick layer filler and it did the trick.
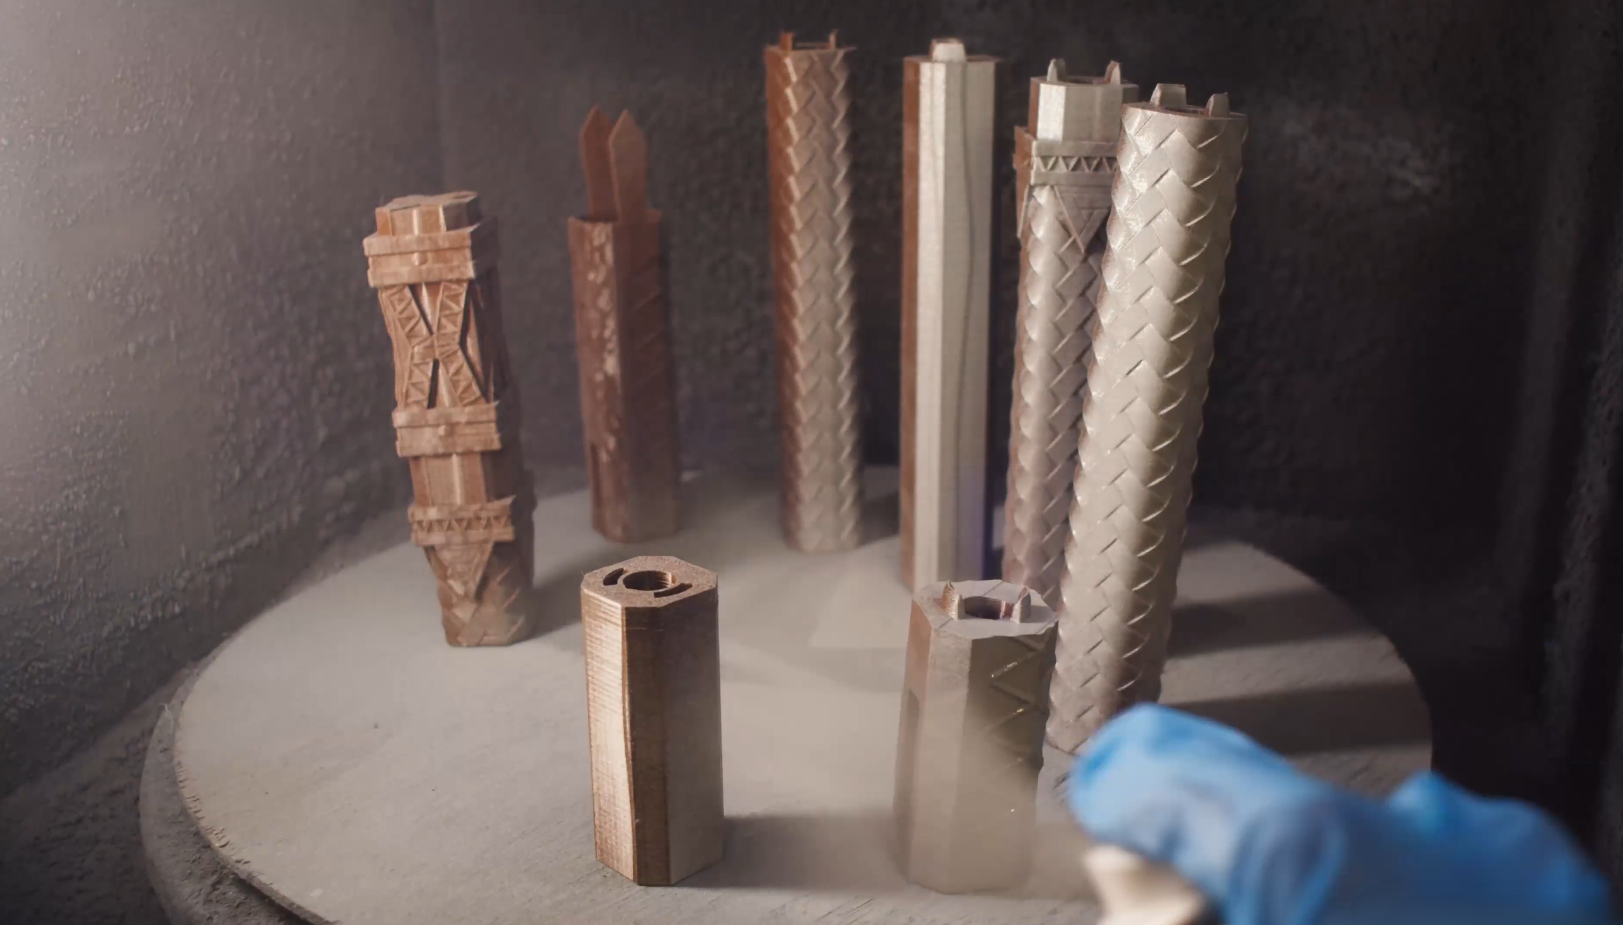
Step 4: Gluing
Once the sanding process was done, I glued it all together using super glue.
As mentioned above, all parts are numbered, which makes the glueing process effortless.
Once you have all handle sections glued together, insert the wooden dowel rod for a firmer build. To be extra safe, you can use a burning tool and burn notches over the seams. This will bond the plastic together; however, you will need to use filler to hide these burnt lines.
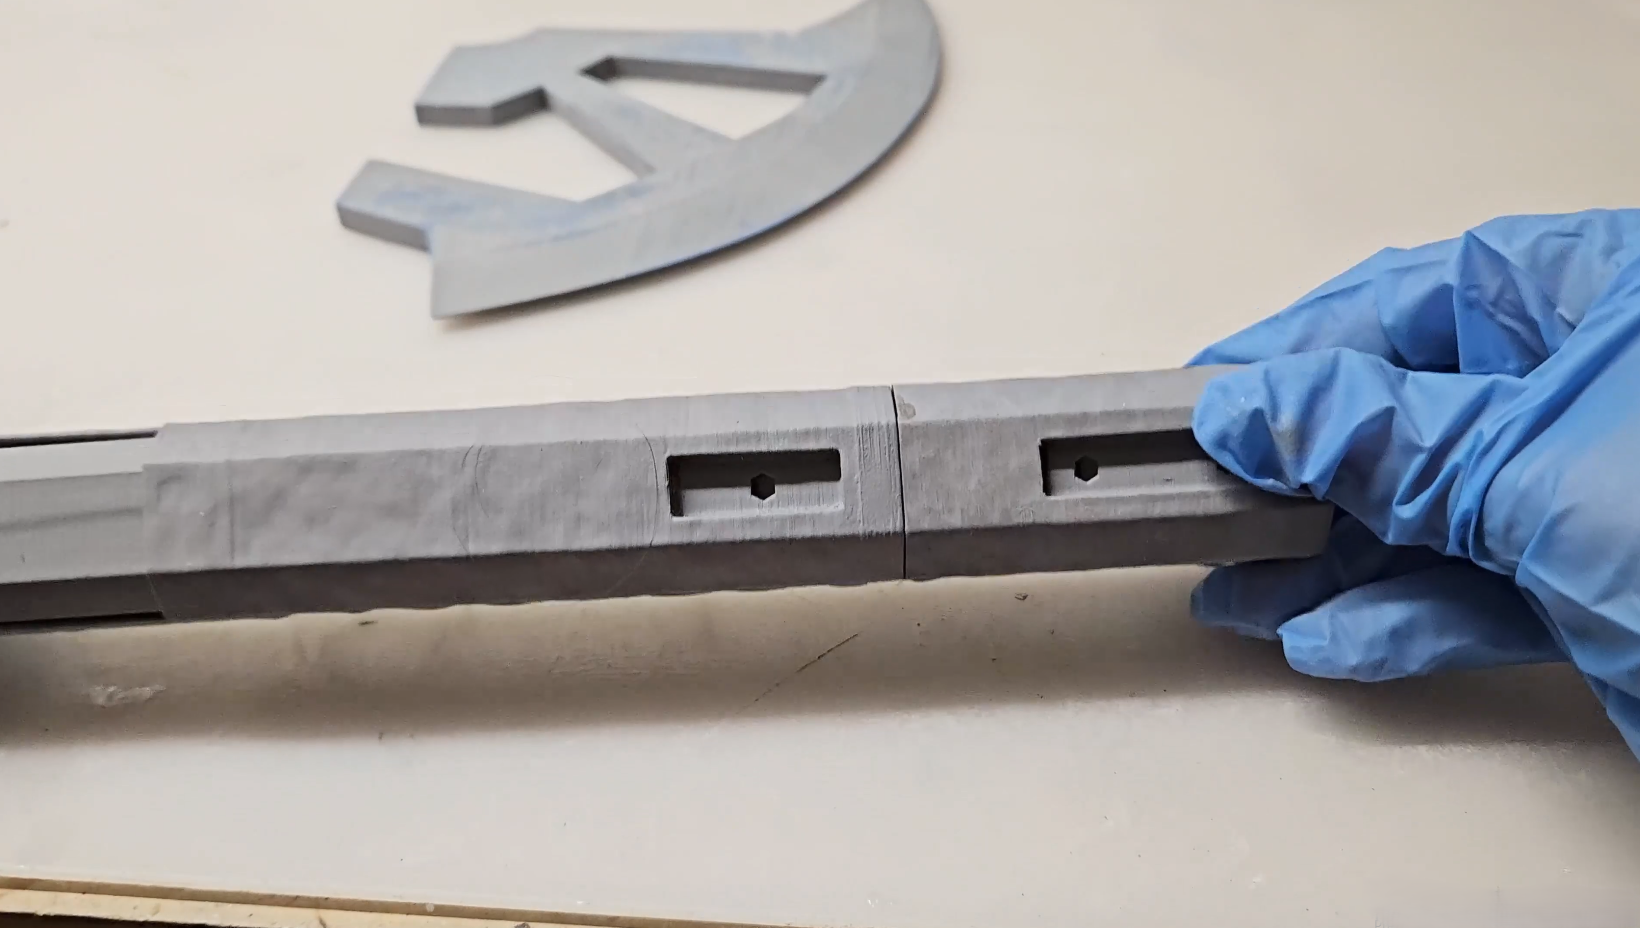
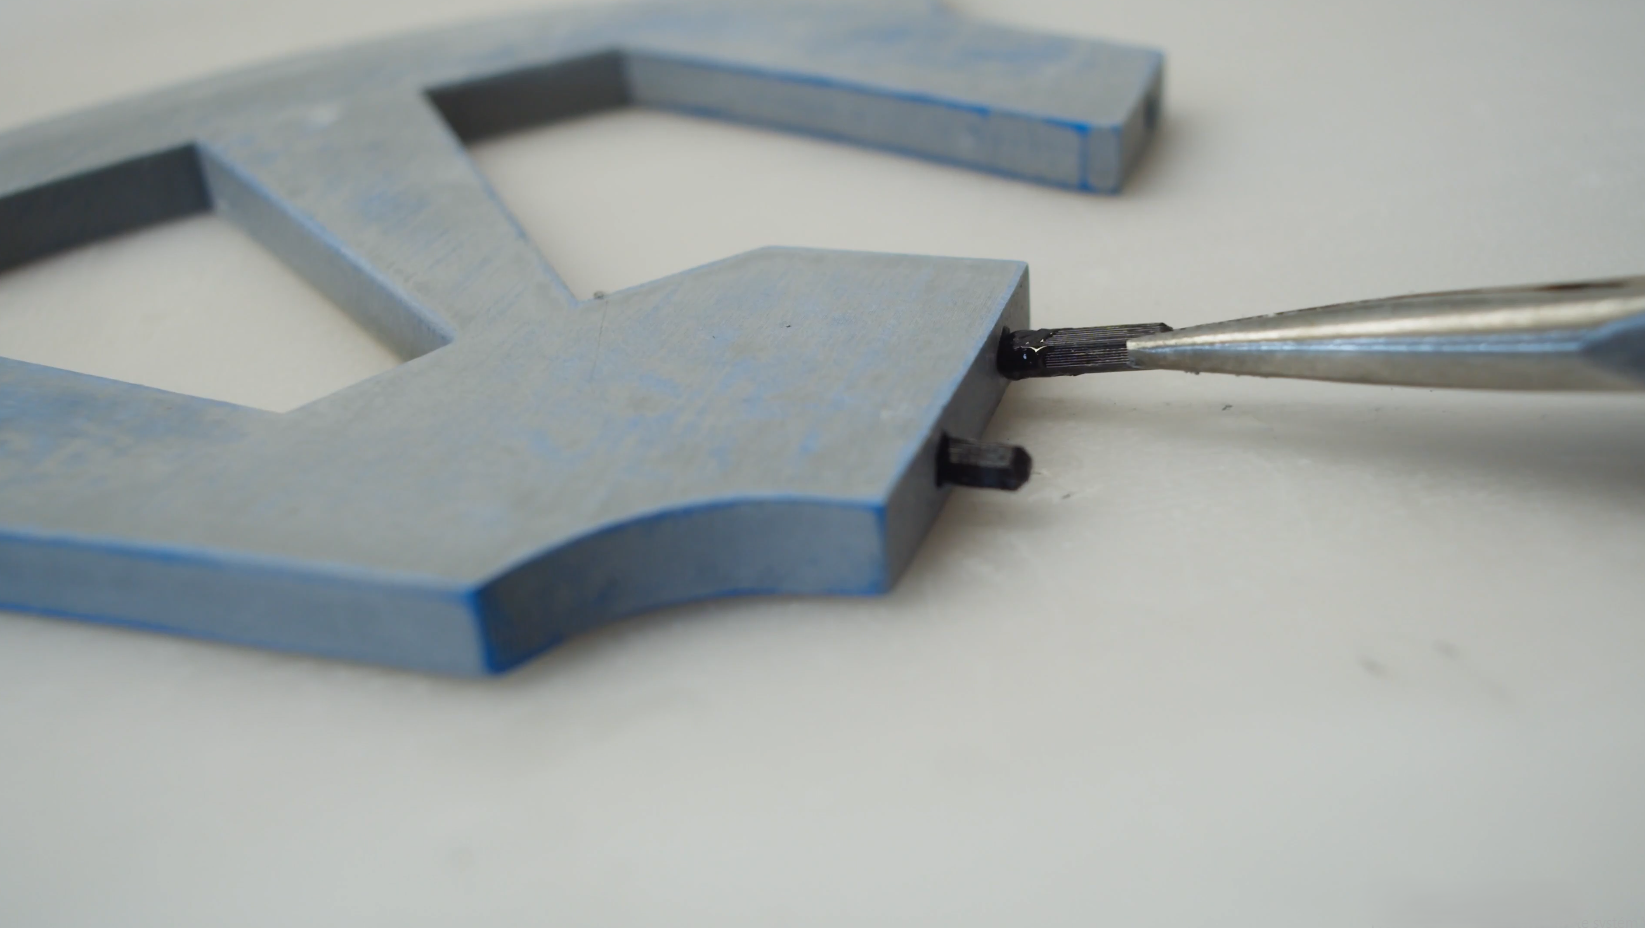
Step 5: Filling
After glueing, I filled the seams and gaps with a sandable 2-part polyester filler. (You can use any sandable filler, with one exception. I found out that wood filler tends to crack in cold temperatures, so I wouldn’t use it unless your prop is meant to stay indoors.)
I let it cure, then sand it down so that the places where the seams are hidden are smooth or replicate the surrounding textures.
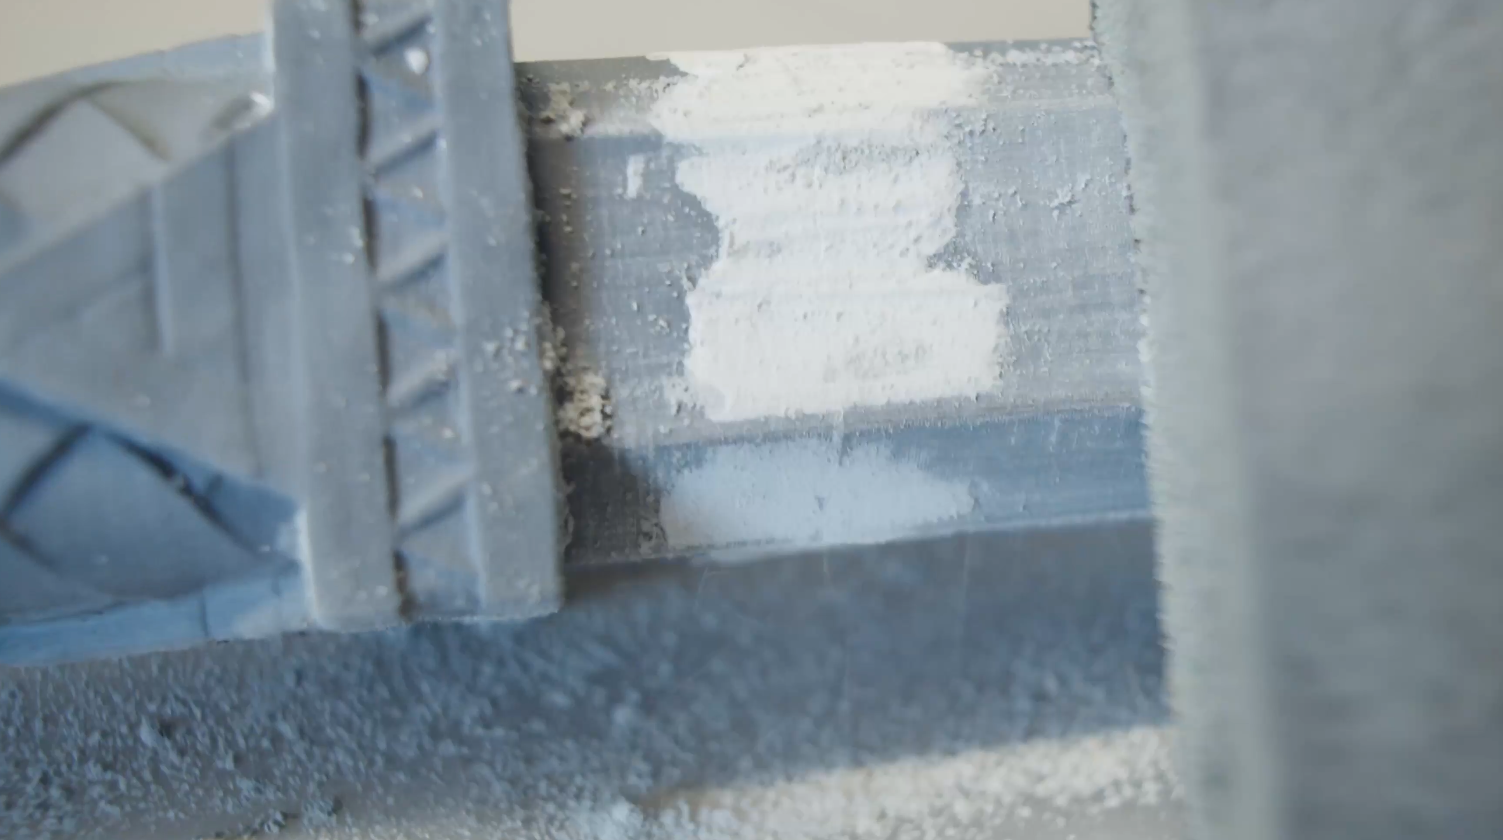
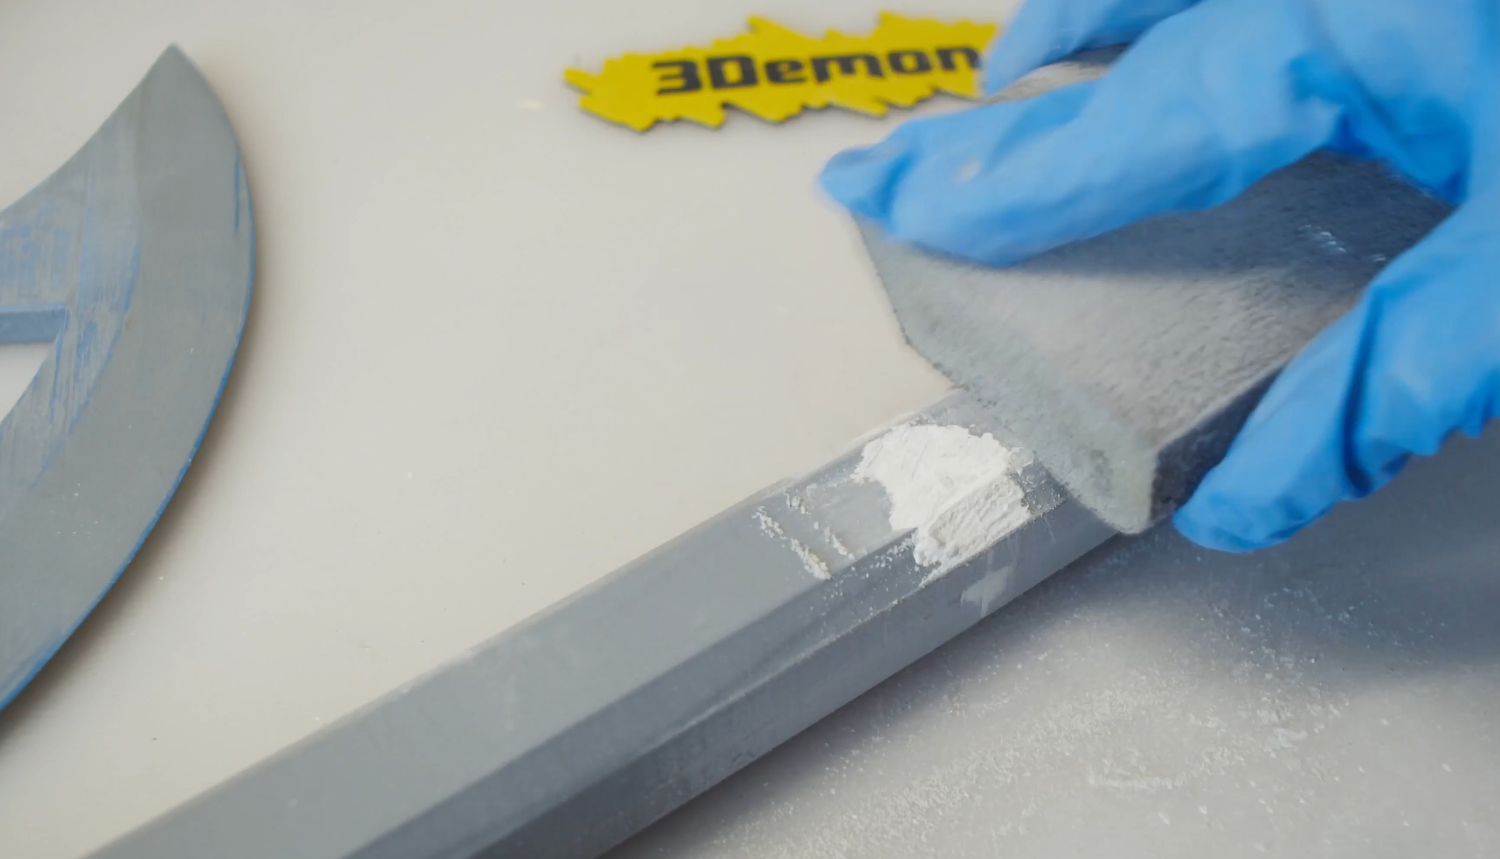
Step 6: Spraying
Glossy Black Base
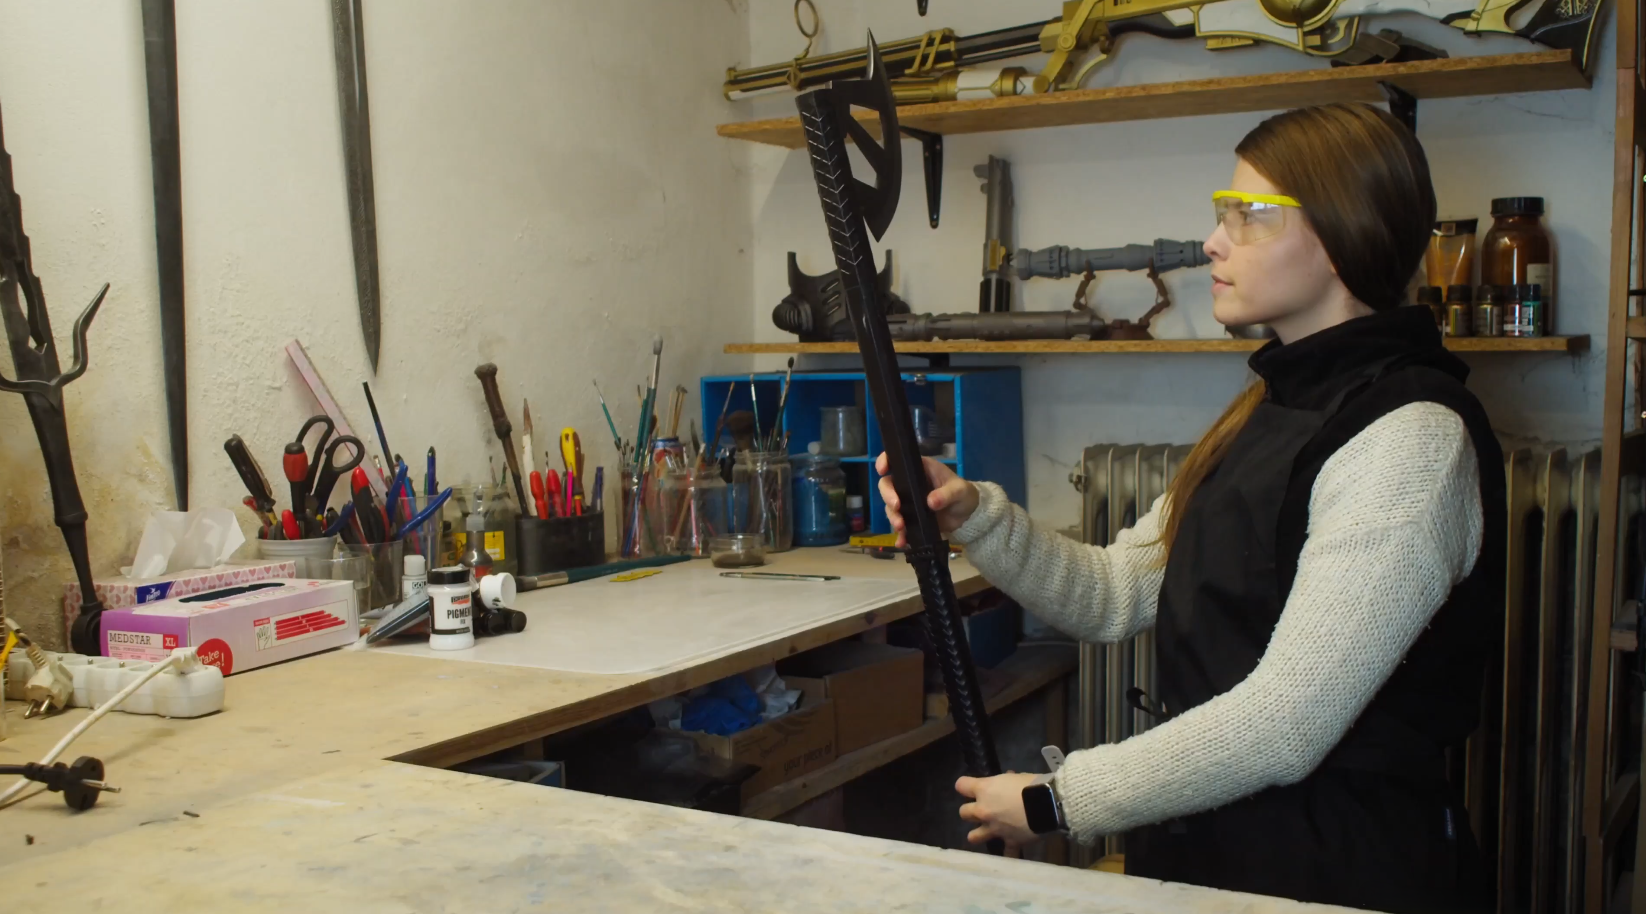
All parts received a black acrylic base coat. I used glossy black acrylic spray paint.
The glossy black base gives the metallic paints a good base for the right shine. In case you don’t have the glossy black paint, it is possible to use white glossy paint. The effect should be the same. A very keen eye would notice that the silver/chrome top coat is a tiny bit lighter if the base was white.
Step 7: Hand painting
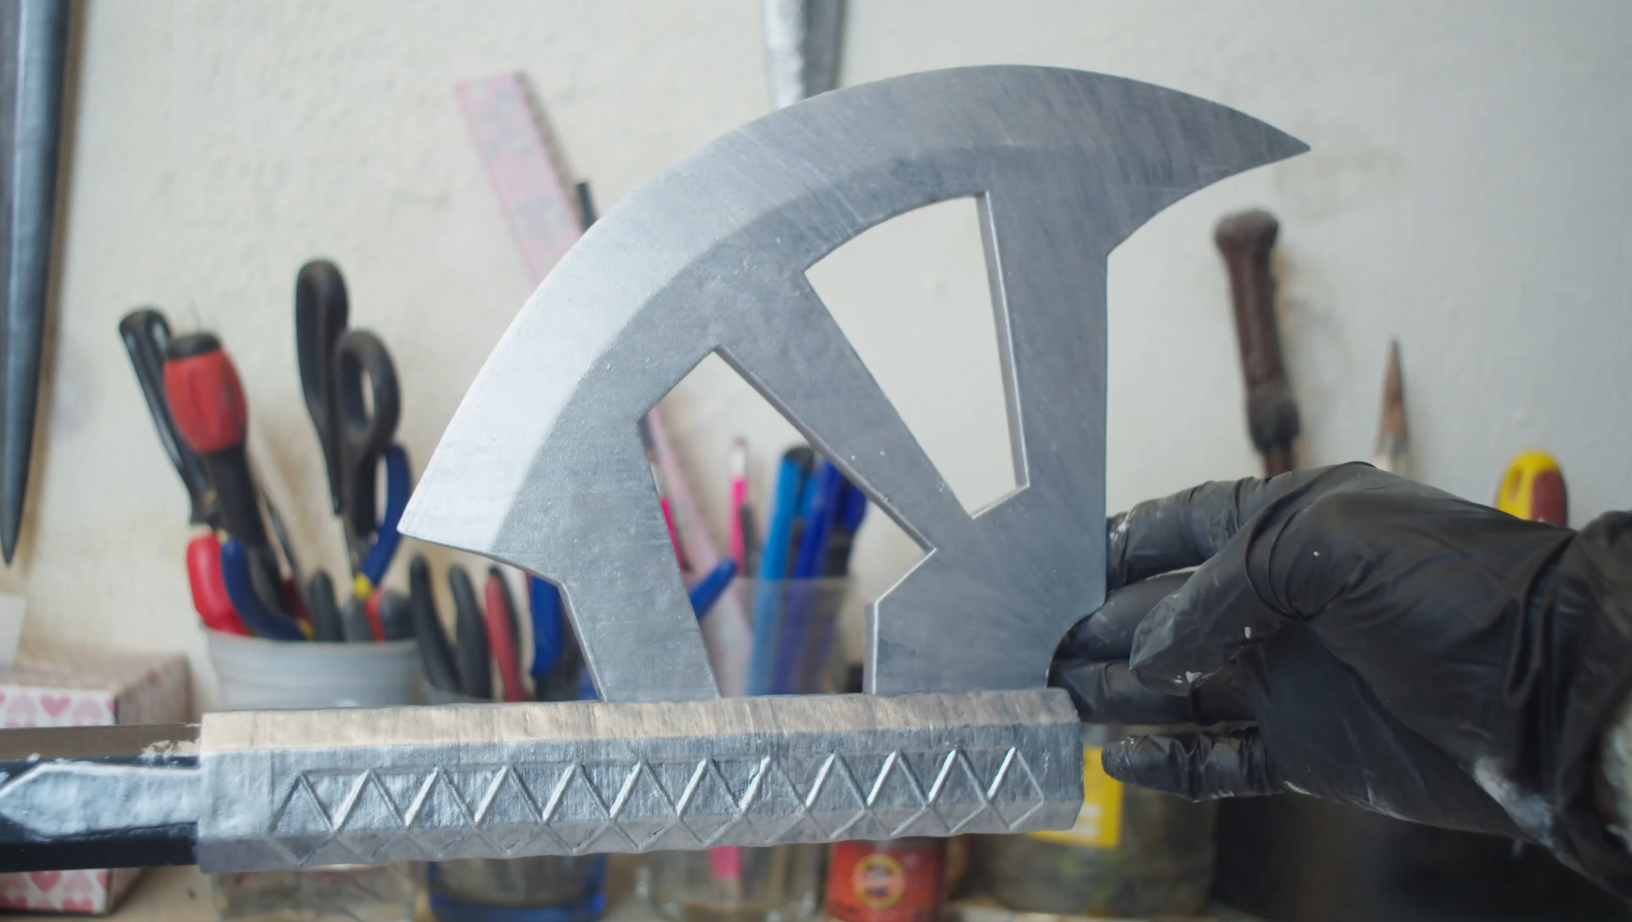
Blade
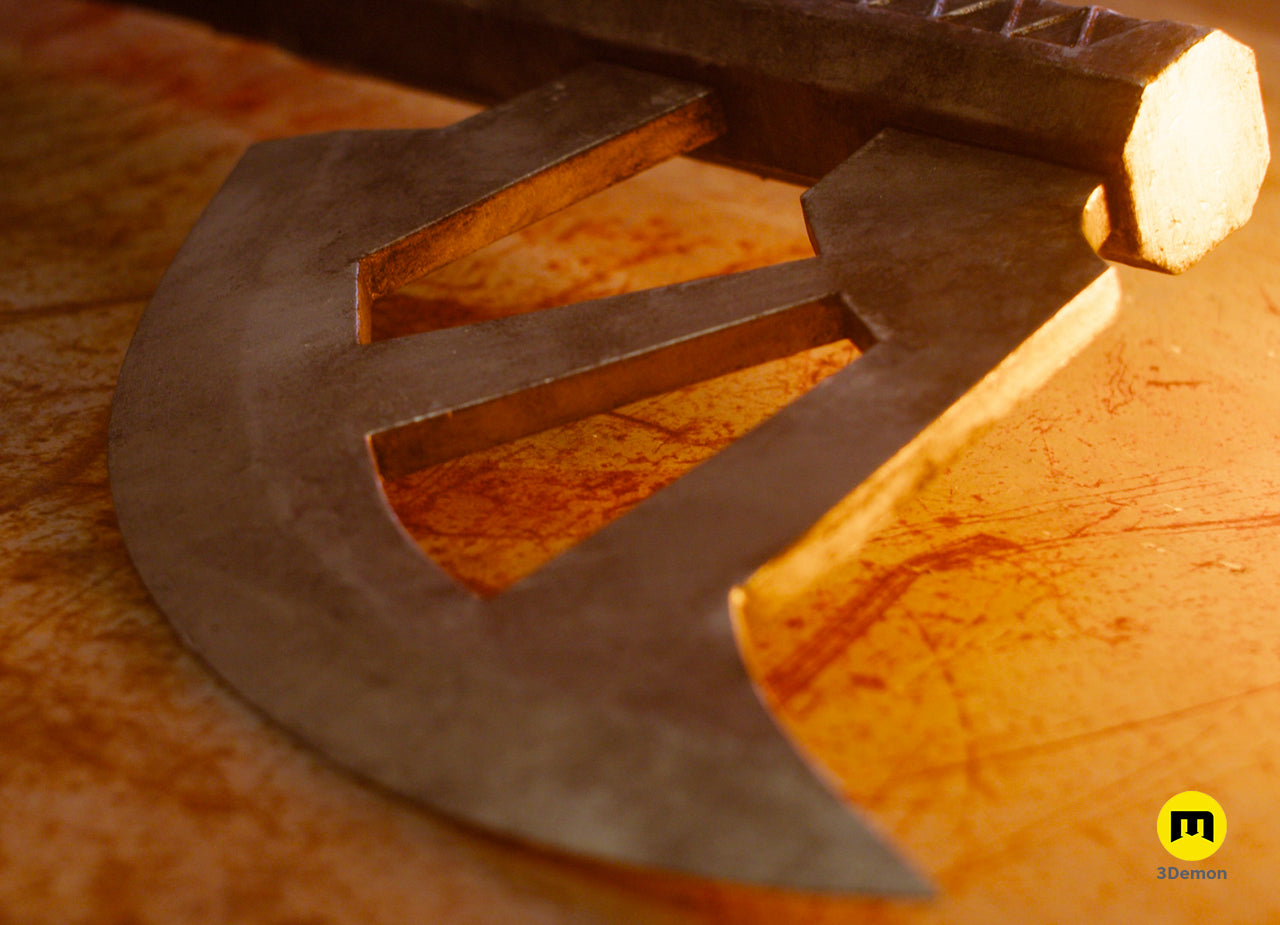
The blade was painted in an iridescent metallic acrylic using a stroke-by-stroke technique to mimic the texture of forged metal fibres.
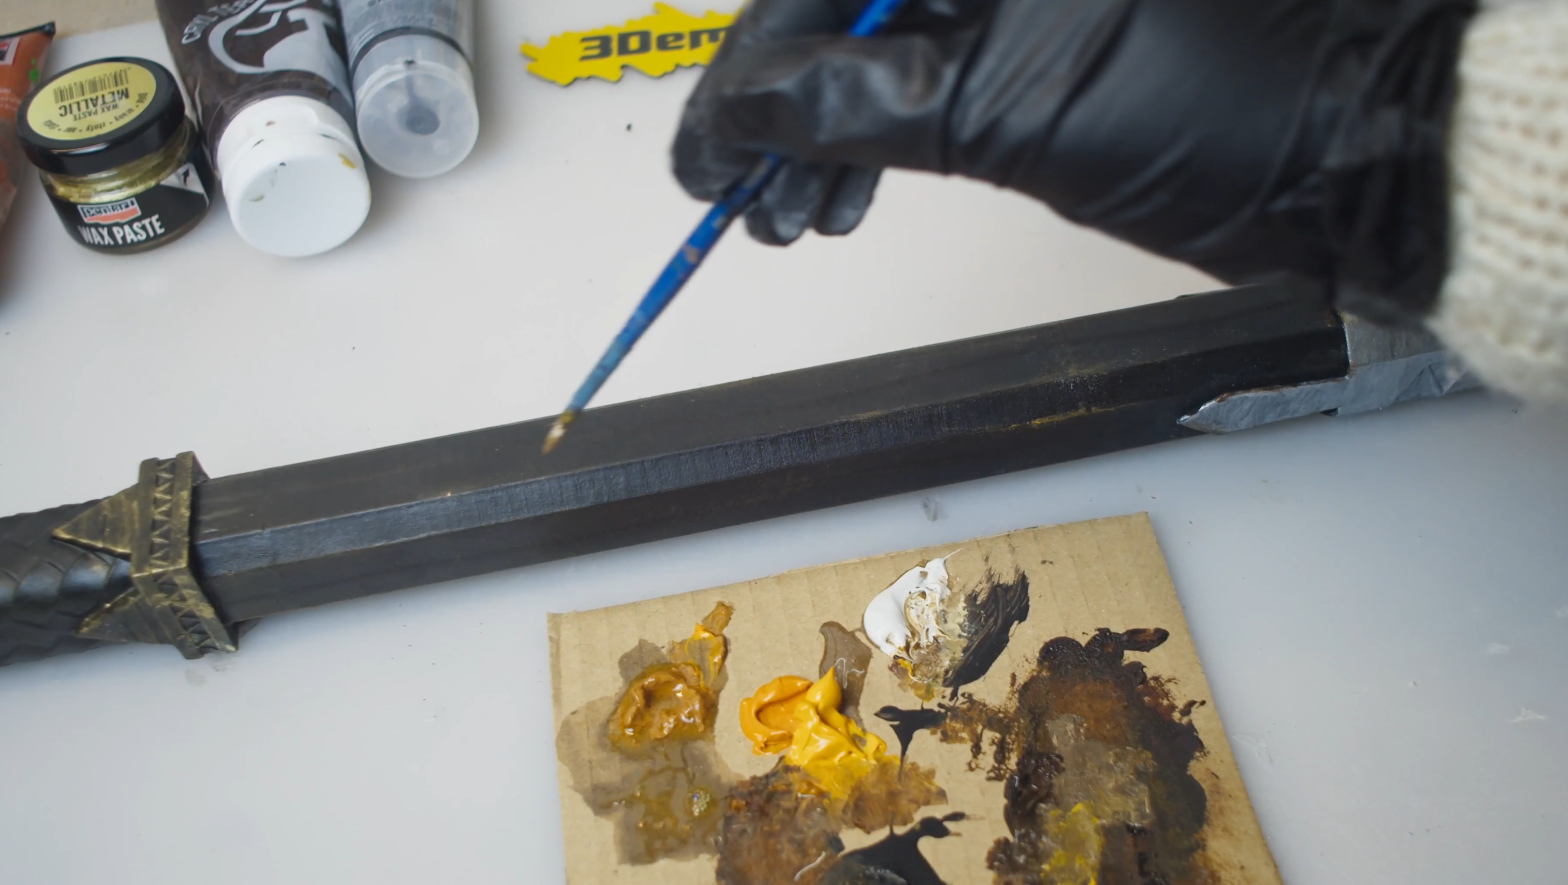
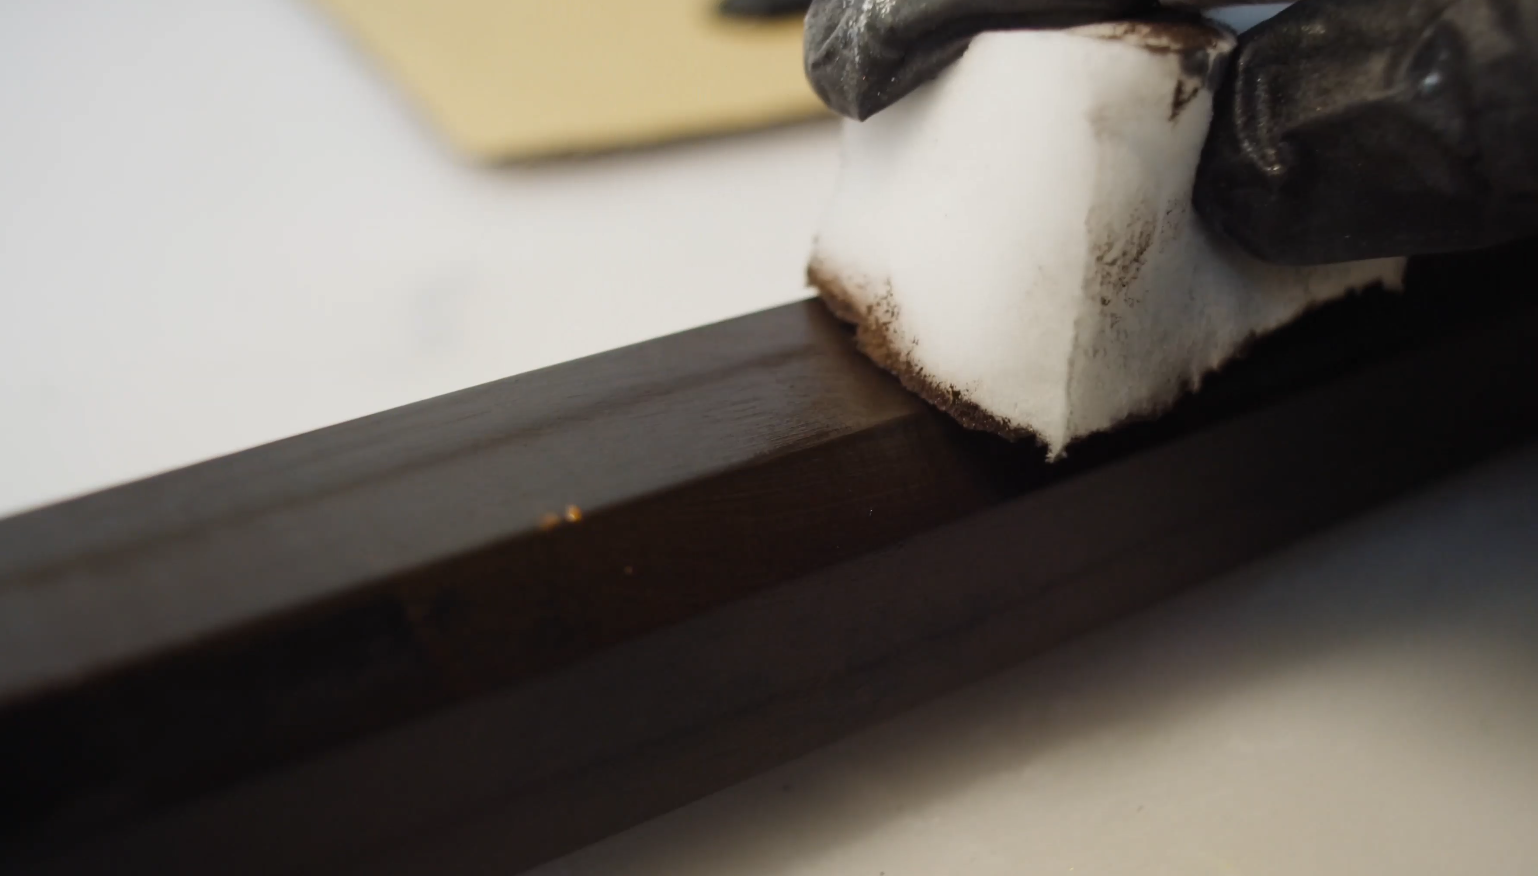
Handle
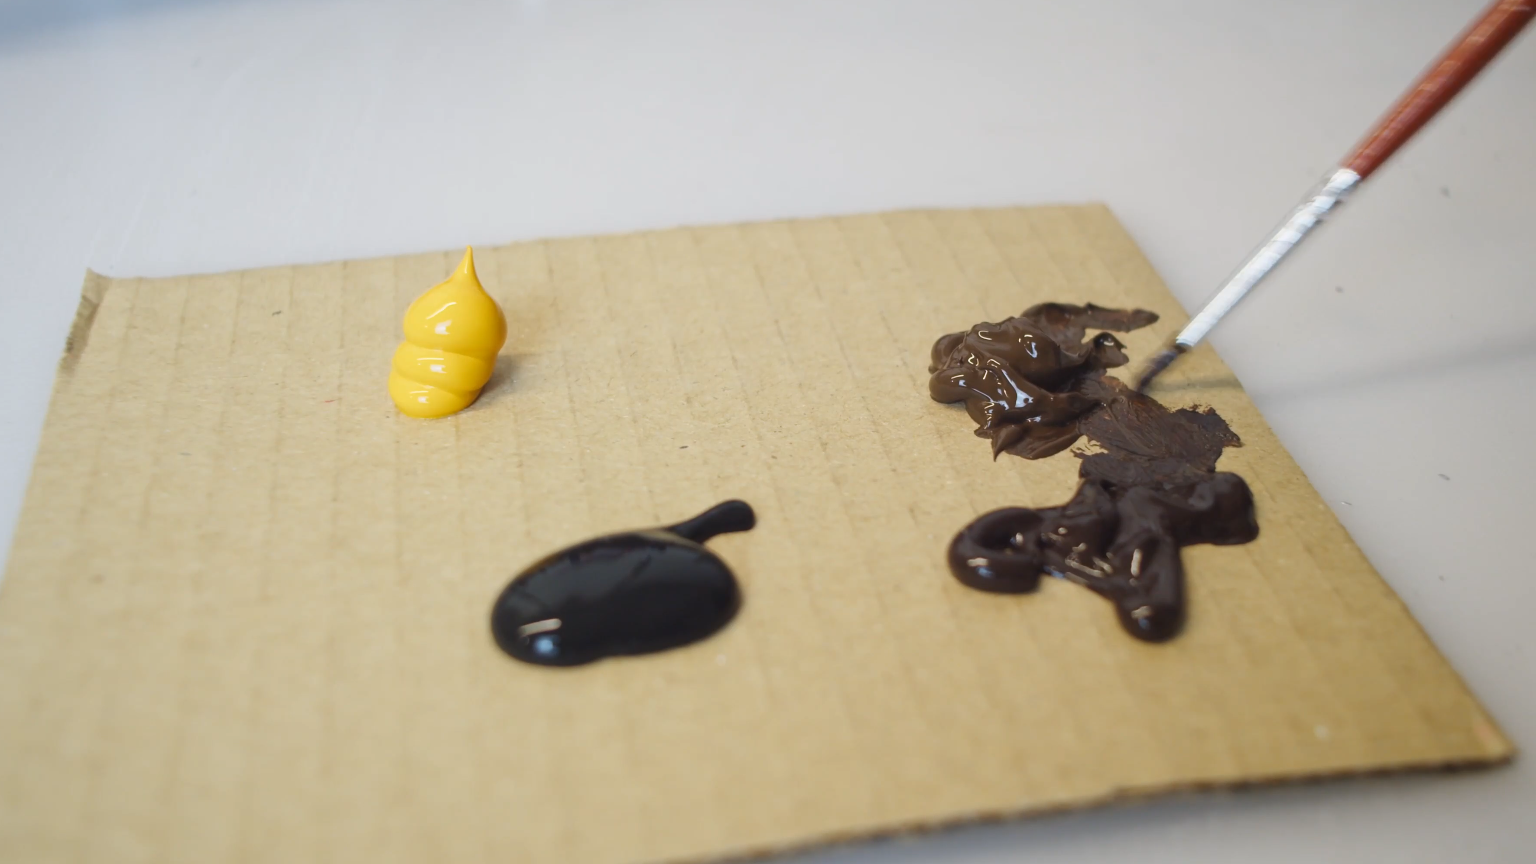
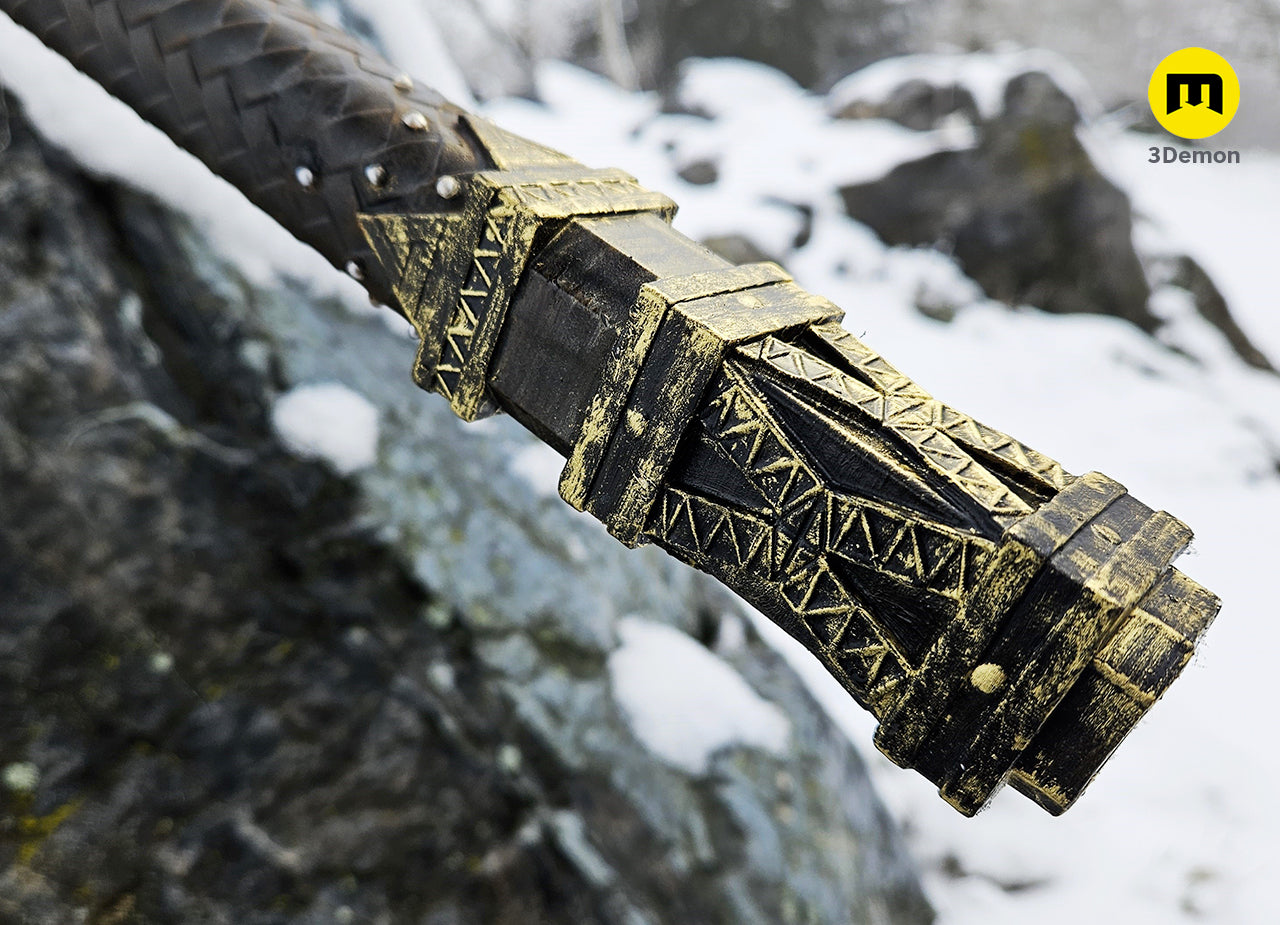
The handle was finished with a sponge-dabbed mix of brown and black acrylic to build a natural wood-like texture.
I recommend starting with a darker shade of brown and then building up to lighter shades.
Details
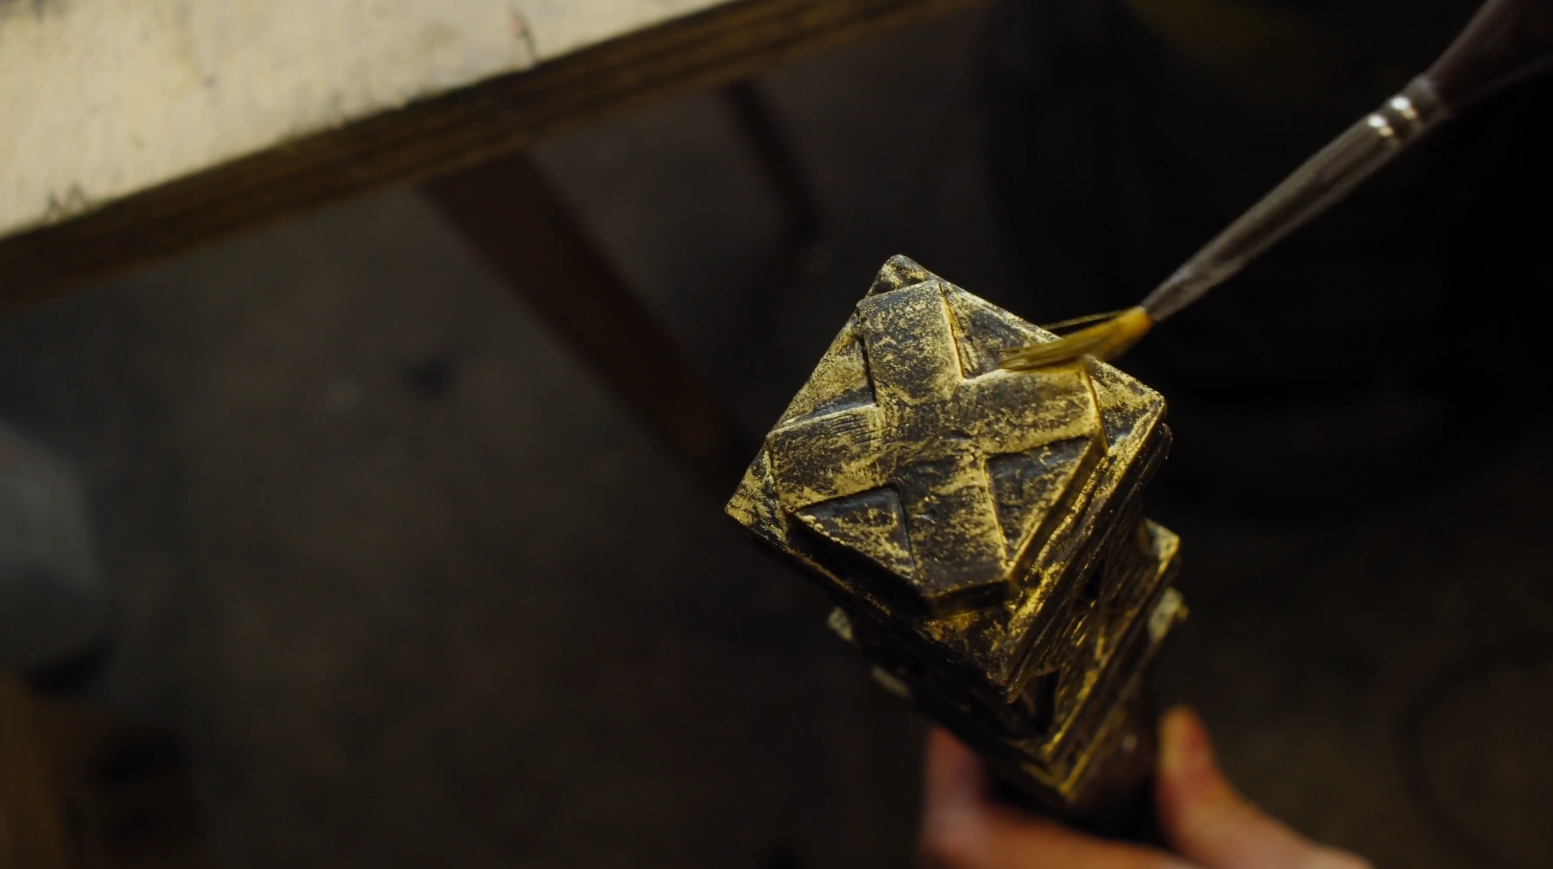
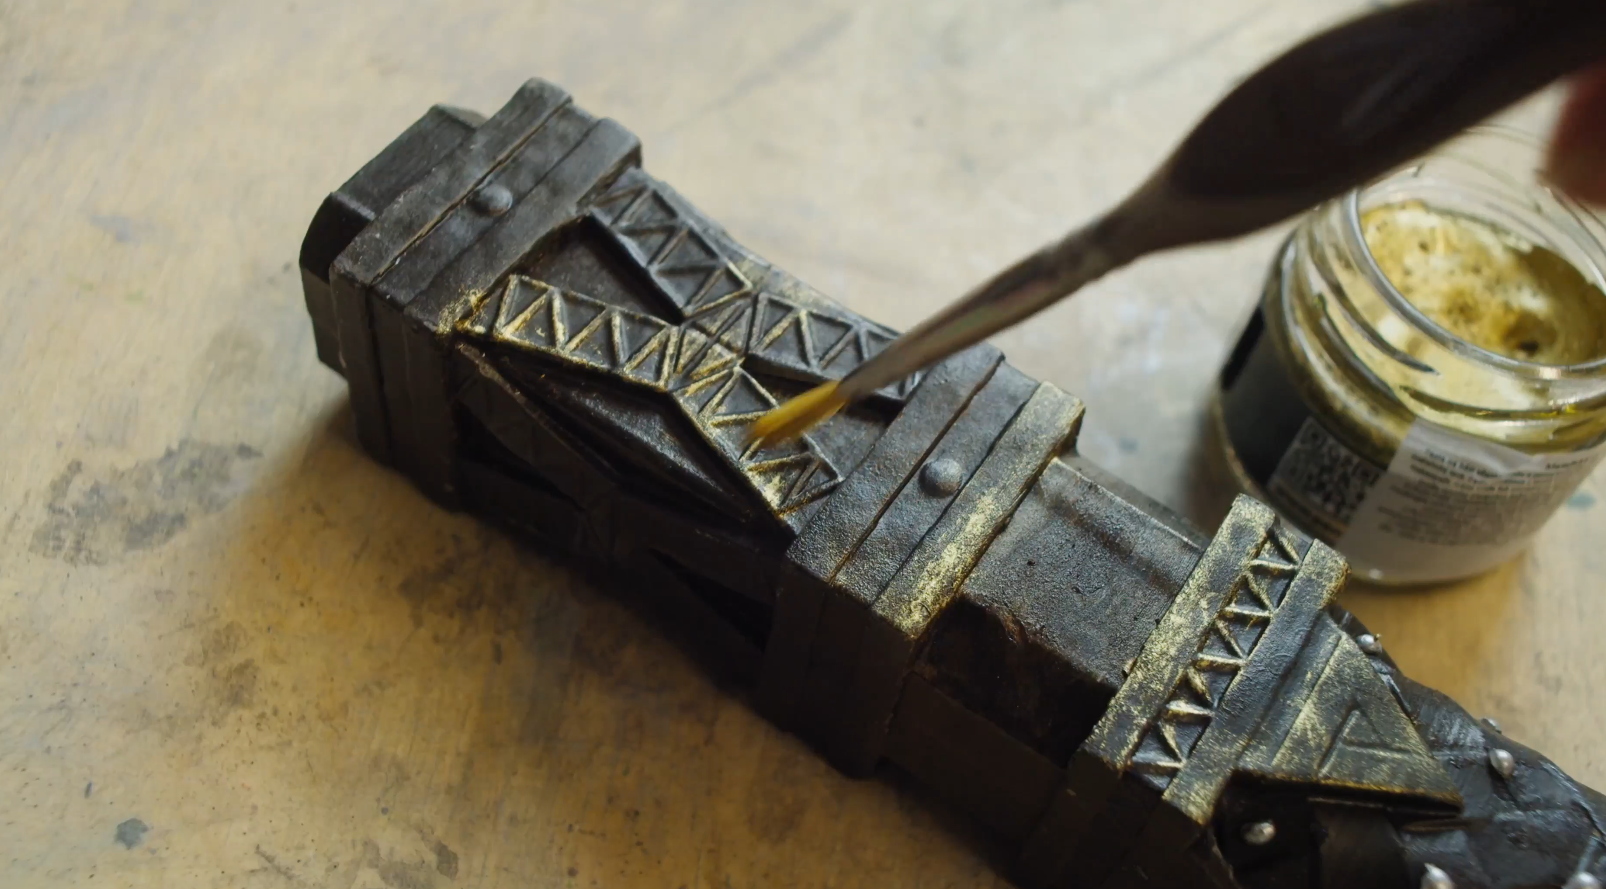
Using wax paint for this prop’s details was a great idea! It is easy to work with and ties the whole piece together, adding a worn, aged metallic sheen to the details.
Details and Weathering
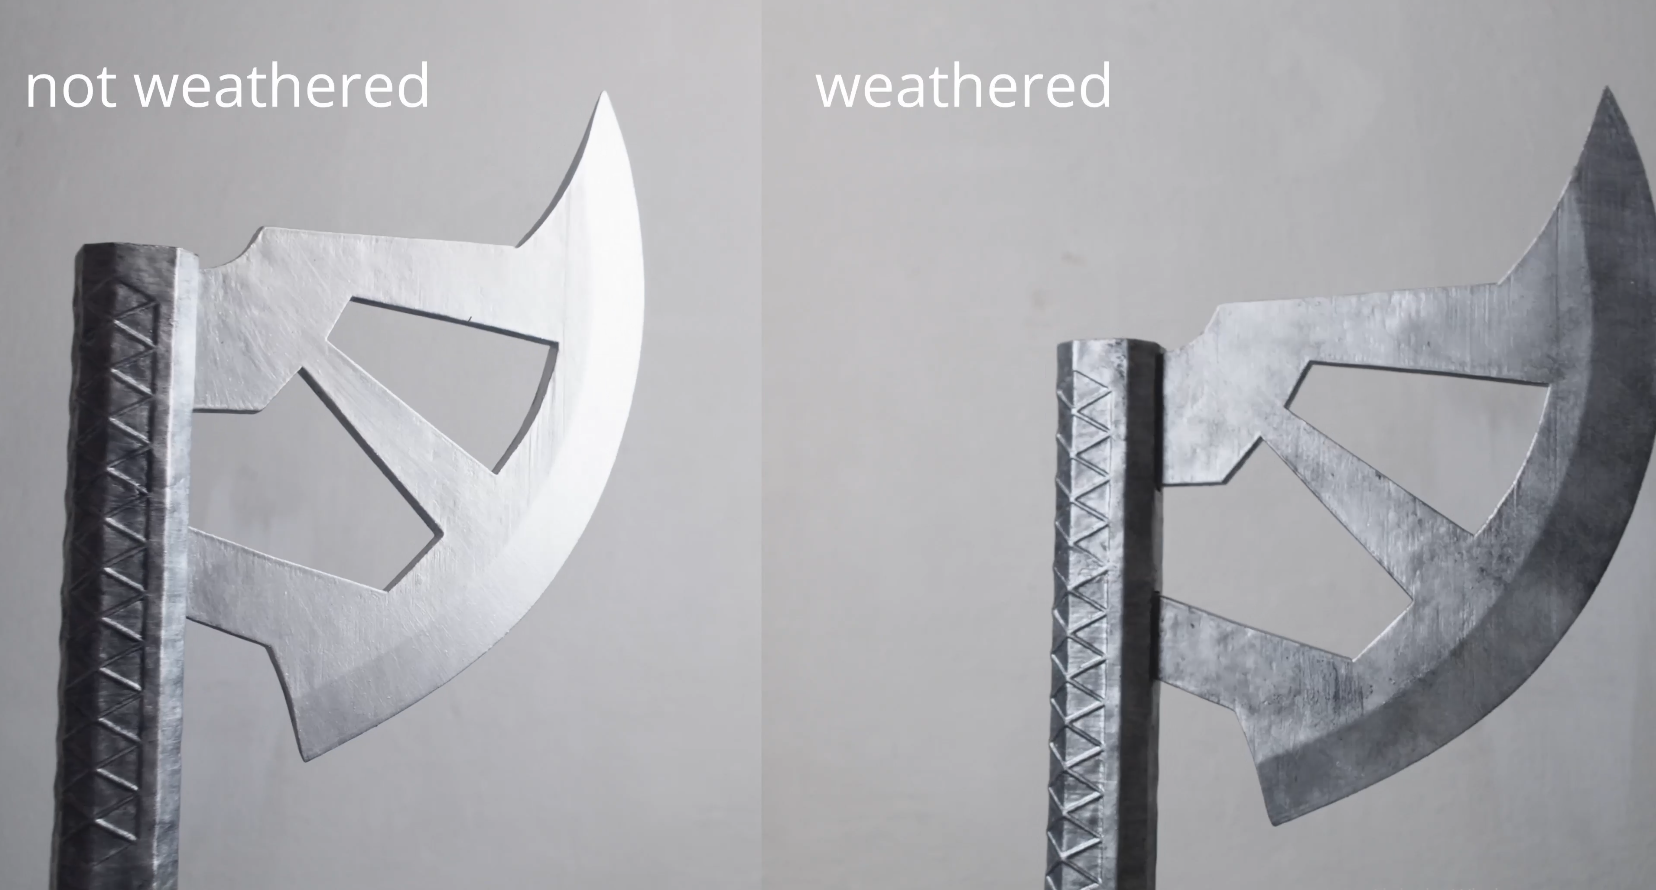
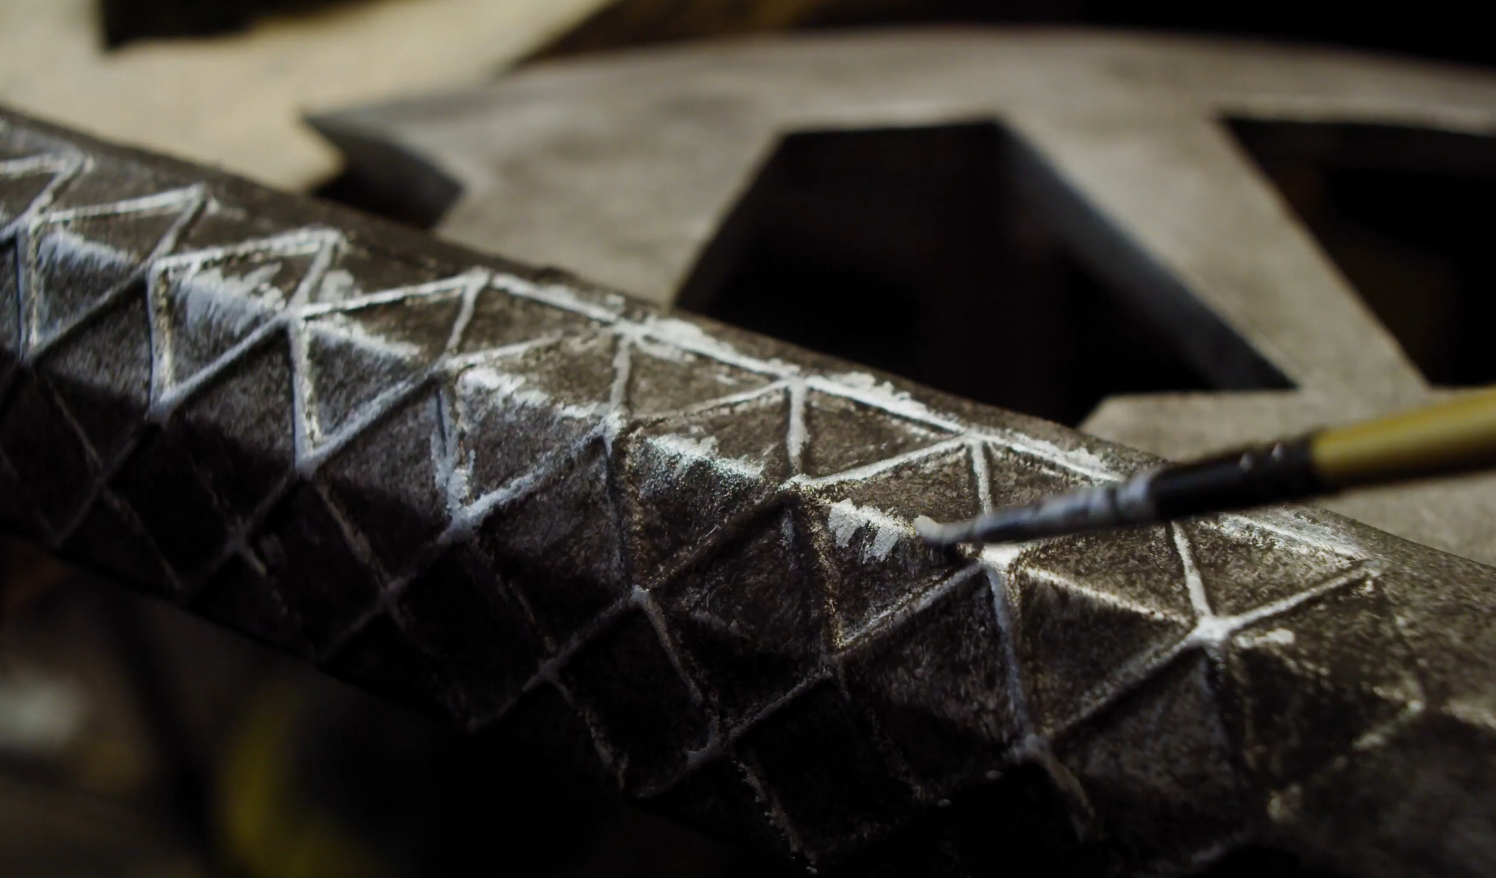
This is where the cosplay prop really comes alive. Layered dry brushing, graphite powder dabbing, and washed acrylic paint were used to fake age, weight, and battle damage, with washed acrylic working especially well on the blade.
Edge wear was hand-painted using the same silver from the base coat.
Final Thoughts
Whether you’re gearing up for a full Gimli cosplay or just want some cool 3D printed axes for your shelf, these four builds show off two totally different ways to tackle prop-making.
If you want a quick build, the simple print and glue route gets you from STL file to a finished prop in no time. But if you’re down to put in a little extra love – post processing, painting, and adding those fine details – you can turn a single print into a total showstopper.
Either way, bringing Gimli’s iconic arsenal to life is super doable on your 3D printer!
Check out all our Lord of the Rings 3D print files, and drop a subscribe on our YouTube channel for prop-building tutorials. ✨

Leave a Comment