3D Printed Armor for the Armorer (Mandalorian) Cosplay Tutorial
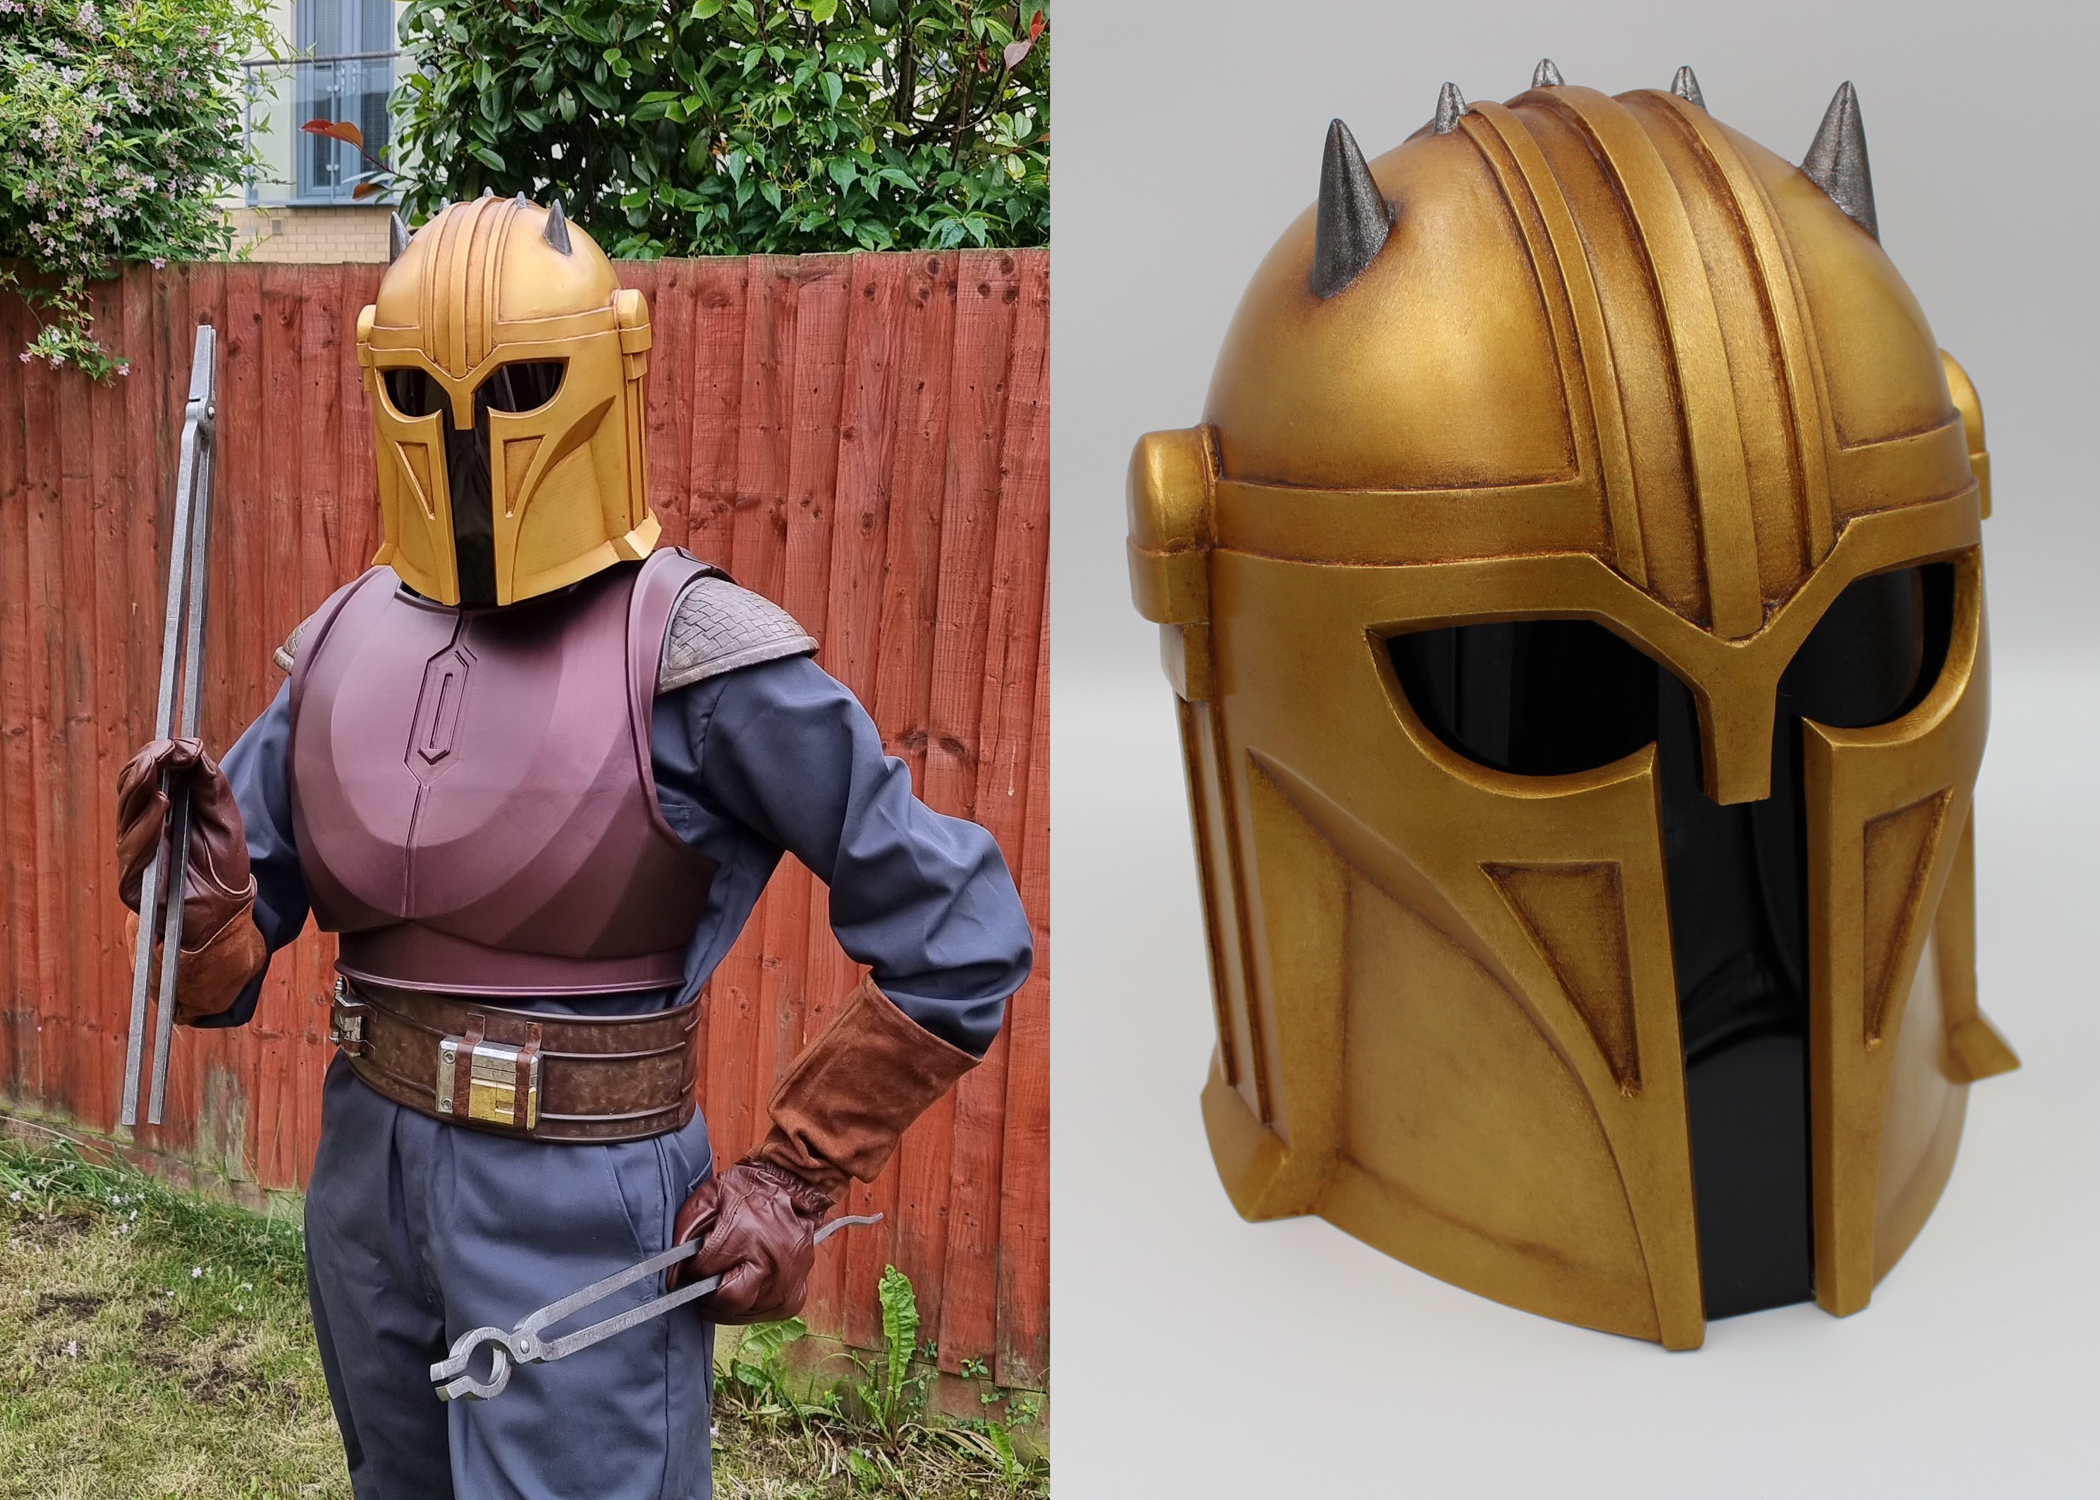
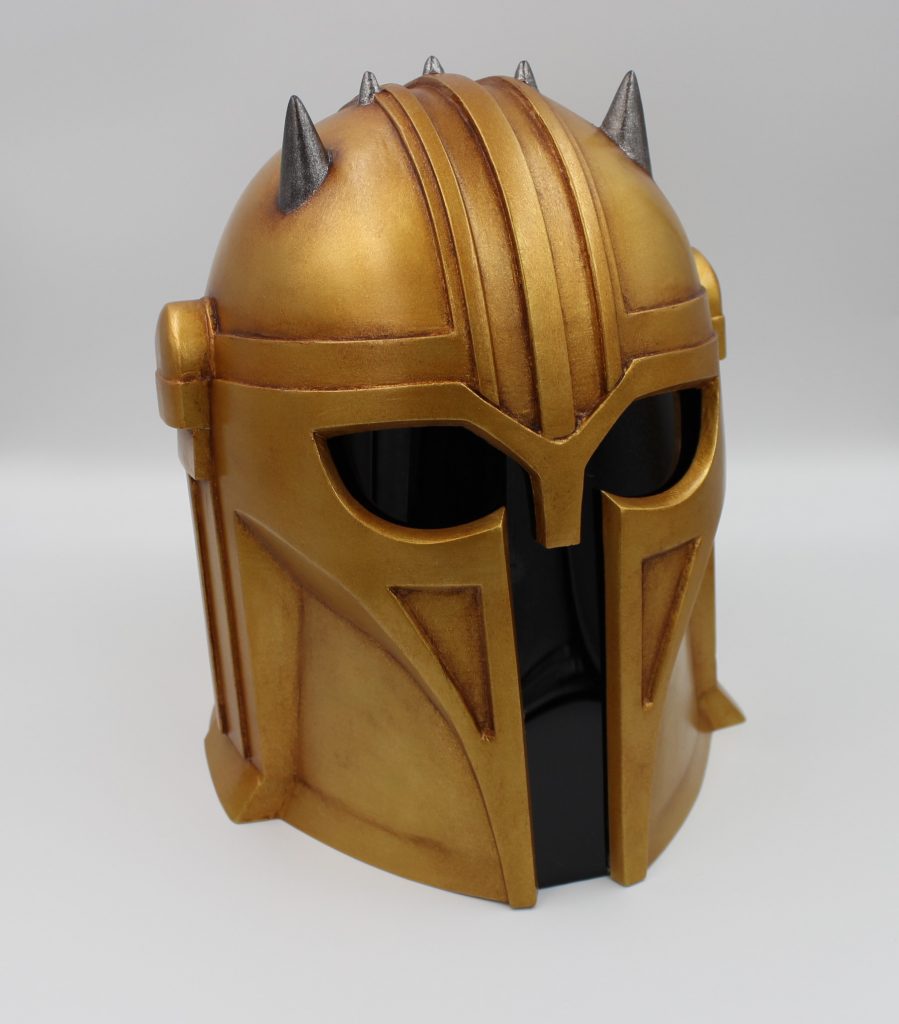
In the TV series the Mandalorian, there is a certain mysterious female character known as the Armorer, a Mandalorian blacksmith. She resides on the planet Nevarro where she forges armor and weapons for other Mandalorians.
In this tutorial, we’ll show you how to turn a printing data to fully wearable cosplay costume.
Let’s get started!
You’ll need:
- STL files for 3D printing
- 3D printer
- 3D printing fillamentum (PLA or PETG)
- Spray primer
- Sandpaper between 80 to 100 grit
- Plastic Wood or another filler
- Spray filler / putty
- Strong glue (for example 2 part epoxy glue)
- Acrylics, splay colours, clear finishing spray
- Airbrus (or common painting brushes)
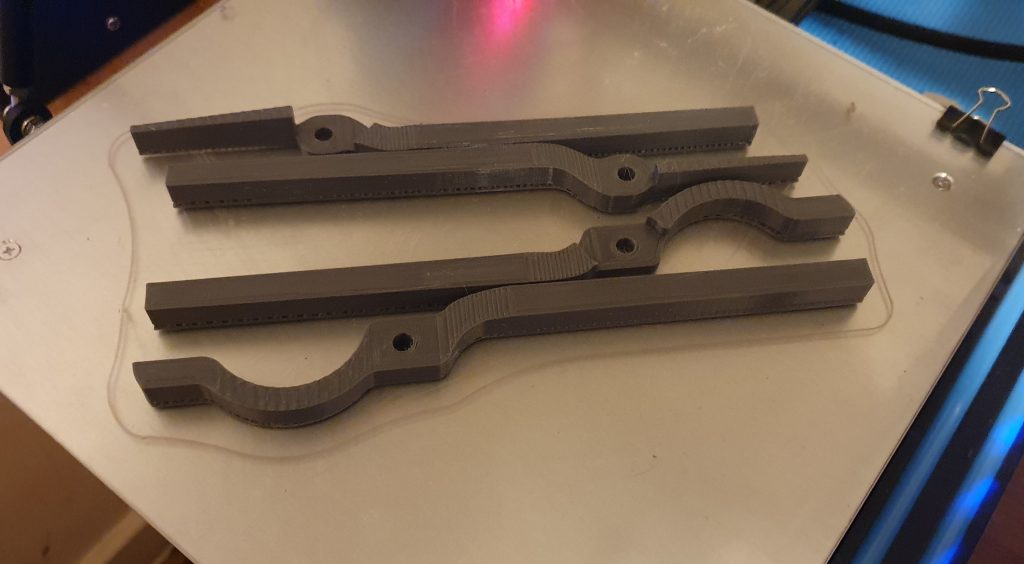
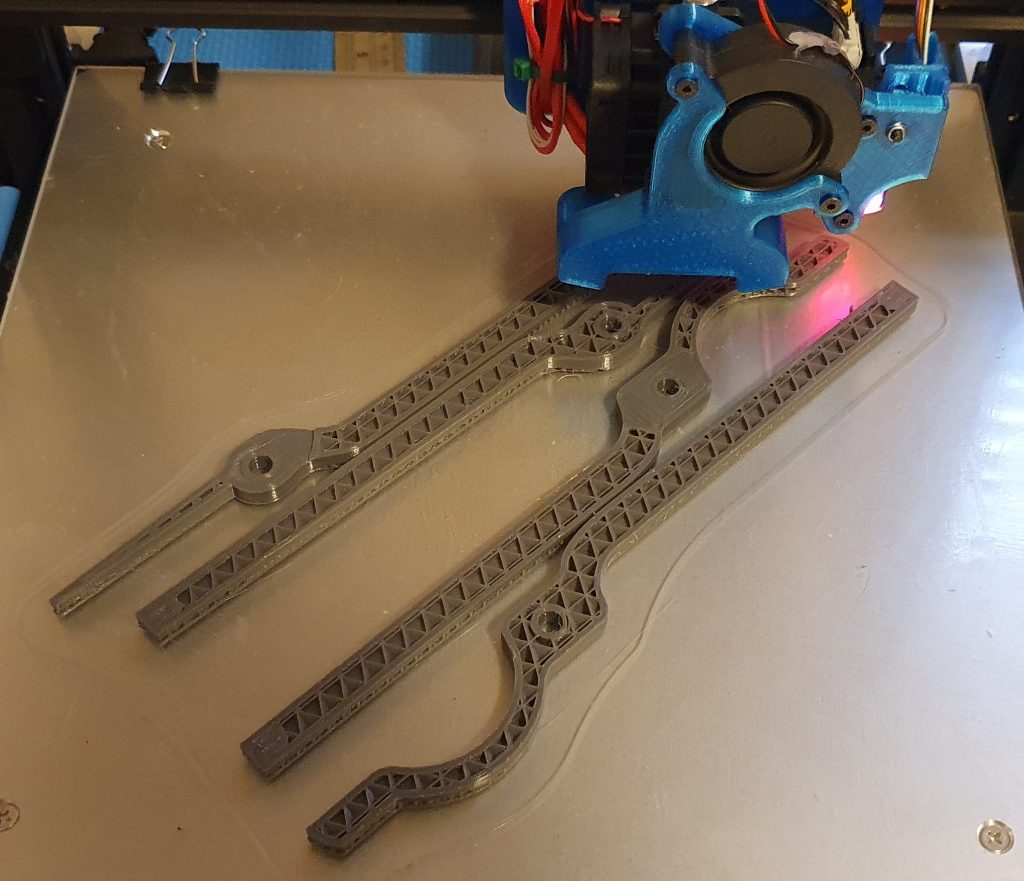
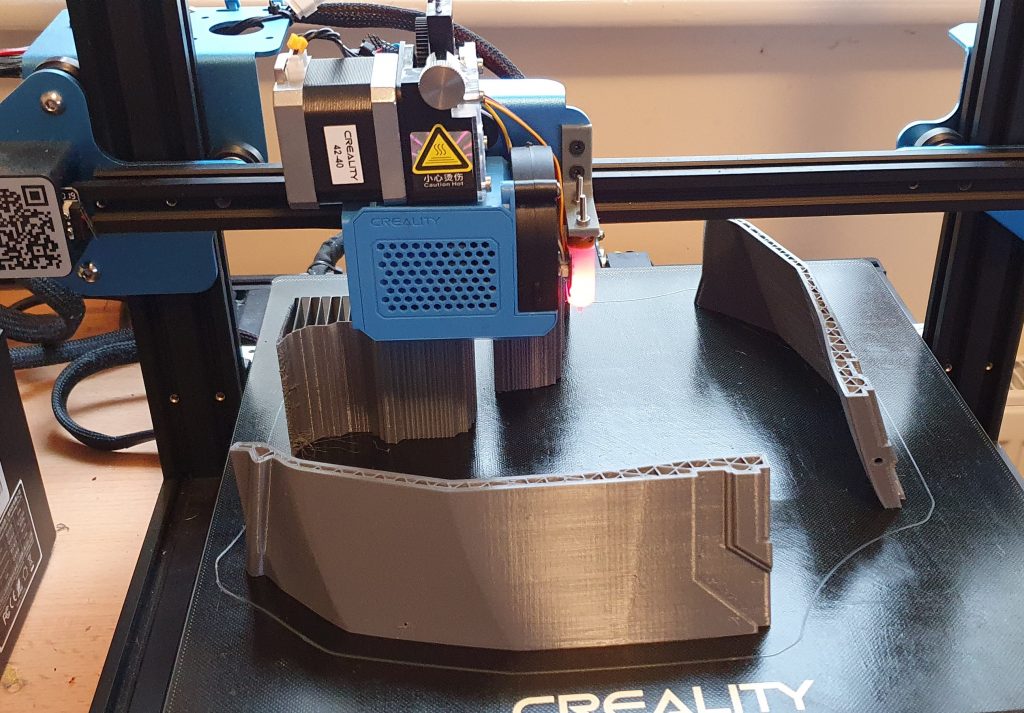
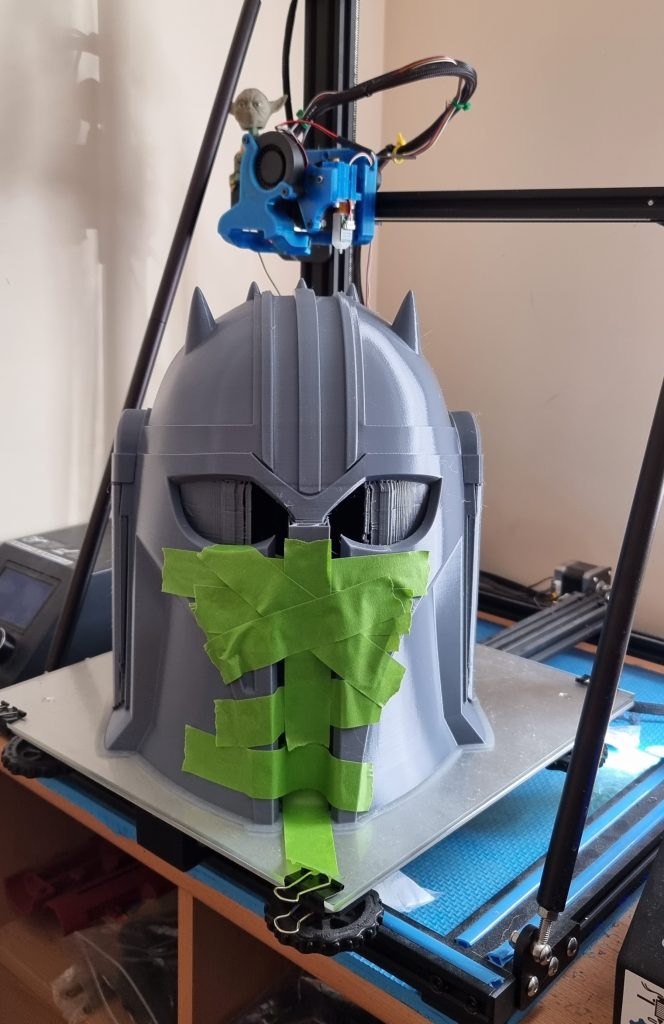
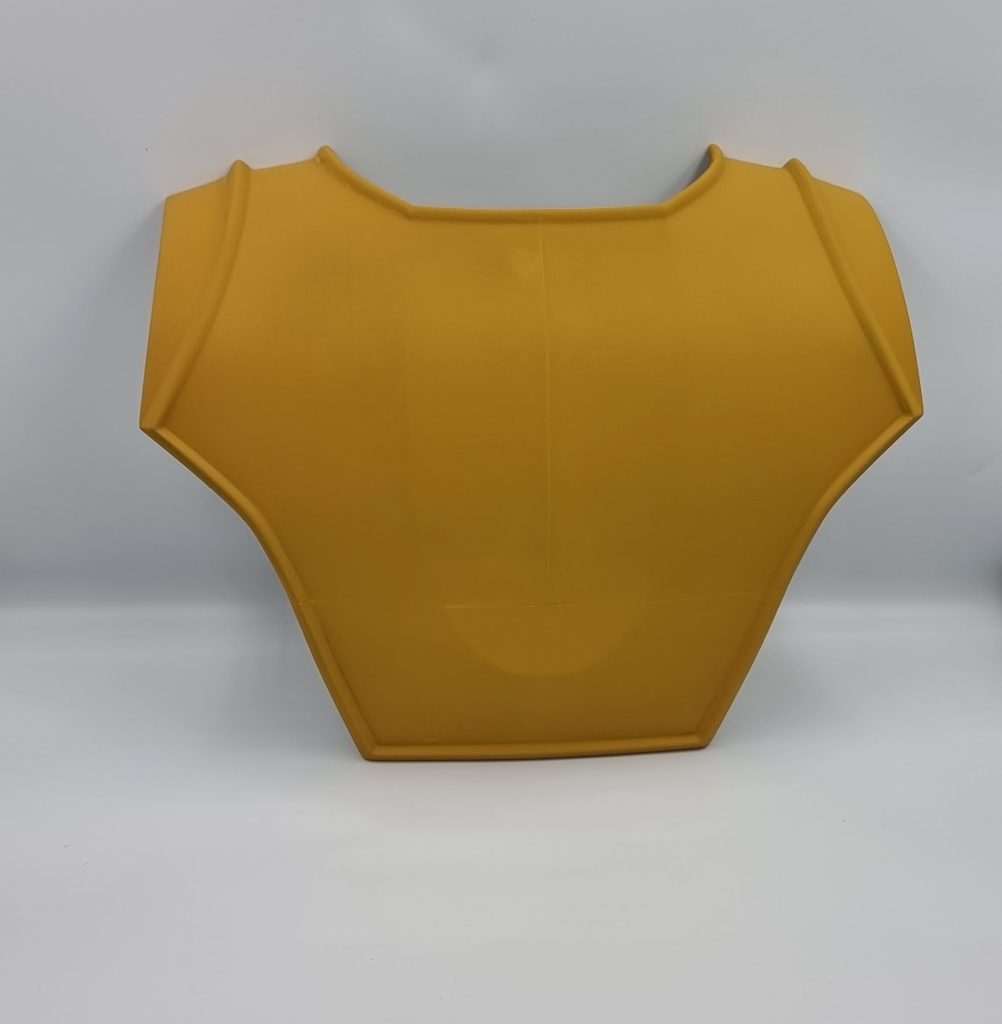
Step 1: Printing
Firstly, we scaled the pieces so that they would fit. Using Cura we sliced the files and
printed all the parts in PETG. PLA would work just as well. It took about 2 or 3 weeks to print everything.


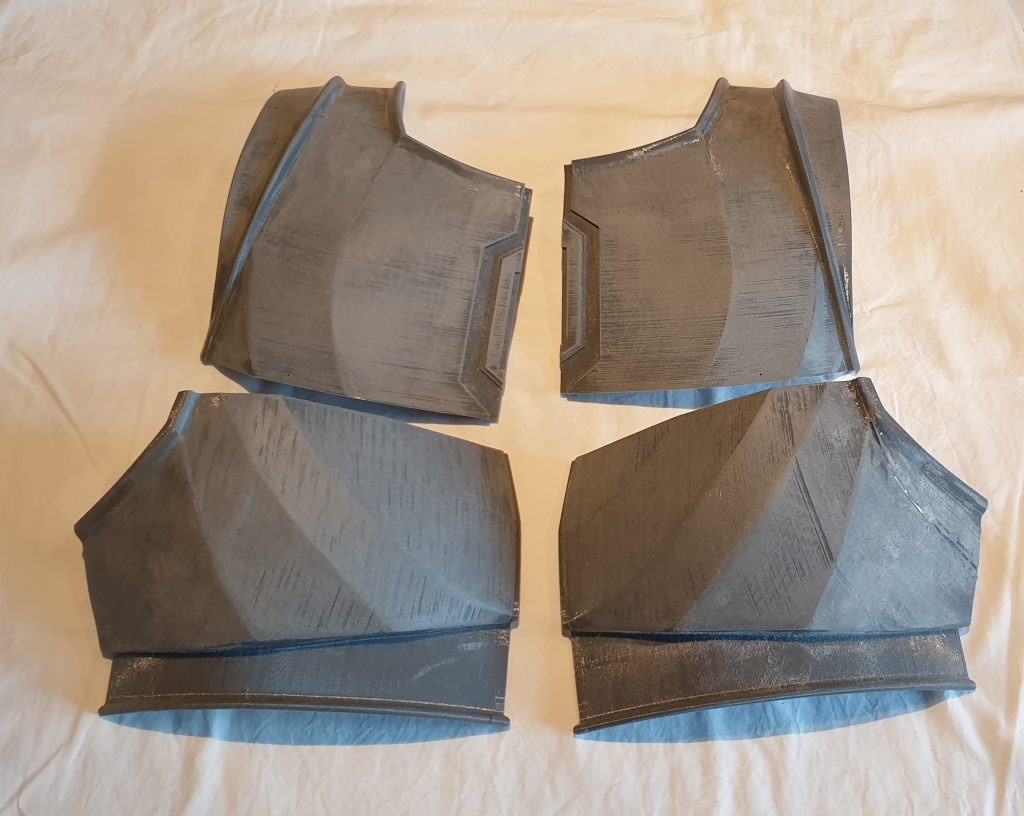
Step 2: Post-processing all the printed pieces od the Armorer cosplay form the Mandalorian
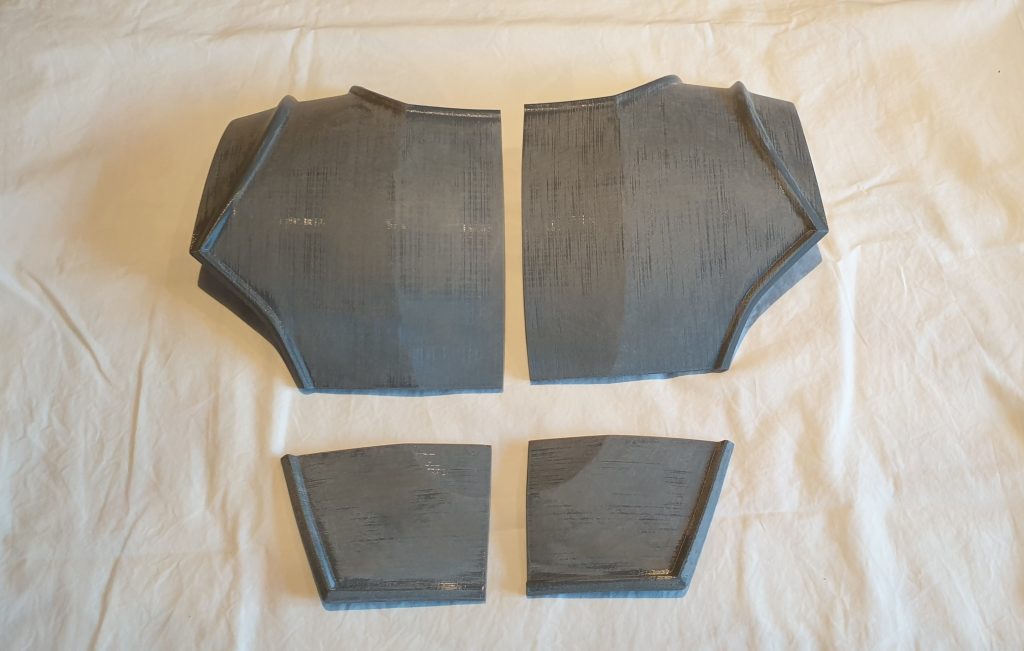
Post-processing is probably one of the most time-consuming parts of any 3D printing project, but it is well worth it! The more time you put in at this stage, the better your final result will be. Once the printing is complete, any supports or rafts can be removed. The different pieces are then sanded to remove blemishes from the supports and the layer lines from printing. This will also help when it comes to glueing the different pieces together. Once you have sanded everything, ensure that all dust is removed.
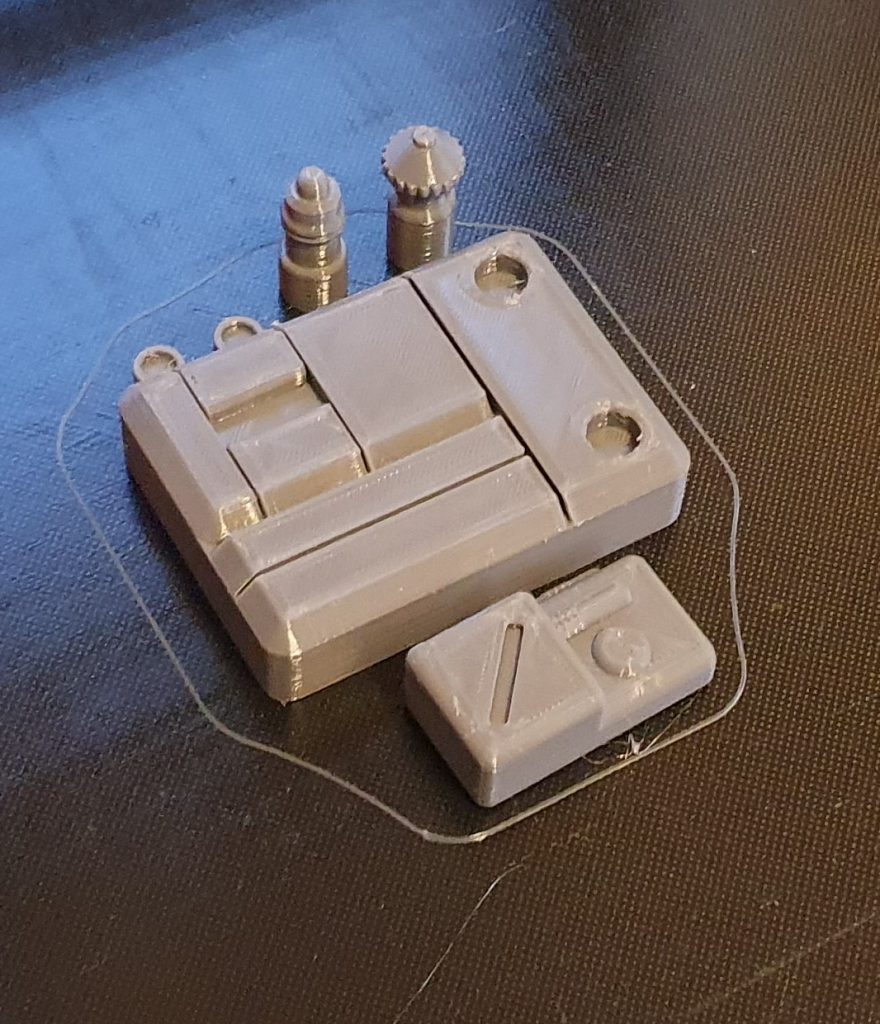
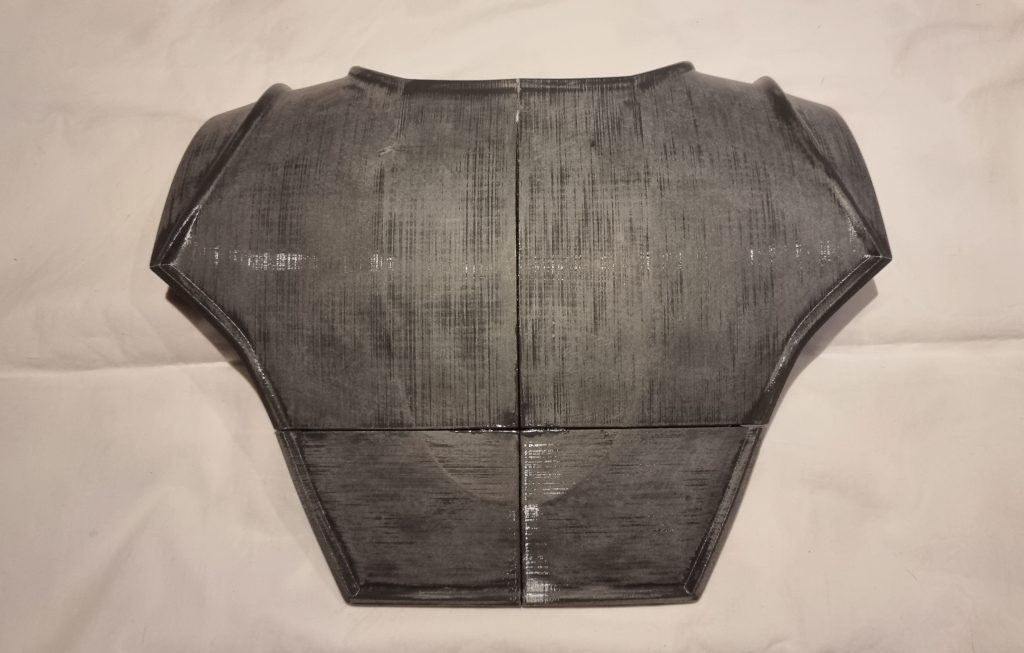
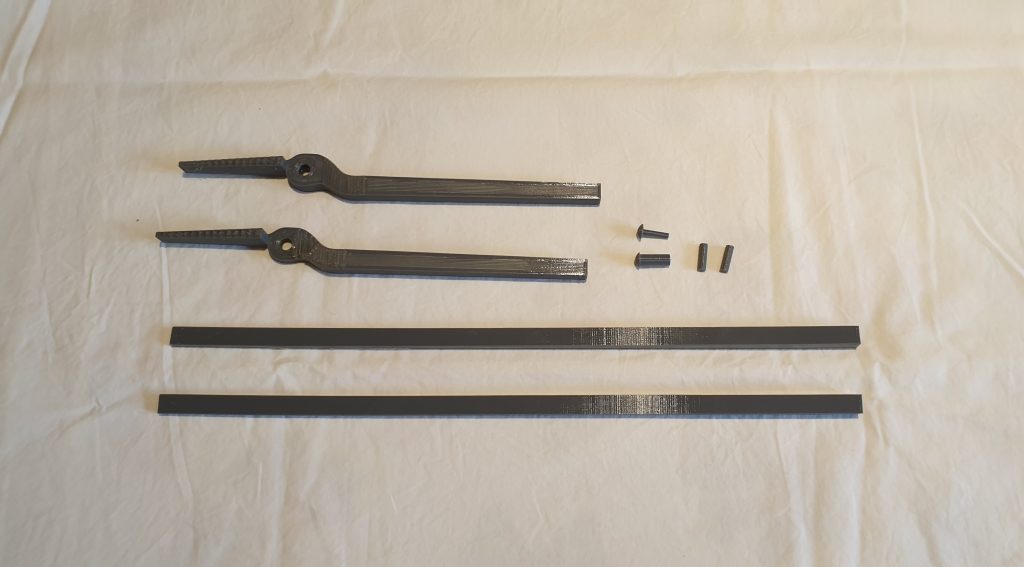
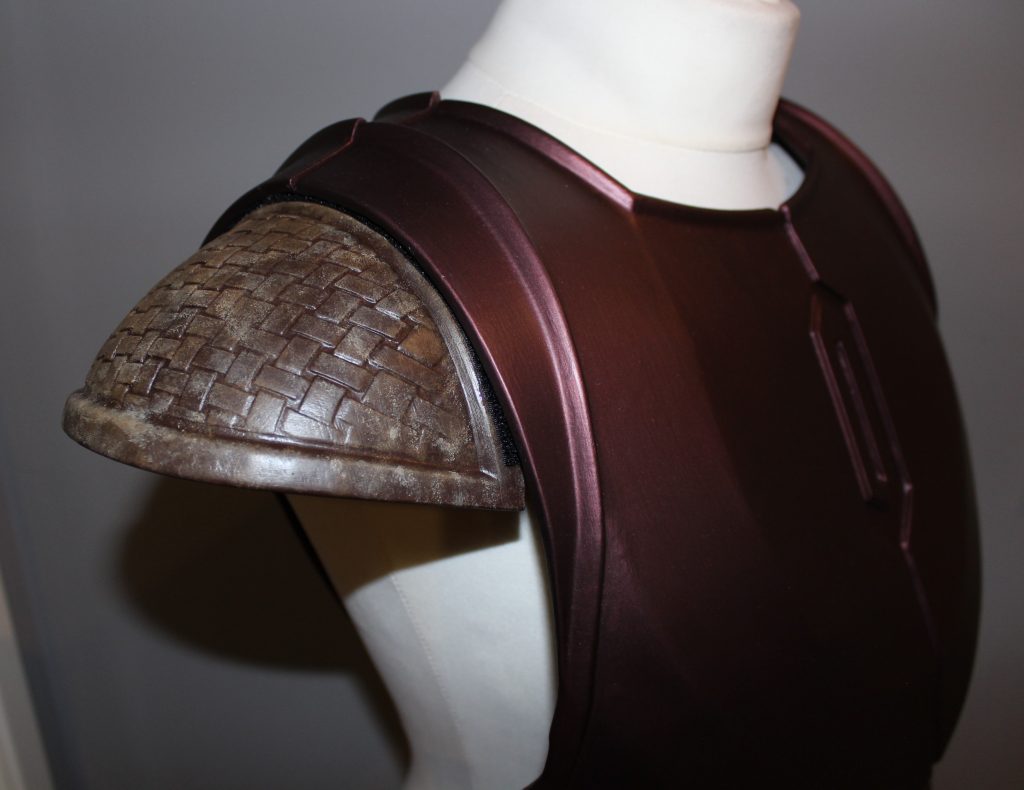
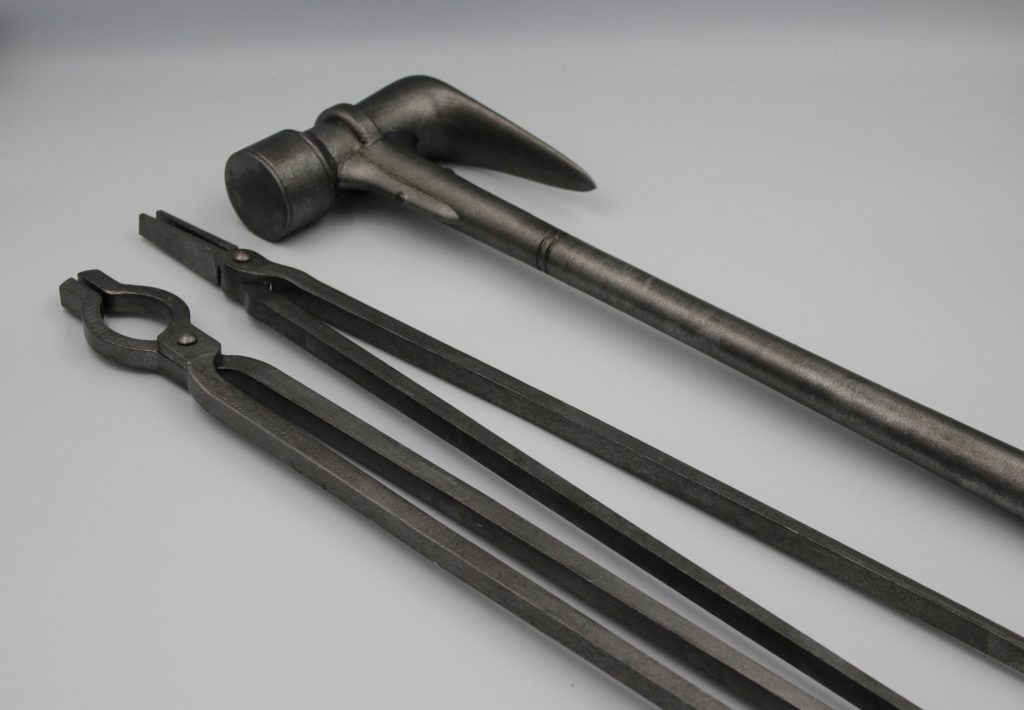
We then assemble them some of the necessary pieces (e.g. chest plate pieces and tools). It
was glued using 2 part epoxy glue.
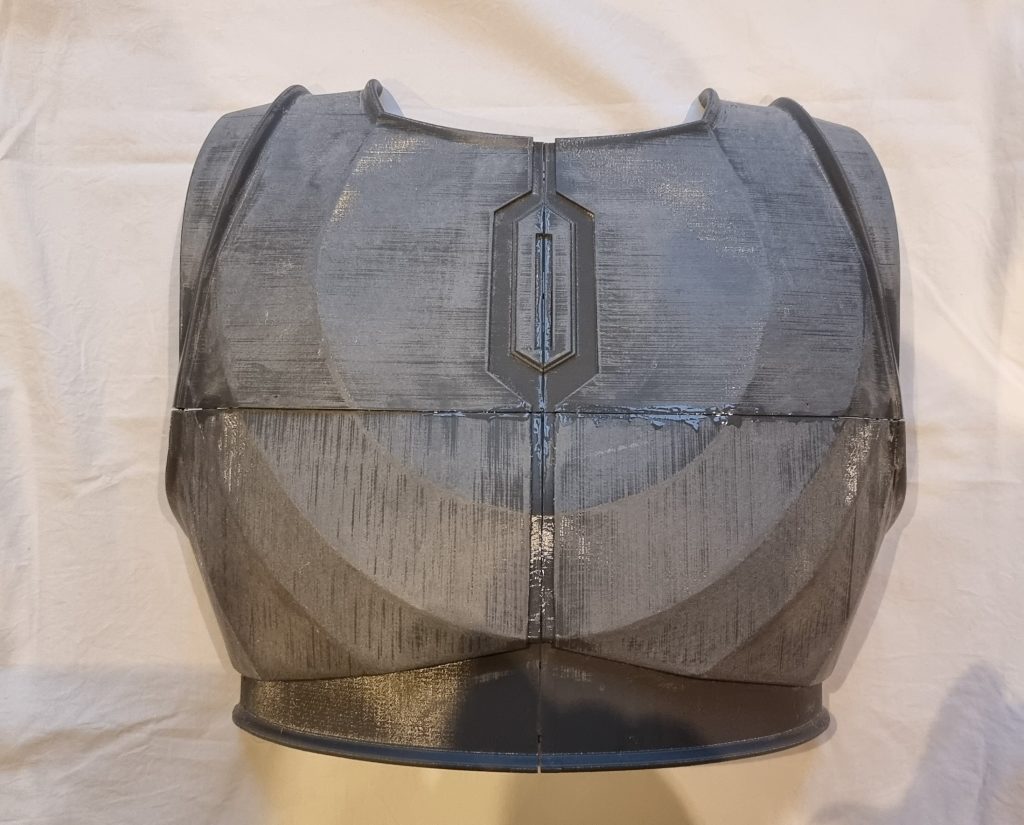
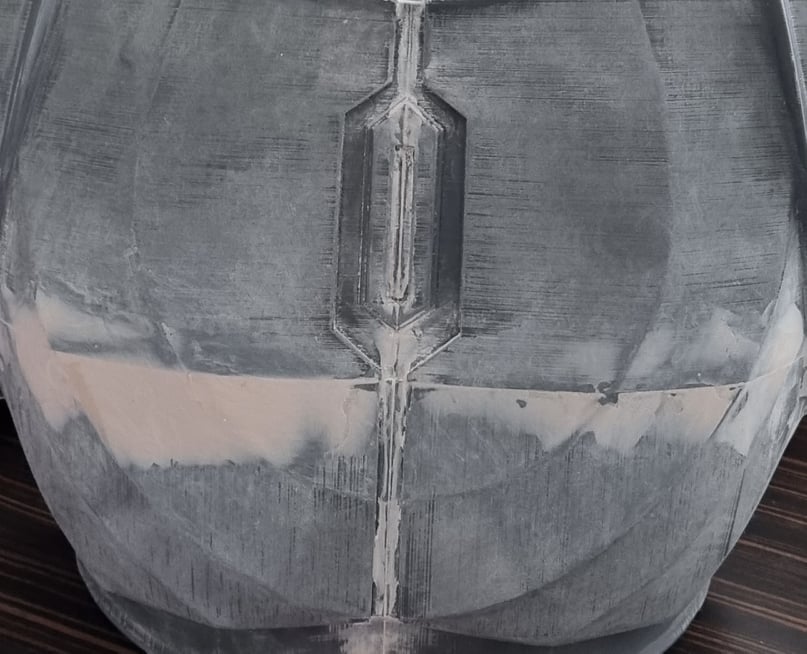
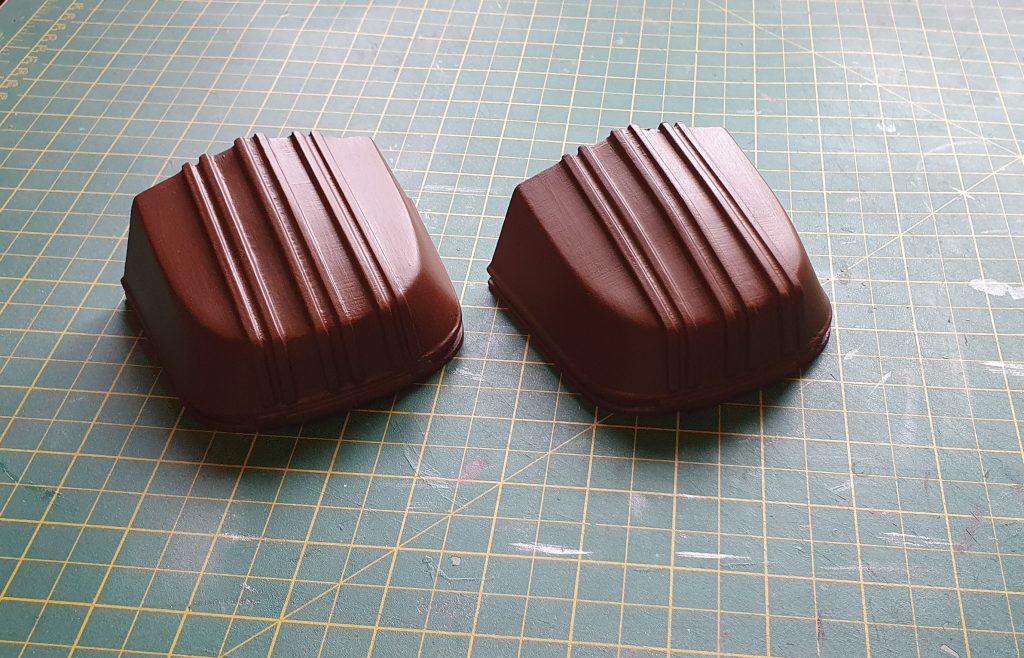
Once the larger pieces have been assembled we used spot/putty filler to get rid of any
seams. When the filler has cured, it was sanded again to ensure that the filler was as even as possible. We sprayed the pieces with a filler primer. This ensured that the tiniest of gaps or layer lines remaining would be filled. This was then followed by wet sanding with finer sandpaper. This step can be repeated as many times as you like until you get desired smoothness. Each time using a finer grit of sandpaper.
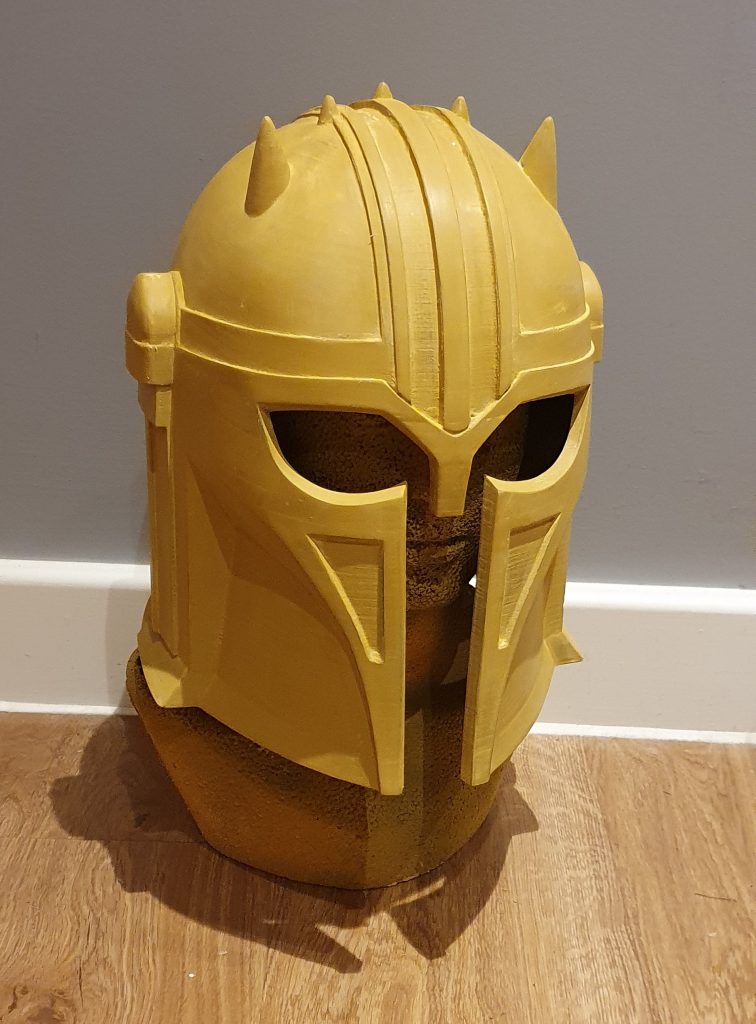
Step 3: Painting, Weather and Seal
We started by painting all the pieces with a base colour. We then used different acrylic paints to get the desired colours. This took a few layers, so that the colour of the filler primer wouldn’t show through.
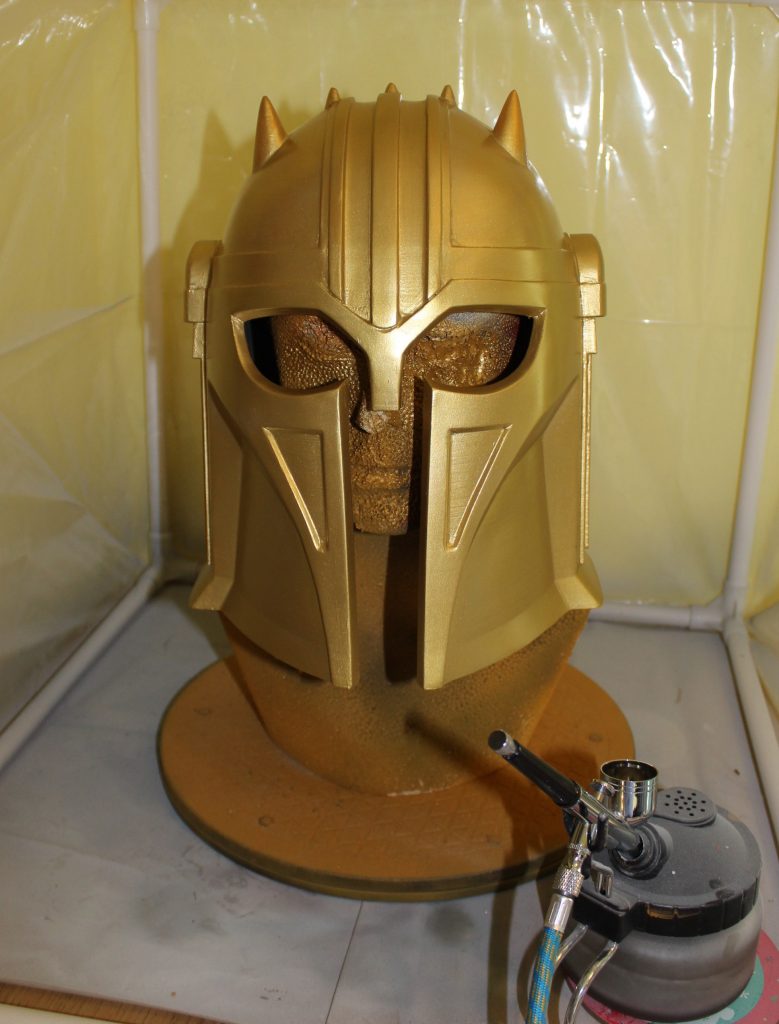
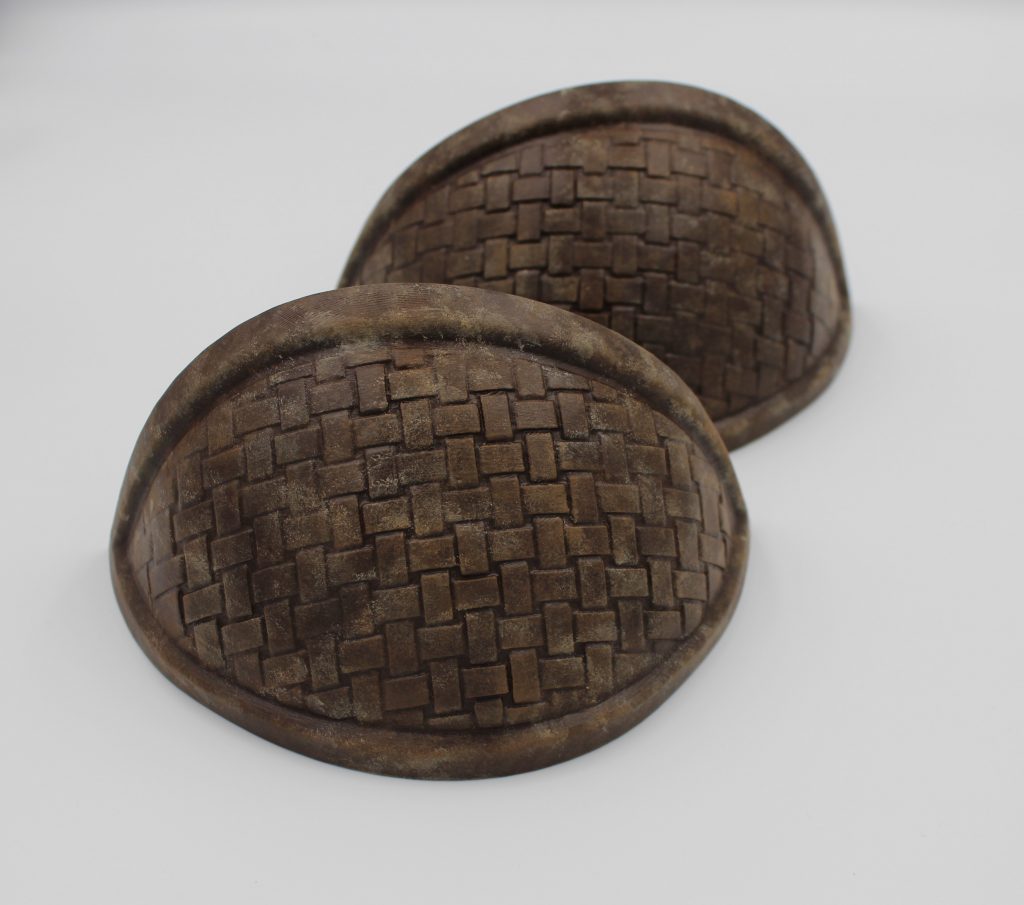
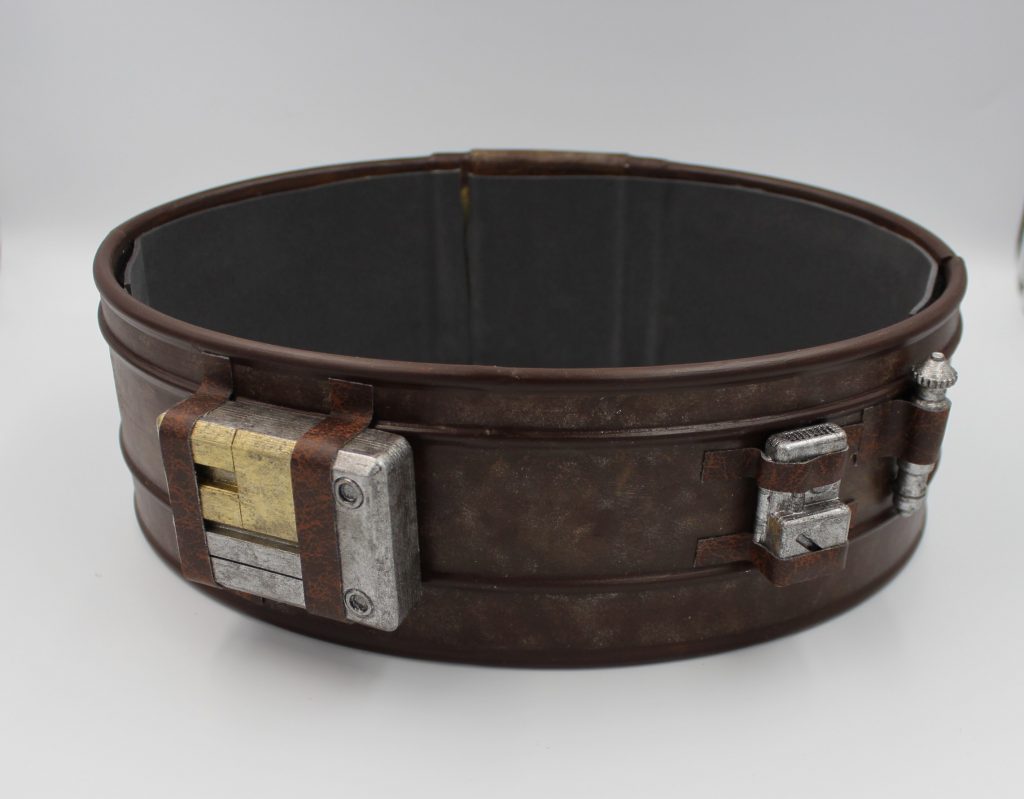
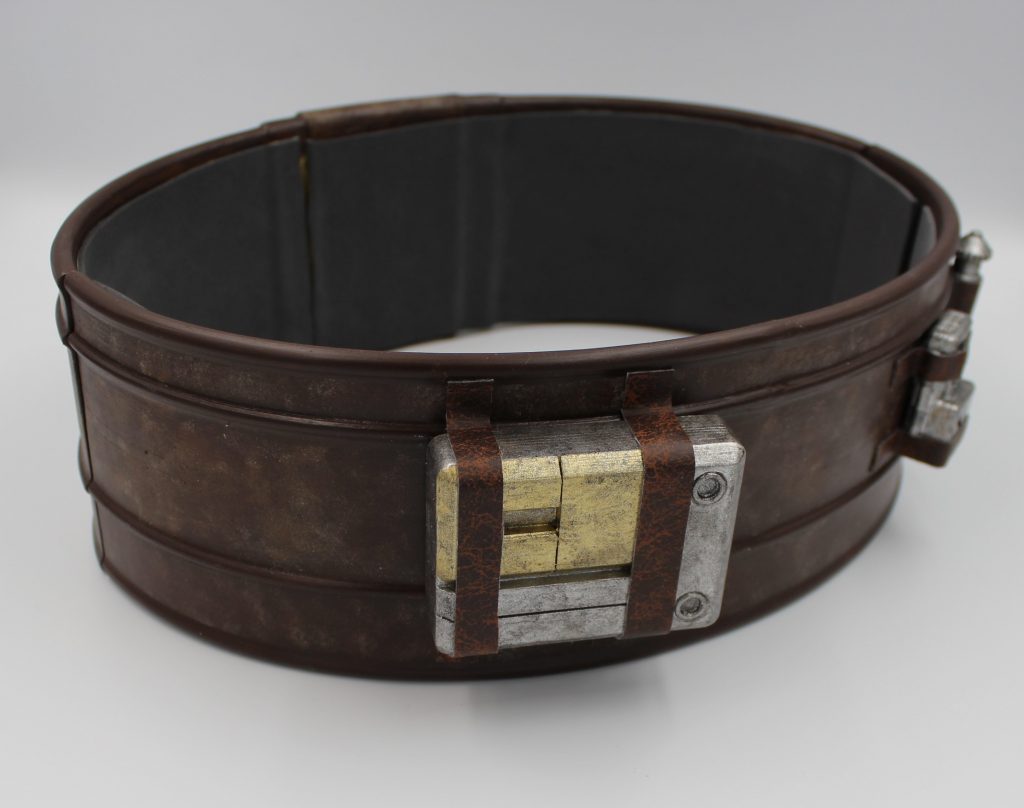
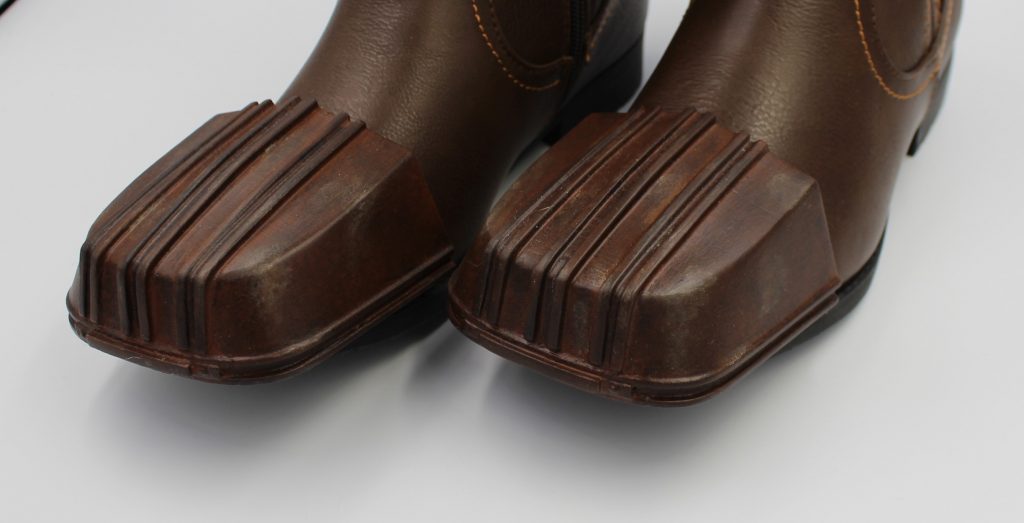
Once, we were happy with the base colours, we spayed all the pieces with a layer of matt varnish before we started weathering. This made sure that the weathering process would not mess up the initial paint job. We started weathering the helmet, pauldrons, belt, belt gribbles and boot covers. We decided to use “water mixable” oil paints. We worked in small sections. It is important to remember when weathering that less is more! To get a grime look on the helmet, we used a mix of brown paints and wiped most of the paint away with a paper towel. This was repeated several times using different shades, so that any deep crevasses or corners would have a grease and worn feel to it.
Once, we were happy we sprayed everything with either a matt or gloss varnish to protect it.


Step 4: Final Touches
For the armorer’s helmet visor, we created a template using paper from the visor opening. Once, we were happy with the template, we cut it out on a black welding visor. The projective layers on the visor were removed and then carefully glued into place using contact glue. We then placed hot glue around the edges on the visor to ensure that it stayed in place, but also to stop any sharps pieces scratching my face.
To attach pauldrons, chest pieces and belt pieces together, velcro and nylon webbing was used. To ensure that the webbing stayed in place, we reinforced it with thin eva foam. This also makes all the hard pieces a bit more comfortable to wear. It is also very easy to later attach additional strapping or velcro so the armor pieces don’t move too much and can be attached to the undersuit. To attach the belt greebles to the belt, we simply glued some straps on to the greebles and attached it to the belt.
![]()

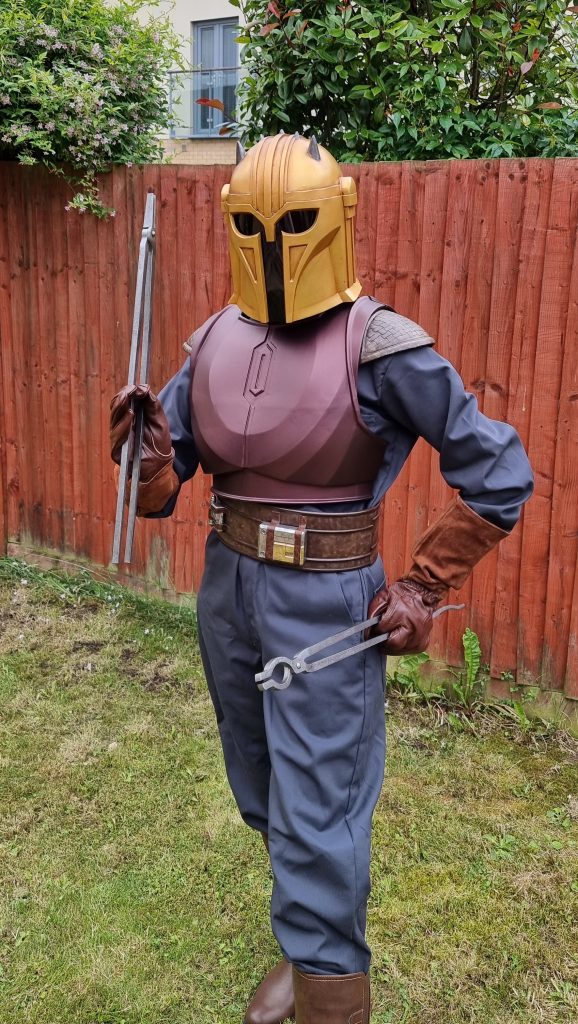
Done!
Once you are happy with everything, it is time to put it all on and have some fun! There is still some work to finish this cosplay, as all the soft parts still needs sewing. But hope this helps you with all the 3D Printed parts. Follow us on Facebook or Instagram to see further progress!
If you decide to follow our instructable, don’t hesitate to tag @3demon3dprint on Instagram, so we can share it! For discussing any issues or just a friendly chatting – join our Discord!
Thank you for reading!
Leave a Comment